Hi everyone! This is Francine.
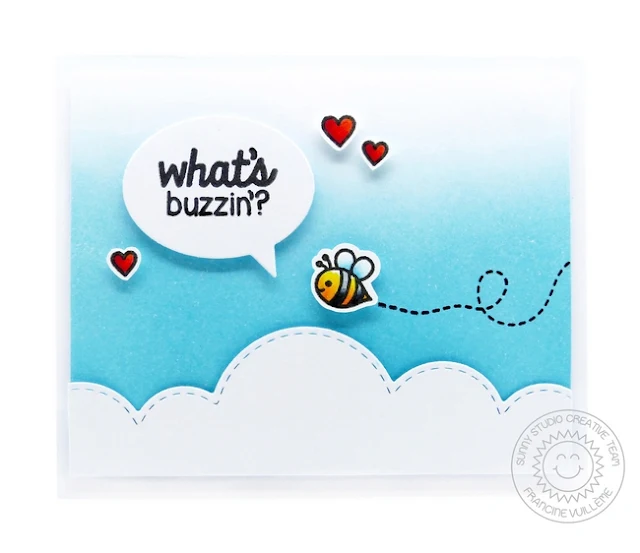
Today, I’m featuring the Backyard Bugs stamps. What an amazing set! Here is the card I made:
OMG…. this cute little bee… It was love at first sight! I decided to focus on that image and this is why I created a scene for my bee. I first sponged the background with Distress inks (Tumbled Glass and Broken China). Next, I stamped the bee and the hearts in black ink. I colored and fussy cut them. I also die-cut a cloudy border from white cardstock.
To finish off my card, I stamped the fun “What’s buzzin’?” sentiment on a speech bubble and I adhered everything together with foam dots.
I hope you enjoyed this post! Thanks for stopping by and have a fabulous day!
♥ Francine
Friday, January 22, 2016
Thursday, January 21, 2016
Backyard Bugs Fluttering By To Say Hi Butterfly Card with Elise
Hi everyone! It's Elise here to share a card with you that features the Backyard Bugs stamps and dies from Sunny Studio Stamp! If you can't tell, the butterfly stamp is my favorite, so I created a card to showcase how cute it is!
I stamped the butterfly onto some patterned paper and die cut two butterflies from each paper. I attached one of the butterflies to the card base and the top butterfly is only attached in the middle so that I could fold the wing to make it more three dimensional. Here is a close up to show you the two layers:
I stamped the sentiment inside of the banner from Sunny Borders stamp and die cut it with the coordinating die.
Thanks for stopping by today! Stop by again tomorrow from some more inspiration featuring the Backyard Bugs set! :)
Wednesday, January 20, 2016
Backyard Bugs Hello Toadstool House with Marion
Hello! It's Marion here sharing two cards with you today. They are the same card, but I stepped up the second card and made it into a shaker card. Both cards use the newly released Backyard Bugs stamp set. The sentiment is from the Sunny Sentiments stamp set (also a new stamp set).
To start with, I partially diecut a circle (leaving the bottom section uncut). Next, I stamped the house and the flowers. I then took my pointy scissors and cut around the house and flowers, leaving the window. The images were coloured with Copic Markers and the grass was coloured with Prismacolor pencils and Gamsol. I sponged on some Salty Ocean distress ink onto the card base, and then popped up the front panel onto the card base with mounting foam.
Now to be honest, these cards were a labour of love! It took me about 5 tries to get it right, but I am glad that I persisted.
The second card uses exactly the same process as the first, except I adhered a piece acetate to the back of the front panel and created a well with the mounting foam to house the sequins.
Sunny Studio products used:
Which card is your favourite? Thanks for stopping by today,
Marion
Tuesday, January 19, 2016
Backyard Bugs Lovebug Card with Heidi
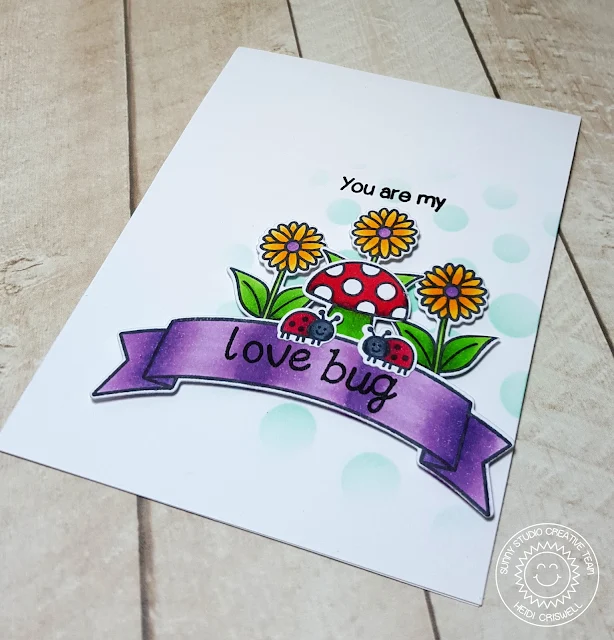
Hello everybody! It's Heidi here and I'm so happy to be back at the Sunny Studio Stamps blog! We have an amazing new release. Today I am sharing a card featuring the new Backyard Bugs Stamp and coordinated die set. There are so many cute images to combine for creating adorable cards for Spring time and all year 'round occasions.
For this card I used a circle stencil for the background, which I inked with a soft bluish green ink. I stamped, colored and die cut the flowers, the mushroom and the lady bugs. I also used the banner from the "Sunny Borders" stamp set, which I colored using purple Copic Markers.
I stamped the "you are my" sentiment from the Sunny Sentiments stamp set and then stamped the words "love bug" using the Sweet Script stamp set. This is a very easy to use alphabet set. I really like the font--it's a must have for customized sentiments.
Thanks so much for stopping by. We would love to see what you create using our stamps and dies! Have a lovely day!
Monday, January 18, 2016
Backyard Bugs Home Is Where The Heart Is Card by Melissa
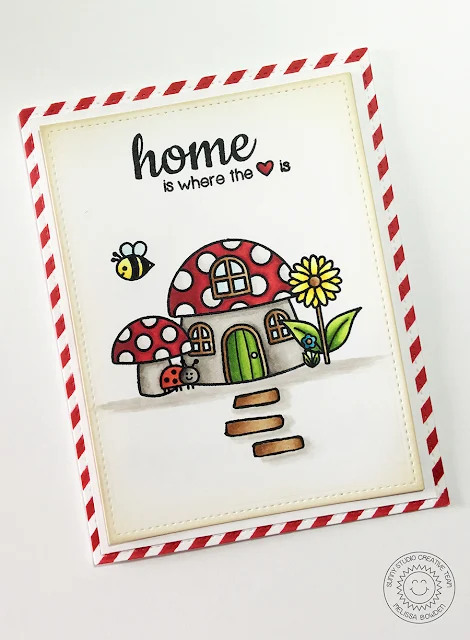
Hello everyone, Melissa here! Today I have a card to share using another one of the newly released stamp sets, Backyard Bugs. This set has a bunch of cute little bugs to make the sweetest outdoor springtime scenes . I absolutely LOVE it!
To make this card I first die cut a stitched rectangle out of white card and used a light brown ink to lightly blend the outside edge. After that I stamped the sentiment which is from the Happy Home stamp set. I wanted to do this first so I knew exactly how much room I had to fit my scene.
I then stamped and masked off the flowers, mushroom and lady bug before stamping the mushroom house. I also free-handed a little path leading up to the house with a Copic multi-liner. I then removed all of the masks and colored the images with Copic markers. To create the striped paper for the card base I used a stencil and some red distress ink.
I hope you enjoyed the card for today and that you love this stamp set as much as I do! Don’t forget to check back for more inspiration!
Subscribe to:
Comments (Atom)


