Monday, October 31, 2016

Gleeful Reindeer Moonlight Scene by Eloise

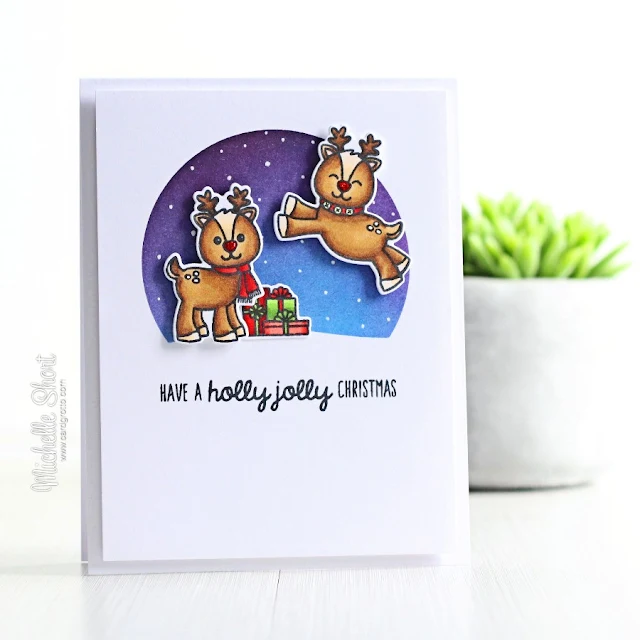
Hello everyone, Eloise here and today I'm here to show you a card using the Gleeful Reindeer set. These reindeers are so super adorable and I loved making this moonlight scene with them all on this card today. 

Sunny Studio Stamps: Gleeful Reindeer Moonlight Scene Holiday Christmas Card by Eloise Blue.

To begin my card today I stamped, coloured and die cut all my images out from the Gleeful Reindeer set. I then got to work on my background. I first die cut a circle out of some masking paper and put that down onto my watercolour cardstock to protect it, since it's going to be a moon later on. I used various colours of Distress Inks to create my night sky background. I then used the negative piece of the masking paper and protected the night sky, while I worked on the moon, I used Distress Inks for this too. Once my background was done I used some white mist, water and shimmer watercolour to splatter the background, to make it look more starry.


Sunny Studio Stamps: Gleeful Reindeer Moonlight Scene Holiday Christmas Card by Eloise Blue.

Once the background was all done and dry I could work on assembling my scene together. I die cut two snow hills - but you could just use your scissors to cut a border like this and then adhered those onto my scene. I then took all my previously coloured and cut images and arranged them on my scene too, using various adhesives. To finish up my card I white heat embossed my sentiment on some red cardstock and cut it to a banner strip, added my entire scene onto a black card base and then added a little wink of stella to my images too, this wink of stella I used was so juicy that it sort of spurted out everywhere on my images, but hopefully it looks okay!

I hope you enjoyed my card today and check back the rest of the week for more inspiration!

- Eloise

Sunny Studio Supplies Used:
  

Sunday, October 30, 2016

Guest Designer Spotlight: Christmas Cards with Kimberly Rendino

I'm so excited to welcome Kimberly Rendino to the blog today as our special guest.  She has some gorgeous cards that are going to knock your socks off!  Take it away Kimberly...

Hi there!  I’ve created three cards to share with you today using Holiday Style, Merry Sentiments and the coordinating dies!  

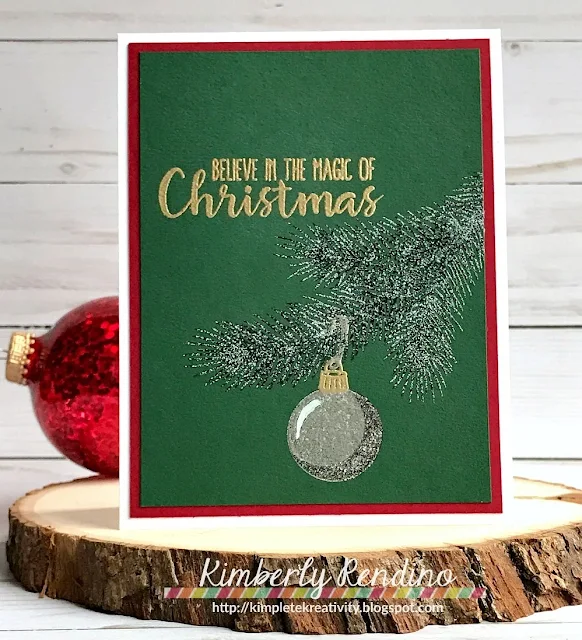
My first card is completely heat embossed!   To create the fun snowy effect on the pine bough, I mixed together a bit of clear and white embossing powder.   The shadow of the silver ornament was heat embossed with sparkle embossing powder.   


Sunny Studio Stamps: Holiday Style Christmas Card by guest Kimberly Rendino.

Sunny Studio Stamps: Holiday Style Christmas Card by guest Kimberly Rendino.

For my second card I used the pine bough from Holiday Style to create a wreath.   The little berries were stamped with the Autumn Splendor stamp set, and coated with Glossy Accents.   I added the white accent on top of the Glossy Accents with a paint pen!  


Sunny Studio Stamps: Holiday Style & Merry Sentiments Christmas Card by Kimberly Rendino.

Sunny Studio Stamps: Holiday Style & Merry Sentiments Christmas Card by Kimberly Rendino.

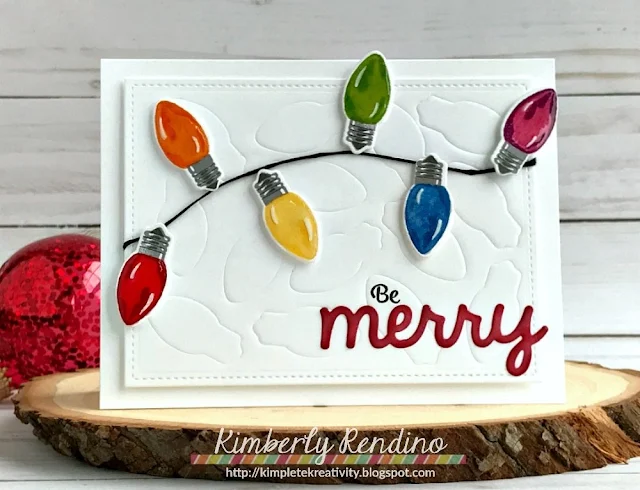
The third card showcases the fun light bulbs in the Merry Sentiments set.   I began by embossing the light bulb die into a piece of white cardstock repeatedly.   This is a great way to get more mileage from your dies!   I stamped and die cut a rainbow of light bulbs and coated them with Glossy Accents.   Once dry, I added them to a “cord” made of embroidery floss.   A coat of Wink of Stella glitter marker makes the ‘Merry’ sentiment sparkle.


Sunny Studio Stamps: Merry Sentiments String of Lights Christmas Card by Kimberly Rendino.

Sunny Studio Stamps: Merry Sentiments String of Lights Christmas Card by Kimberly Rendino.

Thanks so much, Mendi for having me as a guest today on the Sunny Studio blog!   I’ve enjoyed every minute of it!

Sunny Studio Supplies Used:
       

Saturday, October 29, 2016

Guest Designer Spotlight: Christmas Projects with Michelle Short


Hello there, Michelle here and I am super excited to be guest designing for Sunny Studio today. 

My first project uses the adorable Gleeful Reindeer stamp set and dies. I created a background piece using masking and Distress Inks and then added the reindeer on top with foam tape. Don’t they look like they are having fun in the snow? :)

Sunny Studio Stamps: Gleeful Reindeer Christmas Card by Michelle Short.

My second project uses the Christmas Icons stamp set, along with the Crescent Tag Topper dies. I love that you can completely customise your tags using the tag topper dies. For my tags, I used a combination of red and white cardstock, along with an acetate strip for an added bit of fun. The Christmas Icons add that cuteness to them!

Sunny Studio Stamps: Christmas Icons Holiday Gift Tags by Michelle Short.

Thank you so much to Sunny Studio for having me guest design with them. Have a great day!

Sunny Studio Supplies Used:
        

Thank YOU Michelle for sharing your wonderful talents with us.  I'm a HUGE fan!!! 

Michelle has created a fabulous video tutorial for the reindeer card which you can see at her YouTube channel HERE.


Friday, October 28, 2016

Merry Sentiments Bright Christmas Card by Lexa

Hello everyone! Lexa here today with a card starring Merry Sentiments stamp and it's coordinating dies. I love these Christmas light bulbs, they are so pretty when you stamp all the layers.

Sunny Studio Stamps: Merry Sentiments & Holiday Style Vintage Lights Border Christmas Card by Lexa Levana.

I started with a piece of 4.25"x 5.5" white cardstock, and stamped all the light bulbs on the edges. I think it will be more festive with a colorful light bulbs on your Christmas tree. I started with the lighter colors and layered them with the darker ones after. Have I mentioned the heart wire inside the bulbs? Oh, it is so super cute. I did the same thing for the bulb's base, start with a lighter grey and stamped the detail with a darker one. After I was happy with my bulb border, I die cut about eight pieces bulb's coordinating dies to mask some of them before I stamped the leaves from Holiday Style stamp. 

As for my sentiment I used silver embossing powder on black cardstock and layered it on top a piece of vellum. It makes the sentiment stand out from the background. Last but not least, I cut a piece of 4.5"x 5.75" silver glitter cardstock from Doodlebug for the card base.


Sunny Studio Stamps: Merry Sentiments & Holiday Style Vintage Lights Border Christmas Card by Lexa Levana.

I hope you enjoy today's card. Thank you so much for stopping by, wish you a wonderful day!

Sunny Studio Supplies Used:


Thursday, October 27, 2016

Bundled Up Cool Christmas Penguin Card with Vanessa

Hello! Vanessa here with a cute card using Bundled Up. This adorable penguin is so fun to play with! I didn't use any dies and did no fussy-cutting for this one.


Sunny Studio Stamps: Bundled Up Penguin Cool Christmas Card by Vanessa Menhorn.

Oh, ok, I had to fussy-cut masks! First, I stamped the hat and the scarf onto a panel of white cardstock. Then I masked them and stamped the penguin. I masked him, too and applied soft blue ink with an ink blending tool. Now I stamped the snowflakes with the same ink onto the inked area. After I had removed the masks, I colored the image with Copics and stamped the sentiment. I adhered a strip of plaid patterned paper to the right corner of the card and adhered the panel. 


Sunny Studio Stamps: Bundled Up Penguin Cool Christmas Card by Vanessa Menhorn.

This little guy makes me smile! I hope you like him, too! Thanks for stopping by today!

Vanessa

Sunny Studio Supplies Used:
   

Wednesday, October 26, 2016

Mug Hugs Warm Birthday Wishes Card With Lindsey

Hi!  Lindsey here today sharing a card featuring the fun new set Mug Hugs. I love coffee and hot chocolate, so the images in this set were right down my ally. I decided to pair this set with a sentiment from an older set, Bundled Up. I think they worked well together and made a super cute winter birthday card. Let's get started on how I created this card.

Sunny Studio Stamps: Mug Hugs Warm Birthday Wishes Hot Cocoa & Coffee Card by Lindsey Sams.

I began by cutting an A2 sized stitched rectangle out of some patterned paper that just worked perfectly with the Mug Hugs set. Next, I cut a smaller rectangle from some teal cardstock and added some stitching detail to the top and bottom of the rectangle. I stamped my sentiment from Bundled Up onto the teal rectangle using black ink. 

Then I stamped the Mug Hugs images onto some white cardstock and colored them using Copic markers. I used a white gel pen to add some accents and covered the mugs with Wink of Stella to make them shine. I attached the mugs to the teal rectangle using some foam tape. To finish the card off, I added a few adhesive pearls.

Sunny Studio Stamps: Mug Hugs Warm Birthday Wishes Hot Cocoa & Coffee Card by Lindsey Sams.

I hope you enjoyed my card and will check out this cute set for yourself. I know you'll have lots of ideas for this set, and I can't wait to see what you come up with. Thanks for reading and have a great day!

Sunny Studio Supplies Used:
    

Tuesday, October 25, 2016

Holiday Style Jingle Bell Cards with Emily

Sunny Studio Stamps: Holiday Style Believe in The Magic of Christmas Jingle Bell Card by Emily Leiphart.

I made a couple of cards using the Holiday Style stamp set and coordinating dies. This is a layering stamp set, which means you use three shades of inks to stamp layer the bells or balls and they look so realistic!! I love the versatility of this set, especially the pine branch. Wow!

Sunny Studio Stamps: Holiday Style Believe in The Magic of Christmas Jingle Bell Card by Emily Leiphart.

Here are a couple of close-ups of the layered bells and bows. They're so pretty! I used a shimmer pen on the bows to sparkle them up. Just look at how realistic those pine needles look with three shades of green ink!

Sunny Studio Stamps: Holiday Style Believe in The Magic of Christmas Jingle Bell Card by Emily Leiphart.

The hooks are actually longer than they appear on my card. I used masking paper to shorten them because I didn't want the bells hanging quite so low on these branches.  I also used washi tape to stamp the sentiments in different colours.

Sunny Studio Stamps: Holiday Style Believe in The Magic of Christmas Jingle Bell Card by Emily Leiphart.

Thanks so much for stopping by!

Sunny Studio Supplies Used:
  

Monday, October 24, 2016

Christmas Icons Snowmen Scene Card with Eloise

Hi everyone! Eloise here and today I'm gonna show how I made this fun Snowmen scene card. I combined a ton of sets today to make this card. As soon as I saw the little snowmen heads included in the Christmas Icons set I knew I wanted to somehow make them into full snowmen, so that's what I did today. The stamp sets I'm using today are Christmas Icons, Gleeful Reindeer, Birthday Smiles and Merry Sentiments, along with the Merry Word die also!

Sunny Studio Stamps: Christmas Icons Snowman Card by Eloise Blue (using Gleeful Reindeer, Merry Sentiments & Birthday Smiles).

To begin my card today I stamped out all my images. I used the Snowmen heads from the Christmas Icons set, I then used the outline balloon image from the Birthday Smiles set for the body. I also used the trees, sleigh strings and one of the little dots from the Gleeful Reindeer set. I used my Copic markers to colour in all the images and then once that was done I die cut them out using all the coordinating dies. 

Now I moved onto my background. I used various blue Distress Inks to create the background today, just ink blending the colours together. I also used my favourite water splotch technique to give the background a little more interest. I also then cut a snowy hill from some white cardstock too. I die cut into the background using a scalloped rectangle die and cut into the snowy hill piece I cut also, then adhered them together. I used liquid adhesive to adhere down the trees onto my scene and then used foam adhesive to put down my snowmen. I used the sleigh strings for the arms, the little open dots for the buttons or coal and used the balloons for the bodies of the snowmen, they worked out great!

Sunny Studio Stamps: Christmas Icons Snowman Card by Eloise Blue (using Gleeful Reindeer, Merry Sentiments & Birthday Smiles).

For the sentiments I decided to pull out my Merry Sentiments stamp set along with my new favourite Merry die and stamp in Versamark 'May your Christmas be' and then white heat embossed that onto the background and added the die cut Merry onto the background also. To finish it up I adhered my panel down with some fun foam onto a kraft card base and added a little double twine bow to the fold. To make it more Christmassy I added a little Wink of Stella to the hats and trees and that finished up my card today.

I hope you enjoyed and got inspired to look at your stamps a little differently. Check back the rest of the week for some more inspiration! :)

- Eloise

Sunny Studio Supplies Used: