Hey everyone! Eloise here today and I’m here to create a super fun window type card for today’s project. I really enjoyed all the stamp sets from this release, but honestly my personal favourite set from this release was the Island Getaway set. I loved that palm tree image so so much! Plus all the other elements in the set to make scenes, which is my thing, just make the set so amazing. So for todays card I’m going to be using the Island Getaway set along with the Comfy Creatures, Summer Picnic and Sending my Love stamp sets to create my card today. I’m also going to be pulling in the Fresh and Fruity Dies to create my windows in my card today also.
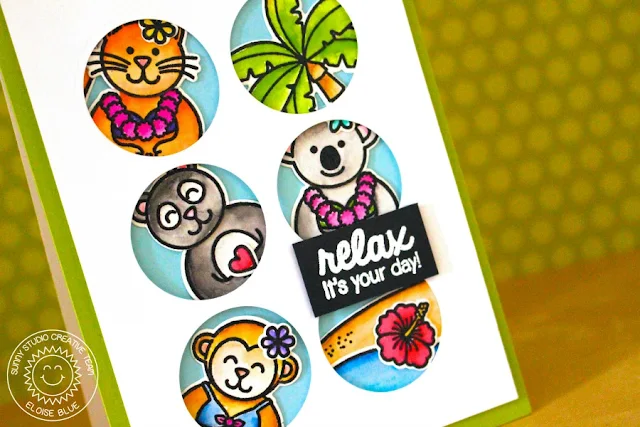
So to begin my card today I knew I wanted some images to peak out through some sort of windows. So I was digging through my stash to see if there was some simple shape die that I could use to make a repeating pattern to create some windows and I came across the die that cuts the orange slice in the Fresh and Fruity Die set and it was just a simple circle die – so I used this to create my windows today. I ruled up some guides just using a light hand and a pencil and make spots so the circle die could line up well and create the 6 circles I wanted. Once it was ruled up I ran my die through 6 times to create the pattern.
I now needed to pick out my images I wanted to use. So I used the tree, island, waves border, hibiscus flower and the monkey in the bathing suit from Island Getaway, the panda / koala head, tail and bodies in bathers from the Comfy Creatures set and the cat head from Sending my Love. I coloured all my images in using my Zig Clean Colour Markers once again and then die cut them all using the coordinating dies.
Now it was time to arrange my card together. I first placed a blue cardstock panel behind the window panel and drew around the circles to know where to put my images. I worked through one circle at a time positioning and cutting down the images to fit inside the circle so it doesn’t hang over into the above and below circles. I used all flat runner adhesive for this, as it was easier to keep it all flat.
To finish up my card, I first adhered a piece of green cardstock to my card base and then adhered the blue panel with all the images adhered to the green card base too. I then used some foam adhesive to adhere the window piece over the blue piece with the images and then I needed to figure out the sentiment. I pulled out my Summer Picnic stamp set and stamped ‘relax, it’s your day!’ in some Versamark ink on some black cardstock and heat embossed it in white. I lastly adhered the sentiment with some foam tape also to the window piece and that finished up my card.
I hope you enjoyed my window card today, I had a lot of fun making it and being able to use so many of those cute little animals that you can sort of dress up.
- Eloise
Sunny Studio Products Used:
- Island Getaway
- Island Getaway Dies
- Summer Picnic
- Comfy Creatures
- Comfy Creatures Dies
- Sending My Love
- Sending My Love Dies
- Wavy Borders Dies
- Fresh and Fruity Die
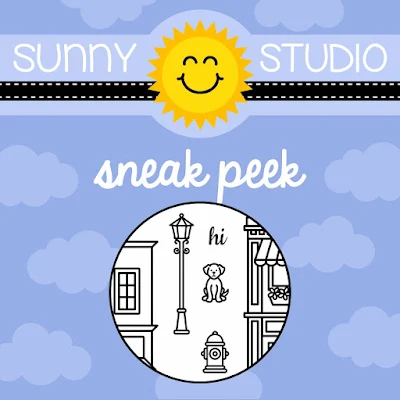
Before I go I have a quick sneak peek to share of one of four new stamp set being released on July 1st.
Make sure you stop by the blog this week to check out some more inspiration & sneak peeks!


