Friday, October 17, 2025

Distinctive Door & Wonderful Windows Christmas Home Card by Mendi

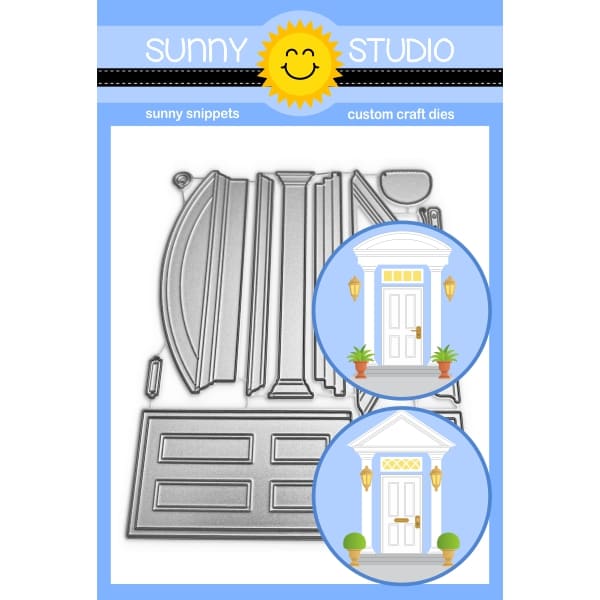
Hello and welcome! This is Mendi here today, popping in to share a house-themed Christmas card featuring our Distinctive Door Dies and Wonderful Windows Dies.

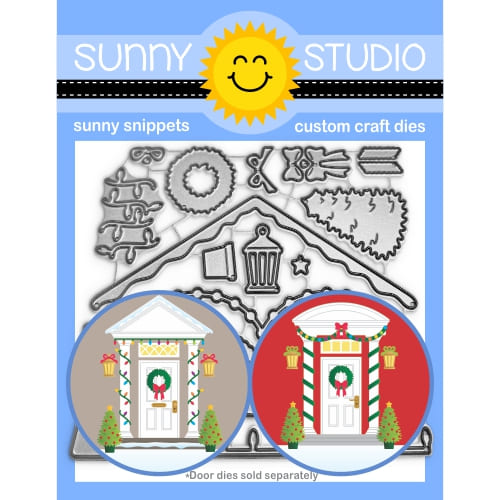
I enjoyed working with a larger 5x7-inch canvas for this Christmas card, which gave me plenty of space to create a beautiful holiday scene. In the summertime, deer visit daily and take their turns pressing their noses to our daylight basement window, so I loved the idea of adding the deer and cardinal visitors to the foreground using the Rustic Winter Dies. I decorated the porch with fir trees, wreaths, bows, and snow from the Distinctive Door Holiday Add-on Dies.

Sunny Studio Christmas House Holiday Card using Build-A-Greeting Clear Stamps, Distinctive Door, Wonderful Windows Craft Dies

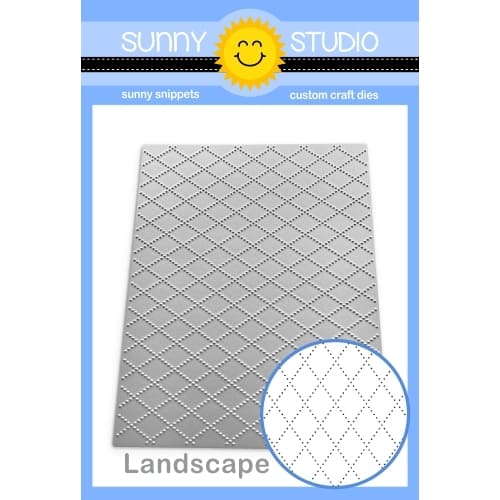
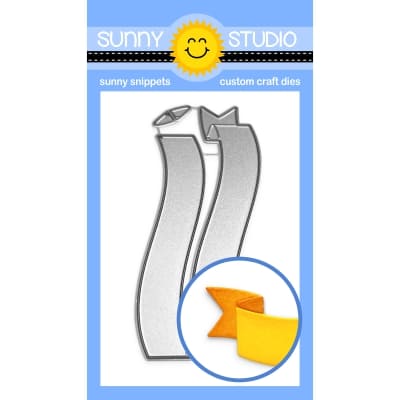
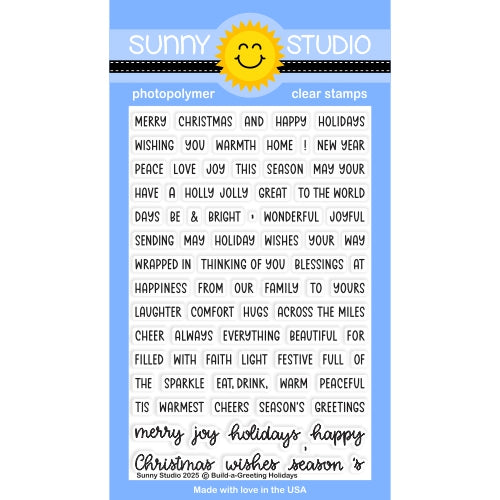
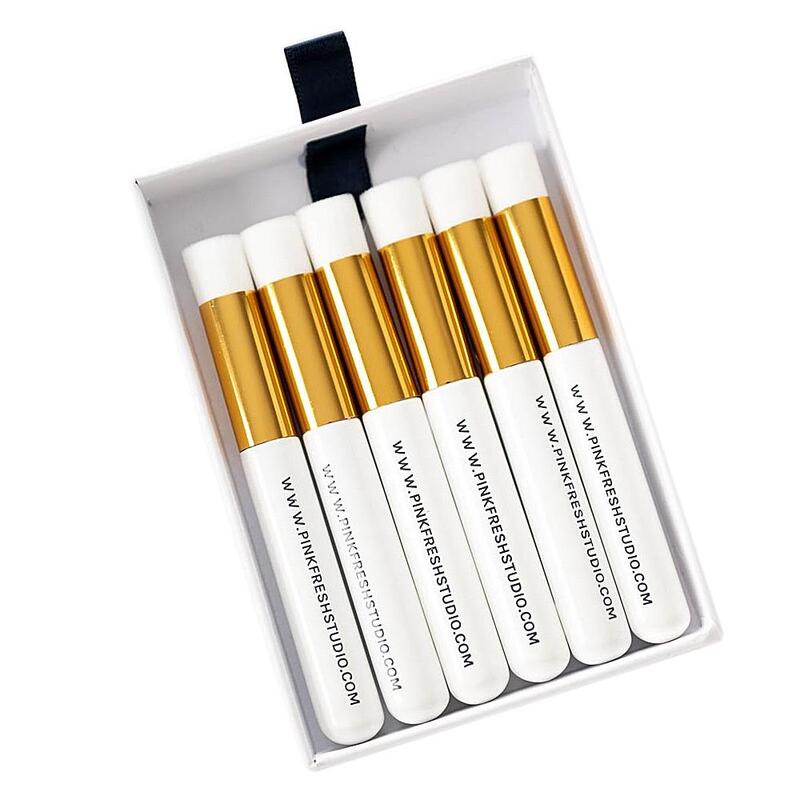
I altered the roof die from the Distinctive Door set to cut out the gable with my scissors and added the look of lap siding by scoring my cardstock every .25" using a scoring tool. I inked behind each lantern with Mustard Seed Distress ink with a PinkFresh Studio Blending Brush to give it the look that they are glowing. To add visual interest to my roof and provide the general idea of shingles, I cut two 3.5" wide x 1.5" high strips of grey cardstock and then "embossed" them with the Dotted Diamond Landscape Dies. I cut them into two separate strips to piece back together since the die is only 5.5" wide, and I thought it would be easier to line them up as two individual pieces than trying to line up the pattern on one long piece. I completed my card by heat-embossing a sentiment from the Build-a-Greeting Holidays Stamps onto a red banner using the Brilliant Banner 3 Dies.

Sunny Studio Christmas House Holiday Card using Build-A-Greeting Clear Stamps, Distinctive Door, Wonderful Windows Craft Dies

That wraps up my project for today. Thanks so much for hanging out with me. I hope I've inspired you to spread a little happiness by sending out a card to someone you love. ðŸ’›

Supplies Used: 

Distinctive Door Dies
Shop at:
Sunny Studio
Distinctive Door Holiday Add-on
Shop at:
Sunny Studio
Wonderful Windows Dies
Shop at:
Sunny Studio
Rustic Winter Dies
Rustic Winter Dies
Shop at:
Sunny Studio
Dotted Diamond Landscape
Shop at:
Sunny Studio
Brilliant Banner 3 Dies
Shop at:
Sunny Studio
Build-a-Greeting Holidays
Shop at:
Sunny Studio
PinkFresh Studio Blending Brushes
Shop at:
Sunny Studio
Hero Arts White Detail
Shop at:
Sunny Studio
VersaMark Watermark Ink
Shop at:
Sunny Studio
Zig Chisel Tip Glue Pen
Shop at:
Sunny Studio

Thursday, October 16, 2025

Reindeer Games Card with Marine

Hello crafty friends, Marine here, I'm so happy to be back with this cheerful shaker card showcasing Santa and the reindeers getting ready for the holiday season. As very often I picked images from different sets to create a nice and cute mix & match scene, and as always everything is listed down below.

Sunny Studio Stamps: Reindeer Games Winter Themed Christmas Card by Marine Simon (featuring North Pole, Rounded Rectangle Window Dies, Rounded Rectangle Mat Dies)

So, speaking of which, I started off by stamping my images on 110lb Neenah solar white cardstock using an alcohol marker friendly black ink. I used the coordinating dies to cut them all, and then colored everything using my Ohuhu markers and Graph'it brush markers. Here is a detailed list of the stamp sets I used: • North Pole - Santa, north pole sign, nice list • Reindeer Games - reindeers • Snowmen In Sweaters - trees, snowflakes • Santa Claus Lane - presents, sack.

I added highlights and details to the images with a white gel pen, applied white blizzard nuvo drops to the trees to make the snow on them sparkle, and then moved on to the shaker panel and cut all the pieces I needed to build it. First, I cut a Rounded Rectangle Mat panel out of an All Is Bright turquoise paper using the largest die from the set. 

Sunny Studio Stamps: Reindeer Games Winter Themed Christmas Card by Marine Simon (featuring North Pole, Rounded Rectangle Window Dies, Rounded Rectangle Mat Dies)

Next I picked the fourth smallest Rounded Rectangle Window die and cut two openings out of my turquoise panel. And using that same fourth smallest die again, I cut two panels out of white cardstock and cut a wavy border out of each of those white panels to create two snowy borders. For the background of my shaker, I used the largest Rounded Rectangle Mat die again to cut a Joyful Holiday polka dot panel.

Before assembling my shaker panel, I added texture to the different pieces. I mixed copic opaque white ink with water and used a slim brush to add white splatters to the turquoise panel and to the polka dot panel, I mixed liquid stardust with water and added sparkling splatters to the snowy borders, and when my turquoise panel was dry, I stamped "Have a super jolly Christmas" from Reindeer Games at the very bottom using black ink.

Sunny Studio Stamps: Reindeer Games Winter Themed Christmas Card by Marine Simon (featuring North Pole, Rounded Rectangle Window Dies, Rounded Rectangle Mat Dies)

I attached a piece of acetate at the back of my turquoise panel using liquid glue, and still at the back of my panel, I attached foam strips around each opening and on the rest of the panel as well. I poured twenty White Snowflake confetti inside each opening and tiny clear crystal pieces as well, peeled all the backing papers off the foam strips, and then attached my polka dot panel to totally close my shaker panel. Back to the front of my panel, I stuck a snowy border at the bottom of each opening using liquid glue, attached my shaker panel to a 5,5 x 4,25 inches white panel and then to a white card base. Next I finally attached my images using 1mm and 2mm foam squares. 

And that's it! I hope that you like this lovely holiday shaker card! Thanks so much for stopping by, and see you next week!

Sunny Studio Supplies Used:

Santa Claus Lane Stamps
Shop at:
Sunny Studio
Santa Claus Lane Dies
Shop at:
Sunny Studio
North Pole Stamps
North Pole Stamps
Shop at:
Sunny Studio
North Pole Dies
North Pole Dies
Shop at:
Sunny Studio
All Is Bright Paper
All Is Bright Paper
Shop at:
Sunny Studio
Reindeer Games Stamps
Shop at:
Sunny Studio
Reindeer Games Dies
Reindeer Games Dies
Shop at:
Sunny Studio
Joyful Holiday Paper
Shop at:
Sunny Studio
Snowmen in Sweaters Stamps
Shop at:
Sunny Studio
Snowmen in Sweaters Dies
Shop at:
Sunny Studio
Rounded Rectangle Mat Dies
Shop at:
Sunny Studio
Rounded Rectangle Window Dies
Shop at:
Sunny Studio

Wednesday, October 15, 2025

Happy Owlidays Card with Tina

Hello crafters, it’s Tina with another idea for a cute Christmas card! Today we are creating a holiday wreath with the adorable Happy Owlidays stamp and die set. I have always been a fan of cute owls and this set has three of them! If you would like to make multiples of this design you can switch out the owl for some variation!

Sunny Studio Stamps: Happy Owlidays Christmas Card by Tina Henkens (featuring Rounded Rectangle Mat Dies, Cable Knit Embossing Folder, Holiday Greetings, Circle Snowflake Frame Dies)

This project was made with red, pink and teal colors, such a festive color combo in my opinion. After creating a simple white card base, I cut a teal background panel from the Striped Silly pack with the outer die from the Rounded Rectangle Mat set. While I had these dies out, I used the second largest one to create a white panel.

To add extra interest and dimension, I ran both panels through my die cutting machine using the Cable Knit embossing folder. This folder is perfect for all your winter cards! I glued both panels to the white card base with liquid glue.

Next, I stamped one of the cute owls and the wreath from the Happy Owlidays stamp set. The Santa hat was taken from Alpaca Holiday. I had fun coloring these images with my Copics. As always on my Christmas cards, I added a lot of snow with a white gel pen.

Sunny Studio Stamps: Happy Owlidays Christmas Card by Tina Henkens (featuring Rounded Rectangle Mat Dies, Cable Knit Embossing Folder, Holiday Greetings, Circle Snowflake Frame Dies)

The beautiful large Merry Christmas sentiment (Holiday Greetings) was stamped with a red ink from my stash. It was the perfect fit for this design!

After mounting the wreath and sentiment to the panel with foam tape, I selected a few snowflakes made with the Snowflake Circle Frame die which is an absolute must have for your holiday projects. So easy to create a bunch of snowflakes in one pass through the machine! Lastly, I embellished the card by adding a Red Zircon Jewel to the center of each snowflake.

I can’t wait to see your ideas for these fun products! Thank you for joining me and happy crafting!

Sunny Studio Supplies Used:

Striped Silly 6x6 Paper
Shop at:
Sunny Studio
Cable Knit Embossing
Shop at:
Sunny Studio
Alpaca Holiday Stamps
Shop at:
Sunny Studio
Alpaca Holiday Dies
Alpaca Holiday Dies
Shop at:
Sunny Studio
Happy Owlidays Stamps
Shop at:
Sunny Studio
Happy Owlidays Dies
Happy Owlidays Dies
Shop at:
Sunny Studio
Snowflake Circle Frame
Shop at:
Sunny Studio
Holiday Greetings Stamps
Shop at:
Sunny Studio
Holiday Greetings Dies
Shop at:
Sunny Studio
Rounded Rectangle Mat Dies
Shop at:
Sunny Studio

Tuesday, October 14, 2025

Happy Owlidays Card with Amanda

Hey friends, Amanda here! Happy Tuesday to you! Are you so excited seeing all the winter and holiday cards from the designers?! It’s hard to believe we’re so close to the holidays, but it’ll be here before know it! Today, I am sharing a card that is sure to make anyone’s Christmas special! My card features the Happy Owlidays Stamps and the All is Bright Paper.

Sunny Studio Stamps: Happy Owlidays Christmas Card by Amanda Fitterer

To create this card, I trimmed the striped paper down to 6” x 3.5”.  I trimmed the pink plaid paper to 5.5” x 3” and then glued them together. Then, I glued them to a card base. Using my MISTI, I stamped out the 3 owls and 3 wreaths on white cardstock. I colored the images in with my Copic markers.

The colors I used were:
E40, E41, E42, E43, E44, E47
W5, W7
BG11, BG15, BG45, BG49
R46
RV17, RV52, RV55
YG00, YG06, YG09

Sunny Studio Stamps: Happy Owlidays Christmas Card by Amanda Fitterer

Then, I added a few highlights with a white Gelly Roll pen.  I cut the images out using the 
coordinating dies. I put 3D foam squares behind all of the images. For the owl and wreath in the center, I added a 2nd layer of foam squares so that it sits up higher than the ones on each side. I placed them on the card, leaving room for my sentiment below.

I stamped my sentiment on a strip of white cardstock and then trimmed it down to fit. I used my scissors to cut the ends into banners edges. I layered 2 foam strips behind the sentiment and then added it to the front of the card.

I just love the bright and happy colors of the 
All is Bright Paper, don’t you?! I think it makes this card stand out! I hope you enjoyed this card and I hope you come back tomorrow for more crafty inspiration!

Sunny Studio Supplies Used:

Happy Owlidays Stamps
Shop at:
Sunny Studio
Happy Owlidays Dies
Happy Owlidays Dies
Shop at:
Sunny Studio
All Is Bright Paper
All Is Bright Paper
Shop at:
Sunny Studio

Monday, October 13, 2025

Bells & Baubles Christmas Cards with Mendi

Hello and welcome! This is Mendi here today, popping in to share some Christmas cards featuring our Bells & Baubles Stamps.

Sunny Studio Christmas Ornament Cards using Bells & Baubles, Holiday & Season's Greetings Stamps, and Stitched Rectangle Dies

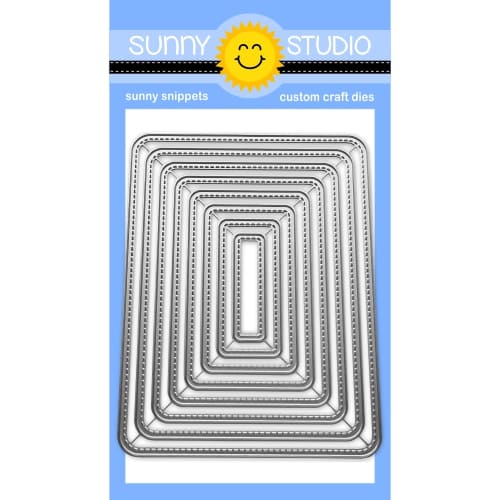
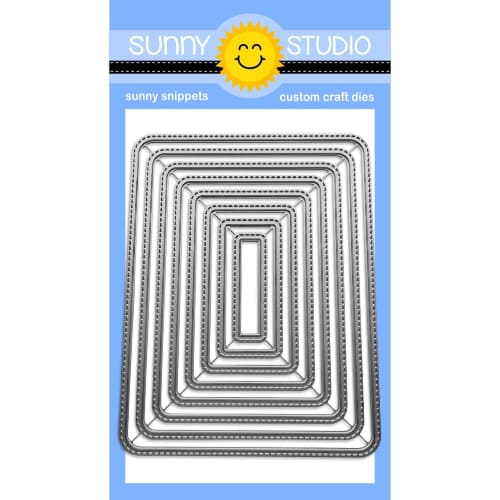
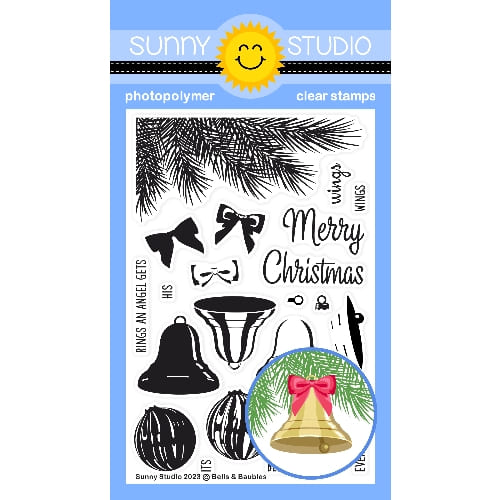
I started by creating the backgrounds in two different tone-on-tone color schemes for both of my cards today. For this card, I used Neenah Desert Storm Kraft cardstock, which I darkened around the edges using a light touch of Vintage Photo Distress ink. I then layered it with a second piece of kraft cardstock, which I had die-cut using our Stitched Rectangle Dies. I then stamped the fir tree branch from the Bells & Baubles Stamps in opposing corners using Gina K. Kraft Ink.

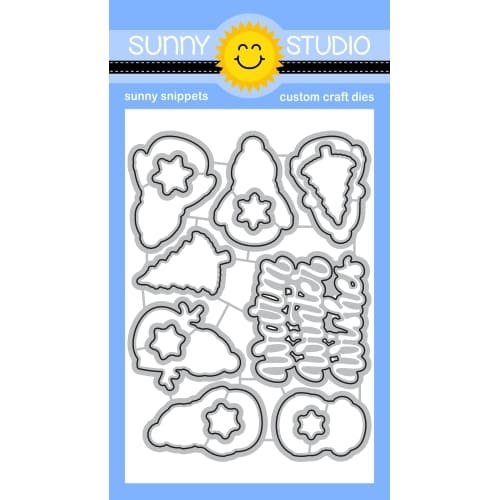
To embellish this particular card, I added three layered vintage glass ornament baubles in red, blue, and hot pink, stringing them with gold thread, which I taped to the back of each die-cut before adhering them with liquid adhesive. I then wrapped the threads tightly around the back of my Kraft card panel before taping them down. This set comes with a darling bow stamp image, which I had considered adding to the top of each ornament. Unfortunately, I only had one pre-stamped one in red, so I pulled out some 3/8" wide organza ribbon in each color to tie a bow and adhere with more liquid adhesive. For my "Happy Holidays" sentiment, I heat embossed the phrase from the Holiday Greetings Stamps and then added beneath it "from our family to yours" from the Inside Greetings Holidays Stamps onto a red pennant strip from the Notebook Photo Corners Dies.

Red Ornament ink colors used:
Hot Pink Ornament ink colors used:
Ornament Bauble Hanger: Hero Arts Caramel

Sunny Studio Christmas Ornament Card using Bells & Baubles & Holiday Greetings Clear Stamps and Stitched Rectangle Craft Dies

For my second card, I started it the same way as my first card, with all the same elements for the background, but this time I turned my card for a horizontal landscape orientation, and went with an olive green tone-on-tone look using PinkFresh Studio Olive Ink. For my greeting, I heat-embossed a sentiment with silver embossing powder from our Season's Greetings Stamps, accentuating the smaller "Season's" word by putting it onto a shortened red pennant strip from the 
Notebook Photo Corners Dies. I embellished my card with two layered silver bells, topped with a red bow, from the Bells & Baubles Stamps and some green sprigs from the same Season's Greetings Stamps and the coordinating Season's Greetings Dies (which are currently only $1 in our online shop).

Sunny Studio Silver Bell Christmas Card using Bells & Baubles & Season's Greetings Clear Stamps, and Stitched Rectangle Dies

Here's a better photo taken at an angle to show how beautifully the silver embossing powder used for the greeting catches the light and plays off the "Silver Bells" theme.


Sunny Studio Silver Bell Christmas Card using Bells & Baubles & Season's Greetings Clear Stamps, and Stitched Rectangle Dies

That wraps up my projects for today. Thanks so much for hanging out with me. I hope I've inspired you to spread a little happiness by sending out a card to someone you love. ðŸ’›

Don't forget to check out the Season's Greetings StampsSeason's Greetings Dies, and Season's Greetings Word Dies in our online shop, which are all currently on sale!

Also, please check out all the card ideas using these sets on each of their product pages. I always make sure to upload tons of card ideas following the product image so there are lots of ideas to scroll through there organized by set.

Supplies Used:

Bells & Baubles Stamps
Shop at:
Sunny Studio
Bells & Baubles Dies
Shop at:
Sunny Studio
Holiday Greetings Stamps
Shop at:
Sunny Studio
Holiday Greetings Dies
Shop at:
Sunny Studio
Stitched Rectangle Dies
Shop at:
Sunny Studio
Season's Greetings Stamps
Shop at:
Sunny Studio
Season's Greetings Dies
Shop at:
Sunny Studio
Season's Greetings Word Dies
Shop at:
Sunny Studio
Inside Greetings-Holidays
Shop at:
Sunny Studio
Notebook Photo Corners Dies
Shop at:
Sunny Studio
Hero Arts White Detail
Shop at:
Sunny Studio
VersaMark Watermark Ink
Shop at:
Sunny Studio
PinkFresh Over The Hills Ink
Shop at:
Sunny Studio