Saturday, December 12, 2020

Sledding Critters and Classy Christmas Cards with Juliana

Hello Sunny Studio friends! It's Juliana and today I'm here to share a couple of Christmas cards that use some of my favorite stamp sets released by Sunny Studio as part of their Winter Release.

Sunny Studio Stamps: Sledding Critters Classy Christmas Winter Themed Christmas Card by Juliana Michaels

This first card is a lift of a shaker card design I created last year using the Santa Claus Lane Stamp Set. This year, I filled the shaker with the adorable Sledding Critters Stamp Set. I just love how the sleigh is filled with some of Sunny Studios favorite critters! I stamped the image, colored it with Copic Markers and die cut it using the coordinating die set. 

Sunny Studio Stamps: Sledding Critters Classy Christmas Winter Themed Christmas Card by Juliana Michaels

You can check out all the details on how I created the shaker part of this card in the Santa Claus Lane Cards blog post.  I then finished off the card with sentiment from the Sledding Critters Stamp Set which I heat embossed with white embossing powder.

Sunny Studio Stamps: Classy Christmas Snowflake Circle Frame Dies Christmas Card by Juliana Michaels

For my second card I created a more clean and simple design featuring the Classy Christmas Stamp Set. I stamped and colored the images using Copic Markers and die cut them using the coordinating stamp set.

Sunny Studio Stamps: Classy Christmas Snowflake Circle Frame Dies Christmas Card by Juliana Michaels

For the wreath, I die cut the loopy circle frame from the the Snowflake Circle Frame Die twice from kraft cardstock. I then layered on the die cut images from the Classy Christmas Stamp Set using double sided foam adhesive to pop up some of the layers. I finished off the card by stamping the sentiment on a white cardstock panel die cut using the stitched frame from the Frilly Frames Herringbone Die.

Thanks so much for stopping by today and I hope you enjoyed learning how these cards came together using the Sledding Critters Stamp Set and Classy Christmas Stamp Set.

Sunny Studio Supplies Used:

Snowflake Circle Frame
Shop at:
Sunny Studio
Frilly Frames Herringbone
Shop at:
Sunny Studio
Classy Christmas Stamps
Shop at:
Sunny Studio
Classy Christmas Dies
Shop at:
Sunny Studio
Scaredy Cat Dies
Scaredy Cat Dies
Shop at:
Sunny Studio
Sledding Critters Dies
Shop at:
Sunny Studio

Friday, December 11, 2020

Sledding Critters Cards and Video Tutorial with Franci and Candice

Hi there and happy Wednesday! It's Franci here with you today, with an interactive Christmas card showcasing the Sledding Critters set.

Sunny Studio Stamps: Sledding Critters Sliding Window Dies Winter Themed Holiday Card by Franci Vignoli

Aww look at all those cuties dashing through the snow with their Christmas presents! This set is so cute and I love all the critters together in the sled: you can find a seal, a penguin, a dog and many more.

I thought this set was perfect for an interactive card since being a sled and I chose to make a sliding window one - but I have so many more ideas!

Sunny Studio Stamps: Sledding Critters Sliding Window Dies Winter Themed Holiday Card by Franci Vignoli

I'd love to create a pull tab one that reveals a sentiment maybe or just one that makes the sled go back and forth ... you can definitely create so many cute winter scene with it.

These are all the Sunny Studio Stamps products I used to create my card today: 
Sledding Critters set + coordinated dies 
Sliding Window Dies
Dots & Stripes Jewel Tones 6x6 paper
Woodland Borders die

Please take a look at how I created it below and enjoy! 


Thanks a lot for stopping by and have a lovely day.

---------------------------------------------------

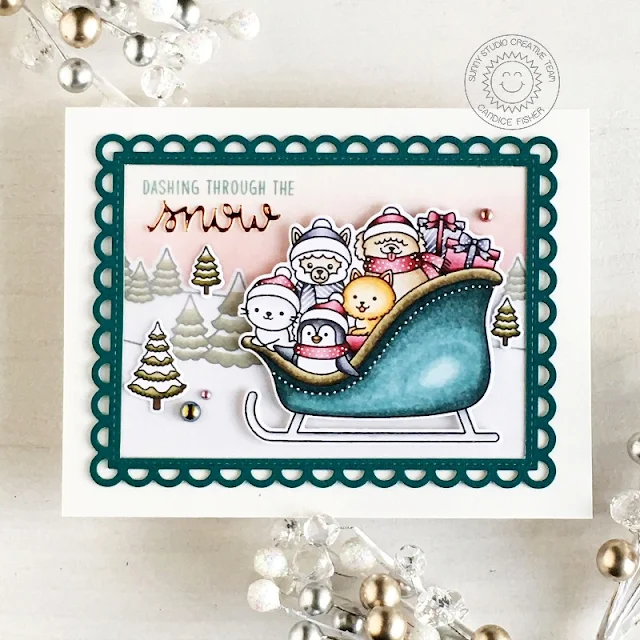
Hello everyone, it's Candice here with you! Today these cuties are dashing through the snow in their sleigh!

Sunny Studio Stamps: Sledding Critters Frilly Frame Dies Winter Scenes Winter Themed Holiday Card by Candice Fisher

I used these Sunny Studio products to create my scene:

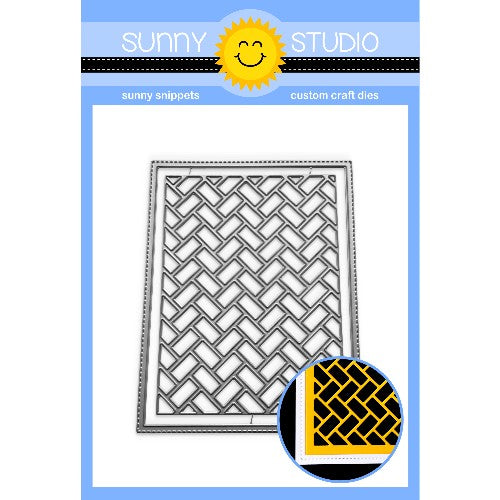
For my background, I first made the frame by die cutting the lattice and using my trimmer to cut out the center. I then adhered a piece of vellum behind it using scor-tape on the frame edges. I trimmed a piece of Bristol Smooth to fit behind the frame, inked it with aged mahogany and victorian velvet and stamped the sentiment along the top.

Sunny Studio Stamps: Sledding Critters Frilly Frame Dies Winter Scenes Winter Themed Holiday Card by Candice Fisher

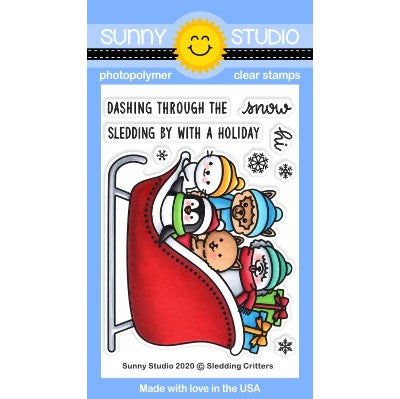
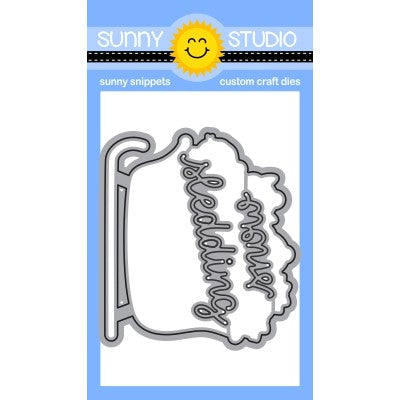
Next, I stamped the sledding crittersbackground tree line and trees, colored them with copic markers and used the coordinating dies to cut them out. I used a white pen to add details to the images. I glued the background tree line to the inked panel and adhered the frame over it. I then used foam tape to add the images and finished with the snow sentiment cut from copper foil paper and some iridescent pearls!

Thank you for stopping by today!

Sunny Studio Supplies Used:

Dots & Stripes Jewel Tones 6x6 Paper
Shop at:
Sunny Studio
Sliding Window Dies
Sliding Window Dies
Shop at:
Sunny Studio
Woodland Borders Dies
Shop at:
Sunny Studio
Frilly Frames Lattice Dies
Shop at:
Sunny Studio
Scenic Route Stamps
Scenic Route Stamps
Shop at:
Sunny Studio
Scenic Route Dies
Scenic Route Dies
Shop at:
Sunny Studio
Scaredy Cat Dies
Scaredy Cat Dies
Shop at:
Sunny Studio
Sledding Critters Dies
Shop at:
Sunny Studio
Winter Scenes Stamps
Shop at:
Sunny Studio
Winter Scenes Dies
Winter Scenes Dies
Shop at:
Sunny Studio

Thursday, December 10, 2020

Surfing Santa Cards with Vanessa and Anja

Hello to you! Vanessa here with a colorful card using the adorable Surfing Santa set. This cute little set is such fun!

Sunny Studio Stamps: Surfing Santa Stitched Arch Dies Tropical Themed Christmas Card by Vanessa Menhorn

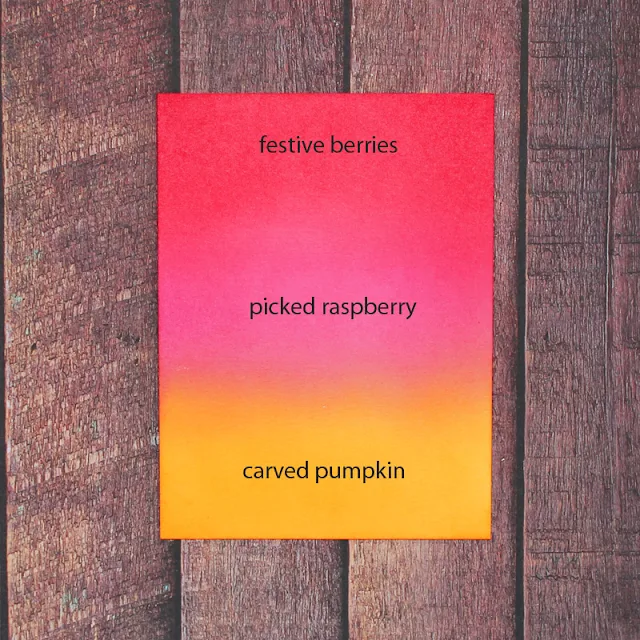
I first inked a panel of white cardstock with Distress Oxide Inks and an ink blending tool, using these colors:

Sunny Studio Stamps: Surfing Santa Stitched Arch Dies Tropical Themed Christmas Card by Vanessa Menhorn

Now I die-cut the mason jar from this panel and adhered a piece of clear cardstock behind it, created a shaker window and filled it with faux ice crystals. Then I stamped the images, colored the Santa and his board with Copic markers, die-cut the elements with the matching dies, adhered the images to the die-cut mason jar and adhered this behind the shaker window before adhering the panel to the card base. I die-cut the lid of the jar from white cardstock, inked it with black soot Distress Oxide Ink, tied-on the baker's twine and adhered the lid to the jar. 

Stamps and dies used for this card:
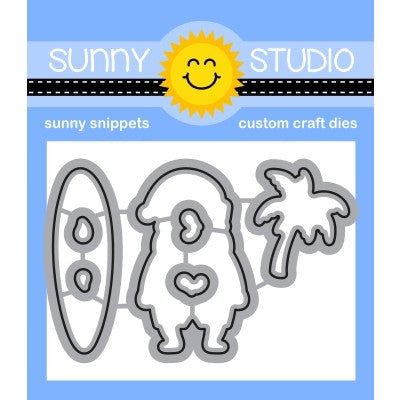
Surfing Santa stamps + dies
Vintage Jar dies
Stitched Arch dies

Sunny Studio Stamps: Surfing Santa Stitched Arch Dies Tropical Themed Christmas Card by Vanessa Menhorn

I die-cut the tag from white cardstock, inked it with festive berries Distress Oxide ink, stamped the sentiment and tied it on with the baker's twine. Finally I added the little trees.

We got our first snow this week so it felt strange to create a summery Christmas card. But I loved playing with this set and hope you like my take :) Thanks for visiting!

---------------------------------------------

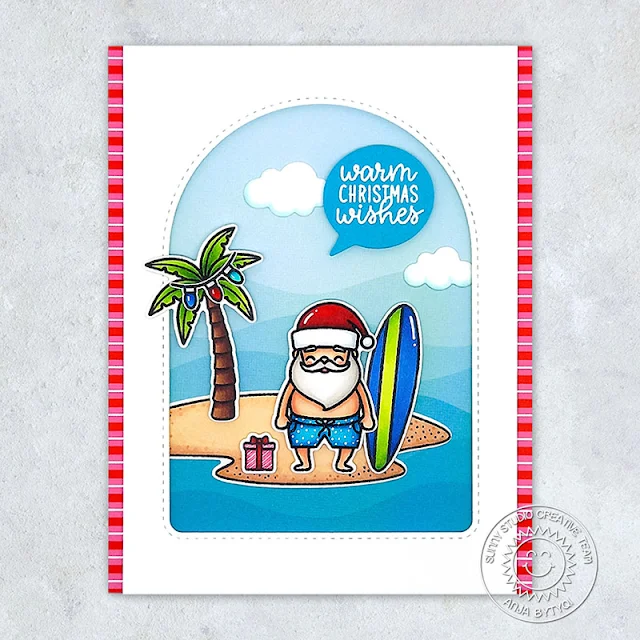
Hello everyone, Anja here and today's card makes me giggle! It features the Surfing Santa mini stamp set and I just love this cutie in his swim trunks!

Sunny Studio Stamps: Surfing Santa Stitched Arch Dies Tropical Scenes Tropical Themed Christmas Card by Anja Bytyqi

Of course I had to create a fun little ocean scene using the palm tree and sandy island from the Tropical Scenes set. For the background, I picked the waves patterned paper from the Summer Splash Paper pack. I added some light bulbs (Gleeful Reindeer Stamps) to the palm tree and a small gift (North Pole Stamps) next to Santa. The clouds are included in the Comic Strip Everyday Dies set.

I stamped the images in Memento Tuxedo Black Ink and colored them with Copic Markers. I used the coordinating dies to cut everything out and added some details with a white gelly roll pen. To frame my scene, I die cut a window from white cardstock using the largest of the Stitched Arch Dies. I trimmed off the sides a bit and adhered the striped paper from the Holiday Cheer Paper pack behind it.

Sunny Studio Stamps: Surfing Santa Stitched Arch Dies Tropical Scenes Tropical Themed Christmas Card by Anja Bytyqi

The sentiment was stamped in VersaMark Ink onto blue cardstock. I white heat embossed it and used a speech bubble die from the Comic Strip Speech Bubbles Dies set. Finally, I popped up the arch frame panel as well as some of the images with foam tape. The rest was adhered flat with liquid glue.

Thank you so much for stopping by! Hope you're having an awesome day!

Sunny Studio Supplies Used:

Gleeful Reindeer Dies
Shop at:
Sunny Studio
Gleeful Reindeer Stamps
Shop at:
Sunny Studio
Vintage Jar Dies
Vintage Jar Dies
Shop at:
Sunny Studio
Comic Strip Everyday Dies
Shop at:
Sunny Studio
Holiday Cheer 6x6 Paper
Shop at:
Sunny Studio
Summer Splash 6x6 Paper
Shop at:
Sunny Studio
Comic Strip Speech Bubble Dies
Shop at:
Sunny Studio
Tropical Scenes Stamps
Shop at:
Sunny Studio
Tropical Scenes Dies
Shop at:
Sunny Studio
Stitched Arch Dies
Stitched Arch Dies
Shop at:
Sunny Studio
North Pole Stamps
North Pole Stamps
Shop at:
Sunny Studio
North Pole Dies
North Pole Dies
Shop at:
Sunny Studio
Surfing Santa Stamps
Shop at:
Sunny Studio
Surfing Santa Dies
Surfing Santa Dies
Shop at:
Sunny Studio

Wednesday, December 9, 2020

Classy Christmas Cards and Video Tutorial with Ana and Christy

Hi friends and happy Wednesday! It’s Ana today with a festive Christmas card showcasing gorgeous Classy Christmas stamps and coordinating dies!

Sunny Studio Stamps: Classy Christmas Season's Greetings Frilly Frame Dies Christmas Card by Ana Anderson

I started by stamping the images from Classy Christmas set, colored them with Copic markers and cut them with coordinating dies. Next, I stamped the Merry Christmas sentiment in red ink and cut them with coordinating dies (from Season’s Greetings stamp set and coordinating die set).

I really wanted to keep the background white, but wanted to add some interest so I used Botanical Backdrop die to emboss the leaves on the background.

Sunny Studio Stamps: Classy Christmas Season's Greetings Frilly Frame Dies Christmas Card by Ana Anderson

I adhered the sentiments first, then arranged the images in corners. Once I had them all in place, I used liquid glue and foam tape to adhere them to the background. For finishing touches I added highlights and accents with white and gold gel pens, and added few White Pearls to embellish.

Isn’t this stamp set so beautiful!? I love the way those poinsettias, leaves and berries stand out on the white background!

----------------------------------------------

Hey friends, it's Christy here with a card featuring our beautiful Classy Christmas stamp set. I stamped all the images that I wanted to color in black ink and then colored them with my Copic markers. The pine boughs I stamped in a sage green ink, and then I cut out all the images with the matching dies.

Sunny Studio Stamps: Classy Christmas Frilly Frame Dies Fancy Frame Dies Christmas Card by Christy Reuling

I wanted to make a shaker card, so I die cut the Frilly Frames Lattice out of dark gray cardstock, then lined the back with acetate. I popped that up on foam tape over the same color card base, after filling the inside with sequins and stars in coordinating colors.

Sunny Studio Stamps: Classy Christmas Frilly Frame Dies Fancy Frame Dies Christmas Card by Christy Reuling

For my sentiment, I heat embossed the word "noel" on the same color cardstock in Platinum embossing powder, and then trimmed it out with a flag banner die from Fancy Frames Rectangle. I layered my images along the left side of the card and tucked my sentiment inside the cluster so it extended over to the right side. Then I finished off the card with some Stickles glitter glue for some added bling.

If you'd like to see how this card came together, you can check out the video tutorial below: 


Sunny Studio Supplies Used:

Fancy Frames- Rectangles
Shop at:
Sunny Studio
Botanical Backdrop Die
Shop at:
Sunny Studio
Frilly Frames Lattice Dies
Shop at:
Sunny Studio
Season's Greetings Stamps
Shop at:
Sunny Studio
Season's Greetings Dies
Shop at:
Sunny Studio
Classy Christmas Stamps
Shop at:
Sunny Studio
Classy Christmas Dies
Shop at:
Sunny Studio