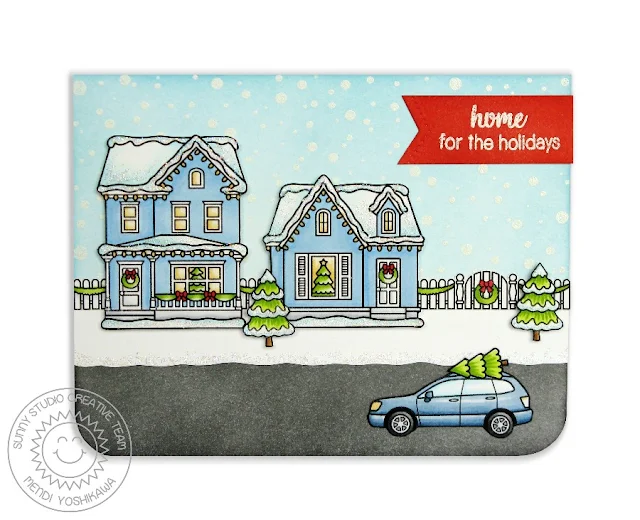
Card No. 1: For my first card I wanted to experiment with the beautiful snowy glow of a scene at twilight. For my background, I started by stamping my fence and then masked it off before inking on some Lawn Fawn Butter ink, followed by Spun Sugar, Tumbled Glass and Shaded Lilac distress inks. I then remove the masks and filled in the small spaces around my fence posts using a copic marker to match the inking. To add a little interest to my scene, I popped up center on a stitched die-cut frame and I love the results!
Card No. 2: For this card our new mini Christmas Chapel stamps take center stage. My church windows were colored with my Copic markers to create the appearance of lights turned on inside. I wanted to cast that same glow to the sky the little chapel by inking the surrounding background with more of the Lawn Fawn Butter ink. Next I stamped my sentiment in Verafine Black Onyx ink using our new Festive Greetings set. I really wanted it to fit my vertical space though so I carefully cut the sentiment apart to stack together in this new way. ;)
I cut two slopes from white cardstock and stamped my entire background with our new Frosty Flurries stamps and heat embossed the flakes with a clear glittery embossing powder, making sure to wipe off my stamp around my sentiment. I then added liquid applique sprinkled with clear glitter to the edges of my slopes. For those not familiar, this product dries and puff up to look like snow when heated with a heat gun.
As a final finishing touch I stamped the tree branches from Holiday Style to put in the foreground. I then quickly fussy cut the edge and inked up the the spaces between with Tumbled Glass distress ink to match my sky. :)
Card No. 3: For my next card I was inspired by a customer's gorgeous card using our Happy Home set which was shared HERE. I loved the idea of creating a colored focal point! I used my MISTI tool to stamp portions of my scene twice so that I could simply punch out the circle, color the scene and add it over the top of the B&W portion. I then used my W1 and W0 Copic Markers to add some simple shading to the monochromatic portions of my scene.
Card No. 4: For this card I used our Sunny Semi Circle Dies to create an arched frame around my Christmas Chapel. I inked up my sky using Salty Ocean, Blueprint Sketch, and Chipped Sapphire distress inks. When they were really dry, I randomly stamped and heat embossed the three little stars from the set, adding Diamond Stickles to some of the larger ones. My sentiment stamped on the banner from our Sunny Borders stamp set completes my card.
Card No. 5: For this last card I just really wanted to create a scene with cool tones and small pops of red. I stamped my snowy background using our Frosty Flurries stamps and then added Stardust Stickles to my snowy portions on the trees and house rooftops for a bit of sparkle.
Card No. 6: For my last card I created a little gift enclosure for a small card to include with some baked goodies for our neighbors at the holidays. I paired the Christmas Home images with a darling 3-3/4" x 3-3/4" scalloped card die set by Papertrey Ink (found here). When I was done I slipped some chiffon ribbon through one of the holes so that it can be tied onto the gift.
I hope you've enjoyed today's look at the Christmas Home and Christmas Chapel stamps and dies. Here's a full look at the new sets that will start shipping on July 29th. As part of our second birthday festivities this week, you can reserve yours today in our store HERE. Plus use the promo code CELEBRATE to save 15%!
 City Streets Stamps Shop at: Sunny Studio |
 Fishtail Banner Dies Shop at: Sunny Studio |
 Happy Home Stamps Shop at: Sunny Studio |
 Holiday Style Stamps Shop at: Sunny Studio |
 Sunny Borders Stamps Shop at: Sunny Studio |
 Sunny Semi Circles Dies Shop at: Sunny Studio |
 Festive Greetings Stamps Shop at: Sunny Studio |
 Frosty Flurries Stamps Shop at: Sunny Studio |


