Thursday, December 19, 2024

Baking Spirits Bright & Christmas Cookies Holiday Gift Set with Marine

Hello crafty friends, Marine here, I'm so happy to be back with this super cute set of interactive card + treat bag topper + shaker tags featuring the lovely gingerbread cookies from Baking Spirit Bright and Christmas Cookies

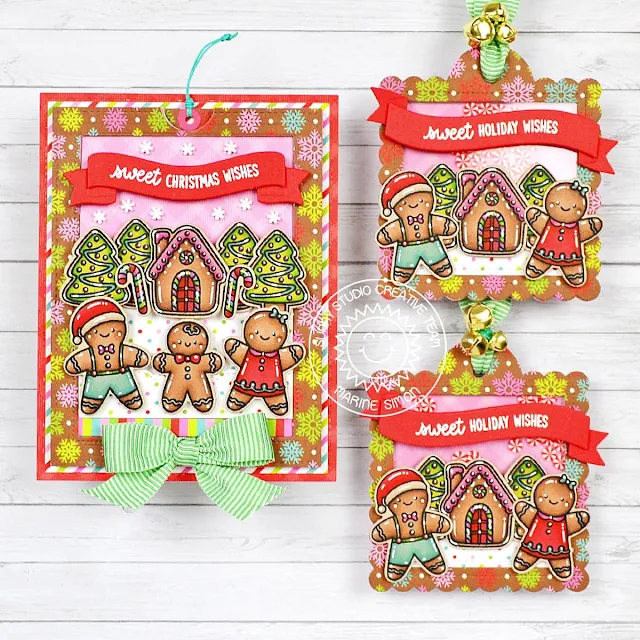
Sunny Studio Stamps: Baking Spirits Bright & Christmas Cookies Christmas Card, Shaker Tags, and Treat Bag by Marine Simon (featuring Scalloped Tag Dies, Sliding Window Dies, Stitched Rectangle Dies, Scalloped Oval Mat Dies, Ribbon & Lace Border Dies)

My first plan was to make the shaker tags and treat bag topper only, but I had some extra stamped images, so I quickly created a sliding card to go with my tags and treat bag topper. And to make sure that everything coordinates nicely, I used the All Is Bright 6x6 paper pack.

Sunny Studio Stamps: Baking Spirits Bright & Christmas Cookies Christmas Card, Shaker Tags, and Treat Bag by Marine Simon (featuring Scalloped Tag Dies, Sliding Window Dies, Stitched Rectangle Dies, Scalloped Oval Mat Dies, Ribbon & Lace Border Dies)

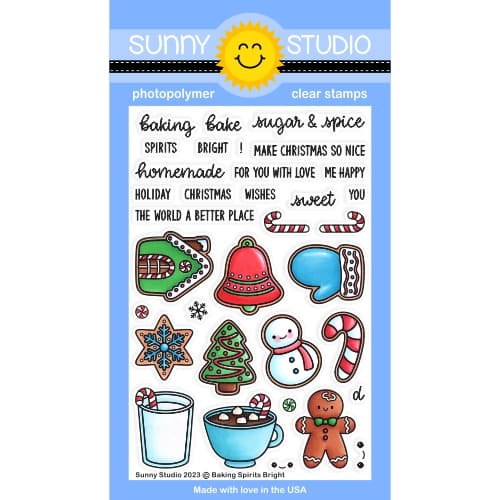
I started off by stamping all my images on kraft cardstock using memento tuxedo black ink. I cut them all using the coordinating dies, and colored everything using my alcohol markers. Here is a detailed list of the stamp sets I used: • Baking Spirit Bright - house, trees, stars, candy canes, small gingerbread man • Christmas Cookies - large gingerbread people.

Sunny Studio Stamps: Baking Spirits Bright & Christmas Cookies Christmas Card, Shaker Tags, and Treat Bag by Marine Simon (featuring Scalloped Tag Dies, Sliding Window Dies, Stitched Rectangle Dies, Scalloped Oval Mat Dies, Ribbon & Lace Border Dies)

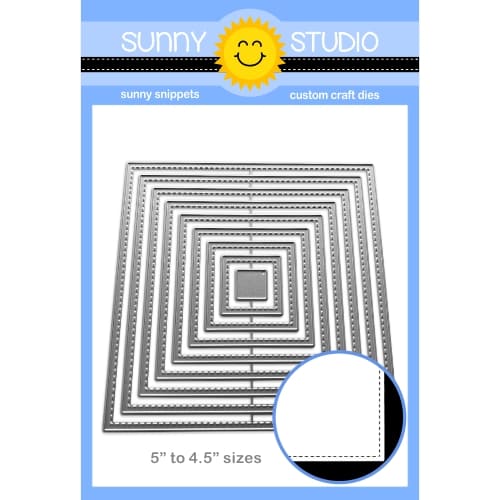
So, let's start with the Sliding Window card, shall we? I cut a 5 x 3,75 inches All Is Bright pink gingham panel using the largest Stitched Rectangle, cut the Sliding Window out of it, as well as the notch at the very top, and also cut a 5 x 3,25 inches All Is Bright green panel.

Sunny Studio Stamps: Baking Spirits Bright & Christmas Cookies Christmas Card, Shaker Tags, and Treat Bag by Marine Simon (featuring Scalloped Tag Dies, Sliding Window Dies, Stitched Rectangle Dies, Scalloped Oval Mat Dies, Ribbon & Lace Border Dies)

I folded my Sliding Window pink panel on the score lines, flipped it over, and added double sided tape on the slim bottom tab. I peeled the backing paper off this tab, flipped my 5 x 3,25 inches green panel over, and attached it at the back of my Sliding Window pink panel, lining up the bottom edge of my pink panel with the slim tab. And I wanted to frame my sliding pink panel nicely, so I cut a 5 x 3,75 inches All Is Bright snowflake panel, cut a Sliding Window out of it, as well as the notch, I trimmed that panel to get a frame, and I stuck that frame to my pink panel using liquid glue.

Next I cut an All Is Bright gingerbread man paper as wide as my sliding panel, I flipped my Sliding Window panel over, and added foam strips along the bottom edge, on the long edges as well, but not along the top edge. I peeled all the backing papers off, and attached my sliding panel to the gingerbread man panel. I attached my panel to a 5,25 x 4 inches All Is Bright stripe panel, and finally to a 5,5 x 4,25 inches All Is Bright red panel.

Sunny Studio Stamps: Baking Spirits Bright & Christmas Cookies Christmas Card, Shaker Tags, and Treat Bag by Marine Simon (featuring Scalloped Tag Dies, Sliding Window Dies, Stitched Rectangle Dies, Scalloped Oval Mat Dies, Ribbon & Lace Border Dies)

To totally complete my interactive panel, I attached the remaining piece of snowflake paper at the top of the green pull tab panel, cut an pink eyelet using a Sliding Window die, stuck that eyelet, pierced a hole through it, and added some turquoise twine to be able to pull the interactive panel.

Next I decorated the front of my Sliding Window panel. I cut two All Is Bright polka dot panels as wide as the interactive panel (3 inches), used a die from the Ribbon & Lace Border die set to create two scalloped borders, attached those borders using 1mm foam squares, and then I stuck the images to the scalloped borders and to the pull tab panel using 1mm and 2mm foam squares.

Sunny Studio Stamps: Baking Spirits Bright & Christmas Cookies Christmas Card, Shaker Tags, and Treat Bag by Marine Simon (featuring Scalloped Tag Dies, Sliding Window Dies, Stitched Rectangle Dies, Scalloped Oval Mat Dies, Ribbon & Lace Border Dies)

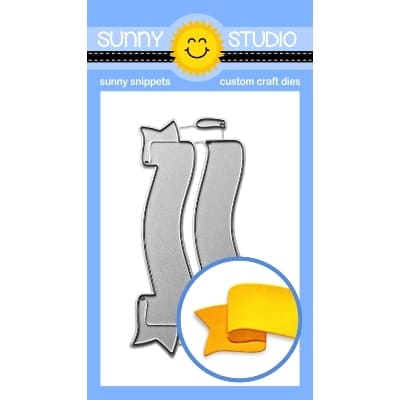
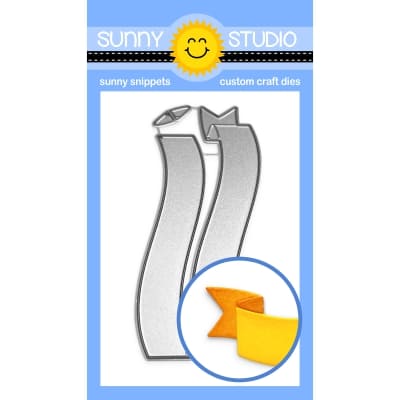
I created two different greetings: one for the front of the card, and one for the inside. For the first one, I cut my two Brilliant Banner 1 pieces out of red cardstock, I white heat embossed "Sweet Christmas Wishes" from Baking Spirits Bright on the front pieces, attached that front piece to the back piece using 1mm foam squares, and then I stuck the whole banner above the trees using 2mm foam squares. For the second greeting, I cut a small Scalloped Oval Mat 1 panel out of aqua cardstock, white heat embossed "Sugar & Spice Make Christmas So Nice" from Baking Spirits Bright on that scalloped panel, I pulled the interactive panel of my card, and attached my small scalloped panel on the bottom section using 1mm foam squares.

To finish my card, I added a few extra details: I cut a 3 inches wide slim stripe out of an All Is Bright paper, and attached it to the tab right below the gingerbread people using liquid glue. I added a few White Snowflake confetti around the Brilliant Banner 1, added highlights and details to the images using a white gel pen, and added a bow at the very bottom of my card using liquid glue.

Sunny Studio Stamps: Baking Spirits Bright & Christmas Cookies Christmas Card, Shaker Tags, and Treat Bag by Marine Simon (featuring Scalloped Tag Dies, Sliding Window Dies, Stitched Rectangle Dies, Scalloped Oval Mat Dies, Ribbon & Lace Border Dies)

Now let's move on the shaker tags! They both were made following the same steps and matching All Is Bright papers:

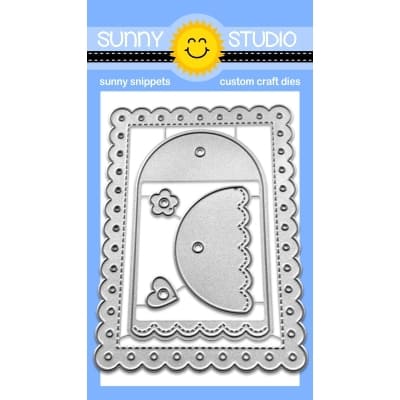
1. Cut a Scalloped Square Tag panel out of a snowflake paper, and used the fifth smallest Stitched Square die to cut an opening inside my tag panel

2. Cut a whole Scalloped Square Tag panel out of acetate, and attached that acetate panel to the back of the snowflake frame using liquid glue

3. Still at the back of the frame, added foam strips on the four edges

4. Poured some candy cane confetti from my stash inside the frame

5. Cut a whole Scalloped Square Tag panel out of a pink gingham paper, and stuck that pink panel to the foam strips to totally close the shaker tag

Sunny Studio Stamps: Baking Spirits Bright & Christmas Cookies Christmas Card, Shaker Tags, and Treat Bag by Marine Simon (featuring Scalloped Tag Dies, Sliding Window Dies, Stitched Rectangle Dies, Scalloped Oval Mat Dies, Ribbon & Lace Border Dies)

I cut a polka dot panel using the fifth smallest Stitched Square die again, trimmed that panel into two slim strips that I attached at the bottom of each shaker window using liquid glue, and then I stuck my images using 1mm and 2mm foam squares.

I created two identical greetings using Brilliant Banner 3 dies. I cut each banner piece out of red cardstock, white heat embossed "Sweet Holiday Wishes" from Baking Spirit Bright on the front piece, stuck that front piece to the back piece using 1mm foam squares, and then attached the whole banner to the shaker window using 2mm foam squares.

For the final details, I added highlights to the images using a white gel pen, and tied some ribbon with golden bells at the top of each tag.

Sunny Studio Stamps: Baking Spirits Bright & Christmas Cookies Christmas Card, Shaker Tags, and Treat Bag by Marine Simon (featuring Scalloped Tag Dies, Sliding Window Dies, Stitched Rectangle Dies, Scalloped Oval Mat Dies, Ribbon & Lace Border Dies)

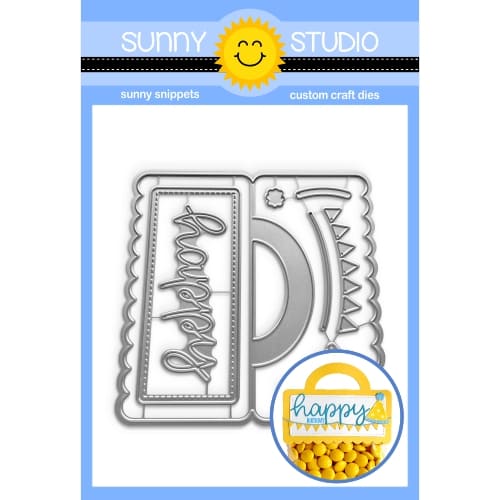
And last but not least: the Treat Bag Topper. I used the main die to cut the base out of red cardstock, another base out of an All Is Bright snowflake paper and I trimmed the handle off, and one last base out of an All Is Bright red gingham paper and I trimmed it to keep the handle only. I attached the red gingham handle to the red Treat Bag Topper base using liquid glue, and next the snowflake panel. I used another Treat Bag Topper die to cut the pink gingham panel, attached it to the snowflake panel using liquid glue, and then stuck the images using 1mm and 2mm foam squares.

Sunny Studio Stamps: Baking Spirits Bright & Christmas Cookies Christmas Card, Shaker Tags, and Treat Bag by Marine Simon (featuring Scalloped Tag Dies, Sliding Window Dies, Stitched Rectangle Dies, Scalloped Oval Mat Dies, Ribbon & Lace Border Dies)

For my greeting, I first cut a light brown tag using a Window Quad Square die, I white heat embossed "Baking Spirit Bright" from Baking Spirit Bright on the lower section of my tag, cut the top decorative piece out of an All Is Bright gingerbread man paper, stuck it to the top of my tag using 1mm foam square, and tied the tag to the handle along with three golden bells using turquoise twine. I added highlights and details to the images using a white gel pen, glued a few White Snowflake confetti, and finally attached a bow on the handle using liquid glue.

Sunny Studio Supplies Used:

Stitched Rectangle Dies
Shop at:
Sunny Studio
Christmas Cookies Stamps
Shop at:
Sunny Studio
Christmas Cookies Dies
Shop at:
Sunny Studio
Sliding Window Dies
Sliding Window Dies
Shop at:
Sunny Studio
Scalloped Tags-Square
Shop at:
Sunny Studio
Window Quad Square Die
Shop at:
Sunny Studio
Scalloped Oval Mat 1 Dies
Shop at:
Sunny Studio
All Is Bright Paper
All Is Bright Paper
Shop at:
Sunny Studio
Ribbon & Lace Dies
Ribbon & Lace Dies
Shop at:
Sunny Studio
Brilliant Banner 1 Dies
Shop at:
Sunny Studio
Baking Spirits Bright Stamps
Shop at:
Sunny Studio
Baking Spirits Bright Dies
Shop at:
Sunny Studio
Treat Bag Topper Die
Shop at:
Sunny Studio
Stitched Square Dies
Shop at:
Sunny Studio
Brilliant Banner 3 Dies
Shop at:
Sunny Studio

Wednesday, December 18, 2024

Roly Poly Penguins Holiday Gift Tags with Tina

Hi crafty friends, Tina here and we are getting ready for the holiday season with these fun tags featuring the Mini Mat & Tag 1 and Mini Mat & Tag 2 die sets. Both sets contain rectangle mats but also all the elements to create fabulous tags.

Sunny Studio Stamps: Roly Poly Holiday Gift Tags by Tina Henkens (featuring Mini Mat & Tag Dies)

To start, I die cut the bases for both tags from white card stock. Next, I used the same dies to create a sparkly snowbank from glitter paper. The sets have separate pieces for the tag toppers. For these I selected matching papers from the All Is Bright pack.

The white tag bases were colored with a cloud stencil from my stash and Distress Oxides Peeled Paint and Picked Raspberry.

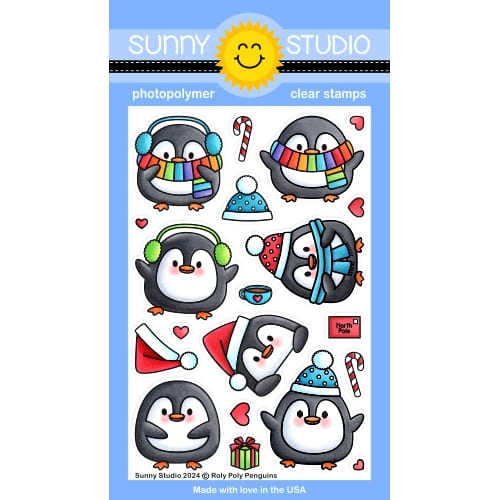
I let these backgrounds dry and then added the toppers and snow. For the focal point and star of the show, I stamped and colored two adorable cuties from Roly Poly Penguins. I went with pink, teal and green Copic markers, a color combination I really like for winter projects. The penguins were added to the tags with foam tape for dimension.

Sunny Studio Stamps: Roly Poly Holiday Gift Tags by Tina Henkens (featuring Mini Mat & Tag Dies)

Next, I got my splatter box out and some white paint which I diluted with a bit of water. I put the tags inside of the box and selected a fine brush to start adding some snow to the tags. The results are much more random than using a white gel pen, but I love the look on these little scenes.

The sentiment was taken from the Victorian Christmas set and I used matching teal and pink inks from my stash. Finally, I added some pink and green ribbon to the tags.

I hope you’ll have fun creating holiday tags! Thank you for visiting the blog and happy crafting! 

Sunny Studio Supplies Used:

Victorian Christmas Stamps
Shop at:
Sunny Studio
All Is Bright Paper
All Is Bright Paper
Shop at:
Sunny Studio
Mini Mat & Tag 1 Dies
Shop at:
Sunny Studio
Mini Mat & Tag 2 Dies
Shop at:
Sunny Studio
Roly Poly Penguin Stamps
Shop at:
Sunny Studio
Roly Poly Penguin Dies
Shop at:
Sunny Studio

Tuesday, December 17, 2024

Penguin Party Card by Amanda

Hello there, Sunny Studio Stamps fans! It’s Amanda Fitterer here with you on the Blog today! I get to share this super adorable slimline card I made! I don’t make slimline cards often, but when you’re trying to fit as many cute penguins in one scene, you just HAVE to, right?! Keep reading to see how I put this card together!

Sunny Studio Stamps: Penguin Party Winter Themed Holiday Card by Amanda Fitterer (featuring Scenic Route)

To create this card, I’m going to trim down a piece of white cardstock to slimline size (3.5”x8.5”). For my background, I am going to use the Scenic Route Stamps. I love how many different ways you can use this one stamp set! 

I’m using these stamps to create 3 little “scenes”. I’m going to use the Christmas light strands at the top and the little houses under that for one scene. At the bottom, I am going to use the hills & trees image. For the bottom scene, I am using the left side of the stamp and for the middle scene, I’m using the right side.

Sunny Studio Stamps: Penguin Party Winter Themed Holiday Card by Amanda Fitterer (featuring Scenic Route)

Once I’ve stamped my scenes, I’m ready to lay out my penguins from the Penguin Party Stamps. After figuring out which penguin will go where, I can stamp each one out with its little accessories!

Now that everything is stamped, I can use my Copic markers to color all the images. Once the penguins are finished, I can cut them out using the Penguin Party DiesI am using 3D foam squares to prop up each of the penguins and adhere them to the card front.

Sunny Studio Stamps: Penguin Party Winter Themed Holiday Card by Amanda Fitterer (featuring Scenic Route)

The final step is to add my sentiments. I am using black cardstock and white embossing powder to make the sentiments pop! The sentiments are all from the Penguin Party Stamps. First, I’m going to stamp them onto black cardstock with my WOW! Embossing Pad. Then, I’m going to apply Super Fine White Embossing  Powder and use my heat tool to melt the powder. I’m using my trimmer to trim each sentiment into strips. I’m using 3D foam strips to prop the sentiments up and adhere them to the card front.

Sunny Studio Stamps: Penguin Party Winter Themed Holiday Card by Amanda Fitterer (featuring Scenic Route)

Finally, I can glue my card front to a slimline card base and I’m all ready to send it to someone special this Holiday season!

Thanks for stopping by the Sunny Studio Stamps Blog today! I hope you’ve enjoyed this post! I also hope you find some time to get crafty today! See you next time!

Sunny Studio Supplies Used:

Scenic Route Stamps
Scenic Route Stamps
Shop at:
Sunny Studio
Scenic Route Dies
Scenic Route Dies
Shop at:
Sunny Studio
Penguin Party Stamps
Shop at:
Sunny Studio
Penguin Party Dies
Penguin Party Dies
Shop at:
Sunny Studio

Monday, December 16, 2024

Season's Greetings Holiday Gift Tags with Leanne

Hello friends! Leanne here and I'm sharing some Christmas tags today. I've combined some pretty holiday paper with a big Merry Christmas greeting for these festive tags. 

Sunny Studio Stamps: Seaon's Greetings Holiday Gift Tags by Leanne West (featuring Stitched Arch Dies, Woolen Mitten Dies, Brilliant Banner Dies, Inside Greetings Seasons)

Below are all the Sunny Studio supplies needed to recreate these tags.

Joyful Holiday paper pad - Patterned paper used for tag base.

Stitched Arch dies - I used the largest die in the set to cut out the tag base. I then punched a whole at the top with 1/4" paper punch. 

Season's Greetings stamp set companion dies - For the large Merry Christmas. The pink ones have been stamped with Catherine Pooler Party Dress ink. The red is CP Rouge ink. 

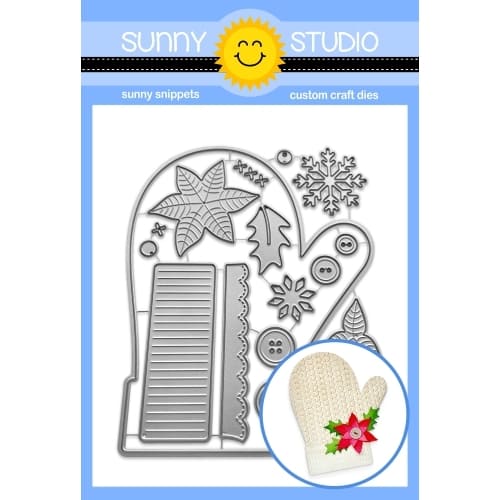
Woolen Mitten dies - For the holly leaves. 

Brilliant Banner 3 die - For the white banner I stamped to/from on.

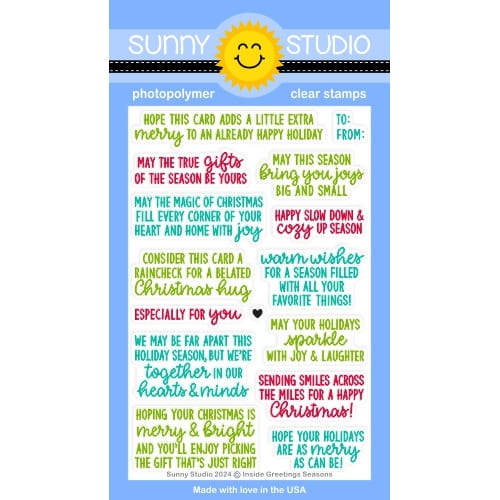
Inside Greetings Seasons stamp set - For the to & from.

Sunny Studio Stamps: Seaon's Greetings Holiday Gift Tags by Leanne West (featuring Stitched Arch Dies, Woolen Mitten Dies, Brilliant Banner Dies, Inside Greetings Seasons)

To make the tags extra special, I added a little clay peppermint piece to the holly leaves and tied a jingle bell to the ribbon. The finished tag with ribbon measures 6 inches tall and 4 inches wide. 

One time saving tip I wanted to pass along...  when you need many of the stamped and die cut Merry Christmas words, die cut several blanks first with the companion die. Then use the negative die cut in a Misti to line up the stamp in that negative space. Close the Misti lid to pick up the stamp and place a blank die cut Merry Christmas piece into that opening. Stamp as you normally would, repeating the process with all the blanks. 

Sunny Studio Supplies Used:

Season's Greetings Stamps
Shop at:
Sunny Studio
Season's Greetings Dies
Shop at:
Sunny Studio
Stitched Arch Dies
Stitched Arch Dies
Shop at:
Sunny Studio
Joyful Holiday Paper
Shop at:
Sunny Studio
Woolen Mitten Dies
Woolen Mitten Dies
Shop at:
Sunny Studio
Inside Greetings Seasons
Shop at:
Sunny Studio
Brilliant Banner 3 Dies
Shop at:
Sunny Studio

Sunday, December 15, 2024

Roly Poly Penguins Holiday Gift Tags with Hanh

Hello Crafty Friends! This is Hanh on the Sunny Studio Stamps blog today sharing a quick and easy holiday tag idea featuring my favorite Roly Poly PenguinsHoliday Greetings and Scalloped Tags Square Dies. I love how quickly you can pull last minute tags together with these bold sentiments and penguins. Not only can tags add such a fun touch to a gift or gift bag, but they can also be used as a quick way to decorate a card front.

Sunny Studio Stamps: Roly Poly Penguins Holiday Gift Tags by Hanh Nguyen (featuring Scalloped Tag Square Dies, Inside Greetings Seasons, Holiday Greetings)

I used the larger die from the Scalloped Tags Square Dies to die cut six tags out of Neenah Solar White cardstock. Post-its were used to mask off the scalloped edges of three of the tags before they were lightly inked with Spun Sugar, Kitsch Flamingo, Mowed Lawn and Tumbled Glass Distress Oxide inks.

Sunny Studio Stamps: Roly Poly Penguins Holiday Gift Tags by Hanh Nguyen (featuring Scalloped Tag Square Dies, Inside Greetings Seasons, Holiday Greetings)

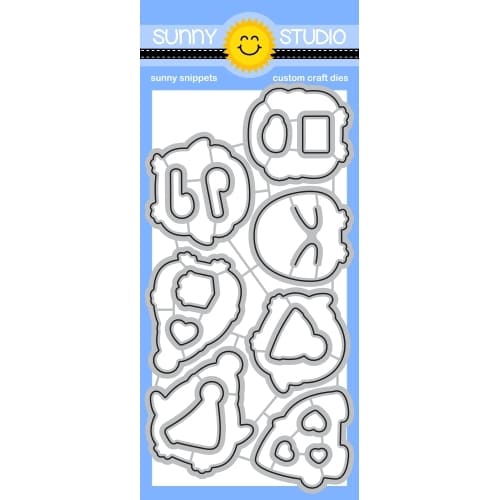
I stamped the penguins from the Roly Poly Penguins stamps set onto a piece of Neenah Solar White 110 lb cardstock with Memento Tuxedo Black ink and used the coordinating Roly Poly Penguins Dies to die cut them out. I colored them with Copic markers and accented with a white gel pen.

COPIC COLORS:
Penguins: T3/5/7, W00/0/1, Y38 YR04, R00/30
Red: R24/27/29
Blue B0000/000
White: C00/1/3

Sunny Studio Stamps: Roly Poly Penguins Holiday Gift Tags by Hanh Nguyen (featuring Scalloped Tag Square Dies, Inside Greetings Seasons, Holiday Greetings)

For the sentiment, I stamped the Merry Christmas, Season's Greetings and Happy Holidays sentiments from the Holiday Greetings Stamps set with a red ink onto a piece of white cardstock. I used the coordinating Holiday Greetings Dies to die cut them out. I used the same dies to die cut an additional set out of white cardstock. I layered and adhered each of the sentiments with liquid adhesive for a bit of nicely secured dimension.

Sunny Studio Stamps: Roly Poly Penguins Holiday Gift Tags by Hanh Nguyen (featuring Scalloped Tag Square Dies, Inside Greetings Seasons, Holiday Greetings)

I trimmed the bottom part of the two larger penguins to make them look like they are on the inside of the tags. I adhered all of the sentiments and penguins to the inked tags with liquid adhesive. I used a white gel pen to add highlights to the elements.

Sunny Studio Stamps: Roly Poly Penguins Holiday Gift Tags by Hanh Nguyen (featuring Scalloped Tag Square Dies, Inside Greetings Seasons, Holiday Greetings)

I stamped a sentiment and the "To: and From:" from the Inside Greetings Seasons Stamps on the three remaining tags. I adhered these to the backside of the decorated tags for a more finished look. Finally, I finished each tag with a piece of bright and festive twine and a shiny bell. 

Sunny Studio Stamps: Roly Poly Penguins Holiday Gift Tags by Hanh Nguyen (featuring Scalloped Tag Square Dies, Inside Greetings Seasons, Holiday Greetings)

I appreciate you taking the time to stop by and visit today. I hope you liked my tags. Be sure to check out the Sunny Studio Stamps Shop for more info and ideas. Please also visit my INSTAGRAM feed for more inspirations.

Have a wonderful and crafty day!

Sunny Studio Supplies Used:

Scalloped Tags-Square
Shop at:
Sunny Studio
Holiday Greetings Stamps
Shop at:
Sunny Studio
Holiday Greetings Dies
Shop at:
Sunny Studio
Inside Greetings Seasons
Shop at:
Sunny Studio
Roly Poly Penguin Stamps
Shop at:
Sunny Studio
Roly Poly Penguin Dies
Shop at:
Sunny Studio