Hello,
Crafty Friends! This is Hanh Nguyen here with you. I am so thrilled to be Guest Designing for Sunny Studio and celebrating the
newest Fall/Holiday Release. I can't believe that we are 3 short months away
from Christmas! I absolutely love Christmas and have two holiday projects to
share with you today.
My first project
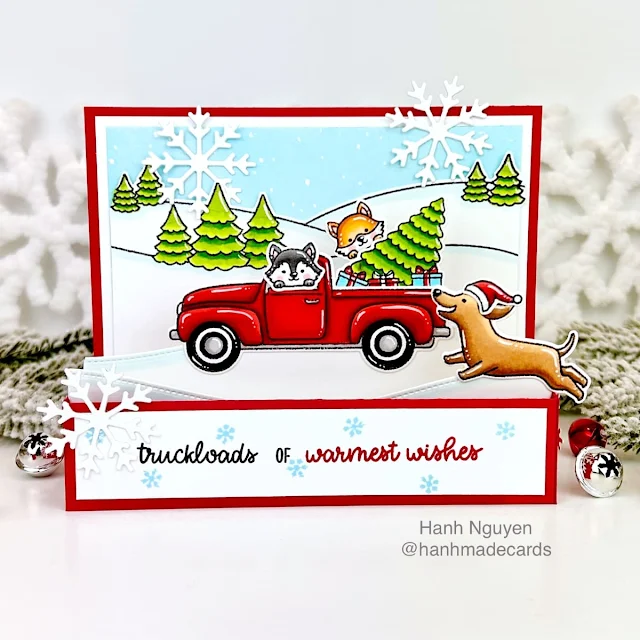
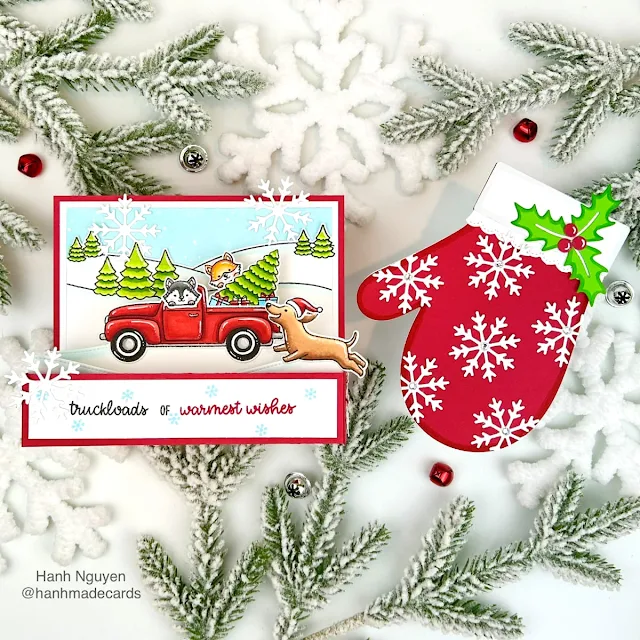
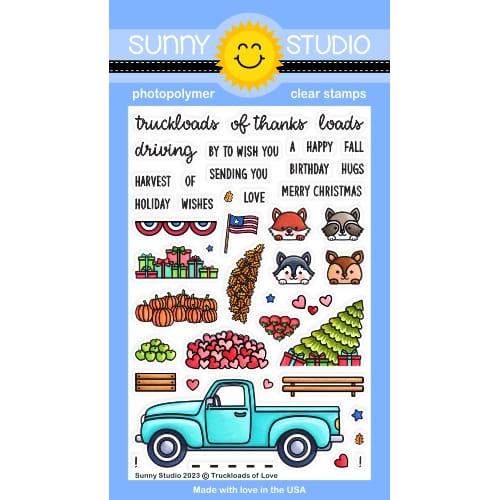
is a mini slimline pop-up box card featuring these adorable images for the new Truckloads of Love and Dashing Dachshund sets. This Truckload is so versatile with
images that are just perfect for so many different occasions. I also used
one of the scenes from the Scenic Route set for my background.
I
stamped the images onto a piece of Neenah Solar White 110 lb card stock. I
colored the images with Copic markers and accented them with gel pens. I used the coordinating Truckloads of LoveDie Set and Dashing DachshundDie Set to cut
them out.
COPIC COLORS:
Truck:
R22/24/29, T0/1, T7/9, Y08, B0000
Husky:
T1/3/5, T0, R00/20, T5
Fox:
YR20/21 Y17/38 YR16/27, T0, R00/20, T5
Dachshund:
E51/53/33/35
Santa's
Hat: R22/24/29, T0
Trees:
YG01/03/17
Presents:
B000, R22/24
Snow:
B0000
I created a boxcard from one panel (5.5"
x 4.5") and two strips (7.5" x 1.25") of red cardstock. I scored
the strips at the 1.5" and 7" marks. The box card measures 4.5" x
7" when folded. I made some snowy hill shelves using one of the dies from
the Slimline NatureBorders Die set. I colored the edge lightly with a Copic marker. I
ink-blended the blue background
with some Tumbled Glass Distress Oxide ink and added snow with a white gel pen.
For the sentiment, I combined sentiments from
the Truckloads of Love set with one from the Feeling Frosty set.
I stamped some snowflakes from the Dashing Dachshund set with the same Tumbled
Glass Distress Oxide ink.
I assembled the box card and adhered all of my
colored images with liquid adhesive. I also added some large
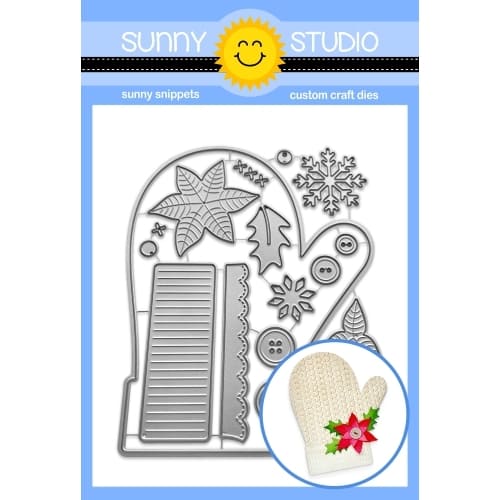
snowflakes that I die-cut from the new Woolen Mittens Dies.
My second card
is a shaped card that I created with the Woolen Mittens Die set. This is such a fun set and has so
many possibilities.
I die-cut the
mitten once out of red cardstock and once out of a white A2 card base (the die
was placed slightly beyond the fold line to preserve the fold). I also die-cut
some snowflakes, holly leaves, and berries for the decorations. I lightly
colored the edges of the die cut with matching Copic markers and added
highlights with a white gel pen for some interest and dimension. I decorated
the red mitten.
Next, I stamped
a sentiment from the Inside Greetings - Holiday Set onto the inside of the card base before
adhering the red mitten to the front.
I had so much
fun playing with these sets and truly appreciated this amazing opportunity to
Guest Design for Sunny Studio Stamps.
As
always, I appreciate you taking the time to stop by and visit today. I hope you
like my card. Please also
visit my INSTAGRAM feed for more inspiration. Have a wonderful and crafty day!
Sunny Studio Supplies Used:


