Hello to you! Vanessa here with a slimline card using the wonderful Retro Ornaments set. This set makes it easy to create quick, beautiful Christmas cards!
I first created a red card base using the Slimline Scalloped Frame Dies. Then I trimmed a panel of Kraft cardstock slightly smaller than the base, stamped and heat-embossed the sentiment and the strings and adhered it to the card. Now I stamped the ornaments, using Festive Berries, Spun Sugar, Picked Raspberry and Brushed Corduroy Distress Oxide Inks.
Stamps and dies
used:
Retro Ornaments stamps + dies
Season's Greetings stamps + dies
Slimline Scalloped Frame dies
I die-cut the pieces with the matching dies and adhered them to the card, raising some with foam tape. I stamped the tree sprigs from Season's Greetings with Lucky Clover Distress Oxide Inks, die-cut them and adhered them, too. Finally, I made little bows from white twine and added these to the ornaments and twigs.
I hope you like
today's inspiration! Thanks for stopping by, see you next week!
--------------------------------------------
Hi everyone, Anja here and today I'm featuring the Retro Ornaments Stamps from another great layering stamp set. I tried to use it in a more modern way with a different color scheme. I really like non-traditional colors like pink and turquoise for Christmas.
I started off with a card base that measures 4.5" x 5.75" and also cut an extra white cardstock panel to the same size. To create a frame, I used the stitched die from the Frilly Frames Herringbone Die set. I covered the front of the card with one of the Subtle Grey Tones papers.
Next, I stamped the layered ornaments with dye inks (you can find the colors listed below). For the hanger thingies at the top, I did some heat embossing with Ranger Liquid Platinum embossing powder. I used the coordinating dies to cut out the ornaments.
Altenew Dye Inks used: pink ornament: Pinkalicious, Rubellite; turquoise ornament: Dew Drop, Aqualicious, Teal Cave; patterned ornament: Cotton Candy, Ruby Red, Galactic Stream; pine tree sprigs: Sweet Leaf, Just Green, Hunter Green
Of course, I needed something to attach them to, so I stamped a couple of pine tree sprigs from the Classy Christmas set in green inks mixing the shades directly on the stamp. I cut them out with the matching dies and arranged them to a cluster that stretches over the top of the card.
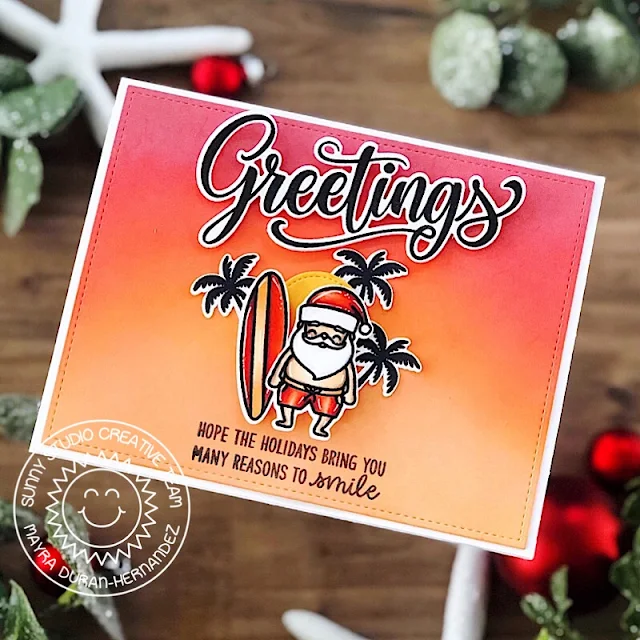
I attached shiny aqua strings to the ornaments and adhered them to the card background. I heat embossed the sentiment from the Surfing Santa set with Liquid Platinum as well. For some dimension, I popped up the sprigs and the white frame with foam tape. To finish off my card, I added two mirrored stars as embellishments.
Thank you so much for stopping by! Hope you're having a fabulous day!
Sunny Studio Supplies Used:
 Subtle Grey Tones Paper Shop at: Sunny Studio |
 Season's Greetings Stamps Shop at: Sunny Studio |
 Season's Greetings Dies Shop at: Sunny Studio |
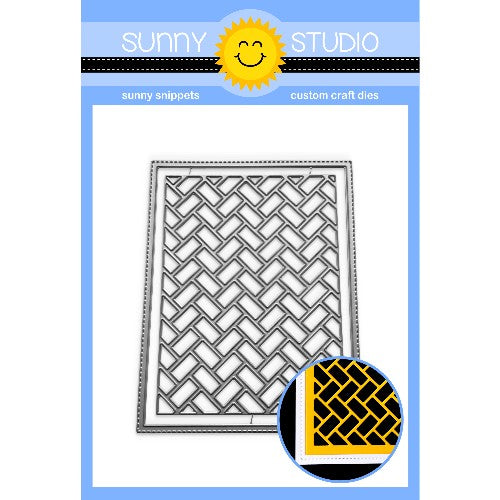 Frilly Frames Herringbone Shop at: Sunny Studio |
 Slimline Scalloped Frame Shop at: Sunny Studio |
 Classy Christmas Stamps Shop at: Sunny Studio |
 Classy Christmas Dies Shop at: Sunny Studio |
 Retro Ornaments Stamps Shop at: Sunny Studio |
 Retro Ornaments Dies Shop at: Sunny Studio | |
 Surfing Santa Stamps Shop at: Sunny Studio |


