I have been sitting on the edge of my seat waiting for today to arrive. I didn't expect to fall as hard as I did for our new Super Duper Stamps and dies, Comic Strip Speech Bubbles dies and Heroic Halftones 6x6 Paper pack. In fact I have 8 unique cards to share with you today and I would have had even more if I didn't run out of time. There's so many fun ways to use these sets!
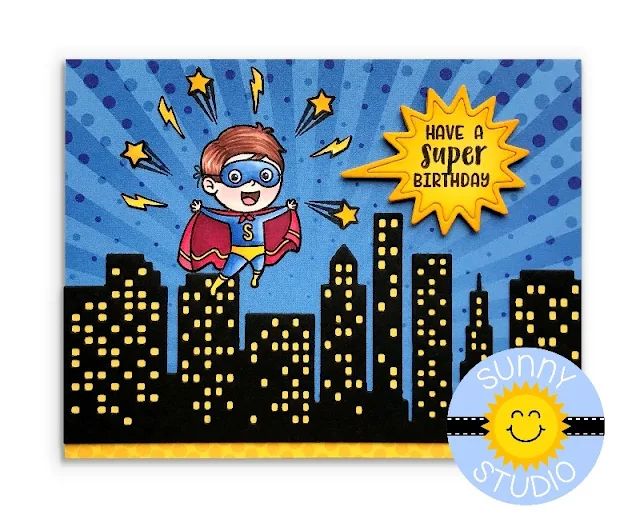
Card No. 1: These new stamps match really well with our Cityscape Border (and fluffy cloud border) dies shared on Monday giving you even more ways to mix and match products! Our Heroic Halftones Paper pack comes with lots of great prints that are reminiscent of comic book printing, although look awesome for everyday cards as well. I used the sunburst pattern in blue for my background and one of the little superheros, lightening bolts and shooting stars from our Super Duper stamps. For my sentiment I used one of the speech bubbles from our Comic Strip Speech Bubbles dies, popping it up with foam tape.
After removing the mask I added some "sparkle" with a Sharpie Extra Fine White Paint pen, flicking out a couple of the dots for extra sparkle. When I was sure my card was good and dry, I added a little anti-static powder where I wanted my sentiment to go and then stamped my greeting with Versamark ink and heat embossed it with opaque white embossing power.
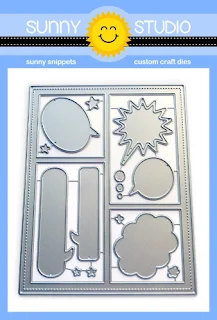
Card No.3: For this card I wanted to really showcase all that you can do with the new Comic Strip Speech Bubbles Die. I was able to combine three of the speech bubbles with the new stitched comic strip frame for a very retro funny papers vibe, however this product is one I think I'm going to get a ton of mileage for with other styles of cards. I often struggle with finding a good way to add greetings to my cards and these came to my rescue more than once. ;)
For my background I started with a sun ray patterned paper from our Spring Sunburst Paper pack and then created scenes in each square using our Fluffy Cloud Border dies, Cityscape Border dies and the grass from our Comic Strip Everyday dies. The clouds were looking a little bare and unbalanced with the weight of the other frames so I embellished them with a couple scattered stars from our Primary Star Confetti which solved that problem and added a little extra color to my scenes.

Card No.4: For my next card I got away from primary colors and went with an analogous color scheme. When I was researching classic superhero themes, I realized clouds are not always the fluffy white variety so I decided to use our new Fluffy Clouds Border dies with one of the halftone prints from our Heroic Halftone Paper pack. I then cut a second one from black cardstock, offset them and popped them up with foam tape for an exploding effect. Love the shadows it creates! I used another pattern from the pack for my background and then the fluffy cloud speech bubble for my greeting.

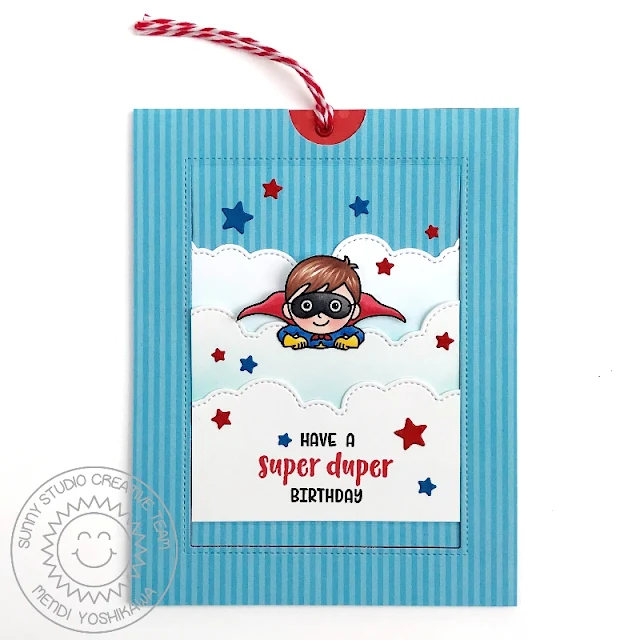
Card No.5: I used that same exploding clouds idea on my next card, this time layering them along the perimeter of my card to create a border to hide my clear acetate shaker window behind. I had the other half of the Cityscape Border die-cut leftover from card no. 3 that I put inside my window along the bottom of my scene and then created a visual triangle with the two superheros and speech bubble. This style of thought bubble comes with two different options for the little "clouds" leading up to the bubble (which you can see on both this card and card no. 4). As my shaker filler, I used our Primary Star Confetti clay embellishments which are such a great compliment to these stamps.
I made them so that the fluffy cloud border along the top of my card front was placed just above the fold for the sliding window and then adhered the bottom two clouds and stamped superhero so that there wasn't any adhesive above that same fold. That way the clouds blend together when the window is closed, but then pop up to have only clouds on the edge when opened, giving the appearance the superhero is flying through the air.
I embellished my card front with red and blue die-cut stars from our Comic Strip Speech Bubbles dies and then added another superhero girl and heat embossed greeting in the hidden window below.
Card No.7: For this card I used the new Comic strip dies in a more graphic way, rather than a literal comic strip style card. Just call it my version of Piet Mondrian. ;) I filled the openings using a mix of our Heroic Halftones Papers and then embellished my card with Studio Katia Iridescent Star Crystals.
That wraps up today's sneak peeks. I'm so happy you've joined me! I'd love to give a $25 gift code to one lucky winner using the rafflecopter below. Make sure to keep checking back all this week for more peeks & prizes for up to five chances to win. The contests run through Saturday at Midnight PST with winners announced here on Sunday, July 14th. :)
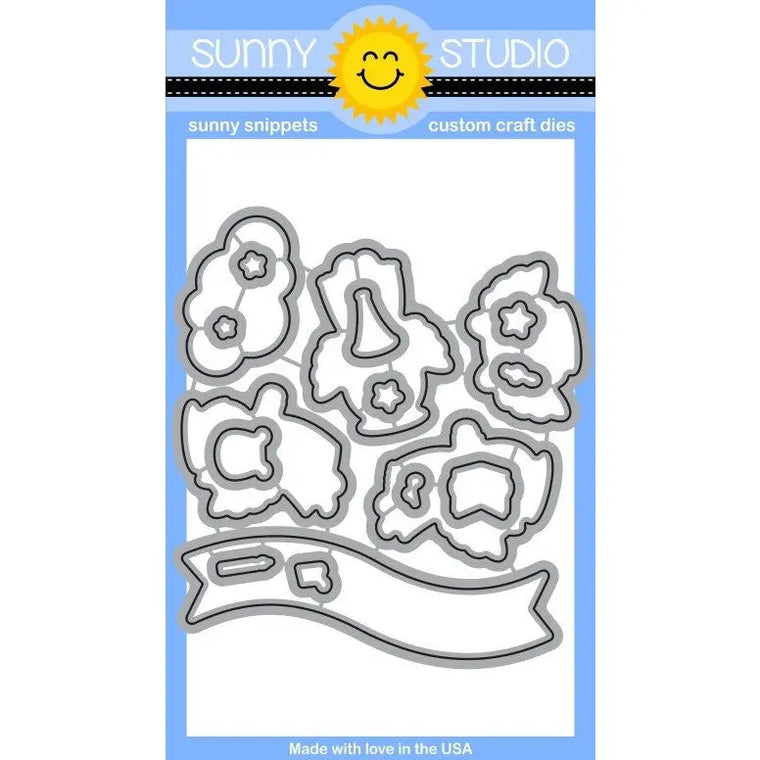
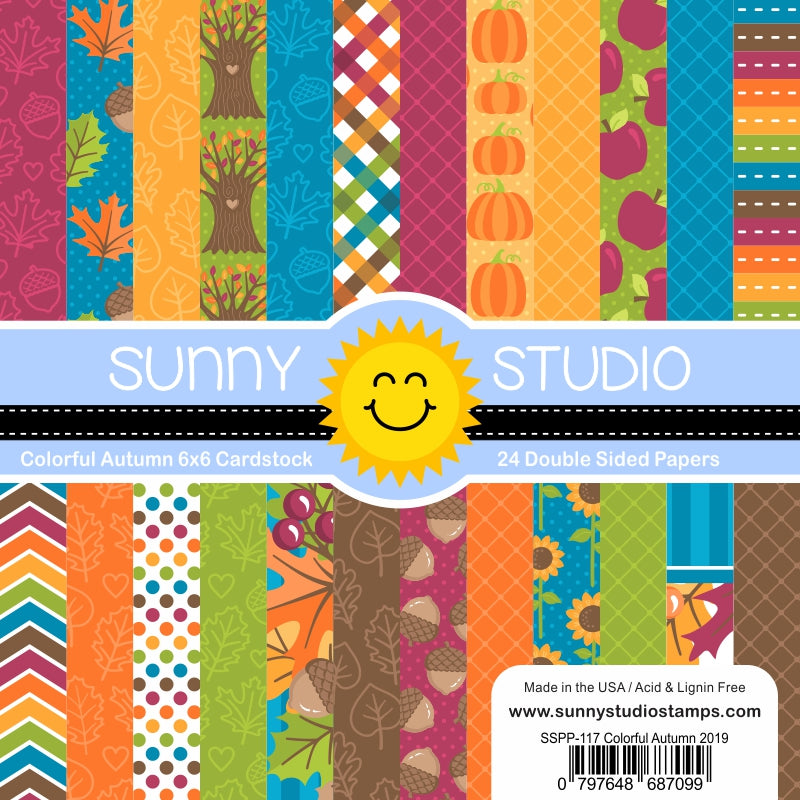
a Rafflecopter giveaway Here's a closer look at the new Super Duper stamps & coordinating dies, as well as the new Comic Strip Speech Bubbles dies & Heroic Halftones 6x6 Paper pack used today (available for purchase on Friday, July 12th).
Other Supplies Used:
 Sunny Borders Dies Shop at: Sunny Studio |
 Tsukineko Jumbo Dauber Shop at: Sunny Studio |
 Versafine Onyx Black Ink Shop at: Sunny Studio |
 Polka-dot Parade 6x6 Paper Shop at: Sunny Studio |
 Comic Strip Everyday Dies Shop at: Sunny Studio |
 Sliding Window Dies Shop at: Sunny Studio |
 Dots & Stripes Pastels 6x6 Paper Shop at: Sunny Studio |
 Cityscape Border Dies Shop at: Sunny Studio |
 Fluffy Clouds Border Dies Shop at: Sunny Studio | |
 Primary Star Confetti Shop at: Sunny Studio |
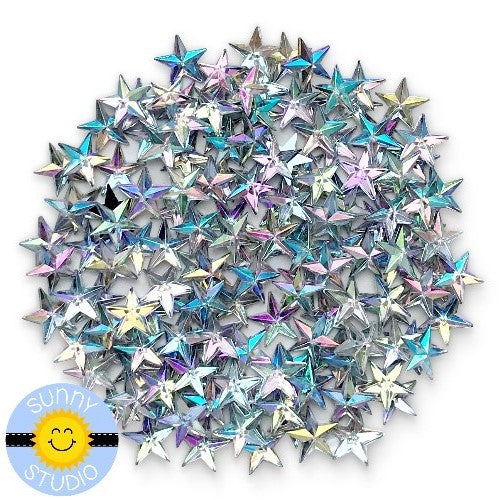 Iridescent Star Crystals Shop at: Sunny Studio |
 VersaMark Watermark Ink Shop at: Sunny Studio |


