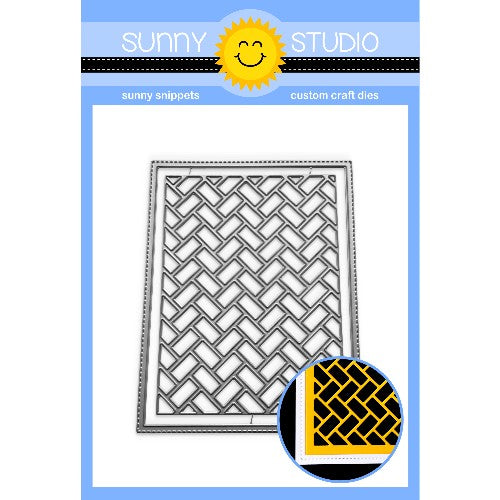
Hello and welcome to day 3 of our 2021 Holiday Peek Week! Each morning this week I am showcasing cards using our newest fall & winter collections which will begin shipping on August 27th.
Today I am sharing two new critter stamp sets for the holidays, a brand new Christmas 6x6 Paper pack and the much requested Chloe Number Dies to go with our popular Chloe Alphabet dies.
Card No. 1: The critters from our Christmas Critters Stamps are so fun to pair with all the cute objects from the set so for this card I combined the dog from Beach Buddies Stamps with the new cat, dog and ornament image to form my focal point. I envision these ornaments being really oversized decorations, but without the critters they could also create a very elegant style card for ultimate versatility. I mounted my little scene onto a piece of white cardstock which was trimmed down using our Stitched Rectangle Dies, inking behind them with a little Peacock Feathers distress ink and adding a sentiment with our Festive Greetings Stamps and VersaFine Black Onyx Ink. I then mounted them onto a Plaid print paper from our new All Is Bright Paper pack.
Card No. 2: For this card I paired the little sloth, sentiment and holiday poinsettia wreath from our new Christmas Critters stamps with the holly wreath from our Happy Owlidays Stamps. I love groups of three so I lined them up on a slimline style card using our Slimline Scalloped Frame Dies, mounting a green cardstock mat between the two die-cut layers. I then mounted it to a top folding card base that was cut just slightly smaller than the scalloped edge. It's such a simple design, but I really love how this card turned out.
Card No. 3: For this card featuring the Christmas Critters stamps, I used the cat, dog and mouse from the set together with the stocking image to hang them from our Fireplace Shaped Dies. To decorate the tile front for my fireplace, I cut our Frilly Frames Quatrefoil Dies from both white and grey cardstock to form my grout background and individual tile pieces. For the white background I elongated the die by hanging the edge of the quatrefoil die off my cutting platform before running it through my machine and then clicking it into place with the previous row of cuts and hanging the opposite side off the cutting plate before running it through again.
For my wood burning fire, I cut the log and holder from colored cardstock using the same Fireplace Shaped dies and then accented the log with some Copic Markers to give it a more realistic look and accentuate the embossed texture from the die. The flames that come with the set didn't fit with my stamped sentiment from our Festive Greetings Stamps so after some brainstorming, I created my own flames using the grass border die from our Picket Fence Dies. I then went back and added a little golden glow to the toes of my stockings with my Copic Marker.
Card No. 4: For my next card I created another trio, this time using our Scalloped Oval Mat 3 dies cut from Gingham Pastel Paper layered with our original Stitched Oval Dies. To form my mini slimline card I created the stitched edge using our Frilly Frames Retro Petals Dies which I elongated using the same technique described for Card No.3 with the quatrefoil dies. To add interest to my background, I repeatedly stamped the polka-dot print using our Background Basics Stamps along the shorter edge. I then filled my little oval frames using the mouse, mugs, santa hats and reindeer antlers from our Christmas Critters Stamps with the mice and sentiment from our Merry Mice Stamps. A banner from our Banner Basics Stamps was the perfect way to make my greeting stand out on my finished card.
Card No. 5: After every last card for this release was complete, I was cleaning up my back counter of all the little scraps of paper and rejected elements from previous card attempts that have been accumulating for the past two or three years and I'm proud to say this card was made 100% with elements that were already die-cut or previously stamped and never got put towards a finished project. It's so gratifying to use things that were going unused and turn them into something useful! All things considered I'm really happy with how it turned out.
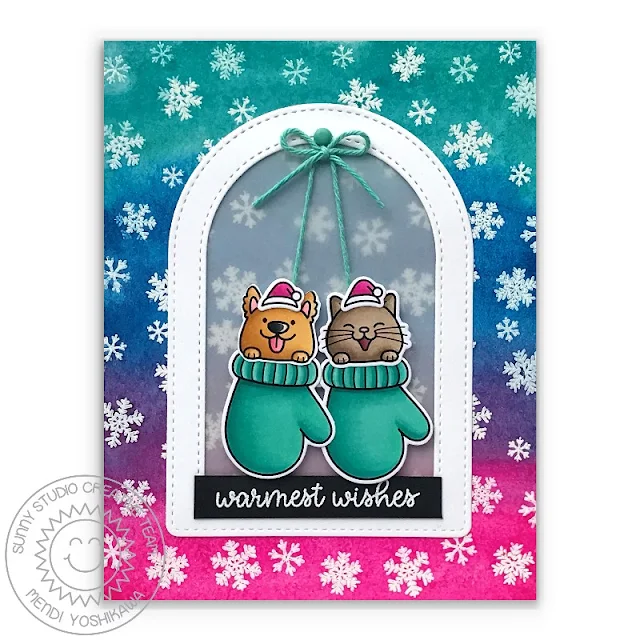
My background was created by heat embossing the snowflake pattern from our Snow Flurries Stamps onto watercolor paper and then using a resist technique when washing layers of Daniel Smith watercolors over the top. In hindsight when I created this, I was wishing I had started by doing the watercolor background and then my heat embossing afterwards to give my snowflakes a more crisp look as in this case the resist method made the background look more distressed in the end, but it's all just a personal preference.
To frame my dog and cat hanging in a pair of mittens from our Christmas Critters Stamps, I used a frame that was created by nesting the two largest dies from our Stitched Arch Dies and running them through my die-cutting machine at the same time. I filled the space behind them with two different layered scraps of thin vellum to help take away a bit of the distraction in the background, but yet still let it peek through. Luckily the frame gave me the perfect way to hide any adhesive which is always the goal with working with vellum. Lastly, my sentiment was heat embossed onto a scrap of black cardstock using a greeting from our Feeling Frosty Stamps. Hooray for a card that felt like it came together in 30 minutes!
Card No. 6: For my last card today using the Christmas Critters Stamps, I paired the kitty cat with the gift box and lid from the set, with the stack of presents and two ornament images from our new Lazy Christmas Stamps.
I started this card with a piece of white cardstock where I sketched in very broad strokes the basic shape of a fir tree with my lightest green copic marker YG01. I then set to work adding in layers of smaller branches using YG03, YG23, Y17 and G07 Copic Markers, working from lightest to darkest until my tree started to take shape. I then used my Copic N7 Marker to fill in the majority of my background, in and around some of my little branches on the edge of my tree. In an effort to not run out of precious copic ink and help hide some of my pen strokes I then went back over it with my jumbo dauber and some Black Soot Distress Ink to better blend the background and hide any imperfections.
For my greeting I used a punny sentiment from the Christmas Critters Stamps together with a banner from our Banner Basics Stamps. As mentioned earlier I then used the ornaments from the Lazy Christmas set to decorate my tree, but I also added in some of our White Diamond Jewels to give some sparkle to my card and give the look of white twinkly lights on my tree.
Card No. 7: Up next is a card that fully showcases the new Lazy Christmas Stamps and all the fun images from this 3x4 stamp set. For the basic structure of my card I turned to our Comic Strip Speech Bubble Dies, adding a snowy hillside with our Slimline Nature Border Dies. For my background I used an aqua dot print from our new All Is Bright Paper pack and a colorful striped paper strip from that same set to the bottom of my card. I love how both sloths can hang from the tree branch wrapped in Christmas lights and how cute the sloth looks sleeping from the stack of gifts!
Card No. 8: For this card using Lazy Christmas, I cut two strips of red snowflake print patterned paper from our All Is Bright Paper pack to adhere to either side of my card base and then used our Slimline Scalloped Frame Dies to add my white stitched panel down the center.
To frame my focal point sloth image I used our Stitched Circle Large Dies together with our Scalloped Circle Tag Dies. I completed my card with a red gingham bow and the "slow ho ho!" sentiment from our new Christmas Critters Stamps.
Card No. 9: Up next is a card showing one of the many ways to incorporate our new Chloe Number Dies. For this card I paired our Chloe Alphabet Dies and Happy Thoughts Stamps to create a custom New Year's card. To frame my scene I turned to our Frilly Frames Eyelet Lace Dies and added four strips of rainbow striped paper from our Sweater Weather Paper to the edges with the corners mitered to make the stripes visible from all the edges. I have the sloth from the Lazy Christmas Stamps hanging from a bundle of balloons that we won't debut until the last week of December so consider this a super early sneak peek, but you could easily substitute our Floating By Stamps.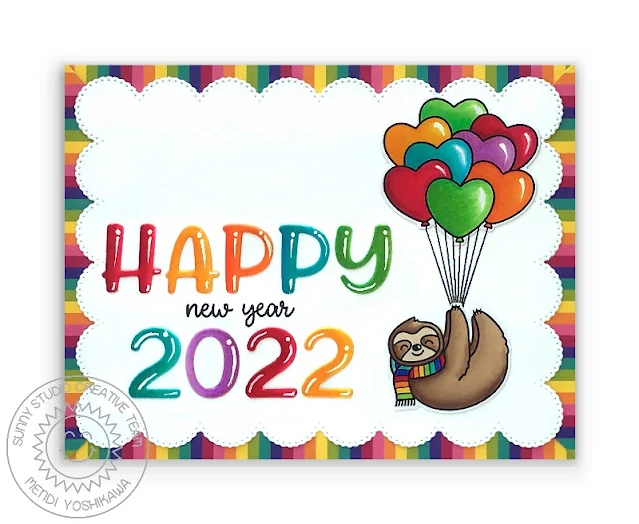
My daughter loves outdoor adventures so I used our mountain border from our Country Scenes Stamps for my background, together with the cloud dies from our Sunny Sentiments Dies and Rain or Shine Dies. For my birthday greeting, I used the word "happy" from our Color Me Happy Stamps, the word "birthday" from our Blooming Frame Dies and my daughter's name using our Kinsley Alphabet Dies.
That wraps up today's sneak peeks. I'm so happy you spent part of your day with me today. I read all your comments and they mean so much! I'd love to give a $25 gift code to one lucky winner using the rafflecopter below. Make sure to keep checking back all this week for more peeks & prizes, including our birthday blog hop HERE where you have the opportunity to win one of twelve prizes. The contests run through Friday, August 27th at Midnight PST with winners announced here on Sunday, August 29th. :)
a Rafflecopter giveaway
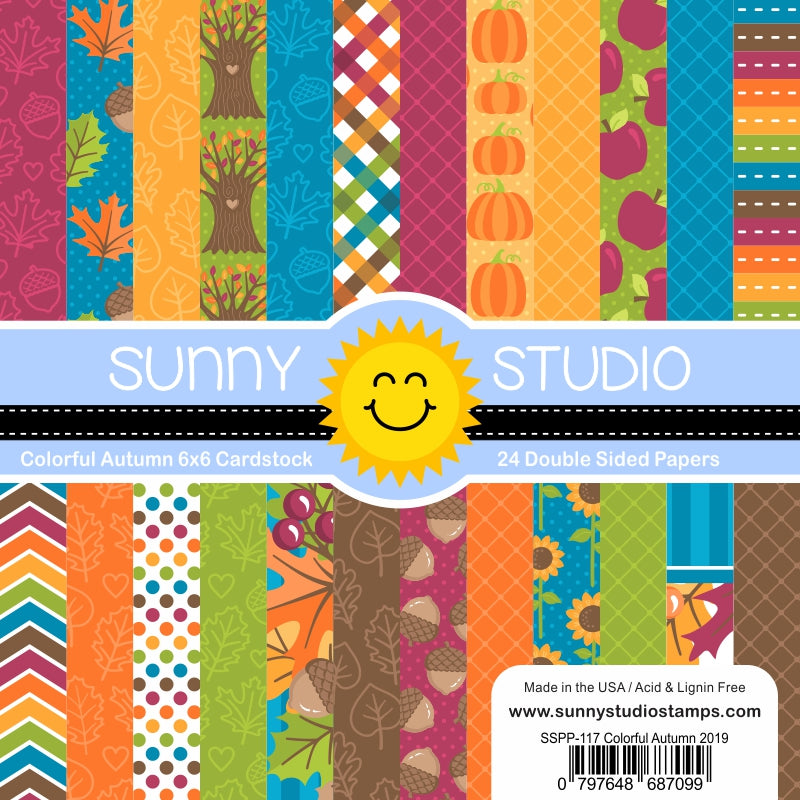
Here's a closer look at the our new Christmas Critters 4x6 Stamps & Dies, Lazy Christmas 3x4 Stamps & Dies, Chloe Number Dies and All Is Bright 6x6 Paper used today (which are available for pre-order as part of our birthday festivities and will begin shipping on August 27th):
This week we also have three different discount codes to chose from, however you are limited to one discount code per order so please chose the one with the biggest savings for you. ❤️
 Color Me Happy Stamps Shop at: Sunny Studio |
 Rain or Shine Dies Shop at: Sunny Studio |
 Sunny Sentiments Dies Shop at: Sunny Studio |
 Chloe Alphabet Dies Shop at: Sunny Studio |
|
 Stitched Rectangle Dies Shop at: Sunny Studio |
 Bear Hugs Stamps Shop at: Sunny Studio |
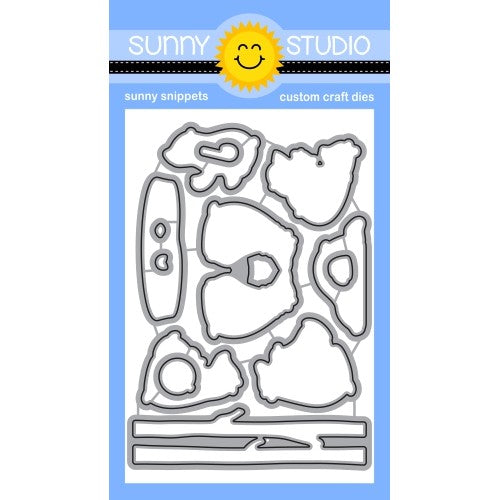 Bear Hugs Dies Shop at: Sunny Studio |
 Fall Friends Stamps Shop at: Sunny Studio | |
 Fall Friends Dies Shop at: Sunny Studio |
 Tsukineko Jumbo Dauber Shop at: Sunny Studio |
 Versafine Onyx Black Ink Shop at: Sunny Studio |
 Festive Greetings Stamps Shop at: Sunny Studio | |
 Fireplace Shaped Dies Shop at: Sunny Studio |
 Background Basics Stamps Shop at: Sunny Studio |
 Happy Thoughts Stamps Shop at: Sunny Studio |
 Happy Owlidays Stamps Shop at: Sunny Studio | |
 Happy Owlidays Dies Shop at: Sunny Studio |
 Comic Strip Speech Bubble Dies Shop at: Sunny Studio |
 Frilly Frames Retro Petals Dies Shop at: Sunny Studio |
 Merry Mice Stamps Shop at: Sunny Studio | |
 Merry Mice Dies Shop at: Sunny Studio |
 Scalloped Tags-Circle Shop at: Sunny Studio |
 Banner Basics Stamps Shop at: Sunny Studio |
 Banner Basics Dies Shop at: Sunny Studio | |
 Floating By Stamps Shop at: Sunny Studio |
 Floating By Dies Shop at: Sunny Studio |
 Kinsley Alphabet Stamps Shop at: Sunny Studio |
 Blooming Frame Die Shop at: Sunny Studio | |
 Frilly Frames-Eyelet Lace Shop at: Sunny Studio |
 Frilly Frames Quatrefoil Shop at: Sunny Studio |
 Slimline Nature Borders Shop at: Sunny Studio |
 Slimline Scalloped Frame Shop at: Sunny Studio | |
 Country Scenes Stamps Shop at: Sunny Studio |
 Country Scenes Dies Shop at: Sunny Studio |
 Stitched Circle Large Dies Shop at: Sunny Studio |
 Scalloped Oval Mat 3 Dies Shop at: Sunny Studio | |
 Sweater Weather Paper Shop at: Sunny Studio |
 White Diamond Jewels Shop at: Sunny Studio |
 Hero Arts White Detail Shop at: Sunny Studio |
 VersaMark Watermark Ink Shop at: Sunny Studio |
|
 Picket Fence Border Dies Shop at: Sunny Studio |
 Snow Flurries Stamps Shop at: Sunny Studio |
 Feeling Frosty Stamps Shop at: Sunny Studio |
 Stitched Arch Dies Shop at: Sunny Studio |

