Friday, February 14, 2025

Party Pets Card with Nicky

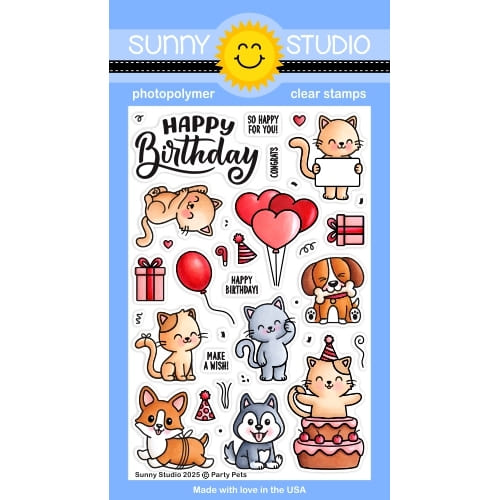
Well hello there friends, this is Nicky with you today on the Sunny Studio blog and I'm sharing a birthday card with you that features the Party Pets stamp set. Please read on for the details and links.

Sunny Studio Stamps: Party Pets Birthday Card by Nicky Meeks (featuring Comic Strip Everyday Dies)

To kick things off I took a white A2 panel of cardstock and die cut using the Comic Strip Everyday Die. I already had one of these die cut and so just with the main frame I now had two and I adhered them together then to the card base. I used the grass strip to die cut the negative cuts and I ink blended the sky and grass and recessed the pieces back through the openings, glueing in place as I went.

Sunny Studio Stamps: Party Pets Birthday Card by Nicky Meeks (featuring Comic Strip Everyday Dies)

I added a few die cut clouds and then I stamped the images from Party Pets using black ink and coloured with the following Copic marker combinations:

Clockwise from the top left:
Dog - w6, W5, W3, E42, E41
Cat/Cake - T4, T3, T2, T0, E44, E43, E41, C3, C1, C0, R39, R29, R24
Cat - E31, C3, C1
Cat - E74, E71, E41, E40
Dog - N4, N3, N1, N0
Balloon - YR09, YR07, YR04
Blushes - R22, R21, R20, R00

Sunny Studio Stamps: Party Pets Birthday Card by Nicky Meeks (featuring Comic Strip Everyday Dies)

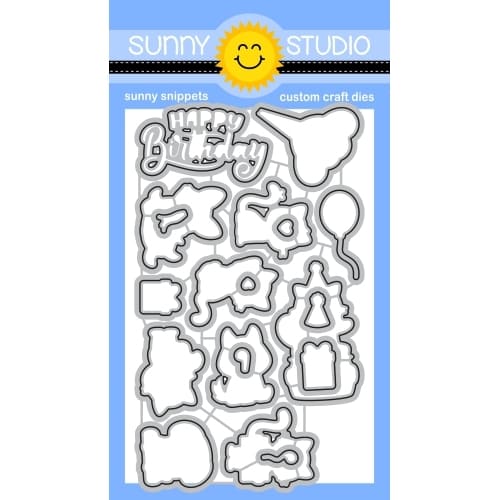
Images were highlighted, and then die cut with the coordinating dies and backed with foam tape and applied to each little background scene.

To complete the card I just needed to take care of the sentiment which I stamped and heat embossed in a pretty blue, then die cut and applied with more foam tape to the window opening left blank for this purpose.

Thank you, I appreciate you stopping by Sunny's blog today to read and I will see you back here hopefully next Friday with something brand new. Happy crafting!

Sunny Studio Supplies Used:

Comic Strip Everyday Dies
Shop at:
Sunny Studio
Party Pets Stamps
Party Pets Stamps
Shop at:
Sunny Studio
Party Pets Dies
Party Pets Dies
Shop at:
Sunny Studio

Thursday, February 13, 2025

Window Trio Heart Die Focused Card with Marine

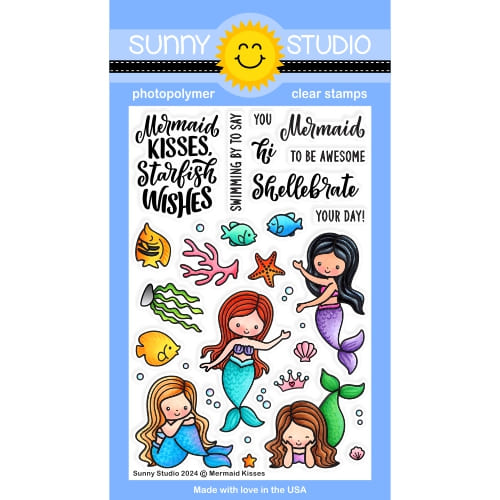
Hello crafty friends, Marine here, I'm thrilled to be back on the blog with this new underwater shaker card showcasing the lovely mermaids from Mermaid Kisses. I've featured them two times already, here and here, and since tomorrow is Valentine's day, I thought it would be fun to create Valentine mermaids.

Sunny Studio Stamps: Window Trio Heart Die Focused Card by Marine Simon (featuring Mermaid Kisses, Magical Mermaids, Best Fishes)

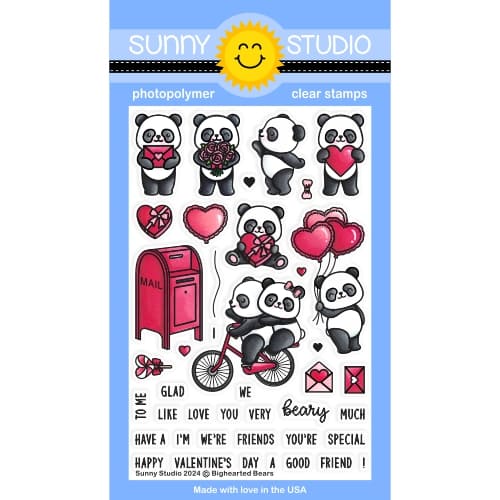
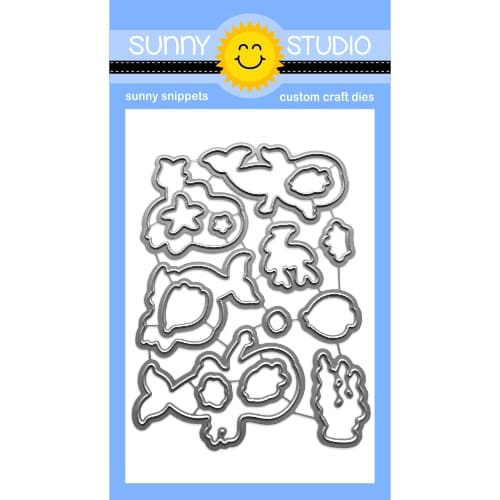
I started off by stamping the images on 110lb Neenah solar white cardstock using an alcohol marker friendly black ink. I cut them all using the matching dies, and colored everything using my Ohuhu markers. Here is a detailed list of the stamp sets I used: • Mermaid Kisses - mermaids, seaweeds, tiny seashell, tiny starfish, small fish • Best Fishes - clown fish • Magical Mermaids - jellyfish, tiny fish, starfish, bubbles • Bighearted Bears - envelopes • Tropical Scenes - corals.

Sunny Studio Stamps: Window Trio Heart Die Focused Card by Marine Simon (featuring Mermaid Kisses, Magical Mermaids, Best Fishes)

I cut a 5,5 x 4,25 inches Strathmore bristol smooth panel, and created an underwater background using oxide inks. I first applied, from top to bottom, spun sugar and worn lipstick oxide inks. Next I placed a wave pattern stencil on my panel, and applied, from top to bottom, worn lipstick and festive berries oxide inks. I splattered water all over my panel, and dried it using a paper towel. I mixed copic opaque white ink with water and added more splatters using a slim brush, and then did the same with festive berries oxide ink.

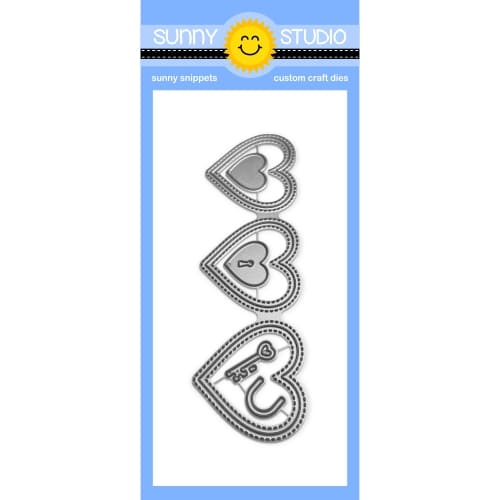
Once my panel was dry, I used the Window Trio Heart Landscape die to cut three hearts out of my panel. Next I cut a 5,5 x 4,25 inches pink panel, placed my underwater panel on top, put the three hearts back on their original spots and glued them on the pink panel using liquid glue. I stuck a piece of acetate at the back of the underwater panel, added foam strips all the around the heart windows and on the rest of the panel, poured some iridescent heart confetti and a mix of polymer clay confetti inside each heart window, peeled the backing papers off the foam strips, and attached the pink panel to the foam strips to close my shaker panel.

Sunny Studio Stamps: Window Trio Heart Die Focused Card by Marine Simon (featuring Mermaid Kisses, Magical Mermaids, Best Fishes)

Next I attached the images using 1mm and 2mm foam squares, added highlights and details using a white gel pen, and applied white blizzard nuvo drops to the bubbles and hearts on the envelopes to make them sparkle. For my greeting, I stamped "Fintastic" from Fintastic Friends on the middle heart using white stazon ink, I white heat embossed "Life with you is" from Country Carnival on red cardstock, trimmed it into a slim banner, and stuck it right above "Fintastic" using foam squares.

And that's it! A new super bright and colorful card, I hope you like it! Thanks so much for stopping by, and see you next week.

Sunny Studio Supplies Used:

Magical Mermaid Dies
Shop at:
Sunny Studio
Magical Mermaid Stamps
Shop at:
Sunny Studio
Best Fishes Stamps
Best Fishes Stamps
Shop at:
Sunny Studio
Best Fishes Dies
Best Fishes Dies
Shop at:
Sunny Studio
Tropical Scenes Stamps
Shop at:
Sunny Studio
Tropical Scenes Dies
Shop at:
Sunny Studio
Country Carnival Stamps
Shop at:
Sunny Studio
Fintastic Friends Stamps
Shop at:
Sunny Studio
Bighearted Bears Stamps
Shop at:
Sunny Studio
Bighearted Bears Dies
Shop at:
Sunny Studio
Mermaid Kisses Stamps
Shop at:
Sunny Studio
Mermaid Kisses Dies
Mermaid Kisses Dies
Shop at:
Sunny Studio
Window Trio Heart Landscape
Shop at:
Sunny Studio

Wednesday, February 12, 2025

Cat Antics card with Tina

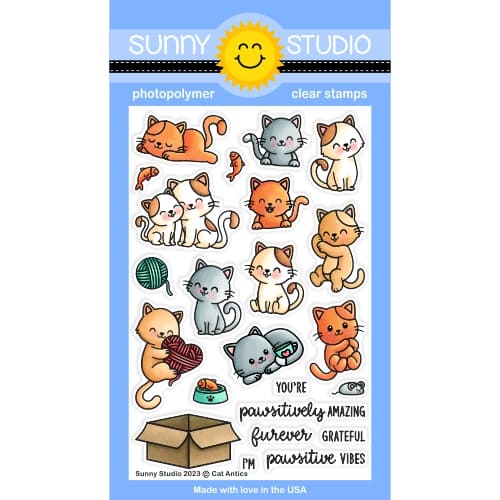
Hi crafty friends, Tina here and I had so much fun creating this sweet birthday card with the adorable Cat Antics stamp and die set! I love these kitties so much that I initially colored five of them! But sometimes you have to adjust your design plans since I only had room for three. So, I put the other two aside for a future card!

Sunny Studio Stamps: Cat Antics Birthday Card by Tina Henkens (featuring Wishes Word Die, Special Day, Rounded Rectangle Mat Dies, Background Basics 2, Sprawling Surfaces)

For this project, I kept to a strict color scheme of beige, brown, coral, and red tones. I started by coloring the big celebration cake (Special Day), the banners (Panda Party), presents, party hat (Party Pets) and the sweet cats with their ball of yarn (Cat Antics stamp). I added some white details to make the images pop.

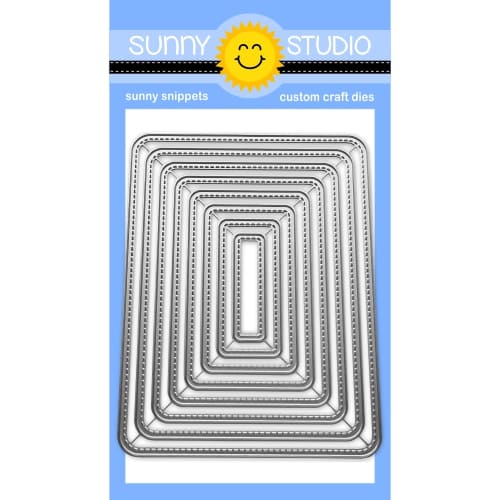
To match the color scheme, I create a cream card base. Next, I cut a white panel with the largest of the Rounded Rectangle Mat dies. Since I wanted a white border around my scene, I used a smaller die from the same set. This provides you with the border and a smaller rectangle mat for scene building.

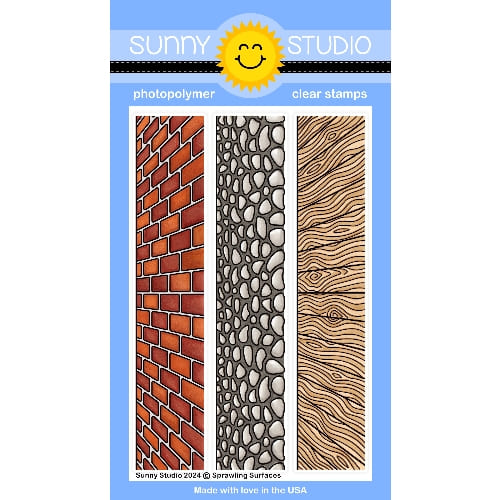
First, I stamped my background onto this smaller mat panel. For the bottom part (after masking of the top part with some Post It tape) I used the wood floor stamp (Sprawling Surfaces) and a brown ink from my stash. Using a small blending brush to add more brown ink to the planks.

Sunny Studio Stamps: Cat Antics Birthday Card by Tina Henkens (featuring Wishes Word Die, Special Day, Rounded Rectangle Mat Dies, Background Basics 2, Sprawling Surfaces)

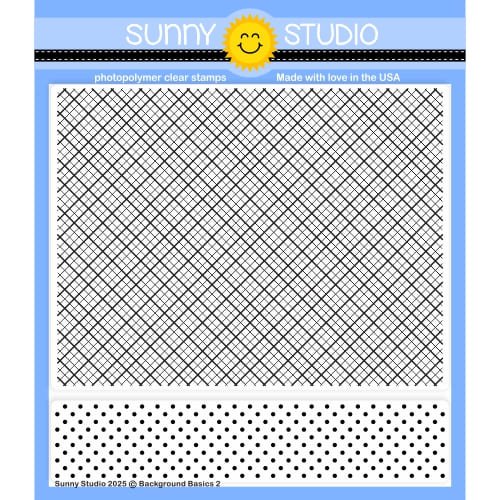
Then I lowered the Post It tape to stamp the ‘wallpaper’ part of the card with a light pink ink and the fun diagonal grid stamp (Background Basics 2). You can only see it on the left side of the card, but I drew in a baseboard with a black pen and colored it with a dark brown pencil.

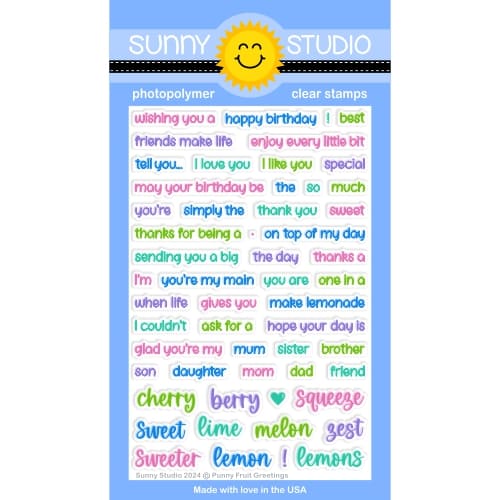
My sentiment consists of a large die cut (Wishes word) and a Happy Birthday stamp (Punny Fruit Greetings, Versafine Onyx Black ink). Next, I could build the entire scene.
Adding a few
Crystal clear Jewels finishes this sweet project.

I can’t wait to see all these adorable kitties featured in your projects! Thank you for visiting the blog and happy crafting!

Sunny Studio Supplies Used:

Wishes Word Die
Wishes Word Die
Shop at:
Sunny Studio
Panda Party Stamps
Panda Party Stamps
Shop at:
Sunny Studio
Panda Party Dies
Panda Party Dies
Shop at:
Sunny Studio
Special Day Stamps
Special Day Stamps
Shop at:
Sunny Studio
Special Day Dies
Special Day Dies
Shop at:
Sunny Studio
Sprawling Surfaces Stamps
Shop at:
Sunny Studio
Punny Fruit Greetings
Shop at:
Sunny Studio
Background Basics 2 Stamps
Shop at:
Sunny Studio
Cat Antics Stamps
Cat Antics Stamps
Shop at:
Sunny Studio
Cat Antics Dies
Cat Antics Dies
Shop at:
Sunny Studio
Party Pets Stamps
Party Pets Stamps
Shop at:
Sunny Studio
Party Pets Dies
Party Pets Dies
Shop at:
Sunny Studio
Rounded Rectangle Mat Dies
Shop at:
Sunny Studio

Tuesday, February 11, 2025

Inside Greetings Belated Birthday Card with Amanda

Hey crafty friends! You’re here with Amanda today and I’m so happy to be here with you! Today I’m going to walk you through how I made this square belated birthday card!

Sunny Studio Stamps: Inside Greetings Belated Birthday Focused Card by Amanda Fitterer (featuring Sprawling Surfaces, Tulip Path Background, Party Pets)

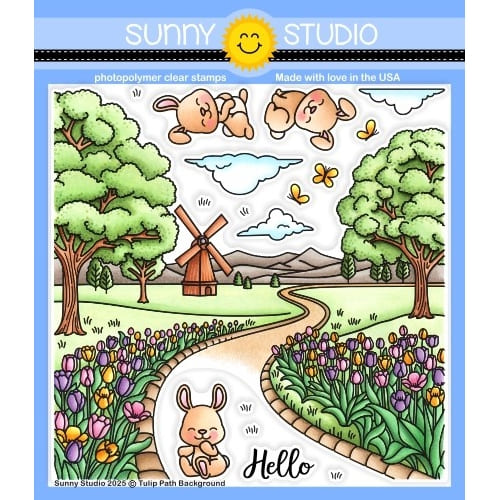
Are you loving the background on this card?! Me too! I used a combination of the new Tulip Path Background Stamps, the Spring Scenes Stamps and the Sprawling Surfaces Stamps. There’s quite a few layers, but I’ll break down each one!

I started by trimming a piece of white cardstock to 6”x12” for my card base. I scored it at the 6” mark and folded it. My next layer is the sky background panel. I trimmed this piece of white cardstock to 5.5”x5.5”. I lightly blended Catherine Pooler’s Hot Tub ink on the top portion of the panel.  

For the next layer, I’ve trimmed another piece of white cardstock to 5.5”x5.5”. On this panel, I stamped the main background stamp from the Tulip Path Background Stamps. I used the coordinating dies to cut out the foreground.

My next layer is the Spring Scenes Stamps. I stamped the image on a piece of white cardstock trimmed to 5.5”x 3”. I used the coordinating dies to trim off the top part of the panel. On the bottom portion, I stamped the rocky road stamp from the Sprawling Surfaces Stamps.

I colored the entire background with Copic markers. Then, I assembled the card. I glued the background layers to the card base. I propped the foreground layer up with foam tape.

Sunny Studio Stamps: Inside Greetings Belated Birthday Focused Card by Amanda Fitterer (featuring Sprawling Surfaces, Tulip Path Background, Party Pets)

Now that all my layers are complete, it’s time to stamp my cuties! The 2 bunnies are from the Tulip Path Background Stamps. The little kitty and the birthday accessories are from the Party Pets Stamps. I used Copic markers to color in all my stamped images. I used the coordinating dies to cut out all the images. I propped all these little guys up with 3D foam squares and adhered them to the card.

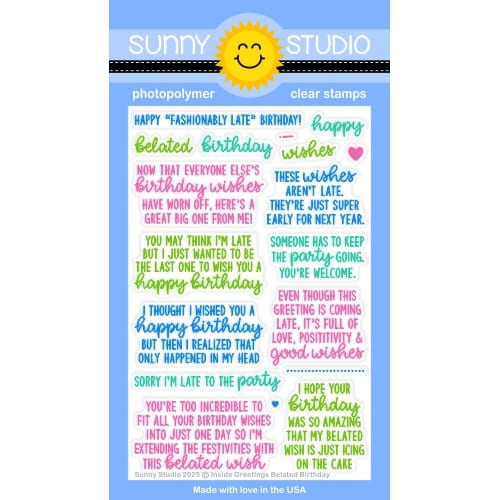
The “Happy Birthday” sentiment is also from the Party Pets Stamps. My banner sentiment is from the Inside Greetings Belated Birthday Stamps. I love that these clear stamps are so flexible!Although it’s a straight stamp, I was able to bend it into a wave on my stamping platform. After stamping it, I simply used scissors to cut it into a banner. I placed a thin piece of foam tape behind it and then adhered it to my card.

The card is finished! What a fun and colorful card to give to a friend! I hope you enjoyed this blog post and will come back tomorrow for more inspiration! Thanks for coming by the Sunny Studio Stamps blog!

Sunny Studio Supplies Used:

Spring Scenes Stamps
Shop at:
Sunny Studio
Spring Scenes Dies
Spring Scenes Dies
Shop at:
Sunny Studio
Sprawling Surfaces Stamps
Shop at:
Sunny Studio
Tulip Path Background Stamps
Shop at:
Sunny Studio
Tulip Path Background Dies
Shop at:
Sunny Studio
Inside Greetings Belated Birthday
Shop at:
Sunny Studio
Party Pets Stamps
Party Pets Stamps
Shop at:
Sunny Studio
Party Pets Dies
Party Pets Dies
Shop at:
Sunny Studio

Monday, February 10, 2025

Balloon Numbers Card with Leanne

Hello! Leanne here with another birthday card share. This one is little bit more special because I have used the Balloon Numbers stamp set and coordinating dies to add the age the recipient is turning. 

Sunny Studio Stamp: Balloon Number Focused Card by Leanne West (featuring Little Birdie)

I had this idea for a simple scene with the cute little bird and branch images from the Little Birdie stamp set. It was super easy to customize the design with a fun sentiment and the balloon numbers. 

This scene design is really easy to recreate and only uses the two stamp sets with their coordinating dies - Little Birdie for the bird, bow, & branch images plus the words "a little birdie told me you're" and Balloon Numbers for the numbers & the word "today".

Sunny Studio Stamp: Balloon Number Focused Card by Leanne West (featuring Little Birdie)

My background was created with combo of Catherine Pooler Sparkling Berry and Wintergreen inks.

I hand drew the balloon strings with a ruler and a fine tip black maker. Copics used for coloring are as follows: birds - YR30, Y11, Y18, W1, W4, R20;  branches - E42, E44, YG61, YG63

Since this card will be for my daughter, I choose to use feminine colors. By changing the colors to a more masculine palette, you could easily use this design for a guy. 

Sunny Studio Supplies Used:

Little Birdie Stamps
Shop at:
Sunny Studio
Little Birdie Dies
Little Birdie Dies
Shop at:
Sunny Studio
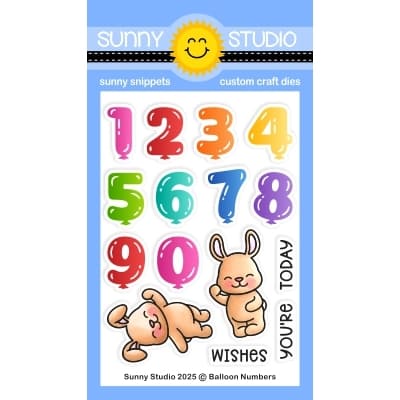
Balloon Numbers Stamps
Shop at:
Sunny Studio
Balloon Numbers Dies
Shop at:
Sunny Studio