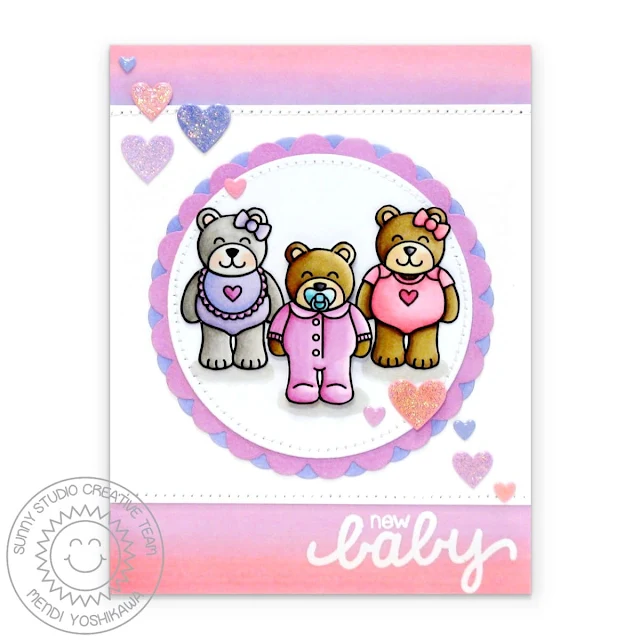
When I was done playing I had a moment where I was completely stumped feeling like the colors I had selected didn’t go together. To solve the issue, I created a custom background by blending those same Copic colors on two strips of cardstock to adhere to the top and bottom of my card. Truth be told when I was done with that, I still wasn’t quite happy. The colors felt a bit too bright for a baby card. To resolve that I heat embossed my sentiment on vellum and then added vellum over the top of both strips. Finally it was starting to take shape!
To complete my card I colored a handful of mini hearts and two offset scalloped circles along the edges using the same Copic markers. For my final touch I added some Diamond Stickles, topped with some Glossy Accents for a bit of sparkle.
For my next card I created a little downtown scene using our new City Streets stamps. I thought it would be fun to color each of the buildings with a monochromatic color scheme that would create fun pops of color when paired together.
For my 3.75″ x 5″ card panel, I inked it up the background with Tumbled Glass and Twisted Citron distress inks using my favorite Jumbo Dauber, rounded the corners with my Corner Chomper and then stitched around the perimeter with my sewing machine. To add a little interest to my scene I decided to adhere the shops at an angle, trimming off the extra parts that fell of the edges with my scissors. To finish my card I heat embossed my sentiment on some black cardstock using white embossing powder. Love how they pop!
My final card use our new Sweet Shoppe set. This set comes with 15 unique sentiments all revolving around the word sweet as well as several “sweet” images like candy, ice cream, cupcakes, donuts and all sorts of sprinkles and toppings for you to personalize them. For my card today I chose to decorate the cupcake image, pairing one of the sentiments with the matching Sweet Word Die. Using another Jumbo Dauber I created an ombre effect by applying my ink from the bottom and using a lighter touch along the top.
To create the oversized scallop along the bottom of my card, I die-cut three 1-1/4″ circles and then hid the other half of the circle beneath my brown cardstock strip. I then cut three 1-1/4″ x 3-3/4″ strips of cardstock for the upper portion of my card to give the illusion that they are one continuous piece. I inked them up with a mix of inks to match my Copic coloring and then stitched around the edges of each before adhering my entire card panel to a card base.
Sunny Studio Supplies Used:
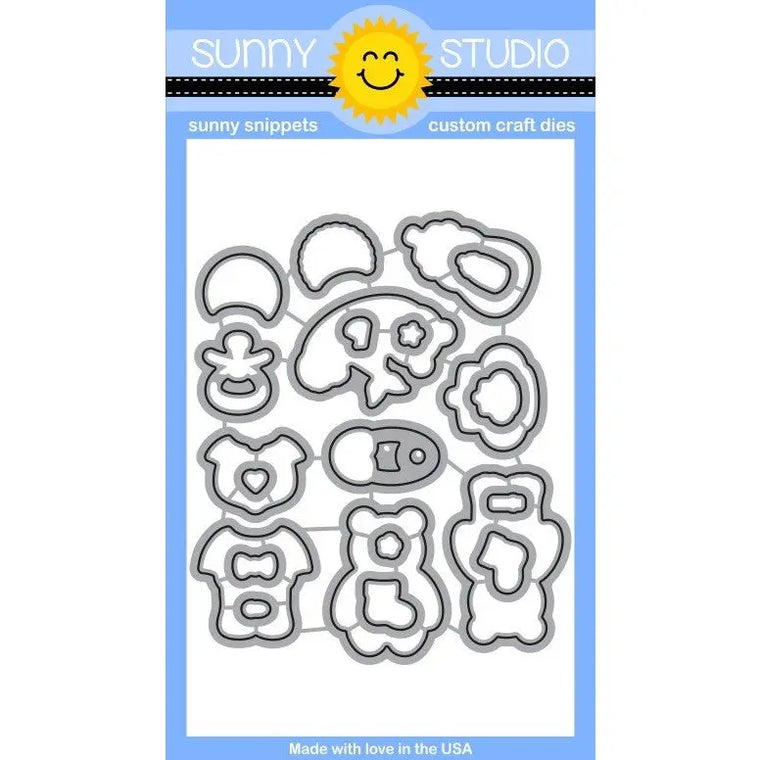
 Baby Bear Dies Shop at: Sunny Studio |
 Baby Bear Stamps Shop at: Sunny Studio |
 Basic Mini Shape Dies Shop at: Sunny Studio |
 City Streets Dies Shop at: Sunny Studio |
 City Streets Stamps Shop at: Sunny Studio |
 Sweet Shoppe Dies Shop at: Sunny Studio |
 Sweet Shoppe Stamps Shop at: Sunny Studio |
 Sweet Word Die Shop at: Sunny Studio |
 Basic Mini Shape Dies 2 Shop at: Sunny Studio | |


Adorable!!!!
ReplyDeleteHugs,
Jo
xo
I am so EXCITED for you to be featured over at Simon Says Stamp - such an incredible opportunity for you!! These cards were each one so awesome and so adorable - this new release is going to break my budget!!! Love you!!
ReplyDelete