Hello crafty friends, it’s Tina and today we are having a fun Penguin Party on the blog!! How sweet are these cuties from this new stamp and die set!
I went with a traditional Christmas color scheme and selected a beautiful snowflake paper from the Joyful Holiday paper pad. I used a mini slimline die to create the base panel. Next, I die cut the Wonky Window Dies which are perfectly sized to fit the cute penguins. I also love that these dies come connected so no measuring for placement is needed!
Crafters can be hoarders. I had a large roll of pink glitter washi tape in my stash forever and I finally decided to use it as the backdrop for my critters, along with three little snowbanks from white cardstock. Then I selected three adorable penguins from the Penguin Party set, colored them with Copic markers and added highlights with a white gel pen.
The sentiment comes from the same set. The bold ‘Merry’ was created by die cutting the pink glitter washi tape (added to a piece of cardstock) with the Chloe Alphabet dies. For dimension I added two layers of white letters underneath the glittery ones. But the pink glitter wasn’t vibrant enough to my liking, so I used a Copic marker to color the letters red instead. A few small branches and berries from the Winter Greenery dies were cut as extra embellishments.
To assemble the card, I added the pink glitter washi to the card base (after coloring the borders in the same red as the Merry sentiment), followed by the snowflake panel which I mounted with foam tape for dimension. After adhering the snowbanks, I included the penguins, gifts, greenery and finally the sentiment.
To make this card extra jolly, I adhered a little white pompom to each of the penguin’s hats. As a final embellishment I added a few of the Chrystal Clear Jewels scattered around the sentiment.
And so this sweet Christmas card is finished! Thank you for joining me on the blog and happy crafting!
----------------------------------------------------
Hello to
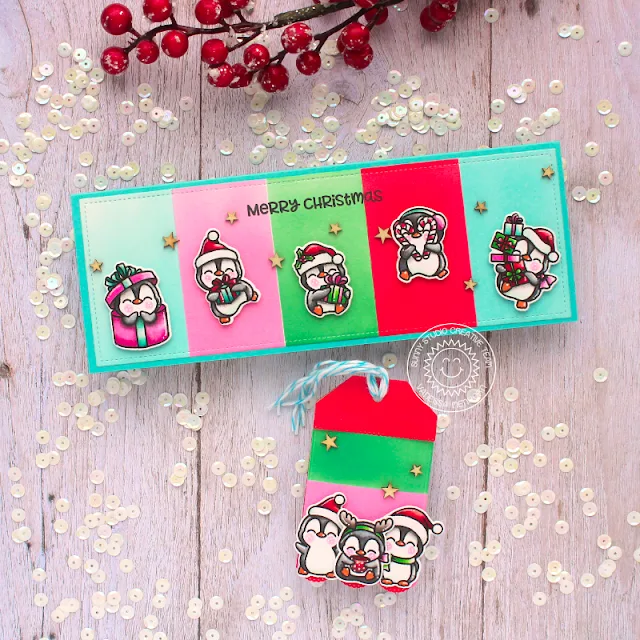
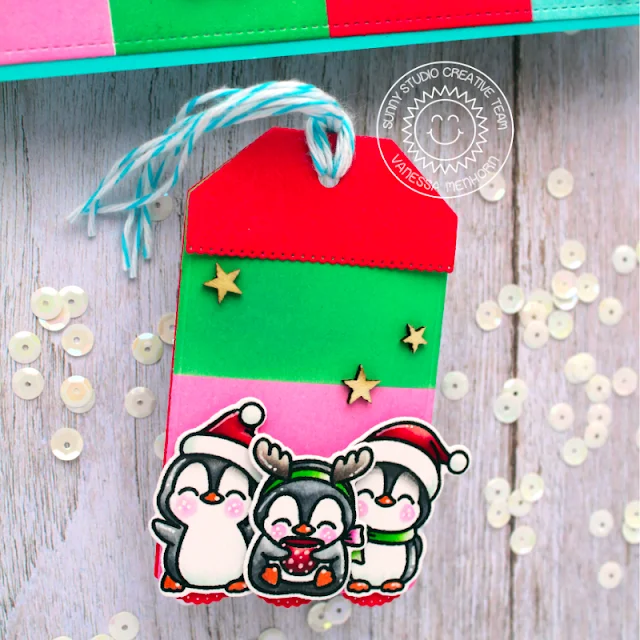
you! Vanessa here with a colorful Penguin Party card + tag.
I first die-cut the stitched panel using the Slimline Scalloped Frame Dies, masked off the five areas and inked them with Lucky Clover, Festive Berries, Kitsch Flamingo and Salvaged Patina Distress Oxide inks.
After I had removed the masks, I adhered the piece to my card base.
For the tag, I created my layers with the Mini Mat & Tag 3 Dies, inked them and assembled them with baker's twine. Now I stamped the penguins, colored them with Copics, die-cut the elements with the matching dies and adhered the pieces to the card and the tag with foam tape. Finally, I stamped the sentiment from Jolly Gingerbread and added wood veneer stars.
I hope these cuties made you smile today! Thanks for stopping by and happy weekend!
 Chloe Alphabet Dies Shop at: Sunny Studio |
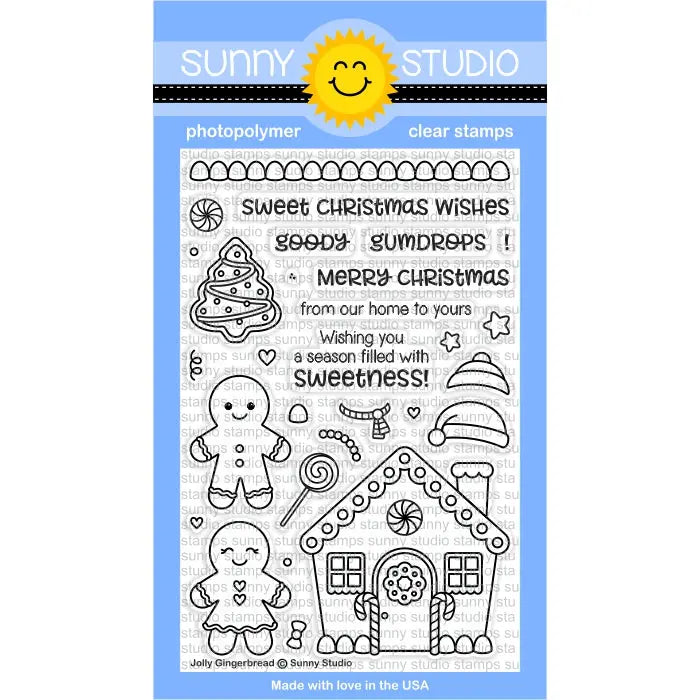 Jolly Gingerbread Stamps Shop at: Sunny Studio |
 Slimline Scalloped Frame Shop at: Sunny Studio |
 Winter Greenery DIes Shop at: Sunny Studio |
 Wonky Windows Die Shop at: Sunny Studio |
 Penguin Party Stamps Shop at: Sunny Studio |
 Penguin Party Dies Shop at: Sunny Studio |
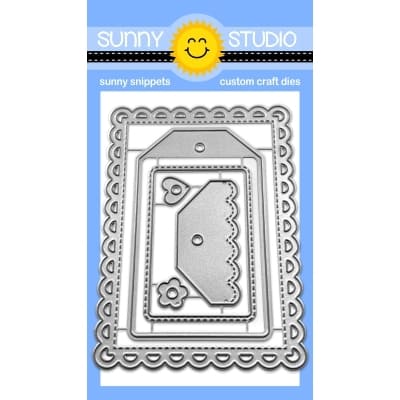 Mini Mat & Tag 3 Dies Shop at: Sunny Studio |
 Joyful Holiday Paper Shop at: Sunny Studio | |


