Friday, August 22, 2025

Sunflower Fields Fall Card Set with Mendi

Hello and welcome! This is Mendi here today, popping in to share some floral cards for Autumn using our beautiful Sunflower Fields Stamps.

Sunny Studio Fall Floral Flower Bouquet Autumn Cards by Mendi using Sunflower Fields Clear Craft Stamps & Metal Cutting Dies

First, I have a card with a wood embossed background using our Woodgrain Embossing Folder. I started by running the folder through my die-cutting machine with a piece of aqua-blue cardstock, and then I ran over the surface with two different distress crayons and used a damp cloth to blend them and buff out the waxy spots. These crayons came from Ranger's holiday sets #4 and #5 in Shiny Bauble and Juniper Berry, so they were special seasonal pearlescent colors with flecks of sparkly mica that give my background a beautiful glimmer in person. I used the layered images from our Sunflower Fields Stamps for the focal point for flowers and bees. I completed my card by stamping the word "hi" from our Hawaiian Hibiscus Stamps on a small tag from our Window Quad Square Dies, cutting off its top to make it look like a stitched pennant strip.

Sunny Studio Fall Floral Flower Autumn Card using Sunflower Fields Stamps, Window Quad Square Die, Woodgrain Embossing Folder

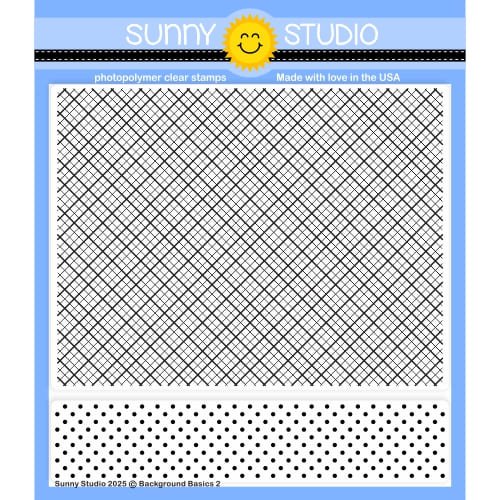
For my second card featuring the Sunflower Fields Stamps, I created a floral bouquet, adding another tag from the Window Quad Square Dies cut from kraft cardstock and stamped with the phrase "many thanks" from the same stamp set. For my background, I stamped the tone-on-tone diagonal mesh print from our Background Basics 2 Stamps, trimming off about 1/8" along the bottom so my white card base could peek out and provide a bit of contrast, visual interest, and balance with the top-heavy feeling of my flower bouquet. Lastly, I added a jute cording bow on the top of my tag to make it look tied around the bouquet.

Sunny Studio Fall Floral Flower Bouquet Autumn Thank You Card using Sunflower Fields & Background Basics 2 Stamps & Dies

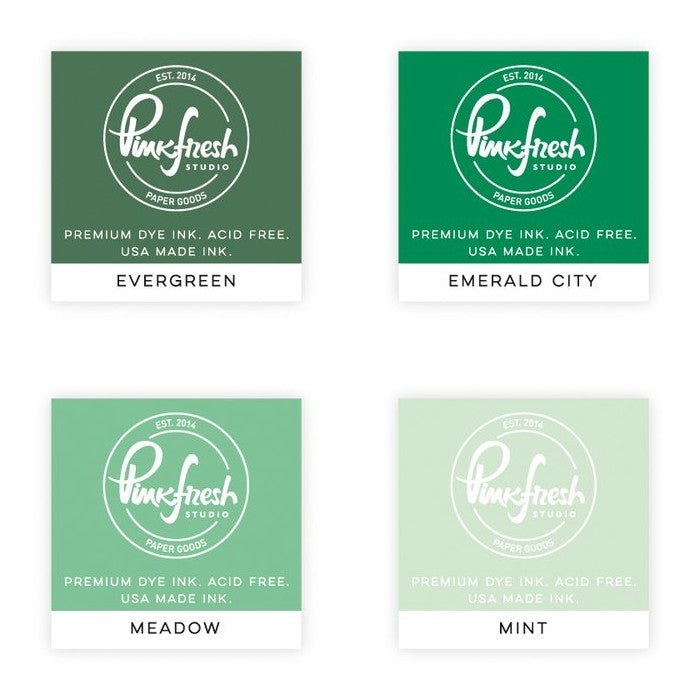
I am frequently asked which ink colors I used for my layered images. While I think there are so many great options out there, these are the colors I used today for my sunflowers from light to dark:


Leaves 
PinkFresh Grassy Knoll
PinkFresh Key Lime

PinkFresh Studio Olive
PinkFresh Studio Evergreen

That wraps up my projects for today. I hope I've inspired you in your own cardmaking and that you spread a little happiness by sending out a card to a loved one today.💛

Don't forget to check out the Sunflower Fields Stamps and Sunflower Fields Dies in our online shop, which are currently on sale Also, please check out all the card ideas using these sets on each of their product pages. I always make sure to upload tons of card ideas following the product image so there are lots of ideas to scroll through there organized by set. ðŸ’›.

Supplies Used:

Hawaiian Hibiscus Stamps
Shop at:
Sunny Studio
Sunflower Fields Stamps
Shop at:
Sunny Studio
Sunflower Fields Dies
Shop at:
Sunny Studio
Window Quad Square Die
Shop at:
Sunny Studio
Woodgrain Embossing
Woodgrain Embossing
Shop at:
Sunny Studio
Background Basics 2 Stamps
Shop at:
Sunny Studio
Versafine Clair Ink- Nocturne
Shop at:
Sunny Studio
Versafine Clair Ink- Acorn
Shop at:
Sunny Studio
PinkFresh Rise & Shine Ink
Shop at:
Sunny Studio
PinkFresh Over The Hills Ink
Shop at:
Sunny Studio
PinkFresh Garden Stroll Ink
Shop at:
Sunny Studio

Thursday, August 21, 2025

Critter Campout Card with Marine

Hello crafty friends, Marine here, I'm very happy to be back with this lovely little camping scene showcasing the adorable Critter Campout stamp set. Soon I'll be sharing autumn themed cards here, and I thought that this stamp set was just perfect to make a smooth transition between summer and fall.

Sunny Studio Stamps: Critter Campout Card by Marine Simon (featuring Stitched Rectangle Dies, Seasonal Trees, Country Scenes)

I started off by stamping all my images on 110lb Neenah solar white cardstock using an alcohol marker friendly black ink. I used the coordinating dies to cut them all, and colored everything using my Ohuhu markers and my Graph'it brush markers. I didn't use a bunch of stamp sets to create this card, but still, here is a detailed list of the ones I picked: • Critter Campout - critters, fire, tents, marshmallow sticks • Seasonal Trees - pine trees • Country Scenes - mountains.

Sunny Studio Stamps: Critter Campout Card by Marine Simon (featuring Stitched Rectangle Dies, Seasonal Trees, Country Scenes)

I added highlights and details to the images using a white gel pen, and then cut a Strathmore bristol smooth panel using the largest Stitched Rectangle. I created a cloudy sky using a stencil from my stash along with tumbled glass and broken china distress inks. Splattered water on the clouds and dried my panel with a paper towel, mixed broken china distress ink with water and added blue splatters to those clouds using a slim brush, and then did the same with copic opaque white ink.

Sunny Studio Stamps: Critter Campout Card by Marine Simon (featuring Stitched Rectangle Dies, Seasonal Trees, Country Scenes)

When my cloudy panel was dry, I attached my images, starting with the mountain landscape from Country Scenes using 1mm foam squares, leaving enough space for my greeting, and then I attached all the remaining images using 1mm and 2mm foam squares.

I stuck my panel to a slightly larger white one, next to a 5,5 x 4,25 inches brown panel and then to a white card base. And I finally stamped my "Together is my favorite place to be" greeting from Critter Campout right above my little scene. 

And that's it! Thanks so much for stopping by, and see you next time!

Sunny Studio Supplies Used:

Stitched Rectangle Dies
Shop at:
Sunny Studio
Critter Campout Stamps
Shop at:
Sunny Studio
Critter Campout Dies
Shop at:
Sunny Studio
Seasonal Trees Stamps
Shop at:
Sunny Studio
Seaonal Trees Dies
Seaonal Trees Dies
Shop at:
Sunny Studio
Country Scenes Stamps
Shop at:
Sunny Studio
Country Scenes Dies
Country Scenes Dies
Shop at:
Sunny Studio

Wednesday, August 20, 2025

A Cut Above Card with Tina

Hi crafty friends, Tina here with a cute ‘school themed’ card using the fun A Cut Above layering stamp and die set.

Sunny Studio Stamps: A Cut Above Card by Tina Henkens (featuring Panda Party, Crepe Paper Streamers Dies, Scalloped Oval Mat Dies)

As usual, I started with a white card base but this time I added extra texture to the front part by dry embossing with the Dapper Diamonds folderNext, I cut a panel from an adorable ‘heart’ paper (Subtle Grey Tones) with the largest of the Scalloped Oval Mat 1 dies. I knew I wanted to use bright colors for my pencils and this neutral paper is the perfect background.

After selecting several ink pads from my stash, I started the layering stamping for the fun pencil. A great tip here is to use the black pictures on your packaging to position the stamps. You get a much better view of how to add the next layer. With so much colors on this card, I selected three cute panda bears (Panda Party) and colored them with my Copic markers.

My combined sentiment was taken from the Balloon Rides set and I masked of a part of the saying with post-it tape so it reads ‘Just a note’ now (Versafine Onyx Black ink).

Sunny Studio Stamps: A Cut Above Card by Tina Henkens (featuring Panda Party, Crepe Paper Streamers Dies, Scalloped Oval Mat Dies)

To assemble the card, I glued the oval panel to the embossed card base with liquid glue. Then I added one pencil vertical, so I had a place for the bears to sit and stand. The other four pencils were added with foam tape following rainbow order. My little sentiment banner was centered on top of these pencils. Then I concluded that the card was cute, but it was missing ‘something’!

I browsed through my dies and found a small streamer die (Crepe Paper Streamer dies) which was the perfect filler. I die cut several pieces and cut them to size before gluing them on the grey oval. I added a few White Diamond jewels as a final embellishment.

I can’t wait to see your projects with these products! Thank you for visiting the blog and happy crafting!

Sunny Studio Supplies Used:

Dapper Diamonds Embossing
Shop at:
Sunny Studio
Subtle Grey Tones Paper
Shop at:
Sunny Studio
Scalloped Oval Mat 1 Dies
Shop at:
Sunny Studio
Panda Party Stamps
Panda Party Stamps
Shop at:
Sunny Studio
Panda Party Dies
Panda Party Dies
Shop at:
Sunny Studio
A Cut Above Stamps
A Cut Above Stamps
Shop at:
Sunny Studio
A Cut Above Dies
A Cut Above Dies
Shop at:
Sunny Studio
Crepe Paper Streamers Dies
Shop at:
Sunny Studio
Balloon Rides Stamps
Shop at:
Sunny Studio

Tuesday, August 19, 2025

Fall Friends Card with Amanda

Hey crafty friends! It’s Amanda here with you celebrating BACK TO SCHOOL time!  I can’t believe summer is coming to a close already! But, it’s time to make those teacher cards! So, I’m here with you today sharing this adorable card I made for one of my kids’ teachers! I created a lot of layers for this card to give it a ton of dimension!

Sunny Studio Stamps: Fall Friends Back To School Teacher Card by Amanda Fitterer (featuring Fall Scenes, Punny Apple Greetings)

First, I grabbed a piece of white cardstock and trimmed it to 4.25”x5.5”. On this panel, I lightly blended Catherine Pooler’s Oh Boy! ink all around the panel, focusing on the top portion. This will be for my background and the sky.

Next, on another piece of white cardstock trimmed to 4.25”x5.5”, I stamped the fence and tree image from the Fall Scenes Stamps. This stamp has available coordinating dies, so I used the appropriate die to cut out the top part of the panel. Then, I colored the entire scene with Copic markers. I placed 3D foam strips behind the grass, fence, and tree and then adhered it to my background panel.

The cute critters, applies, wagon, tree stump, and basket images come from the Fall Friends Stamps. I satmped extra apples, since this card is for a teacher! I colored all the images in with Copic markers. I added a few highlights with a white Gelly Roll pen. Then, I die cut each image out with the coordinating dies.

Sunny Studio Stamps: Fall Friends Back To School Teacher Card by Amanda Fitterer (featuring Fall Scenes, Punny Apple Greetings)

I adhered 3D foam squares behind all the images. For some images, I needed to add an extra layer of foam squares to prop them up higher (such as the deer). Then, I added everything to the scene.

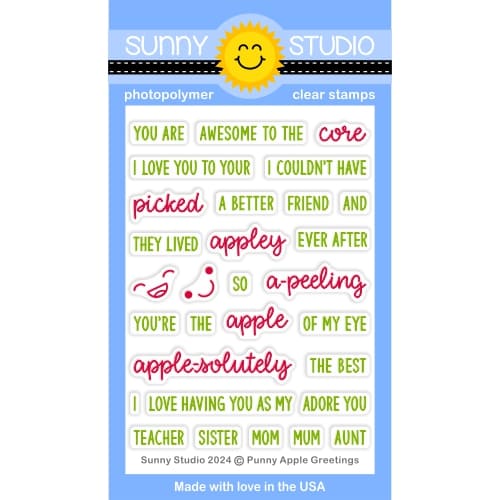
My sentiment comes from the Punny Apple Greetings Stamps. First, I grabbed a piece of scrap white cardstock. I stamped the word “picked” with Catherine Pooler Rouge ink first. Then, I placed the other words on each side and stamped them with black ink. I trimmed the cardstock down into a long strip and cut a little ribbon end. I put 2 layers of foam strips behind the sentiment and added it to the card to finish it off!

That’s all for me today, friends! I hope you’re feeling inspired to make something crafty today!

Sunny Studio Supplies Used:

Fall Friends Stamps
Fall Friends Stamps
Shop at:
Sunny Studio
Fall Friends Dies
Fall Friends Dies
Shop at:
Sunny Studio
Fall Scenes Stamps
Fall Scenes Stamps
Shop at:
Sunny Studio
Fall Scenes Dies
Fall Scenes Dies
Shop at:
Sunny Studio
Punny Apple Greetings
Shop at:
Sunny Studio

Monday, August 18, 2025

School Time Teacher Appreciation Cards with Mendi

Hello and welcome! This is Mendi, popping in today to share some cards for teachers showcasing our School Time Stamps.

Sunny Studio You Rule Ruler, Pencil, Crayon & Apple Teacher Appreciation Thank You Cards using School Time Clear Craft Stamps

For my first card of the day using the School Time Stamps, I created a colorful rainbow card using the crayon image from the set. I share a template to download below that helped me line them up to form a perfect circle reminiscent of a sunburst. When I was done positioning them on my cardstock, I used some 3M Micropore tape to hold a 4.5" Stitched Square Die in place while running the entire piece through my die-cutting machine. I matted the piece with a 5" square piece of black cardstock. I then stamped the "Thank You Teacher" sentiment from the set in the center and added a small die-cut heart from the Basic Mini Shape 2 Dies that I colored hot pink to match two of the crayons.

Sunny Studio Thank You Teacher Appreciation Radiating Crayons Sunburst Card using School Time Clear Photopolymer Craft Stamps

Here's a closer look at the radiating crayons. I hadn't revisited these images in a long time, and I had so much fun coloring them! It felt like a full circle moment (no pun intended) knowing this was the second stamp set I ever designed as a brand new company owner, still learning how to use the design software, and here I am now playing with them again ten years later. I love how the black stripe on the labels of the crayons forms a visual circle when all lined up!

Sunny Studio Thank You Teacher Appreciation Radiating Crayons Sunburst Card using School Time Clear Photopolymer Craft Stamps

To create the perfectly symmetrical spokes for my circle, I have designed a free PDF for you to download and print directly onto cardstock. This template could be used for all sorts of images. Also, because I wanted to be able to hide the lines after I had my crayons in place, I only made the portion that would be hidden under the crayons print out so you can use a pencil with a ruler to attach the spokes with light lines that are easy to erase after your images are adhered. 

I also used the We R Memory Keepers Nesting Circle Dies to trace around the outside edge so I would have a visual line to align the bottom portion of each crayon. If you don't have something large enough to trace around, you could also achieve a similar result by tracing a smaller circle in the middle to line up with the crayon tips. However, I must confess these dies are the most-used dies in my craft room. If you don't own a set already, I highly recommend them. I'm so thrilled We R Memory Keepers decided to bring them back out of retirement! The set includes 21 dies that create circles from .5" To 5.5" in size. It's tough to find other sets that go that large, and those larger die sizes are always so helpful!

Sunny Studio Radiating Crayons Sunburst Teacher Thank You Card Free Template Download using School Time Clear Craft Stamps

For my second card, I inked up four strips of white cardsock with bright primary colored distress inks and then stamped the ruler from the School Time Stamps. I trimmed each ruler down using my paper trimmer and then used a Memento Black Tuxedo Marker to ink the edges to keep them looking crisp black. I then used the rulers to frame the front of my 4.5" wide x 5.5" high card base. I made the card a bit wider than a typical A2-sized card because I felt the extra .25" width better framed my focal point images, which included the notebook paper, two pencils, and a shiny red apple. I used the punny "You Rule Teacher" greeting from the set to stamp directly onto the lines of the notebook paper using red ink. Lastly, I used my We R Memory Keeper Crop A Dile to punch three 1/8" circles for the holes of my notebook paper.

Sunny Studio You Rule Ruler, Notebook, Pencil & Apple Teacher Appreciation Thank You Card using School Time Clear Craft Stamp

It was challenging to capture the beautiful texture in the background of my card for my first photo. I added a tone-on-tone black embossed polka-dot by repeating the polka-dot border from our Background Basics 2 Stamps using Versamark Clear Ink with Hero Arts Clear Embossing Powder.

Sunny Studio You Rule Ruler Teacher Appreciation Thank You Card using School Time & Background Basics 2 Clear Craft Stamps

That wraps up my projects for today. Thanks so much for hanging out with me. I hope I've inspired you to spread a little happiness by sending out a card to someone you love. 💛

Don't forget to check out our School Time Stamps and Dies in our online shop, which are currently on sale! This set is retired so once these sell out they won't be restocked.

Also before you go, today is the final day of our 10th birthday sale!!! Use the discount code TENYEARS to save 20% on all Sunny Studio branded products (excludes retired items already on sale) through Monday, August 25th at Midnight PDT. Plus, all retail orders that exceed $100 will automatically receive free shipping. Limit one discount code per order.

Birthday Sale: Save 20% off on Sunny Studio branded products (excluding retired items) using code TENYEARS through 8/25/25

Supplies Used:

School Time Stamps
School Time Stamps
Shop at:
Sunny Studio
School Time Dies
School Time Dies
Shop at:
Sunny Studio
Versafine Onyx Black Ink
Shop at:
Sunny Studio
Basic Mini Shape Dies 2
Shop at:
Sunny Studio
Stitched Square Dies
Shop at:
Sunny Studio
Background Basics 2 Stamps
Shop at:
Sunny Studio
Xyron Adhesive Eraser
Shop at:
Sunny Studio
Zig Chisel Tip Glue Pen
Shop at:
Sunny Studio
Tsukineko Jumbo Dauber
Shop at:
Sunny Studio
PinkFresh Studio Blending Brushes
Shop at:
Sunny Studio
Hero Arts Ultra Fine Clear
Shop at:
Sunny Studio
VersaMark Watermark Ink
Shop at:
Sunny Studio
We R Nesting Circles Dies
Shop at:
Sunny Studio