To begin I first stamped out all my images from Purrfect Birthday onto some watercolour cardstock, stamped them in black ink and clear heat embossed over them. I then used my Zig Clean Color Real Brush Markers to colour them in. Once they were coloured I die cut them out using the coordinating dies.
Next, I used the Fancy Frames Circles dies and cut the middle circle from some white cardstock, then used some washi tape to adhere both frames together on the back. While I was die cutting, I also used some rectangle frames to cut out two pieces of watercolour paper. I pulled one of the rectangles and used my scissors to cut it down into a hill piece and left the other whole. I then used some Distress Inks to colour each of the pieces in. I used Tumbled Glass and Peacock Feathers for the full piece and Antique Linen and Gathered Twigs for the hill cut piece. I then adhered acetate onto the back of my circle piece and added foam tape around it. Now I was ready to assemble.
Zigs Used: 220 Tea Rose, 22 Carmine Red, 27 Dark Pink, 21 Light Carmine, 23 Scarlet Red, 50 Yellow, 67 Mustard, 70 Orange, 61 Light Brown, 95 Dark Grey, 80 Violet, 33 Persian Green, 41 Light Green, 31 Cobalt Blue, 96 Mid Grey, 64 Oatmeal, 901 Grey Tint, 62 Dark Brown, 900 Warm Grey 2
I first added some sequins onto my blue background and adhered my circle frames piece over the top. Then, I added foam tape to my hill piece and adhered that down also at the bottom. I used some foam tape for my cats and adhered them down along the bottom also. To finish up, I stamped the sentiment 'Hoping Your Birthday Is Purrfect' onto the bottom of my hill piece also. Lastly, I adhered the entire panel to a green piece of patterned paper that I adhered to my card base.
Thanks so much for stopping by and I'll catch you next time!
Sunny Studio Supplies Used:
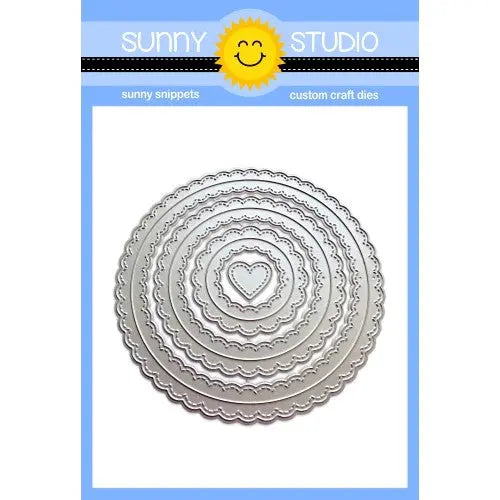 Fancy Frames-Circle Dies Shop at: Sunny Studio |
 Purrfect Birthday Stamps Shop at: Sunny Studio |
 Purrfect Birthday Dies Shop at: Sunny Studio |


