Showing posts with label Video Tutorial. Show all posts

Wednesday, February 24, 2021

Captivating Camellias Cards and Video Tutorial with Franci and Julia

Happy Wednesday Sunny Studio friends! Franci here with you today, showcasing the new Captivating Camellias set.

Sunny Studio Stamps: Captivating Camellias Layered Basket Banner Basics Mother's Day Card by Franci Vignoli

I started by creating my card base out of white cardstock, then covered the front with some patterned paper from the Subtle Grey 6x6 paper set. Then I stamped all my flowers and the little basket from the Layered Basket set with some inks from the Memento Drops ink family and cut them out with their coordinated dies.

Sunny Studio Stamps: Captivating Camellias Layered Basket Banner Basics Mother's Day Card by Franci Vignoli

Then I arranged all my flowers and leaves (I felt like a real florist! Ha!) and I secured them all down with foam adhesive. I stamped my sentiment into a banner from the Banner Basics setcut it out and glued it on top of my basket, then I added some clear sequins here and there to finish up my design.

Another card that brought me out of my comfy zone but I'm so happy about how it turned out! Hope you like it too and that you are now inspired to create, have a lovely day!

-------------------------------------------------

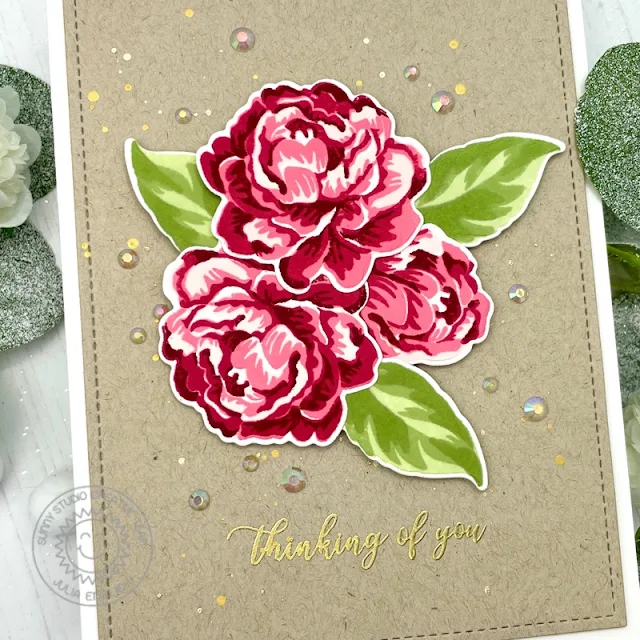
Hey crafty friends! I hope you are having a good week so far! It's Julia here - this time with a floral sympathy card. It's always unfortunate to have to send such cards, but I do like to at least have one or two on hand in case I need it. 

Sunny Studio Stamps: Captivating Camellias Frilly Frame Dies Sympathy Card by Julia Englich


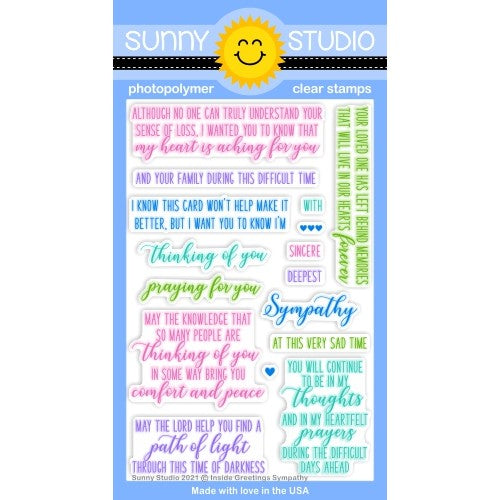
I kept this one really clean and simple, so that the beautiful flowers from the Captivating Camellias, the stitched mat from the Frilly Frames Retro Petals Dies and the gorgeous script from the Inside Sympathy Greetings stamp sets really stand out! 

Sunny Studio Stamps: Captivating Camellias Frilly Frame Dies Sympathy Card by Julia Englich


If you would like to see how this card was made, you can watch the video below - or on my YouTube channel, Craft Room Adventures.


Inks used: Altenew Floral 6 Crisp Dye Ink Mini Cube Set. 

Thank you so much for spending this time with me today! Have a wonderful week!

Sunny Studio Supplies Used:

Frilly Frames Retro Petals Dies
Shop at:
Sunny Studio
Subtle Grey Tones Paper
Shop at:
Sunny Studio
Banner Basics Stamps
Shop at:
Sunny Studio
Banner Basics Dies
Banner Basics Dies
Shop at:
Sunny Studio
Captivating Camellias Stamps
Shop at:
Sunny Studio
Captivating Camellias Dies
Shop at:
Sunny Studio
Inside Greetings Sympathy
Shop at:
Sunny Studio
Layered Basket Stamps
Shop at:
Sunny Studio
Layered Basket Dies
Layered Basket Dies
Shop at:
Sunny Studio

Wednesday, February 3, 2021

Garden Fairy Cards and Video Tutorial with Franci and Julia

Happy Wednesday everyone! It's Franci here with you, with a magical card featuring the new Garden Fairy set. I fell in love immediately with these super cute images, so adorable!

Sunny Studio Stamps: Garden Fairy Spring Shower Birthday Card by Franci Vignoli

First of all I stamped all my images, adding some clouds from the Spring Shower set, colored them with Copics and die cut them out. I went for a super soft look and I also added some details with a white gel pen.

Sunny Studio Stamps: Garden Fairy Spring Shower Birthday Card by Franci Vignoli

Then I created my card out of white cardstock, masked the front bottom and inked the top with the Worn Lipstick Distress ink oxide. I glued all my images down with a combo of liquid glue and foam adhesive and I also added some googly eyes to my little snail. Then I stamped my sentiment and added a few clear sequins here and there to finish my design.

I'm so in love with this clean and simple card!! Hope you like it too and thanks a lot for stopping by today!

----------------------------------------------

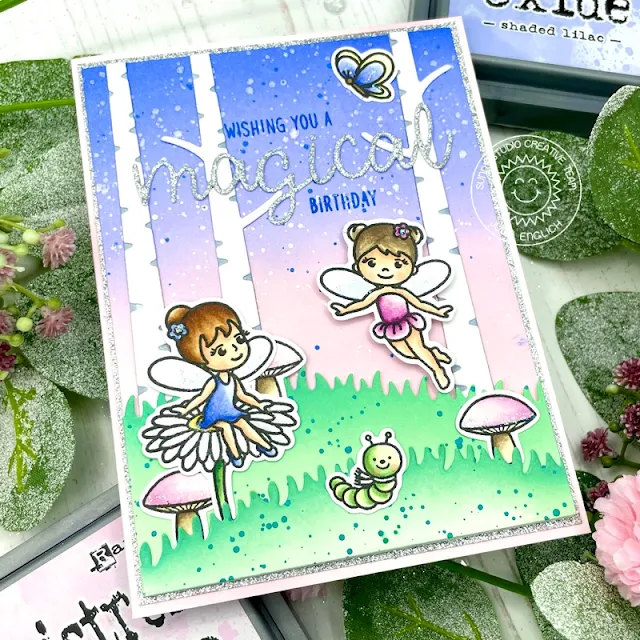
Hello crafty friends! I hope you are doing well! It’s Julia here - this time with a magical birthday card. I don't know about you, but I am always running low on birthday cards. So this year I am determined to make lots of them! I created this magical forest featuring the super adorable Garden Fairy stamp set! Those fairies really are just the cutest!

Sunny Studio Stamps: Garden Fairy Rustic Winter Dies Home Sweet Gnome Birthday Card by Julia Englich


To build my scene I also used the little mushrooms, the cute little caterpillar and birdie from Home Sweet Gnome stamp set, as well as the Slimline Nature Borders and Rustic Winter dies!

Sunny Studio Stamps: Garden Fairy Rustic Winter Dies Home Sweet Gnome Birthday Card by Julia Englich

For my sentiment I used the Santa Clause Lane and Garden Fairy stamp sets and also my new favorite alphabet dies: the Loopy Letters!

If you would like to see how this card came together, you can watch the video below - or on my YouTube channel, Craft Room Adventures.


Inks used: background: Spun Sugar, Shaded Lilac and Blueprint Sketch Distress Oxide. Grass: Cracked Pistachio and Pine Needles Distress Oxide. Copic Markers used: Y000, Y00, Y11; E000, E00, E11, R20; E30, E31, E33, E35; E40, E41, E43, E44; G20, G21, G24, G28; C0, C2; BG0000, BG10, BG11; B60, B63, B66; RV0000, RV000, RV63, RV66.

Thank you so much for spending this time with me today! Have a wonderful week!

Sunny Studio Supplies Used:

Home Sweet Gnome Stamps
Shop at:
Sunny Studio
Home Sweet Gnome Dies
Shop at:
Sunny Studio
Loopy Letters Dies
Loopy Letters Dies
Shop at:
Sunny Studio
Rustic Winter Dies
Rustic Winter Dies
Shop at:
Sunny Studio
Santa Claus Lane Stamps
Shop at:
Sunny Studio
Spring Showers Stamps
Shop at:
Sunny Studio
Spring Showers Dies
Spring Showers Dies
Shop at:
Sunny Studio
Slimline Nature Borders
Shop at:
Sunny Studio
Garden Fairy Stamps
Garden Fairy Stamps
Shop at:
Sunny Studio
Garden Fairy Dies
Garden Fairy Dies
Shop at:
Sunny Studio

Wednesday, January 27, 2021

Layered Basket Cards and Video Tutorial with Franci and Julia

Hello there! Franci here with you today, showcasing the new Layered Basket set.

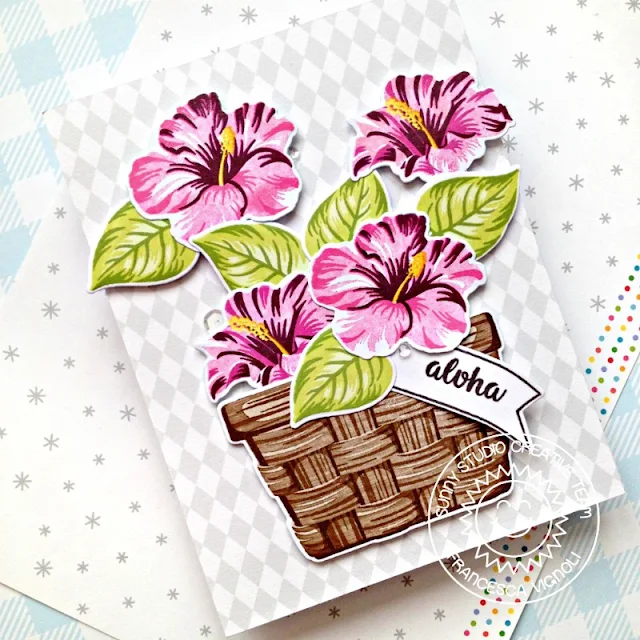
Sunny Studio Stamps: Layered Basket Hawaiian Hibiscus Banner Basics Floral Card by Franci Vignol

First of all I created my card base out of white cardstock and covered the front with this soft grey patterned paper from the Subtle Grey Tones 6x6 paper set.

Then I stamped my basket plus all these lovely flowers and some leaves from the Hawaiian Hibiscus set with various inks from the Memento ink drops family. I also stamped a banner from the Banner Basics set and my sentiment on it.

Sunny Studio Stamps: Layered Basket Hawaiian Hibiscus Banner Basics Floral Card by Franci Vignol

I arranged my elements onto the front of my card and glued everything down with foam adhesive. Finally I added some sequins here and there to finish my design.

As you know layering sets are way out of my comfy zone but I had so much fun creating this card and it was super easy as well. I hope you like it as much as I do and thank you for stopping by today.

-------------------------------------------------

Hello crafty friends! I hope you are doing well! It’s Julia here with a Spring themed card using the gorgeous Layered Basket and Captivating Camellias stamp sets! 

Sunny Studio Stamps: Layered Basket Captivating Camellias Fluffy Clouds Floral Spring Themed Cards by Julia Englich


This was my very first time ever playing with layering stamp sets and I had so much fun! I don’t own a lot of inks (yet ;-)) that can be used for layering, so instead of going out and buying more, I thought I would try using what I have – so Distress Inks to the rescue! Now these are not amazing for stamping, but they sure did the trick for this beautiful basket! All those layers of dimensions made sure that any stamping imperfections weren’t even visible after I was done. So happy that worked out!

Sunny Studio Stamps: Layered Basket Captivating Camellias Fluffy Clouds Floral Spring Themed Cards by Julia Englich

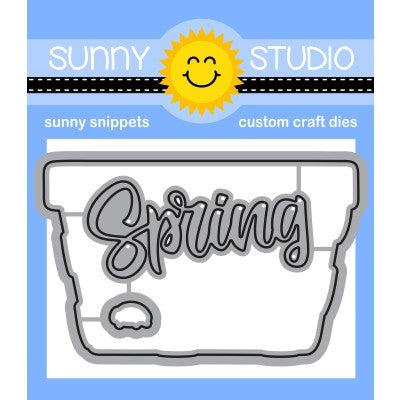
For the sentiment I used the beautiful script word die that comes with the coordinating dies for the Layered Basket as well as the “hello” from the Captivating Camellias stamp set! To the background I also added some white Fluffy Clouds and a grassy hill die cut with the Slimline Nature Borders.

If you would like to see how this card was made, you can watch the video below - or on my YouTube channel, Craft Room Adventures.


Inks used: background: Tumbled Glass and Salty Ocean Distress Oxide Ink; basket: Antique Linen, Tea Dye, Vintage Photo, Walnut Stain Distress Inks; flowers: Altenew Floral 6 Crisp Dye Ink Mini Cube Set. 

Thank you so much for stopping by! Wishing you a wonderful day!

Sunny Studio Supplies Used:

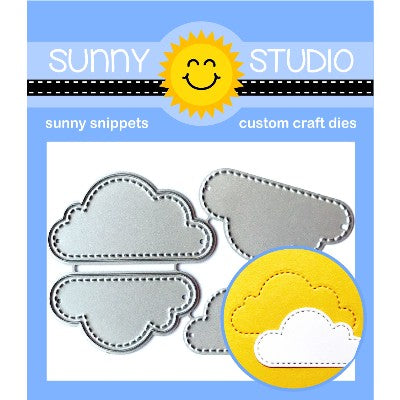
Fluffy Clouds Dies
Fluffy Clouds Dies
Shop at:
Sunny Studio
Hawaiian Hibiscus Stamps
Shop at:
Sunny Studio
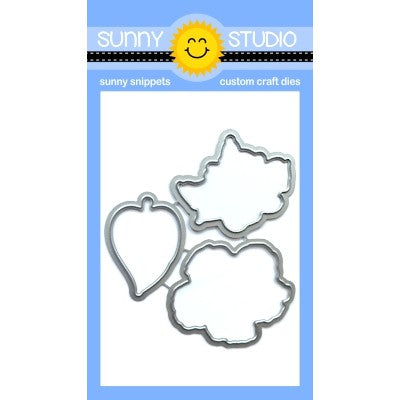
Hawaiian Hibiscus  Dies
Hawaiian Hibiscus Dies
Shop at:
Sunny Studio
Subtle Grey Tones Paper
Shop at:
Sunny Studio
Banner Basics Stamps
Shop at:
Sunny Studio
Banner Basics Dies
Banner Basics Dies
Shop at:
Sunny Studio
Slimline Nature Borders
Shop at:
Sunny Studio
Captivating Camellias Stamps
Shop at:
Sunny Studio
Captivating Camellias Dies
Shop at:
Sunny Studio
Layered Basket Stamps
Shop at:
Sunny Studio
Layered Basket Dies
Layered Basket Dies
Shop at:
Sunny Studio

Wednesday, January 13, 2021

Stitched Circle Die Focused Cards and Video Tutorial with Franci and Julia

Hi there and happy Wednesday! It's Franci here with you today, with a super cute rocking mini rainbow card. Aww look how cute is this!! 

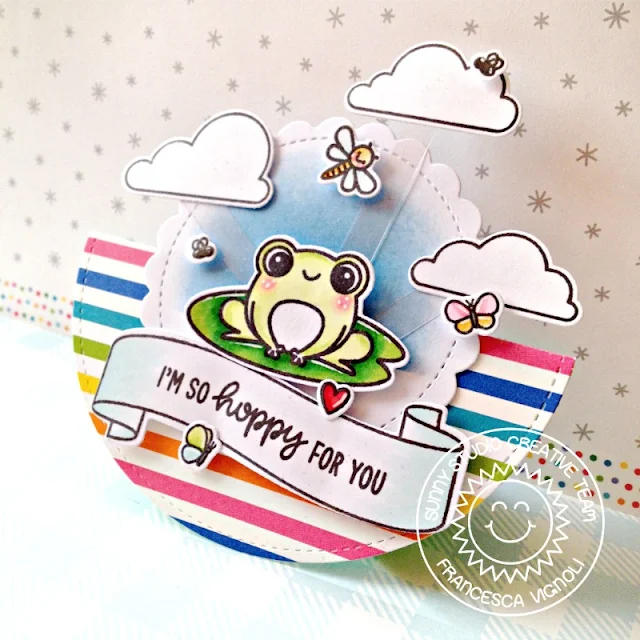
Sunny Studio Stamps: Stitched Circle Dies Scalloped Circle Mat Dies Feeling Froggy Everyday Card by Franci Vignoli

I combined lots of new products here: the Stitched Circle Large dies, the Scalloped Circle Mat 1 set and the Feeling Froggy mini set.

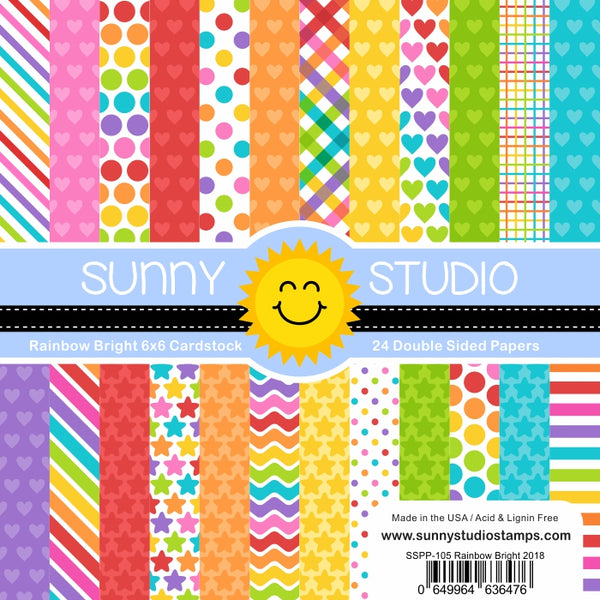
First of all I die cut a stitched circle out of some rainbow patterned paper from the Rainbow Bright 6x6 paper set and a scalloped one out of white cardstock. I inked the center of my scalloped circle with some blue distress ink and then I moved on to my images.

Sunny Studio Stamps: Stitched Circle Dies Scalloped Circle Mat Dies Feeling Froggy Everyday Card by Franci Vignoli

I added some older images to my little scene here, as some clouds from the Spring Showers set and the sentiment banner from the Banner Basics set. I stamped them all on white cardstock, then colored them with Copics and cut them out with their coordinated dies. 

Sunny Studio Stamps: Stitched Circle Dies Scalloped Circle Mat Dies Feeling Froggy Everyday Card by Franci Vignoli

I folded my rainbow circle in half and I assembled my scene/ card by securing everything down with a combo of liquid glue and foam tape. The secret here is to make sure to glue the scalloped circle just onto one of the half circle we created by folding the rainbow circle. That's why I attached some elements with acetate stripes, cause they were hanging off the scalloped circle, on the top.

This mini card is so cute and it's so much fun in real life by being interactive! As you can see it does fit completely flat on a standard size envelope so it's also easy to mail, a plus! Hope you are now inspired to create and thanks a lot for stopping by!

------------------------------------------------

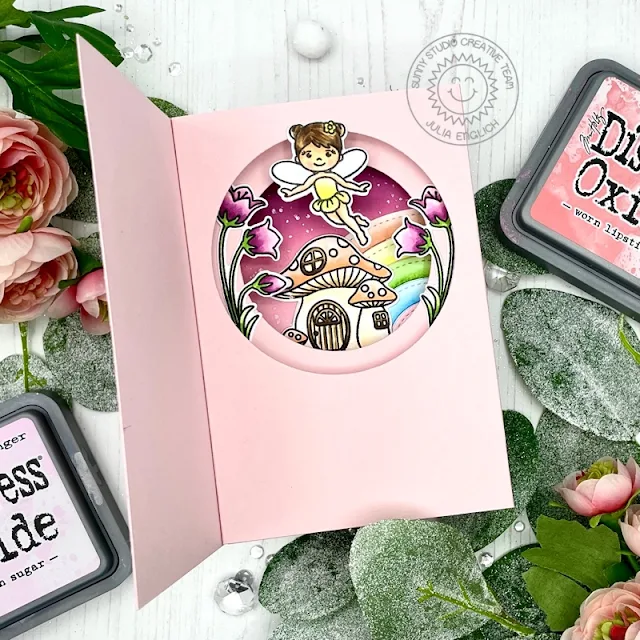
Hey crafty friends! I hope you are doing well! It's Julia here with a card featuring the new Stitched Circle Large dies and the Stitched Circle Small dies.

Sunny Studio Stamps: Stitched Circle Dies Scalloped Circle Mat Dies Garden Fairy Interactive Card by Julia Englich

I absolutely love the versatility of basic dies, so I decided to use the circles to create an interactive inside tunnel card - and a little rainbow, too!

Sunny Studio Stamps: Stitched Circle Dies Scalloped Circle Mat Dies Garden Fairy Interactive Card by Julia Englich

I paired the circles with the super adorable Garden Fairy stamp set, the Scalloped Circle Mats 3, Loopy Letters and Slimline Nature Borders dies to create two cute little scenes!

Sunny Studio Stamps: Stitched Circle Dies Scalloped Circle Mat Dies Garden Fairy Interactive Card by Julia Englich

If you would like to see how this card came together, you can watch the video below - or on my YouTube channel, Craft Room Adventures.


Inks used: Spun Sugar, Worn Lipstick, Seedless Preserves Distress Oxides

Copic Markers used: Green: YG 11, YG 13, YG 17; Red / Orange: R000, R00, R02; Yellow: Y000, Y00, Y11, Y13; Blue: B000, B00, B02; Purple: RV10, RV63, RV66; Skintone: E000, E00, E11, R20; Browns: E50, E51 E53, E55, E57, E59

Thank you so much for stopping by! Wishing you all a wonderful day!

Sunny Studio Supplies Used:

Rainbow Bright 6x6 Paper
Shop at:
Sunny Studio
Loopy Letters Dies
Loopy Letters Dies
Shop at:
Sunny Studio
Banner Basics Stamps
Shop at:
Sunny Studio
Banner Basics Dies
Banner Basics Dies
Shop at:
Sunny Studio
Spring Showers Stamps
Shop at:
Sunny Studio
Spring Showers Dies
Spring Showers Dies
Shop at:
Sunny Studio
Slimline Nature Borders
Shop at:
Sunny Studio
Feeling Froggy Stamps
Shop at:
Sunny Studio
Feeling Froggy Dies
Feeling Froggy Dies
Shop at:
Sunny Studio
Garden Fairy Stamps
Garden Fairy Stamps
Shop at:
Sunny Studio
Garden Fairy Dies
Garden Fairy Dies
Shop at:
Sunny Studio
Scalloped Circle Mat 1 Dies
Shop at:
Sunny Studio
Scalloped Circle Mat 3 Dies
Shop at:
Sunny Studio
Stitched Circle Small Dies
Shop at:
Sunny Studio
Stitched Circle Large Dies
Shop at:
Sunny Studio