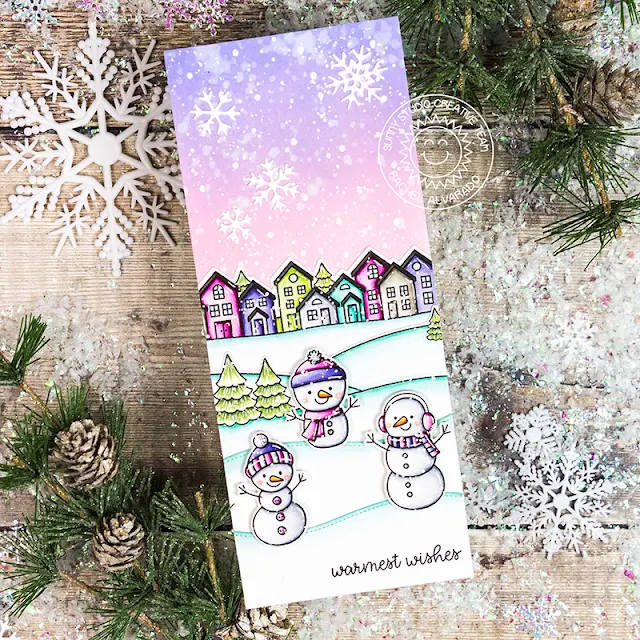
Hello everyone, Leanne here! I have a fun
holiday card to share featuring the cutest little hedgehog from a special mini
set called Hedgey Holidays. I used the hedgehog, which is almost
perfectly symmetrical, to make this into a spinner card, When the recipient
opens the card, the hedgehog spins.
Spinner cards are very easy to make. You just need to
make two of the spinning element to adhere back to back. For this card I
started by die cutting a frame for the spinner. I used the Layered Snowflake Frame to
cut out the opening in the card front and a separate A2 size panel which has a
light sponging of Tumbled Glass Distress Ink around the edges. I Copic
colored two hedge hogs and fussy cut them out. I then adhered some clear
thread between the two hedgehog images. Using some strong adhesive, I
secured the ends of the thread to the card front so the hedgehog is centered
within the opening. I then adhered the inked panel over top. I
added some snowflakes and holly leaves on both sides of the spinning hedgehog.
To finish off the
front of the card, I added some stamped pines sprigs with berries and a two part greeting. I die cut the large Happy Word from green glitter card stock to layer behind a sentiment
strip white heat embossed with hedge holidays.
I also needed to decorate the inside of the card since a large part of it can be seen through the snowflake frame opening. I made masks by die cutting snowflakes out of Post It Note paper. I placed the snowflake masks in a random arrangement and then gently sponged on some Candied Apple Distress Oxide Ink. I removed the masks and then splattered with thinned red paint.
-------------------------------------------------------------
Hi friends, Eloise here and today I’m using the Hedgey Holidays Stamp Set along with Scenic Route to create my Christmas card today.
I
started off with stamping out my images and colouring them in with Copic
Markers. I then cut them all out with the coordinating dies.
(Copic Markers Used: E40, E41, E42, E43, E44, E47, E79 / R00, R30 / R14, R17, R24, R39 / RV11, RV25 / YG03, YG17 / BG11, BG49 / Y13 / B00, B12 / R20, R22)
(Copic Markers Used: E40, E41, E42, E43, E44, E47, E79 / R00, R30 / R14, R17, R24, R39 / RV11, RV25 / YG03, YG17 / BG11, BG49 / Y13 / B00, B12 / R20, R22)
I
added foam tape to the backs of the lights and adhered them onto an off-white
card base. I then added foam to the back of the hedgehog and adhered that into
the centre also. Lastly, I stamped the sentiment ‘Christmas Hedgehugs’ onto the
card base.
All retail purchases of any size will have 10% donated to Convoy
of Hope to help with children’s feeding
initiatives and disaster response.
And as always orders will also come with our mini holiday light bulb die (not pictured).
And as always orders will also come with our mini holiday light bulb die (not pictured).
Sunny Studio Supplies Used:
 Happy Word Die Shop at: Sunny Studio |
 Season's Greetings Stamps Shop at: Sunny Studio |
 Scenic Route Stamps Shop at: Sunny Studio |
 Scenic Route Dies Shop at: Sunny Studio |
 Layered Snowflake Frame Shop at: Sunny Studio |
 Snowflake Circle Frame Shop at: Sunny Studio |


