I used these great Sunny Studio products for my card:
- Tool Time stamps & coordinating dies
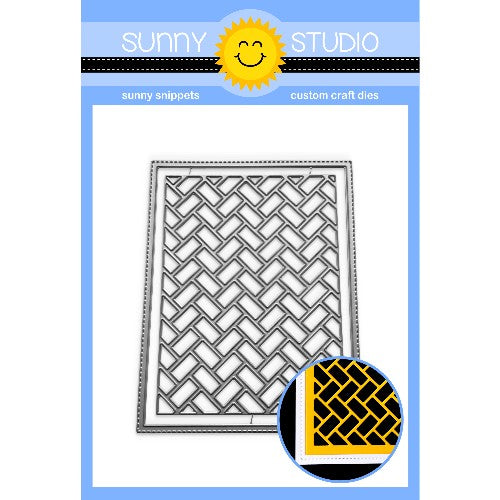
- Frilly Frames Herringbone die
- Stitched Semi-Circle dies
- Dots & Stripes Pastel 6x6
paper
I began the background by trimming some Kraft cardstock to fit
just a little smaller than my card front and die cut the herringbone pattern in the center. I then used my cameo silhouette to die cut out the bold DAD using the blue striped pattern paper.
Next, I die cut three stitched semi circles, stamped them with a
repeated pattern using the saw and colored them in
with copic markers.
To put the card together, I first adhered the DAD with foam tape and also added the semi circles with foam tape, trimming the edges. I heat embossed the sentiments in white on trimmed black banners and glued to the DAD. To finish, I added a few black domes to tie it all together.
To put the card together, I first adhered the DAD with foam tape and also added the semi circles with foam tape, trimming the edges. I heat embossed the sentiments in white on trimmed black banners and glued to the DAD. To finish, I added a few black domes to tie it all together.
Masculine cards tend to be the hardest for me and I know I'm not
the only one so this set will be a great go to for them! Thank you for visiting
today!
------------------------------------------------------
Hello crafty friends, Rachel here! I have two quick masculine cards to share with you today that feature the brand new Tool Time Stamp Set.
------------------------------------------------------
Hello crafty friends, Rachel here! I have two quick masculine cards to share with you today that feature the brand new Tool Time Stamp Set.
I wanted to keep my cards clean and simple to show you how easy it is to create a fun but easy card using this super cut set. All of my images were stamped onto a sheet of Neenah Solar White 110lb Card Stock with Memento Tuxedo Black Ink, colored with Copic Markers, and cut with the coordinating Tool Time Dies.
My first card can either be used as a congratulatory card or for Father's Day. To start, I trimmed a bunch of both gold and black cardstock strips at .25" wide. I then adhered these pieces side by side with liquid adhesive to a 5.75" x 4.5" card base in an alternating pattern. Once these strips were attached and dry, I then trimmed my base to a 4.25" x 5.5" standard A2 card size. I wanted it to resemble construction caution tape. I then added a stitched rectangle cut from white card stock. I lightly blended some gray ink in the center of this card and attached my images after stamping my sentiment in black.
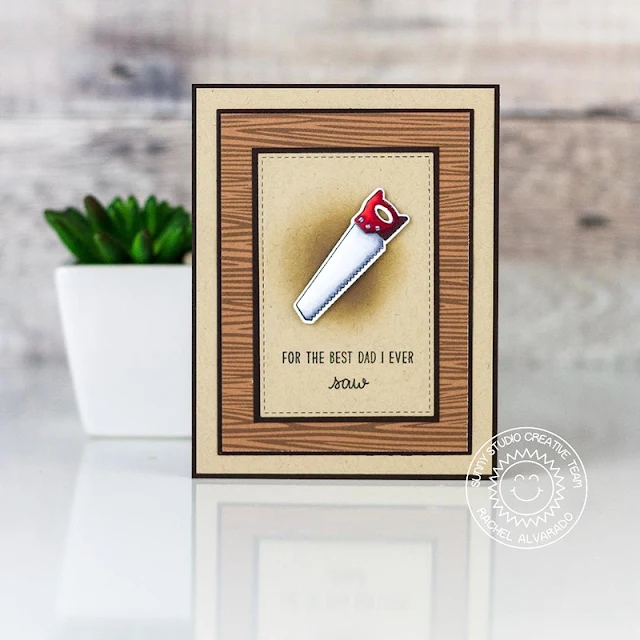
For my second card, I used one simple saw as my focal point. I layered my A2 sized card base with both dark brown and Kraft card stock, as well as some brown woodgrain patterned paper from the Amazing Argyle Paper Pad.
Thanks so much for dropping by! I hope you all have a wonderful weekend!
Thanks so much for dropping by! I hope you all have a wonderful weekend!
Sunny Studio Supplies Used:
 Amazing Argyle 6x6 Paper Shop at: Sunny Studio |
 Dots & Stripes Pastels 6x6 Paper Shop at: Sunny Studio |
 Tool Time Stamps Shop at: Sunny Studio |
 Tool Time Dies Shop at: Sunny Studio |
 Frilly Frames Herringbone Shop at: Sunny Studio |
 Stitched Semi-Circle Dies Shop at: Sunny Studio |


