Wednesday, April 10, 2024

Designer's Choice: Holiday Hugs Card with Tina

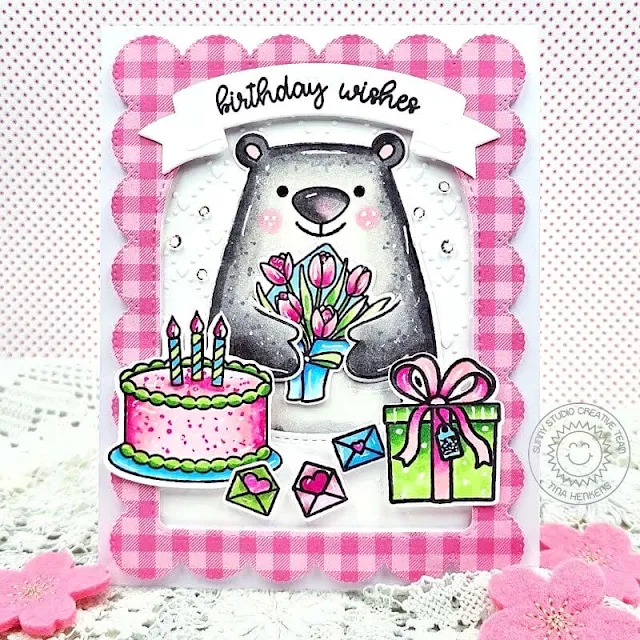
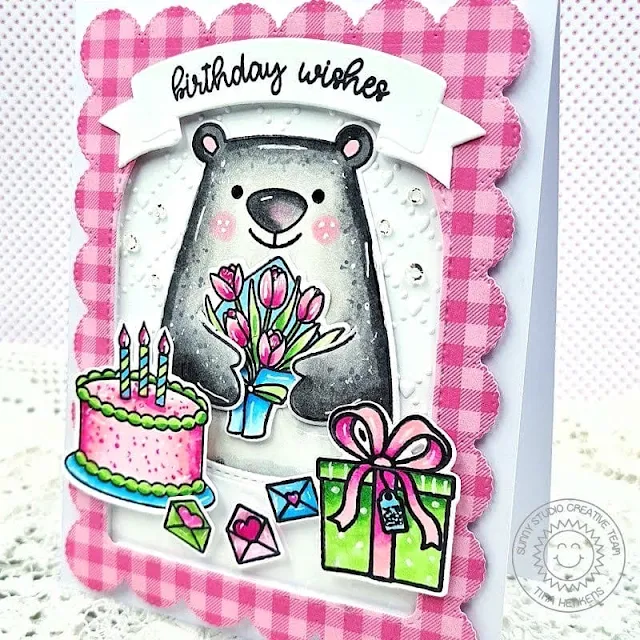
Hello crafters, it’s Tina and today I am mixing and matching several sets for this designer’s choice blog post. The darling bear from Holiday Hugs is perfect for all your winter cards but I wanted to see how I could make him the focal point of a Spring birthday card!

Sunny Studio Stamps: Holiday Hugs Birthday Card by Tina Henkens (featuring Make A Wish, Frilly Frame Dies, Quilted Hearts Dies, Stitched Arch Dies, Brilliant Banner Dies, Happy Thoughts)

To achieve this look, I had to mask off his scarf with some Post-it tape while I was stamping. It went really well and next I used the matching dies to cut him out. I love the special die for the arms! 

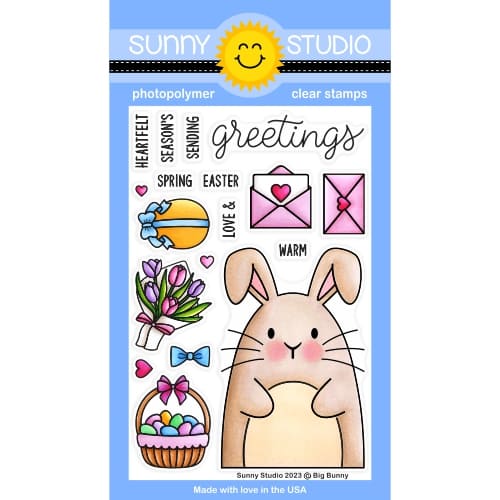
Whilst browsing through my stash I selected a few birthday related stamps like the big cake (Make A Wish), the gift (Holiday Hugs), the bouquet (Big Bunny) and the letters (Bighearted Bears).All these items were colored with alcohol markers in fun Spring colors.

My card base is an A2 size and made from white heavy weight card stock. For the pink gingham frame I used a Joyful Holiday paper, which was cut with the outer of the Frilly Frames Eyelet Lace dies and the largest of the Stitched Arched Dies.

Sunny Studio Stamps: Holiday Hugs Birthday Card by Tina Henkens (featuring Make A Wish, Frilly Frame Dies, Quilted Hearts Dies, Stitched Arch Dies, Brilliant Banner Dies, Happy Thoughts)

Since the coloring was so bright, I opted for a white backdrop. The upper part is dry embossed with the Quilted Hearts folder, whilst the lower part was run through the Lots Of Dots folder (but that is difficult to see in the pictures). I added foam tape to the gingham frame and lower part of the background and adhered all the elements to my card base. Next, I added the cute bear and all his birthday accessories!

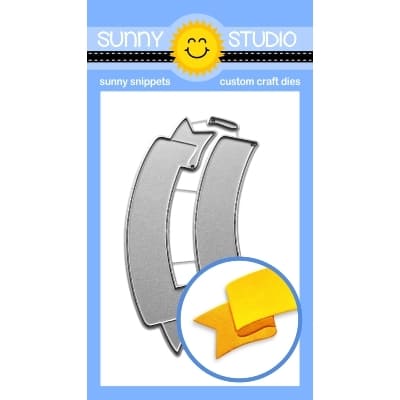
I love how the Brilliant Banner 2 Die perfectly fits on top of the arched frame. The combined sentiment was selected from the Happy Thoughts set and stamped in Versafine Onyx Black Ink. For some bling, I adhered a few Crystal Clear Jewels which are one of my favorites.

I hope you got inspired to experiment with stamp masking, it’s such a fun technique! Thank you for joining me and happy crafting!

Sunny Studio Supplies Used:

Happy Thoughts Stamps
Shop at:
Sunny Studio
Make A Wish Stamps
Make A Wish Stamps
Shop at:
Sunny Studio
Make A Wish Dies
Make A Wish Dies
Shop at:
Sunny Studio
Lots of Dots Embossing
Shop at:
Sunny Studio
Frilly Frames-Eyelet Lace
Shop at:
Sunny Studio
Stitched Arch Dies
Stitched Arch Dies
Shop at:
Sunny Studio
Quilted Hearts Portrait
Shop at:
Sunny Studio
Brilliant Banner 2 Dies
Shop at:
Sunny Studio
Holiday Hugs Stamps
Holiday Hugs Stamps
Shop at:
Sunny Studio
Holiday Hugs Dies
Holiday Hugs Dies
Shop at:
Sunny Studio
Big Bunny Stamps
Big Bunny Stamps
Shop at:
Sunny Studio
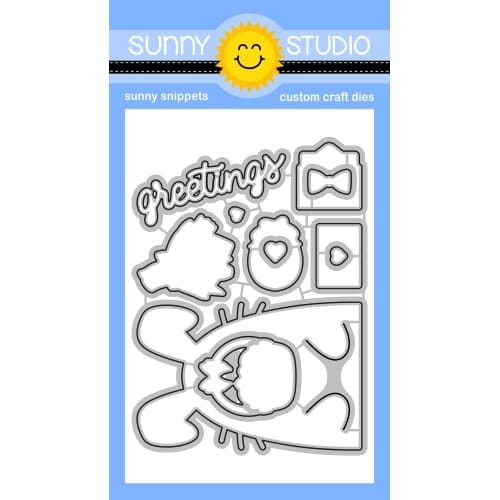
Big Bunny Dies
Big Bunny Dies
Shop at:
Sunny Studio

Tuesday, April 9, 2024

Designer's Choice: Captivating Cameliias Card with Isha

Hello everyone! Isha here with a floral card as this week is designer's choice as the theme. I decided to use various products and create this card.

Sunny Studio Stamps: Captivating Cameliias Thank You Card by Isha Gupta (featuring Frilly Frame Dies, Fancy Frame Dies, Big Bold Greetings, Spring Greenery)

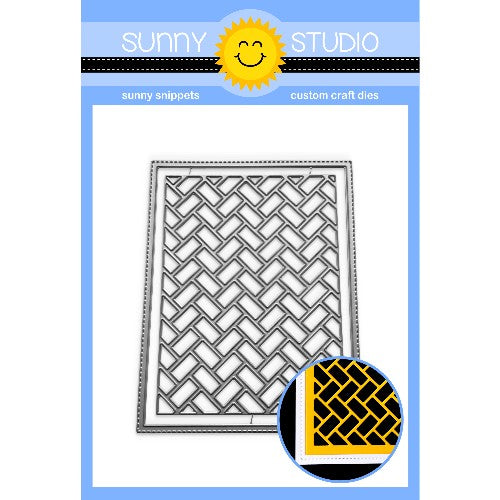
To start, I took a white cardbase. Sponged some picked raspberry and wilted violet distress ink towards the right. I then die-cut a piece of white card with Frilly Frame Herringbone die. I then die-cut another piece using Fancy Frames Rectangle die and adhere the inside frame to the white herringbone piece. Adhere this to the cardbase using 3d foam.

Sunny Studio Stamps: Captivating Cameliias Thank You Card by Isha Gupta (featuring Frilly Frame Dies, Fancy Frame Dies, Big Bold Greetings, Spring Greenery)

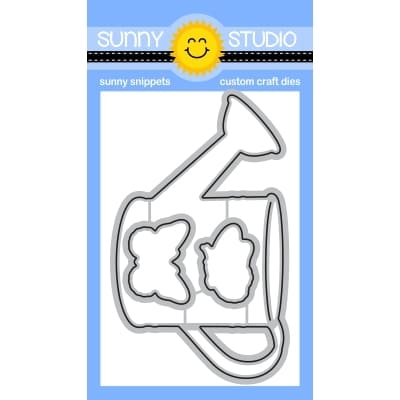
Stamp the sentiment from the Big Bold Greetings, die-cut using the coordinating dies. Stamp the layering florals using the Captivating Camellias stamp set and die-cut using the coordinating dies. Adhere to the card. Die-cut the leaves from white card using the Spring Greenery dies. Sponge them with cracked pistachio and peacock feathers distress inks. Adhere to the card. To finish, I stamped and embossed butterflies from the Watering Can stamps onto vellum using white embossing powder, die-cut using the coordinating dies and adhere to the card.

Thank you for dropping by and have a nice day!

Sunny Studio Supplies Used:

Fancy Frames- Rectangles
Shop at:
Sunny Studio
Frilly Frames Herringbone
Shop at:
Sunny Studio
Captivating Camellias Stamps
Shop at:
Sunny Studio
Captivating Camellias Dies
Shop at:
Sunny Studio
Spring Greenery Dies
Shop at:
Sunny Studio
Watering Can Stamps
Watering Can Stamps
Shop at:
Sunny Studio
Watering Can Dies
Watering Can Dies
Shop at:
Sunny Studio
Big Bold Greetings Stamps
Shop at:
Sunny Studio
Big Bold Greetings Dies
Shop at:
Sunny Studio

Monday, April 8, 2024

Designer's Choice: Garden Critters Card with Leanne

Hi everyone! Leanne here and I'm sharing a bee theme thank you card complete with custom made bee hive. I just love the little bees in the Garden Critters stamp set. I thought they needed a bee hive to call home. 

Sunny Studio Stamps: Garden Critters Thank You Card by Leanne West (featuring Frilly Frame Dies, Stitched Oval Dies)

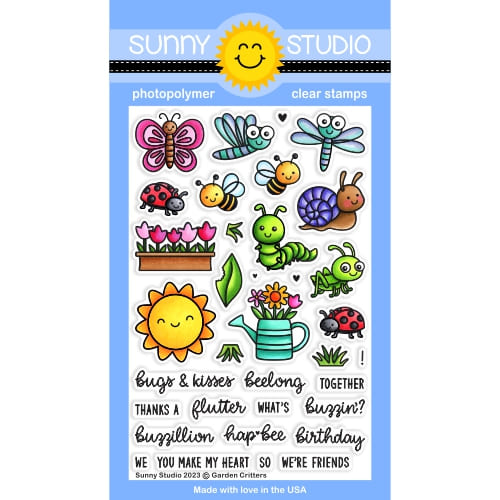
The hive was very easy to make. I used one the mid sized Stitched Oval dies to cut out an oval from yellow card stock. I then cut the oval in half. I used the smallest oval in the set to cut out an opening and backed it with dark brown card stock. To give the hive some details lines I simply used tape to mask off sections and lightly blended on some dark yellow ink. I stamped the "thanks a buzzilion" sentiment from Garden Critters right onto the hive. 

Copic colors used: RV14, RV29, R12, R32, Y32, Y35, Y38, YG61, YG63, BG11, T2, T4, T6

Sunny Studio Stamps: Garden Critters Thank You Card by Leanne West (featuring Frilly Frame Dies, Stitched Oval Dies)

I Copic colored three bees and tulips planters. I die cut with the coordinating Garden Critters diesI added the hive, bees, and tulips with thin foam squares to a Frilly Frames Eyelet Lace panel. I then adhered the eyelet lace panel to a hot pink A2 size card base. Lastly I embellished the scene with a few sequins. 

Sunny Studio Supplies Used:

Stitched Oval Dies
Stitched Oval Dies
Shop at:
Sunny Studio
Frilly Frames-Eyelet Lace
Shop at:
Sunny Studio
Garden Critters Stamps
Shop at:
Sunny Studio
Garden Critters Dies
Shop at:
Sunny Studio

Sunday, April 7, 2024

Puddle Jumpers Card with Rachel

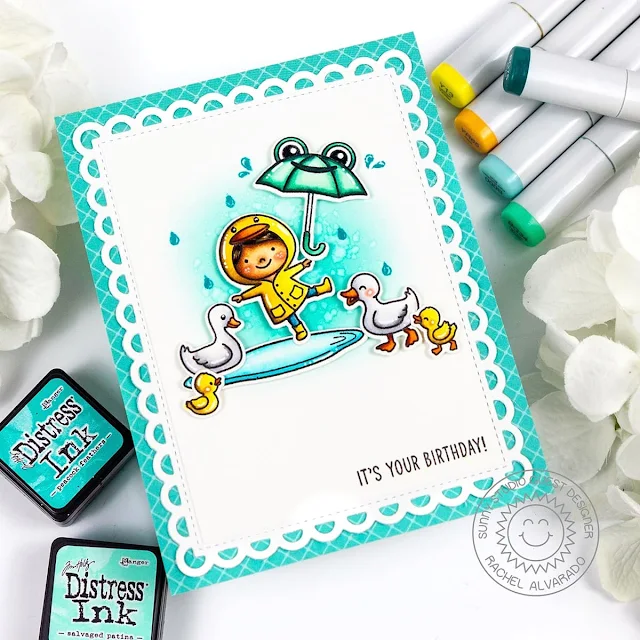
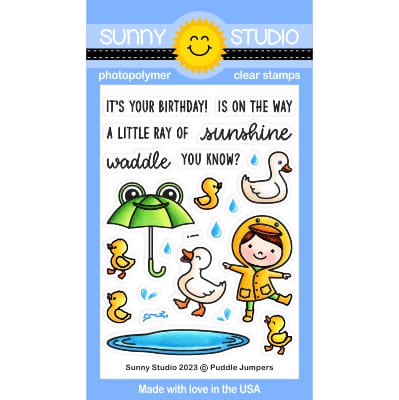
Hello friends! It's Rachel here with a card featuring the adorable Puddle Jumpers Stamp Set. I had a lot of fun playing with this set because it reminds me of my childhood and having fun jumping in all of the puddles after it rained. 

Sunny Studio Stamps: Puddle Jumpers Birthday Card by Rachel Alvarado (featuring Frilly Frame Dies)

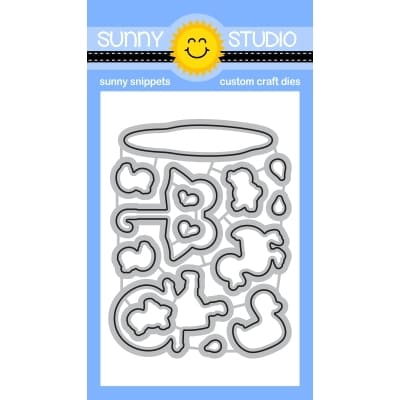
I kept my card simple and used a few images in the center of my card as my focal point. All of my images were stamped onto a sheet of Neenah Solar White 110lb card stock with Memento Tuxedo Black Ink. I then used Copic Sketch Markers to color them and the coordinating Puddle Jumpers Die Set to cut them out. I set my images aside and then layered my vertical A2 sized base with a 4.25" x 5.5" piece of teal patterned paper from the Classic Sunburst Paper Pad. I then die cut a scalloped background from white card stock using the outer die from the gorgeous Frilly Frames Lattice Die Set.

Sunny Studio Stamps: Puddle Jumpers Birthday Card by Rachel Alvarado (featuring Frilly Frame Dies)

Next, I lightly blended a small area in the top center of my card with some Peacock Feathers and Salvaged Patina Distress Inks. Lastly, I stamped my sentiment in the lower right corner and adhered my images with some dimensional tape.

I hope you enjoyed my card today! If you haven't check out this adorable set, I encourage you to do so!

Sunny Studio Supplies Used:

Frilly Frames Lattice Dies
Shop at:
Sunny Studio
Classic Sunburst Paper
Shop at:
Sunny Studio
Puddle Jumpers Stamps
Shop at:
Sunny Studio
Puddle Jumpers Dies
Puddle Jumpers Dies
Shop at:
Sunny Studio

Saturday, April 6, 2024

Big Bunny Card with Cathy

Hey friends! Cathy here today with a fun birthday card featuring the Big Bunny Stamps. I just love how this adorable bunny can be used for so many occasions!

Sunny Studio Stamps: Big Bunny Birthday Card by Cathy Chapdelaine (featuring Bright Balloons Dies, Crepe Paper Streamer Dies, Ribbon & Lace Border Dies, Hayley Alphabet Dies)

This is an A2 card and I started with a festive multi-colored background. I cut a piece of white cardstock 4" x 5 1/2" and inked it with Tumbled Glass, Spun Sugar, Twisted Citron and Squeezed Lemonade Distress inks. For stitched detailing, I die-cut the 5 1/2" edges of the panel using a Ribbon & Lace Borders Die.

Next, I die-cut balloons and streamers from white cardstock using the Bright Balloons Dies and Crepe Paper Streamers Dies. I inked them with the same Distress inks as the panel. I adhered the streamers first and trimmed the excess from the edges. For the balloon strings, I tied gray embroidery floss to each and then adhered the balloons.

I stamped the bunny and bow from the Big Bunny Stamps and the cupcake from the Holiday Hugs Stamps on Neenah Classic Crest 80lb solar white cardstock, colored them with Copics and die-cut them using the coordinating dies. I adhered the bunny to the bottom of the panel and added a strip of Spring Fever Paper along the bottom that I die-cut using a Ribbon & Lace Borders Die and cut to 4" long.

Sunny Studio Stamps: Big Bunny Birthday Card by Cathy Chapdelaine (featuring Bright Balloons Dies, Crepe Paper Streamer Dies, Ribbon & Lace Border Dies, Hayley Alphabet Dies)

I cut 2 strips of black cardstock 5 1/2" long and adhered one under each side of the background panel so just a sliver of black is visible. I then adhered the panel to a white card front.

To finish, I die-cut a punny sentiment from gray and black cardstock using the Hayley Lowercase Alphabet Dies and an exclamation point from the Hayley Uppercase Alphabet Dies. I slightly overlapped the colors to make the gray stand out a bit more. I stamped the "IT'S YOUR BIRTHDAY!" sentiment from the Puddle Jumpers Stamps on a strip of gray cardstock.

I hope you enjoyed and thanks for stopping by today! For more inspiration, please visit my blog www.inkredibleadventures.com and you can also find me on Instagram as @cathy.chapdelaine.

Sunny Studio Supplies Used:

Hayley Lowercase Alphabet Dies
Shop at:
Sunny Studio
Hayley Uppercase Alphabet Dies
Shop at:
Sunny Studio
Ribbon & Lace Dies
Ribbon & Lace Dies
Shop at:
Sunny Studio
Spring Fever Paper
Spring Fever Paper
Shop at:
Sunny Studio
Bright Balloons Dies
Shop at:
Sunny Studio
Crepe Paper Streamers Dies
Shop at:
Sunny Studio
Holiday Hugs Stamps
Holiday Hugs Stamps
Shop at:
Sunny Studio
Holiday Hugs Dies
Holiday Hugs Dies
Shop at:
Sunny Studio
Big Bunny Stamps
Big Bunny Stamps
Shop at:
Sunny Studio
Big Bunny Dies
Big Bunny Dies
Shop at:
Sunny Studio
Puddle Jumpers Stamps
Shop at:
Sunny Studio