Monday, May 14, 2018

Berry Bliss Dotted Embossed Background Card with Eloise

Hi everyone, Eloise here and today I'll be using the Berry Bliss set to create a friendship card. I love Mendi's layering sets so much and I think I have a new favourite. Especially because I can use lots of bright colours. This set is super unique and fun and so easy to create with!

Sunny Studio Stamps: Berry Bliss Dotted Embossed Background Card by Eloise Blue

To begin my card today I first started out with my background. I used a Dotted Embossing Folder from We R Memory Keepers and ran it through my big shot machine with a white piece of cardstock. I set it off to the side and started stamping. I pulled out a ton of Altenew Layering Inks for all my layers today, since they're in sets already for me and stamped them out. My biggest tip is to use an eraser on each layer of stamp to get a really nice clean impression. I find that this just preps the stamp a bit and gives a smoother coverage. Second tip is to stamp the main fruit first, so for the strawberries, stamp all but the leaves, same for the cherries and blackberries. Then, use the coordinating dies to cut them out and then proceed to stamp the leaves/stems. This ensures you get perfect alignment of them. 

(Inks Used: Rouge, Crimson, Velvet - Cherries / Cotton Candy, Coral Berry, Ruby Red, Jet Black - Strawberries / Arctic, Caribbean Sky, Persian Blue - Blueberries / Soft Lilac, Lavender Fields, Deep Iris, Midnight Violet - Blackberries / Bamboo, Olive - Leaves/Stems)

Sunny Studio Stamps: Berry Bliss Dotted Embossed Background Card by Eloise Blue

Once they were all stamped and die cut I added foam tape to the backs of them and adhered them onto my embossed background. I just fitted them in where I could and once I was happy with how they looked, I moved onto my sentiment. I white heat embossed the 'Hi Sweetie' sentiment from the set onto a black strip of cardstock. I popped that up on foam tape too and my card was complete.

Thanks so much for stopping by today, I hope you love this set as much as I do and are inspired and I'll catch you next time!

Sunny Studio Supplies Used:

Berry Bliss Stamps
Berry Bliss Stamps
Shop at:
Sunny Studio
Berry Bliss Dies
Berry Bliss Dies
Shop at:
Sunny Studio

Saturday, May 12, 2018

Guest Designer Spotlight: Cards with Anita Madden

Hello everyone, it's Anita Madden here! I’m so excited to be guest designing for Sunny Studio Stamps today!  I love this latest release and I used three stamps sets to create today’s cards.

Sunny Studio Stamps: Beach Babies Happy Camper Critter Campout Summer Themed Cards by Anita Madden

I used the Beach Babies stamp set for this card. I also used the palm tree from the Island Getaway stamp set. I colored all the images with Copics and then die cut them using the coordinating dies. I sponged distress inks onto Strathmore paper to create the “sand” and the “ocean waves”. I die cut a large circle in my card front and used a stencil and distress inks to create the clouds behind the waves. I used foam tape to adhere the card front on to my card base, and I used foam tape to adhere all the beach babies and accessories.

Sunny Studio Stamps: Beach Babies Happy Camper Critter Campout Summer Themed Cards by Anita Madden

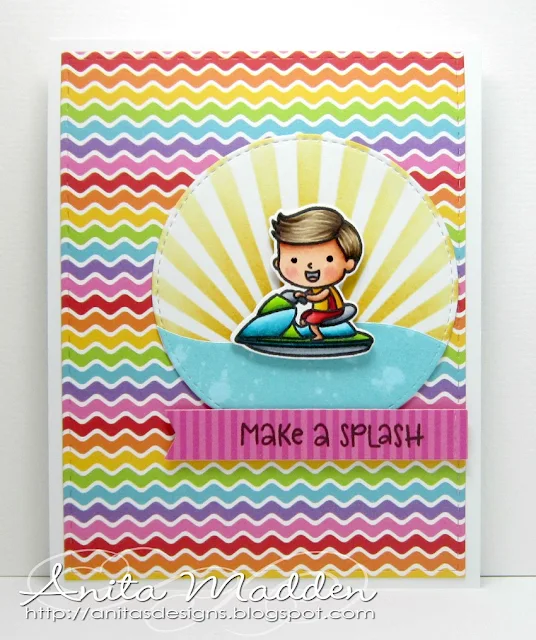
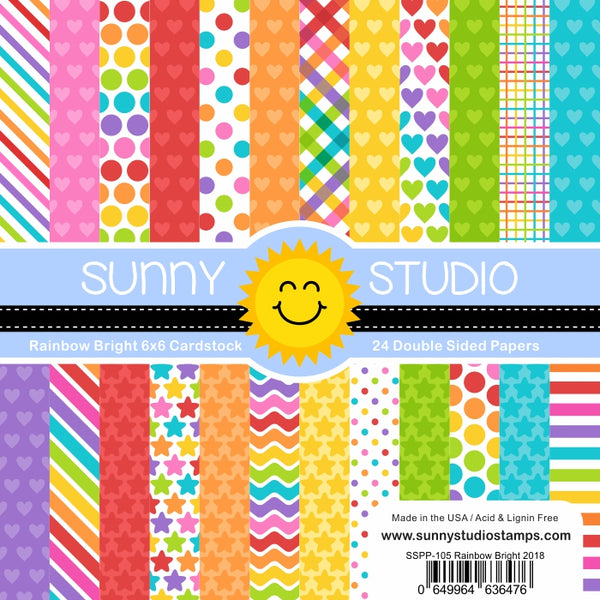
I also used the Beach Babies stamp set for this card. The fun pattern paper is from the Rainbow Bright 6x6 Paper. This paper pack is so fun – it’s full of bright patterns. I cut the sentiment tab from paper from the Silly Stripes 6x6 Paper. I colored the boy and his jet ski with Copics and then die cut him using the coordinating dies. I used distress inks to create a wave, and I used distress inks and a stencil to create sun rays on a die cut circle. I adhered the boy with foam tape to add some dimension to my card.

Sunny Studio Stamps: Beach Babies Happy Camper Critter Campout Summer Themed Cards by Anita Madden

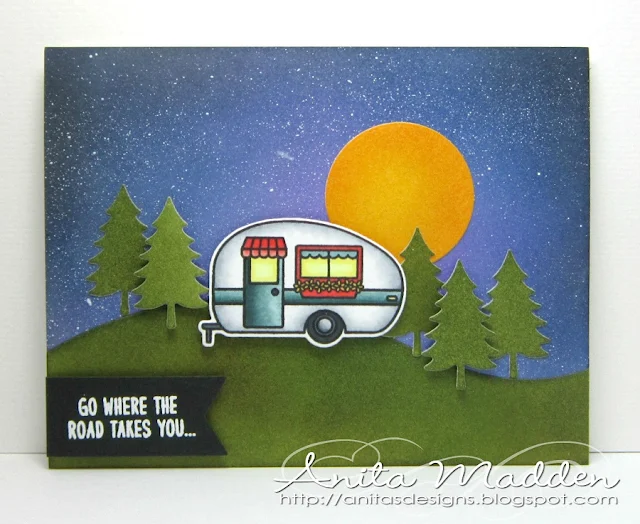
I used the Happy Camper stamp to make this card but went for a night scene on this card.  I colored the camper with Copics and die cut it using the coordinating die. I sponged distress inks on Strathmore paper to create the grassy area, night sky, and the moon. I also die cut the pine trees from the inked paper. I flicked some white acrylic paint on the sky and assembled my card with foam tape. I used white embossing powder and heat-embossed the sentiment. 

Sunny Studio Stamps: Beach Babies Happy Camper Critter Campout Summer Themed Cards by Anita Madden

I used the Happy Camper stamp on this card. The sweet heart pattern paper is from the Rainbow Bright 6x6 Paper. The “grass” was cut from paper from the Striped Silly 6x6 Paper and the sun was cut using paper from the Polka-dot Parade 6x6 Paper. I colored the camper with Copics and die cut it using the coordinating dies. I used distress inks to stencil some clouds onto a die cut circle and adhered the grass. I used foam tape to adhere the camper, sun and sentiment strip. I would love to have a camper just like this one … it would be so much fun!

Sunny Studio Stamps: Beach Babies Happy Camper Critter Campout Summer Themed Cards by Anita Madden

For my last card I used the Critter Campout stamp set. I colored the skunk, campfire, fox, and tent with Copics and die cut them using the coordinating dies. I used distress inks on Strathmore paper to create the evening sky, grassy area, and lake. The little pine trees were also cut from the inked paper. I added some water drops to the sky. 

I hope you’ve enjoyed my cards and that I’ve inspired you to go get your fingers all inky! 

Thank you so much Mendi for having me as a guest!

Sunny Studio Supplies Used:        

Island Getaway Dies
Island Getaway Dies
Shop at:
Sunny Studio
Island Getaway Stamps
Shop at:
Sunny Studio
Beach Babies Stamps
Beach Babies Stamps
Shop at:
Sunny Studio
Beach Babies Dies
Beach Babies Dies
Shop at:
Sunny Studio
Critter Campout Stamps
Shop at:
Sunny Studio
Critter Campout Dies
Shop at:
Sunny Studio
Happy Camper Stamps
Happy Camper Stamps
Shop at:
Sunny Studio
Happy Camper Dies
Happy Camper Dies
Shop at:
Sunny Studio
Striped Silly 6x6 Paper
Shop at:
Sunny Studio
Polka-dot Parade 6x6 Paper
Shop at:
Sunny Studio
Rainbow Bright 6x6 Paper
Shop at:
Sunny Studio

Friday, May 11, 2018

Cascading Stars Gold Embossed Starry Night Sky Card with Lexa

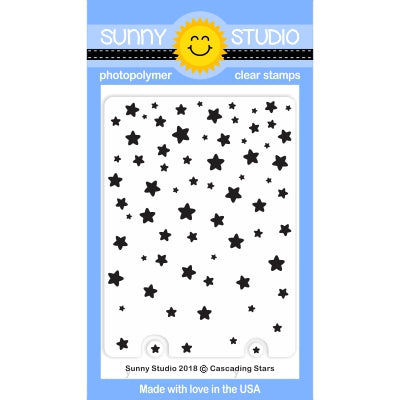
Hello everyone! Lexa here today with a card that's highlighting Cascading Stars Stamp and pair it with my most favorite Critter Campout Stamps. If you're wondering why I always play favorites to critter stamps, it's simply just because I looove animals so much and I feel that I'll never have enough critter stamps in my life .. NEVER! 

Sunny Studio Stamps: Cascading Stars Gold Embossed Starry Night Sky Card by Lexa Levana

First of all, I stamp the Cascading Stars twice and gold embossed it on the background. After the gold shines all over my card, I blend some Distress Inks in Chipped Sapphire, Black Soot, Dusty Concord and Seedless Preserves to create night sky. As for the ground I blend Crushed Olive and Mowed Lawn in the bottom part of my card. To set the horizons I also stamp some pine trees in dark grey dye ink.

Sunny Studio Stamps: Cascading Stars Gold Embossed Starry Night Sky Card by Lexa Levana

All images are stamped with Versafine black ink and watercolored with Distress Markers. After I finished with the coloring, I die cut these three friends and their campfire with the coordinating dies. How adorable is that sleeping bear while his friends sing some lullabies. I love to create a story behind every scenic cards I made. I white embossed the sentiment on black cardstock and use staplers to set it on the fix position.

That's my card for today. I hope you enjoy this post. Thank you so much for stopping by and wish you all a wonderful day!

Sunny Studio Supplies Used:

Cascading Stars Stamps
Shop at:
Sunny Studio
Critter Campout Stamps
Shop at:
Sunny Studio
Critter Campout Dies
Shop at:
Sunny Studio

Thursday, May 10, 2018

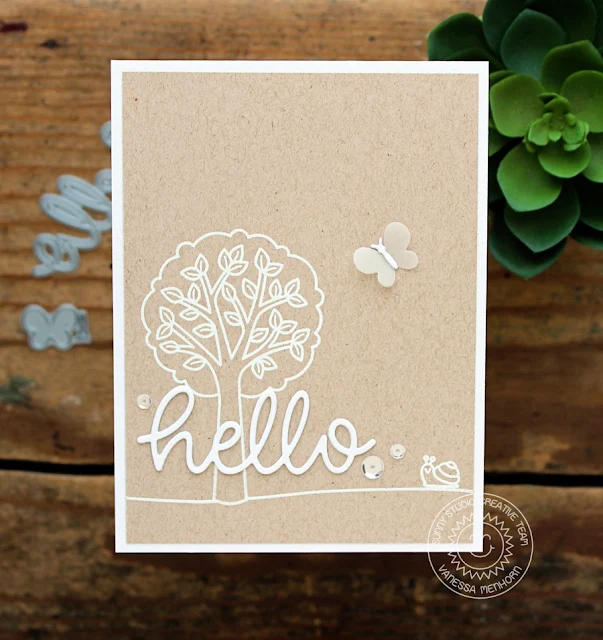
Hello Word Die Simple Kraft and White Hello Card with Vanessa

Hi everyone! Vanessa here today with a simple kraft card combining various sets.

Sunny Studio Stamps: Hello Word Die Summer Picnic Simple Kraft and White Hello Card by Vanessa Menhorn

For my card, I first stamped and heat-embossed the tree from Summer Picnic, the snail from Critter Campout and the lines from Birthday Balloon on a panel of Kraft cardstock. After I had adhered the panel to the card, I die-cut the Hello Word Die trice from white cardstock, assembled the pieces and adhered the word to the card. 

Sunny Studio Stamps: Hello Word Die Summer Picnic Simple Kraft and White Hello Card by Vanessa Menhorn

Now I die-cut the butterfly from vellum and cardstock and adhered it. Finally, I added clear sequins for a little bling.

I love that all the sets from Sunny Studio go together so well :) Thanks for visiting!

Sunny Studio Supplies Used:

Summer Picnic Stamps
Shop at:
Sunny Studio
Birthday Balloon Stamps
Shop at:
Sunny Studio
Critter Campout Stamps
Shop at:
Sunny Studio
Hello Word Die
Hello Word Die
Shop at:
Sunny Studio

Wednesday, May 9, 2018

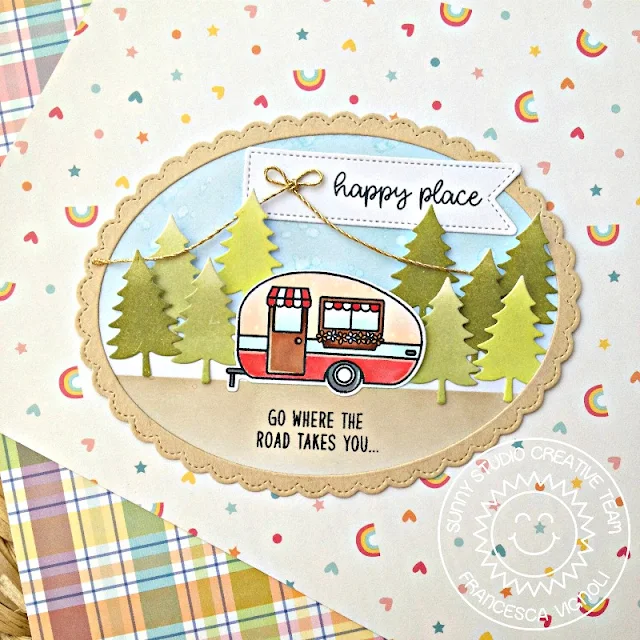
Happy Camper Oval Shaped Happy Place Card with Franci

Hello there and happy Wednesday! It's Franci here with you today with a pretty card featuring the Happy Camper stamp set and some other new goodies!

Sunny Studio Stamps: Happy Camper Fancy Frames Oval Shaped Happy Place Card by Franci Vignoli

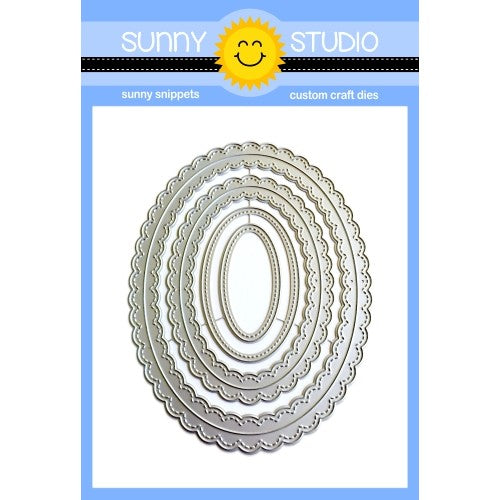
First, I die cut the largest of the new Fancy Frames Oval dies out of some kraft cardstock and created a coordinated backdrop from white cardstock. I stamped the little camper in Memento black ink, colored it with Copics, and die cut it using the coordinating dies. I then cut out lots of trees and colored them by sponging some different shades of green distress inks.

I masked the bottom of the white oval and sponged on more Distress ink to create the sky. I splattered some water onto the background and removed the excess with a towel to create more interest in the background. Then I masked the sky and created the "road" as well. 

Sunny Studio Stamps: Happy Camper Fancy Frames Oval Shaped Happy Place Card by Franci Vignoli

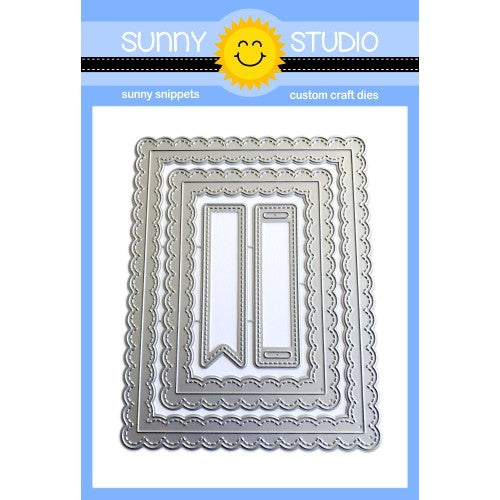
I die cut a little banner out of some white cardstock using the little die included in the Fancy Frames Rectangle die set and stamped all of the sentiments with the same black ink used before. I glued down all of the elements using a combination of liquid glue and foam adhesive. Finally, I added some details with a white gel pen and a little bow made out of some gold twine.

Hope you like it and thank you so much for stopping by today!

Sunny Studio Supplies Used:

Fancy Frames- Ovals
Fancy Frames- Ovals
Shop at:
Sunny Studio
Fancy Frames- Rectangles
Shop at:
Sunny Studio
Happy Camper Stamps
Happy Camper Stamps
Shop at:
Sunny Studio
Happy Camper Dies
Happy Camper Dies
Shop at:
Sunny Studio