Showing posts with label Fancy Frame Dies. Show all posts

Friday, March 8, 2024

Big Bunny Card with Nicky

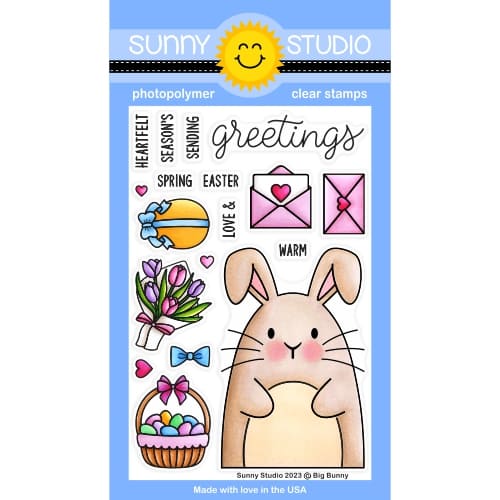
Happy Friday everyone, this is Nicky with you today on the Sunny Studio blog and I'm sharing a playful Easter card with you featuring the super duper cute Big Bunny stamp set.

Sunny Studio Stamps: Big Bunny Easter Card by Nicky Meeks (featuring Dotted Diamond Dies, Fancy Frame Dies)

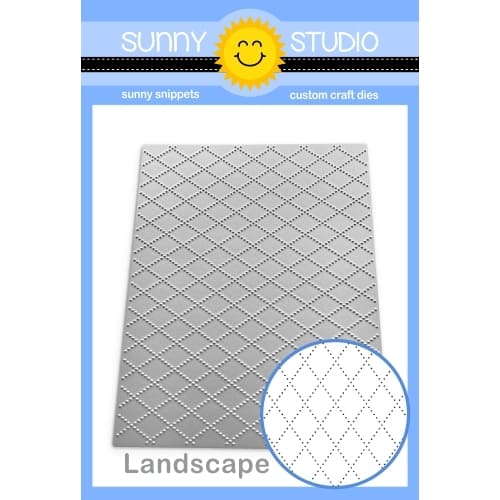
I kicked things off by using the Dotted Diamond Landscape Die to die cut the background panel which I then softly ink blended in some dreamy pastel colours.  I glued this to my card base.

The next task was to stamp the bunny image three times with Memento Ink in Tuxedo Black and I coloured using the following Copic marker combinations:

Bunnies - C3, C1, C00
Blushes - R85, R83, R81, R000
Yellow - Y15, YR31, Y0000
Pink - RV02, RV00
Mint - G00, G000

Sunny Studio Stamps: Big Bunny Easter Card by Nicky Meeks (featuring Dotted Diamond Dies, Fancy Frame Dies)

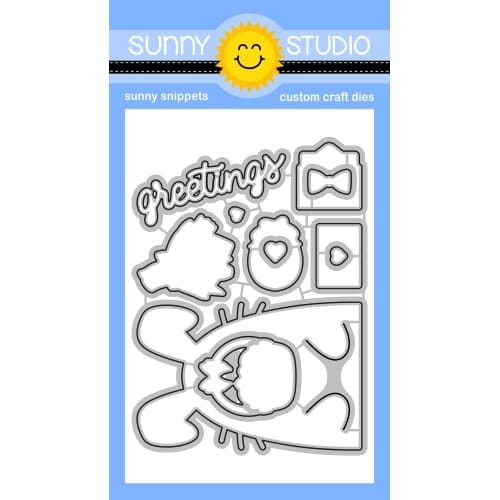
The images were die cut with the Big Bunny Dies and arranged on the background which meant they were hanging over the edges and so once adhered with glue I flipped the panel over and cut back neatly to the edges of the card base.

I popped a small piece of dimensional foam tape under the bunny's ear in the centre of the card where they are layered one on top of one another and under the bouquet and Easter egg.

Sunny Studio Stamps: Big Bunny Easter Card by Nicky Meeks (featuring Dotted Diamond Dies, Fancy Frame Dies)

To complete the card I highlighted a couple of points with a white gel pen and gave the bunnies eyelashes. I die cut a frame using the Fancy Frames Rectangle Dies and backed it with foam tape and applied to the background and finally I stamped and die cut the sentiments and applied with foam tape also.

I hope you have enjoyed my card today and are inspired to go and create something soon!

Sunny Studio Supplies Used:

Fancy Frames- Rectangles
Shop at:
Sunny Studio
Dotted Diamond Landscape
Shop at:
Sunny Studio
Big Bunny Stamps
Big Bunny Stamps
Shop at:
Sunny Studio
Big Bunny Dies
Big Bunny Dies
Shop at:
Sunny Studio

Friday, February 23, 2024

Puddle Jumpers Card with Nicky

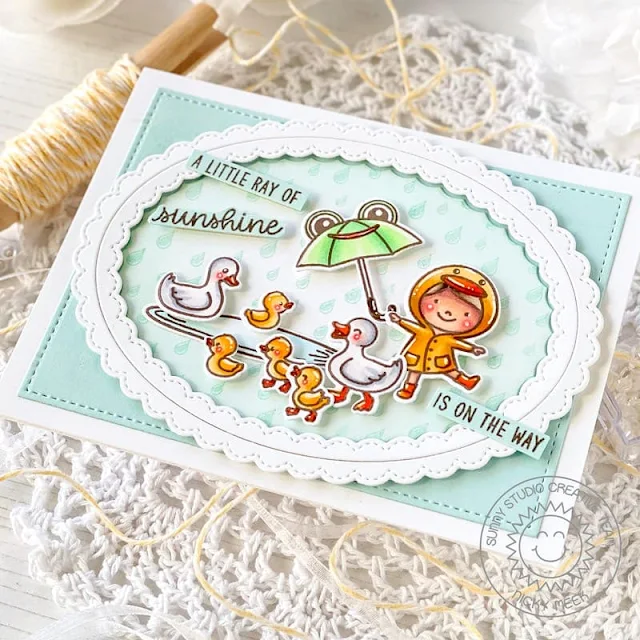
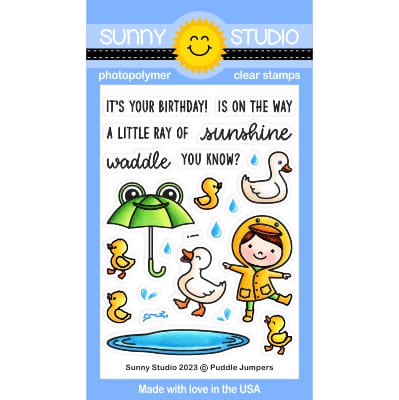
Hello! This is Nicky with you today and I'm sharing the details for this new card featuring the cute Puddle Jumpers stamp set.

Sunny Studio Stamps: Puddle Jumpers Card by Nicky Meeks (featuring Stitched Rectangle Dies, Fancy Frame Oval Dies, Rain Showers)

I started by using the Stitched Rectangle Die to create a panel of light blue cardstock. I glued this to a white A2 panel and then to my card base. I die cut a white panel of cardstock using the Fancy Frames Ovals Die. I backed the frames with dimensional foam tape and adhered it to the card base.

Next, I used the Rain Showers and toning blue ink to stamp the rain drops background on the inside cut that was left after creating the frames. I then came in with a small blending brush and the same ink and ink blended around the edges to form a soft focal point. This was then recessed and glued within the frame.

Sunny Studio Stamps: Puddle Jumpers Card by Nicky Meeks (featuring Stitched Rectangle Dies, Fancy Frame Oval Dies, Rain Showers)

I stamped the Puddle Jumpers images using Memento Ink in Rich Cocoa and I coloured the images with the following Copic marker combinations:

Yellow - Y17, YR31
Orange - YR09, YR04
Skin - E04, E11, E21, E00
Blush - R22, R20, R00
White - C3, C1, C0
Green - YG41, YG11, G40

Sunny Studio Stamps: Puddle Jumpers Card by Nicky Meeks (featuring Stitched Rectangle Dies, Fancy Frame Oval Dies, Rain Showers)

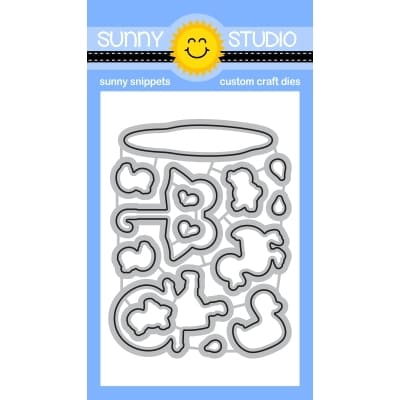
Images were die cut using the coordinating dies, arranged and adhered with foam tape and I highlighted with a white gel pen. Finally I stamped the sentiments on little strips of the pale blue cardstock and used foam tape to apply them at playful angles.

I appreciate you coming to the blog today and hope you like this card.  I will be back next Friday with something brand new to share.

Sunny Studio Supplies Used:

Stitched Rectangle Dies
Shop at:
Sunny Studio
Rain Showers Stamps
Rain Showers Stamps
Shop at:
Sunny Studio
Fancy Frames- Ovals
Fancy Frames- Ovals
Shop at:
Sunny Studio
Puddle Jumpers Stamps
Shop at:
Sunny Studio
Puddle Jumpers Dies
Puddle Jumpers Dies
Shop at:
Sunny Studio

Friday, February 16, 2024

Beautiful Bluebells Card with Nicky

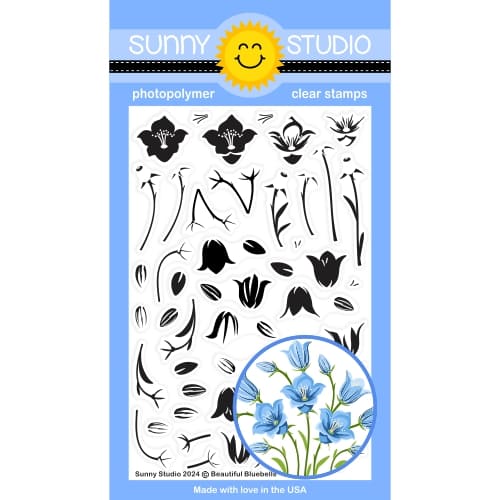
Hello everyone this is Nicky with you today on the Sunny Studio blog and I'm sharing a new card featuring the gorgeous Beautiful Bluebells stamp set which I've combined with several other Sunny products so please read on for all the details.

Sunny Studio Stamps: Beautiful Bluebells & Big Bunny Card by Nicky Meeks (featuring Fancy Frame Dies, Dotted Diamond Dies)

As I nearly always do, I started by creating my background. For this card I took an A2 panel of white cardstock and softly ink blended the appearance of sky and grass. I then die cut with the Dotted Diamond Portrait Die to add some interest. I applied this panel to my card base and then  I die cut white cardstock using the two largest frames from the Fancy Frames Rectangle Die and backed them with dimensional foam tape and applied it to the background.

I stamped the Big Bunny and simply coloured it using Copic markers in E31, E41, E40, W00, R22, R20, R00, R000. I die cut using the coordinating die, backed it with foam tape and applied it to the card base tucking it just inside the frame at the bottom. The hair bow was stamped and coloured with Copics B12 and B26. I backed with foam tape and applied it at the base of her ear. Points were highlighted with a white gel pen. I emphasised her eyes using a Memento pen in Rich Cocoa and gave her some flirtatious eyelashes.

Sunny Studio Stamps: Beautiful Bluebells & Big Bunny Card by Nicky Meeks (featuring Fancy Frame Dies, Dotted Diamond Dies)

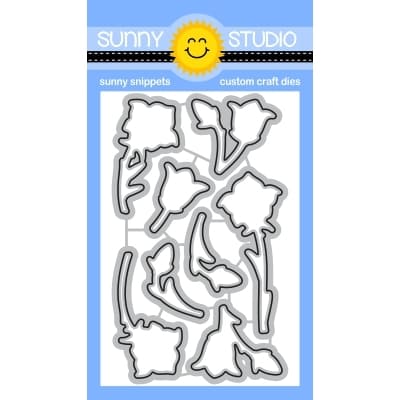
Next I tackled the layered stamping of the Beautiful Bluebells. First, I die cut white cardstock and I used the coordinating die for the stamped image I wanted for my bouquet. I then used the following ink colours by The Stamp Market to stamp each layer - Ocean, Cobalt and Navy and the greenery was inked with Leafy. I gathered the blooms in a bunch and glued them together and tucked them under the bunny's paw and used a little foam tape under the flower heads to make the bouquet stand away from the body of the bunny.

To finish the project I stamped the sentiments with the Cobalt ink so that everything would tone nicely and I die cut the word 'greetings' using the coordinating die and then made 2 or 3 more die cuts so that I could glue them in a stack to keep up with the dimension of the rest of the card.

I hope you like my bluebell card and I will be back next Friday with something new to inspire.

Sunny Studio Supplies Used: 

Fancy Frames- Rectangles
Shop at:
Sunny Studio
Dotted Diamond Portrait
Shop at:
Sunny Studio
Big Bunny Stamps
Big Bunny Stamps
Shop at:
Sunny Studio
Big Bunny Dies
Big Bunny Dies
Shop at:
Sunny Studio
Beautiful Bluebells Stamps
Shop at:
Sunny Studio
Beautiful Bluebells Dies
Shop at:
Sunny Studio

Monday, January 29, 2024

Love Birds Card with Leanne

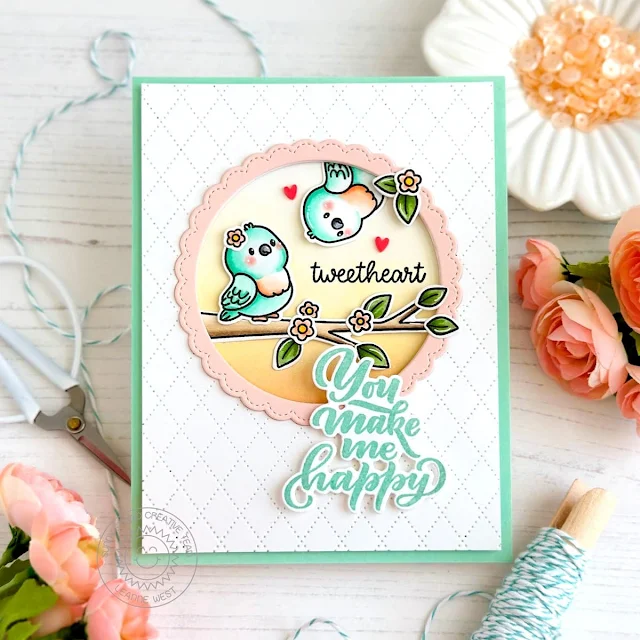
Hello and happy Monday! Leanne here to share some fresh card making inspiration showcasing the Love Birds stamp set.  

Sunny Studio Stamps: Love Bird Card by Leanne West (featuring Dotted Diamond Dies, Fancy Frame Dies, Lovey Dovey)

I started with a light aqua blue card base. I trimmed a panel of white card stock down just slightly smaller than my A2 card base. I ran that panel through my die cut machine with the Dotted Diamond Portrait die to give it that decorative texture.  I then used a Fancy Frames Circle die to cut out a scalloped circle shaped window.  I also die cut some peach card stock with that same circle frame die four times.  The peach scalloped circles have been stacked and adhered together to create one thick frame to highlight the scene.  

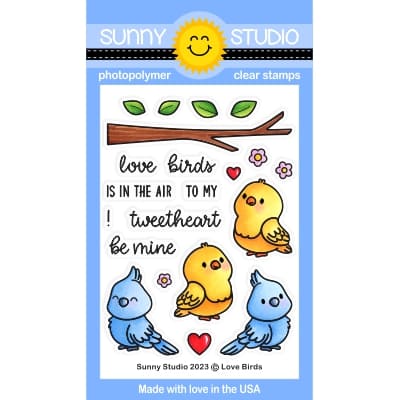
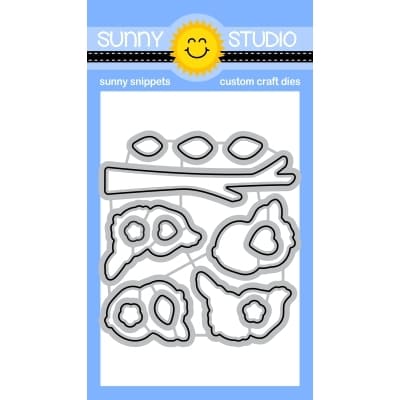
I used a blend of Tattered Rose and Dried Marigold Distress Oxide inks to create a soft peachy background to put behind the window.  I Copic colored the birds and branch images. I used the coordinating Love Birds dies to cut them out and then added them onto the card.  I tucked one bird behind the top of circle window so he's peeking out and looking down at the one perched on the branch.  

Sunny Studio Stamps: Love Bird Card by Leanne West (featuring Dotted Diamond Dies, Fancy Frame Dies, Lovey Dovey)

Copic's used for coloring the stamped images:

peach - YR01, YR61, YR02
aqua blue - BB70, BG10, BG11, BG13
brown - E41, E42
green - G43, G94
yellow flower center - Y11, Y15
rosy cheeks - R00, R20

I stamped the word "tweetheart" directly onto the background. It fit perfectly in the space between the birds.  To finish the greeting I added a sentiment from the Lovey Dovey stamp set.  

Sunny Studio Supplies Used:

Fancy Frames-Circle Dies
Shop at:
Sunny Studio
Lovey Dovey Stamps
Lovey Dovey Stamps
Shop at:
Sunny Studio
Lovey Dovey Dies
Lovey Dovey Dies
Shop at:
Sunny Studio
Dotted Diamond Portrait
Shop at:
Sunny Studio
Love Birds Stamps
Love Birds Stamps
Shop at:
Sunny Studio
Love Birds Dies
Love Birds Dies
Shop at:
Sunny Studio

Sunday, January 28, 2024

Bighearted Bears Card with Rachel

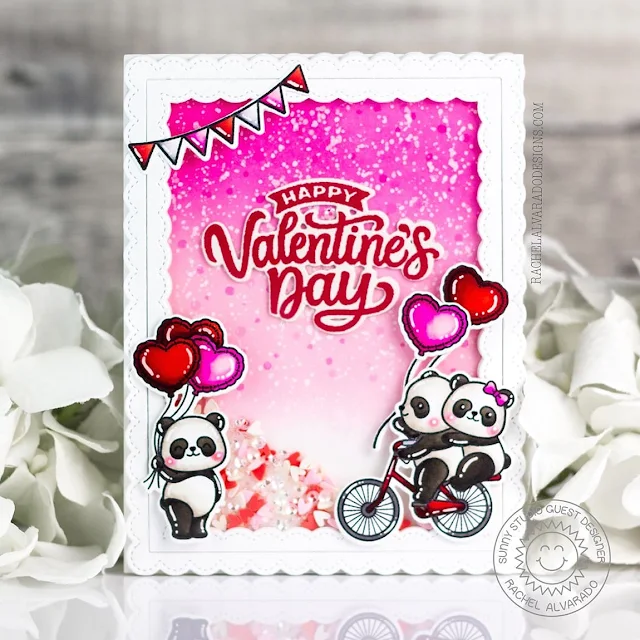
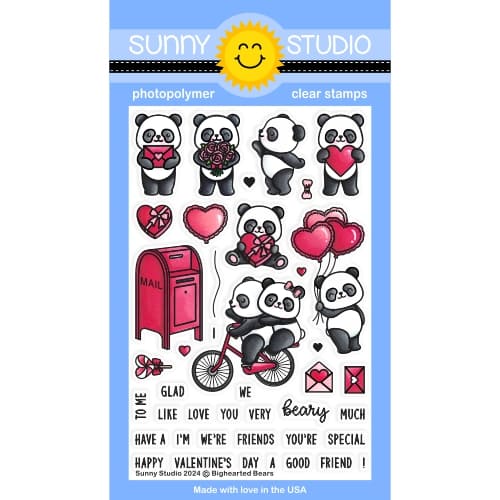
Hello friends! It's Rachel here with a love-themed shaker card featuring the new and adorable Bighearted Bears Stamp Set. I absolutely LOVE this stamp set! It can be used for more than just Valentine's Day and it also coordinates perfectly with the previously released Panda Party Stamp Set. 

Sunny Studio Stamps: Bighearted Bears Valentine's Day Card by Rachel Alvarado (featuring Panda Party, My Heart, Fancy Frame Dies)

I first stamped my images onto a sheet of Neenah Solar White 110lb Card Stock with Memento Tuxedo Black Ink. I also stamped a fun little banner from the Panda Party Stamp Set. I used Copic markers to color my images and the coordinating Bighearted Bears and Panda Party die sets to cut them out.

Copic Colors Used:

  • Pandas: W00, W1, W3, W5, W7
  • Cheeks: R32
  • Pinks: RV02, RV04, RV17
  • Reds: R14, R46, R59, R89

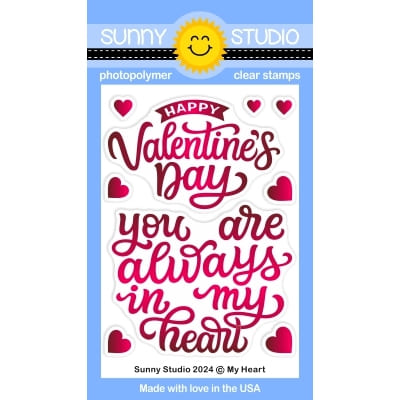
Next, I trimmed a piece of smooth white card stock to 4" x 5.25" and blended it with some Picked Raspberry and Spun Sugar Distress Oxide Inks. Once I finished blending, I then added some spatters of diluted Copic Opaque White Paint as well as some pink dots from some Copic Markers (RV02, RV04). I used some doubled sided tape to attach this piece to my top-folding A2 sized card base (4.25" x 5.5") and then die cut my scalloped frame 6x's using the largest die from the Fancy Frames Rectangles Die Set. I used liquid adhesive to glue five of the frames together and then adhered them to my card base over top of the ink-blended panel. I then stamped my sentiment from the My Heart Stamp Set with some Pinkfresh Candy Apple Ink, cut it out with the coordinating My Heart Die Set and then added it to the center of my card base.

Sunny Studio Stamps: Bighearted Bears Valentine's Day Card by Rachel Alvarado (featuring Panda Party, My Heart, Fancy Frame Dies)

Next, I poured some Red & Pink Clay Heart Confetti and Majestic Mini Sequins onto the center of my card. After spreading the embellishments out with my finger, I then glued a 4" x 5.25" piece of clear acetate to the top of my rectangular scalloped frame. To finish off the shaker portion of my card, I then glued one more layer of my frame on top of the acetate for a clean look. Lastly, I added my images with some 3D foam adhesive tape for a pop of dimension.

Thanks so much for taking the time to stop by! For more inspiration, feel free to check out my INSTAGRAM feed. Wishing you all a lovely day!

Sunny Studio Supplies Used:

Fancy Frames- Rectangles
Shop at:
Sunny Studio
Panda Party Stamps
Panda Party Stamps
Shop at:
Sunny Studio
Panda Party Dies
Panda Party Dies
Shop at:
Sunny Studio
Bighearted Bears Stamps
Shop at:
Sunny Studio
Bighearted Bears Dies
Shop at:
Sunny Studio
My Heart Stamps
My Heart Stamps
Shop at:
Sunny Studio
My Heart Dies
My Heart Dies
Shop at:
Sunny Studio

Friday, January 12, 2024

Love Birds Card with Nicky

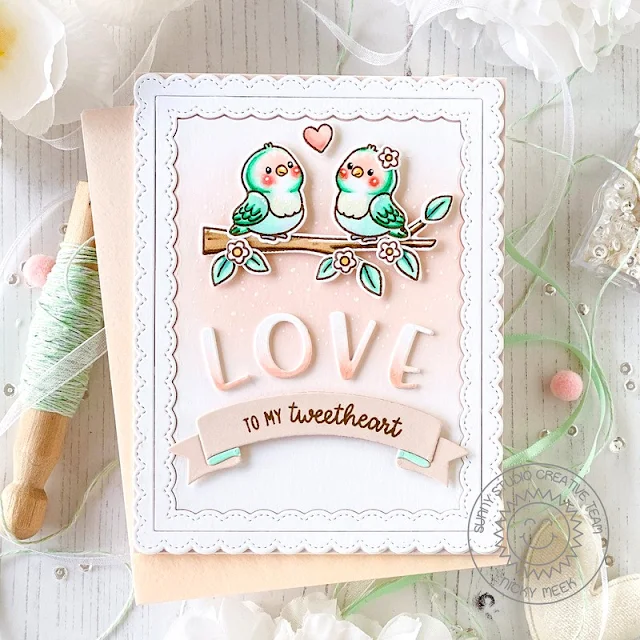
Hi this is Nicky with you today with my first blog post as a member of the Sunny Studio Design Team and I have a sweet card created using the brand new Love Birds stamp set

Sunny Studio Stamps: Love Birds Card by Nicky Meek (featuring Chloe Alphabet Dies, Brilliant Banner Dies, Fancy Frame Dies)

To create this card I first took two panels of white cardstock and I used the Fancy Frames Rectangle die to die cut twice. I glued the frames together to make them nice and sturdy and with the negative cut from the centre that was created I blended softly with a peachy pink ink. I adhered the frame to a panel of pale pink cardstock and then I recessed the ink blended background panel through the opening and glued it into place.

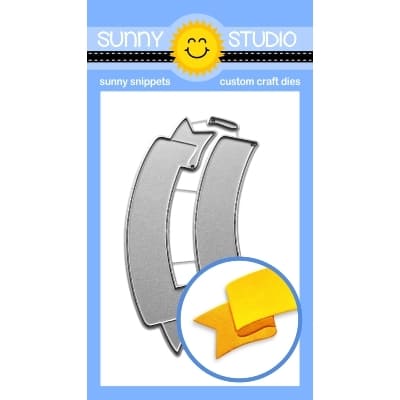
I created the word LOVE using the Chloe Alphabet Die. I die cut each letter 3 times and glued them in stacks and used Copic markers to create an ombré affect. I die cut some pale pink cardstock using the Brilliant Banner 2 die and stamped the sentiments from the Love Birds stamp set.

Sunny Studio Stamps: Love Birds Card by Nicky Meek (featuring Chloe Alphabet Dies, Brilliant Banner Dies, Fancy Frame Dies)

In nature, Love Birds come in so many beautiful colours so you can really have fun recreating these birds every time you use the stamp set but I chose a variety called 'Peach-Faced Love Bird' to inspire mine. I stamped the images then used the following Copic marker combinations to colour everything:

Birds - BG32, G00, G000, G0000, C1, C0, E01, R00, R000
Blushes - R22, R21, R20, R00
Branch - E44, E43, E42
Leaves - BG32, G00, G000, G0000
Flowers - Y23, R000
Heart - R21, R00

Sunny Studio Stamps: Love Birds Card by Nicky Meek (featuring Chloe Alphabet Dies, Brilliant Banner Dies, Fancy Frame Dies)

The images were die cut using the coordinating dies and applied with foam tape and then underneath I glued the word LOVE and after that I added the banner with more foam tape.

To finish up I used a white gel pen to dot in some interest to the blended background and to highlight points on the coloured images and then it was complete.

Thanks for visiting the Sunny blog, I'll be back just about every Friday with something new to share.

Sunny Studio Supplies Used:

Chloe Alphabet Dies
Chloe Alphabet Dies
Shop at:
Sunny Studio
Fancy Frames- Rectangles
Shop at:
Sunny Studio
Brilliant Banner 2 Dies
Shop at:
Sunny Studio
Love Birds Stamps
Love Birds Stamps
Shop at:
Sunny Studio
Love Birds Dies
Love Birds Dies
Shop at:
Sunny Studio

Sunday, December 17, 2023

Bells & Baubles Card with Rachel

Hello friends! It's Rachel here with a Christmas shaker card featuring the beautiful Bells & Baubles layering stamp set. 

Sunny Studio Stamps: Bells & Baubles Christmas Card by Rachel Alvarado (featuring Fancy Frame Dies)

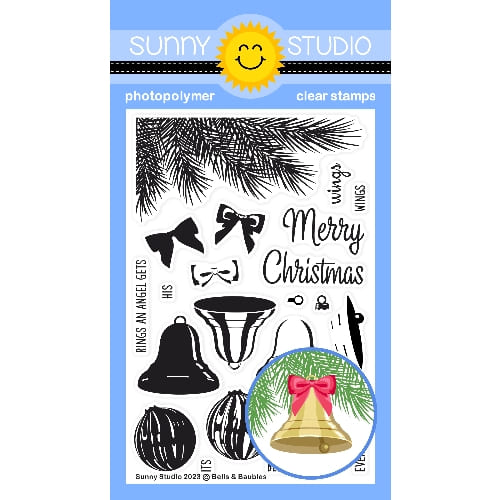
I started my card by first stamping my ornaments onto a sheet of smooth white card stock. I used a layering of Altenew Pink Pearl, Heart Beat, and Vineyard Berry Inks. I also stamped some pine branches using some Pinkfresh Aquamarine Ink. Next, I used the Bells & Baubles Die Set to cut my stamped images. I set these images aside to then work on my card background.

For the base of my card, I used a top-folding A2 sized piece of white card stock and layered it with a 4" x 5.25" piece of dark green card stock. On top of that piece, I added a 3.75" x 5" layer on which I had blended some Salvaged Patina Distress Oxide Ink. I added a few spatters of diluted Copic Opaque White Paint as well as some dots of green Copic Markers before adding this piece to my card base. 

Sunny Studio Stamps: Bells & Baubles Christmas Card by Rachel Alvarado (featuring Fancy Frame Dies)

Next, I adhered my ornaments and pine branches and then added 4 layers (adhered together with liquid adhesive) of scalloped rectangle frames that I had die cut from white card stock using the Fancy Frames Rectangle Dies. To finish the shaker portion of my card, I next added a 3.75" x 5" piece of clear acetate and one more scalloped rectangle frame to the top.

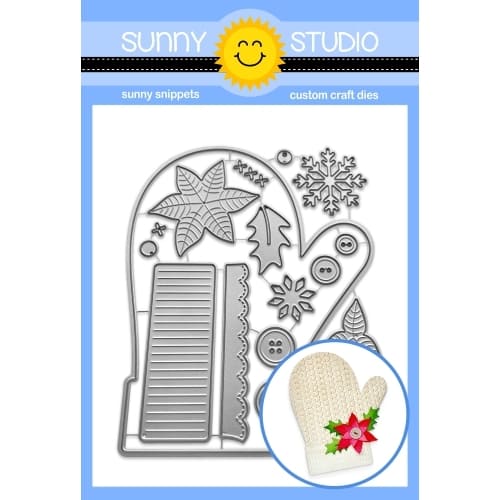
Lastly, I added my sentiment that I had heat embossed onto some more dark green card stock and also added some holly and berries from the Woolen Mitten Die Set.

Thanks so much for taking the time to drop by today! Wishing you all a lovely day!

Sunny Studio Supplies Used:

Fancy Frames- Rectangles
Shop at:
Sunny Studio
Woolen Mitten Dies
Woolen Mitten Dies
Shop at:
Sunny Studio
Bells & Baubles Stamps
Shop at:
Sunny Studio
Bells & Baubles Dies
Shop at:
Sunny Studio

Tuesday, December 12, 2023

Woolen Mitten Card with Isha

Hello everyone! Isha here with an adorable winter theme card featuring the Woolen Mitten Dies. This die is big and first I thought of creating a shaped card as it's perfect size but then I went for the layering style and loved the result. 

Sunny Studio Stamps: Woolen Mitten Die Focused Holiday Card by Isha Gupta (featuring Snowman Kisses, Winter Greenery Dies, Frilly Frame Dies, Fancy Frame Dies, Inside Greetings)

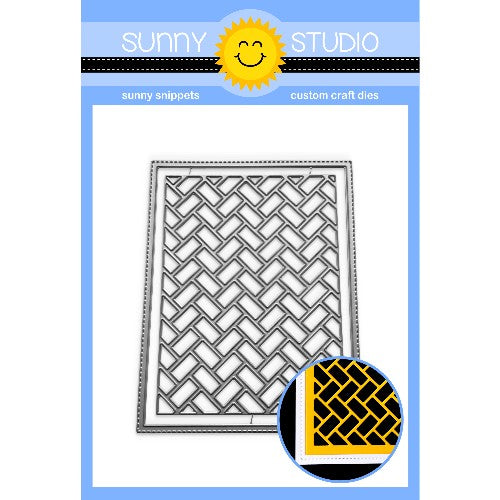
I started by sponging salvaged patina ink to a white card. Next I die-cut a white card using the Frilly Frames Herringbone die. Use this piece as stencil and sponged peacock feathers distress ink through it. Die-cut a white border from the Fancy Frames Rectangle die. Adhere to the card.

Next I started by die-cutting and stamping all the elements. Colored the snowmen using watercolors. Sponged various inks to the leaves and flowers.

Sunny Studio Stamps: Woolen Mitten Die Focused Holiday Card by Isha Gupta (featuring Snowman Kisses, Winter Greenery Dies, Frilly Frame Dies, Fancy Frame Dies, Inside Greetings)

Mitten, snowflakes, poinsettia, holly leaves - Woolen Mitten Dies
Circle - Stitched Circle Small dies
Leaves - Winter Greenery dies
Snowmen - Snowman Kisses stamps and dies
Sentiment - Inside Greetings Holidays

Emboss the snowflakes using WOW! gilded embossing powder. Assemble all the elements, flick white paint. To finish, add some clear drops.

Thank you for dropping by and have a nice day!

Sunny Studio Supplies Used:

Fancy Frames- Rectangles
Shop at:
Sunny Studio
Frilly Frames Herringbone
Shop at:
Sunny Studio
Inside Greetings-Holidays
Shop at:
Sunny Studio
Stitched Circle Small Dies
Shop at:
Sunny Studio
Winter Greenery DIes
Shop at:
Sunny Studio
Snowman Kisses Stamps
Shop at:
Sunny Studio
Snowman Kisses Dies
Snowman Kisses Dies
Shop at:
Sunny Studio
Woolen Mitten Dies
Woolen Mitten Dies
Shop at:
Sunny Studio

Friday, December 8, 2023

Holiday Hugs Card with Tina

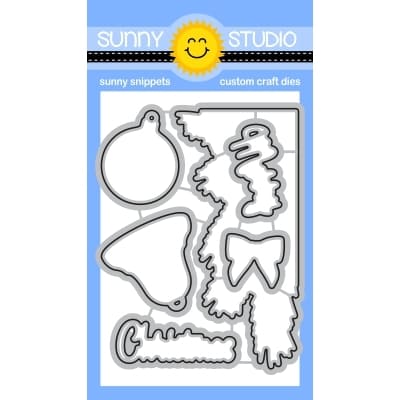
Hello crafty friends, it’s Tina and today I am showcasing the cutest bear ever from the sweet Holiday Hugs stamp and die set! When you use the dies, the bear can hold several items!

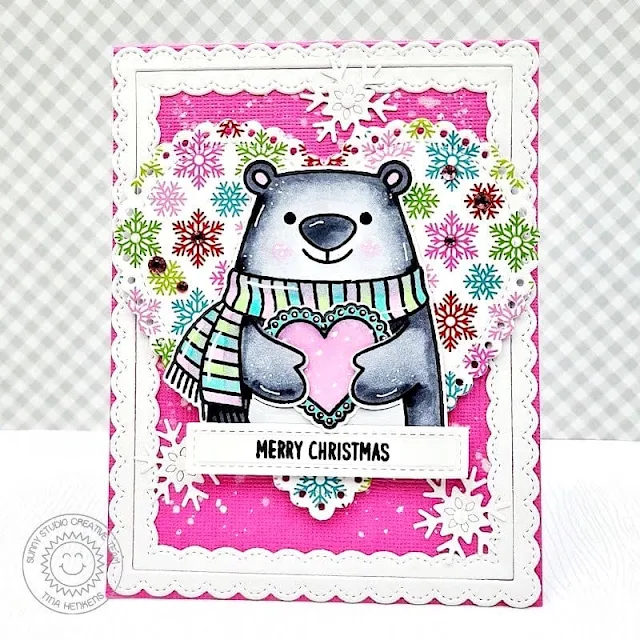
Sunny Studio Stamps: Holiday Hugs Christmas Card by Tina Henkens (featuring Snowflake Circle Frame Dies, Scalloped Heart Dies, Fancy Frame Dies)

For my base panel I die cut a piece of pink paper from my stash. To get a snowy look, I added splatters with a paintbrush and some watered-down white paint. I framed it with a white border created with the two outer pieces from the Fancy Frame Rectangle dies.

The cute bear had to be the focal point of this card and I thought it would be fun to add him to a heart shape. For this heart I used a holiday paper from All Is Bright and the largest die in the Scalloped Heart set. I mounted this piece with foam tape to the pink panel.

Sunny Studio Stamps: Holiday Hugs Christmas Card by Tina Henkens (featuring Snowflake Circle Frame Dies, Scalloped Heart Dies, Fancy Frame Dies)

Next, I stamped and die cut the cute bear and heart from the Holiday Hugs stamp and did some Copic coloring. I used a grey marker to add some shading. After placing the heart into the bears paws, I mounted him to my card with dimensional tape. Love how cute that looks!!

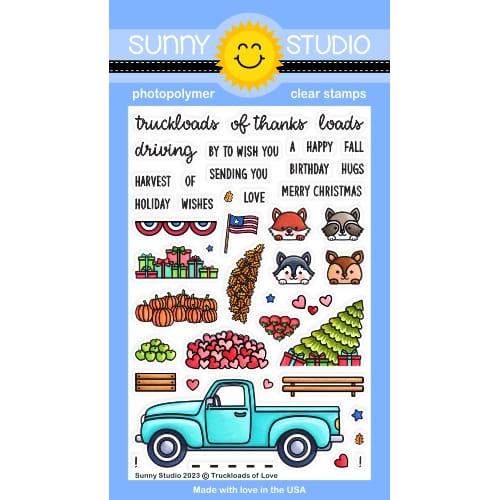
I selected a sentiment from Truckloads Of Love and stamped it onto a white strip using my much loved Versafine Onyx Black ink. A few snowflakes from the Snowflake Circle Frame Die were added as embellishments. As a finishing touch, I sprinkled a few Pastel Jewels around the bear.

I am planning to make much more cards with this adorable bear and I am looking forward to seeing your creations! Thank you for joining me and happy crafting.

Sunny Studio Supplies Used:

Fancy Frames- Rectangles
Shop at:
Sunny Studio
Snowflake Circle Frame
Shop at:
Sunny Studio
All Is Bright Paper
All Is Bright Paper
Shop at:
Sunny Studio
Scalloped Heart Dies
Shop at:
Sunny Studio
Holiday Hugs Stamps
Holiday Hugs Stamps
Shop at:
Sunny Studio
Holiday Hugs Dies
Holiday Hugs Dies
Shop at:
Sunny Studio
Truckloads of Love Stamps
Shop at:
Sunny Studio