Wednesday, March 27, 2019

Everything's Rosy Cards with Mona and Franci

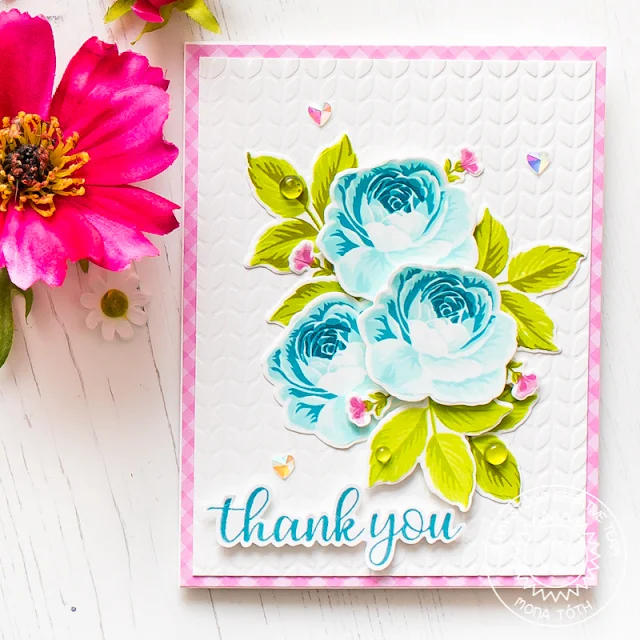
Hi crafty friends! It's Mona here, today I am showing you a bright floral card featuring the Everything's Rosy stamp set. I love this stamp set soo much and it is currently my favorite rose stamp set.


Sunny Studio Stamps: Everything's Rosy Everyday Greetings Thank You Card by Mona Toth

This time I started the card making with stamp layering. For the stamping I used Hybrid Inks from Scrapbook.com and green colored mini ink cubes from Altenew. For the leaves I used the Bamboo, Parrot and Moss colors. For the rose I used the Sky hybrid ink combo and for the tiny flower I used the Rose color combo from Scrapbook.com. When it was done I die-cut the images with the coordinating dies.


Sunny Studio Stamps: Everything's Rosy Everyday Greetings Thank You Card by Mona Toth

The next step was the background. I dry embossed a piece of white cardstock with Cable Knit Embossing Folder and backed it with Gingham Pastels Paper.


Sunny Studio Stamps: Everything's Rosy Everyday Greetings Thank You Card by Mona Toth

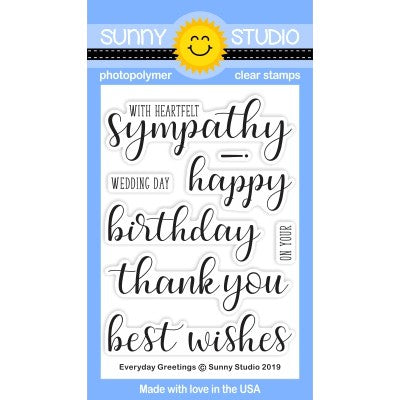
When it was done, I stamped the "Thank you" sentiment from the Everyday Greetings Stamp Set and after a quick fussy cutting I adhered it to the cardbase.


Sunny Studio Stamps: Everything's Rosy Everyday Greetings Thank You Card by Mona Toth

In the end I styled my card and adhered the flowers to my card base, embellished the card with Iridescent Hearts and Clear Drops and it was done. Thank you very much for reading through my post, I hope that you have enjoyed it and I have inspired you! If you like my creations let's be friends on Instagram. :)

------------------------------------------------------

Hello there! Franci here with you today with a classic "Best Wishes" card.


Sunny Studio Stamps: Everything's Rosy Everyday Greetings Background Basics Best Wishes Card by Franci Vignoli

First of all I created my landscape card base out of white cardstock and I cut out a coordinated panel in blue cardstock. I inked my blue cardstock with Chipped Sapphire distress ink to darken it up a little bit, I cut out 2 strips out of it and I let them dry completely.

I stamped the images from the Everything's Rosy set with just 1 ink each using the second generation stamping technique and I cut them out with their coordinated diesI added a strip of iridescent foil on to one of the blue strips, I also cut out a little strip of white cardstock and I stamped my sentiment from the Everyday Greetings set


Sunny Studio Stamps: Everything's Rosy Everyday Greetings Background Basics Best Wishes Card by Franci Vignoli

I also stamped that super cool pattern from the Background Basics set on to the front of my card with a light blue ink and then I assembled all the elements. I glued down the rose with foam tape and I also added some clear drops.

Hope you like my card and thank you so much for stopping by! 

Sunny Studio Supplies Used:

Background Basics Stamps
Shop at:
Sunny Studio
Cable Knit Embossing
Shop at:
Sunny Studio
Everything's Rosy Stamps
Shop at:
Sunny Studio
Everything's Rosy Dies
Shop at:
Sunny Studio
Everyday Greetings Stamps
Shop at:
Sunny Studio

Tuesday, March 26, 2019

Miss Moo Cards with Angelica and Juliana

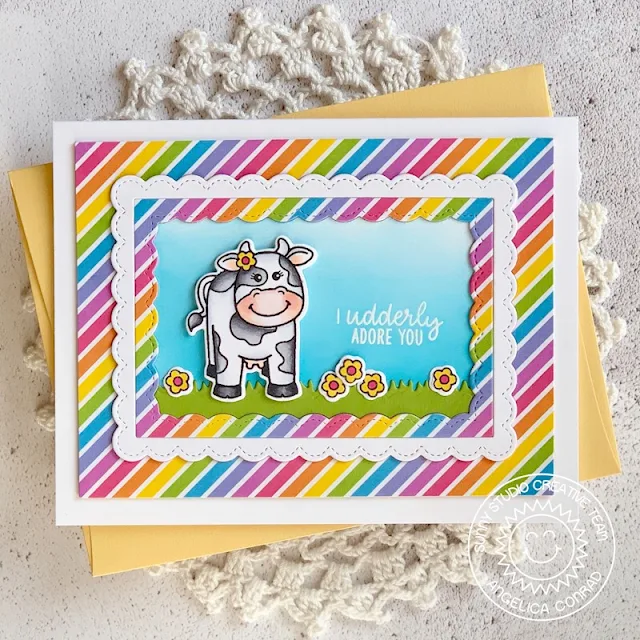
Hi friends, Angelica here with a new card for this week. I used the Miss Moo stamp set  and coordinating dies to create this colorful card.

Sunny Studio Stamps: Miss Moo Fancy Frames Comic Strip Everyday Dies Punny Birthday Cards by Angelica Conrad

I stamped and Copic colored Miss Moo and flowers with the following colors: Miss Moo: N3, N1, N0, R20, YR000, Colorless Blender; Flowers: Y13, RV25

Sunny Studio Stamps: Miss Moo Fancy Frames Comic Strip Everyday Dies Punny Birthday Cards by Angelica Conrad

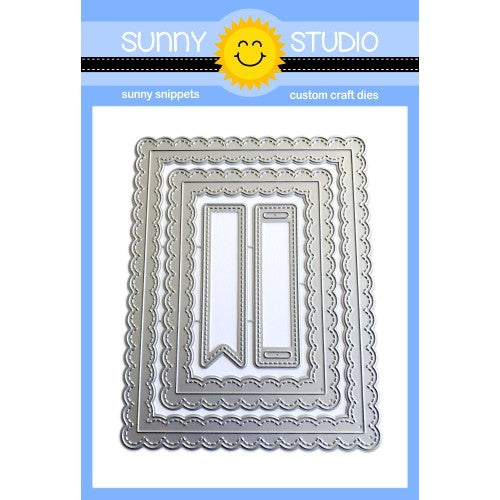
I used the small Fancy Frames Rectangle to die-cut two white frames. I die-cut a third frame from the middle of a 4 x 5.25 cut panel of Spring Sunburst pattern paper. I added thin foam adhesive to the back of the rainbow panel, and attached it to a card base. I stacked and glued the frames together, then added them to the card base.

Sunny Studio Stamps: Miss Moo Fancy Frames Comic Strip Everyday Dies Punny Birthday Cards by Angelica Conrad

I used one of the white card stock middles to blend Mermaid Lagoon Distress oxide ink onto. I stamped and white heat-embossed the sentiment. I cut another fancy frame out of green card stock, and used a die from Comic Strip Everyday Dies to cut a strip of grass from the middle piece. My last step was glueing everything together. 

Isn't Miss Moo the cutest?? That's all that I have for today. Thanks so much for stopping by!

------------------------------------------------------------

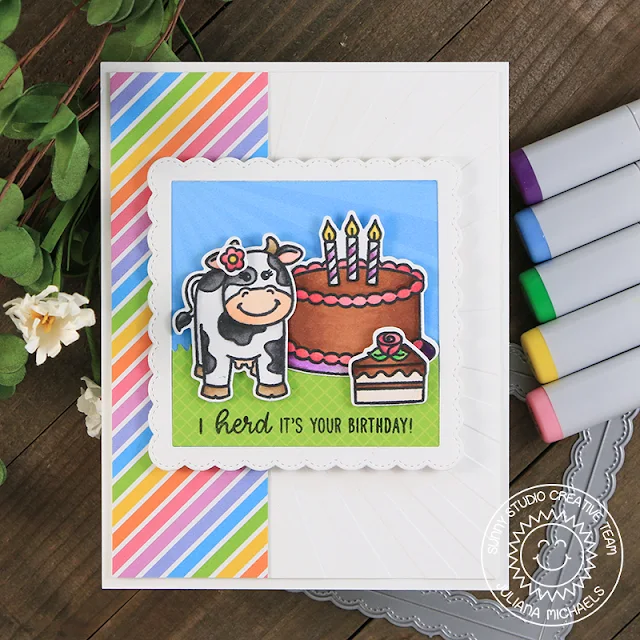
Hello Sunny Studio friends! Juliana Michaels here with you today. I'm so happy to be sharing a birthday card that features the Miss Moo and Make A Wish stamp sets.

Sunny Studio Stamps: Miss Moo Fancy Frames Make A Wish Comic Strip Everyday Dies Punny Birthday Card by Juliana Michaels

To get started, I stamped and colored the adorable cow and flower from the Miss Moo Stamp Set and the cake and slice of cake from the Make A Wish Stamp using Copic Markers. I then die cut the images.

Next I took the smallest die from the Fancy Frames Square Die and cut it from a piece of white paper. I kept the outside frame piece and put the others to the side for a future project. I then trimmed a piece of blue sunburst paper from the Spring Sunburst 6x6 Paper Pad to fit behind the frame. I also cut a piece of green paper from the Gingham Pastels 6x6 Paper Pad using the grass die from the Comic Strip Everyday Dies. Once these pieces were adhered together, I added the cow and cake images. I used some double sided foam squares from Therm O Web to pop up the cow and the slice of cake to add a bit of dimension. I then completed the piece by stamping the sentiment onto the green paper using the stamps from the Miss Moo Stamp Set.

Sunny Studio Stamps: Miss Moo Fancy Frames Make A Wish Comic Strip Everyday Dies Punny Birthday Card by Juliana Michaels

For the card front, I took a piece of white cardstock and embossed it using the Sunburst Embossing Folder. I then trimmed it down to 4 x 5.25 inches. Next, I cut a piece of striped paper from the Spring Sunburst 6x6 Paper Pad to 1.5 inches and adhered that along the edge. I then adhered this entire piece to a piece of white cardstock cut to 4.25 x 5.5 inches. To finish the card, I then adhered the framed scene I had created with the stamps.

Thanks so much for stopping by today! I hope you enjoyed how I combined the Miss Moo and Make A Wish stamp sets to create this birthday card.


Sunny Studio Supplies Used:

Fancy Frames- Rectangles
Shop at:
Sunny Studio
Comic Strip Everyday Dies
Shop at:
Sunny Studio
Gingham Pastels 6x6 Paper
Shop at:
Sunny Studio
Spring Sunburst 6x6 Paper
Shop at:
Sunny Studio
Sunburst Embossing
Sunburst Embossing
Shop at:
Sunny Studio
Miss Moo Stamps
Miss Moo Stamps
Shop at:
Sunny Studio
Miss Moo Dies
Miss Moo Dies
Shop at:
Sunny Studio
Make A Wish Stamps
Make A Wish Stamps
Shop at:
Sunny Studio
Make A Wish Dies
Make A Wish Dies
Shop at:
Sunny Studio