Monday, October 7, 2019

Christmas Garland Frame Focused Cards with Eloise and Leanne

Hi friends, Eloise here and today I’m using the Christmas Garland Frame Dies along with Season’s Greetings Stamp Set to create a Christmas Card.

Sunny Studio Stamps: Christmas Garland Frame Dies Season's Greetings Christmas Card by Eloise Blue

I started off with die cutting the Christmas Garland Frame die from white cardstock. I had to use a metal shim for this to make sure I got a nice clean cut. I repeated this step with a piece of green cardstock and then also die cut out some berries from the set too out of red cardstock.

I then took a piece of watercolour cardstock and ink blended some Evergreen Bough, Peacock Feathers and Cracked Pistachio onto the bottom half of the piece and faded up to white. I then flicked on some water and dried it off with a heat tool to create the water splotch effect. Once the background was done, I stamped down the large ‘Season’s and Greeting’s sentiment with black ink from Season’s Greetings. I then clear heat embossed over it to make sure I didn’t smudge it.

Sunny Studio Stamps: Christmas Garland Frame Dies Season's Greetings Christmas Card by Eloise Blue

I then cut apart the white frame die cut and adhered half of it at the bottom of my card panel and then a small strip at the top. I also cut apart some of the green pine needles and adhered them around my card on top of the white, just for a bit of variation. I added foam tape onto the red berries and adhered them in place too.

Thanks so much for stopping by today and I’ll see you all next week.

-------------------------------------------------

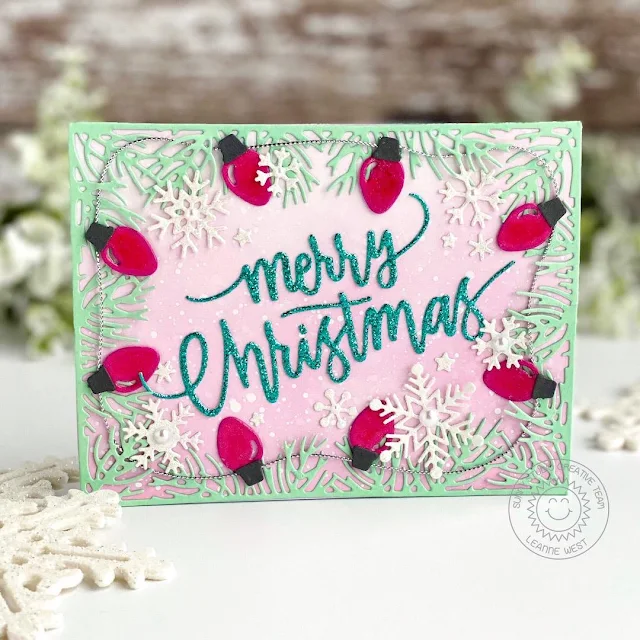
Hello everyone, Leanne here! I have a festive holiday card to share today. I've relied upon lots of die cutting to create this design. 

Sunny Studio Stamps: Christmas Garland Frame Dies Circle Snowflake Frame Dies Season's Greetings Christmas Card by Leanne West

I decided to go with a non traditional Christmas color palette of pink, teal, and mint green. This card is A2 size and I started by creating the ink blended background using Spun Sugar Distress Oxide ink. I then generously splattered the background with thinned white acrylic paint. I used the Christmas Garland Frame to die cut the pine sprig border. 

I decorated the pine border with die cut lights and snowflakes. The mini light bulb die is a freebie with an order from the Sunny Studio shop. I added Glossy Accents to the bulbs for a nice shiny finish. The snowflakes were cut out with a die from the Snowflakes Circle Frame set. To give the lights a more realistic look, I added some thin silver metallic twine to connect them. 

Sunny Studio Stamps: Christmas Garland Frame Dies Circle Snowflake Frame Dies Season's Greetings Christmas Card by Leanne West

For the greeting, I die cut Merry Christmas from Tonic Studios Turquoise Lake Glitter Card and added to the center of the card front with liquid adhesive. To finish off the card, I adhered some little pearl embellishments to the center of the snowflakes. 

Sunny Studio Supplies Used:

Season's Greetings Stamps
Shop at:
Sunny Studio
Snowflake Circle Frame
Shop at:
Sunny Studio
Christmas Garland Frame
Shop at:
Sunny Studio

Saturday, October 5, 2019

Sunny Saturday Share: Customer Cards


Hey everyone, how are you all doing this weekend? I'm so excited to be popping in today with a Sunny Saturday Share. There have been so many amazing cards popping up on Instagram that have made my jaw drop so I couldn't wait to share them with all of you! 

Cruising Critters card by Ashley Ebben

Sunny Studio Stamps: Cruising Critters Customer Card by Ashley Ebben

Cruising Critters card by Sandy Allnock

Sunny Studio Stamps: Cruising Critters Customer Card by Sandy Allnock

Everything’s Rosy and Vintage Jar card by C Kesler


Sunny Studio Stamps: Everything's Rosy Vintage Jar Customer Card by C Kesler

Fresh & Fruity and Sweet Word card by Judy Tuck


Sunny Studio Stamps: Fresh & Fruity Sweet Word Die Customer Card by Judy Tuck

Slice of Summer Citrus Slice card by Angela


Sunny Studio Stamps: Slice of Summer Citrus Slice card by Angela

Woodsy Autumn card by Caren Bartholomew


Sunny Studio Stamps: Woodsy Autumn Customer Card by Caren Bartholomew

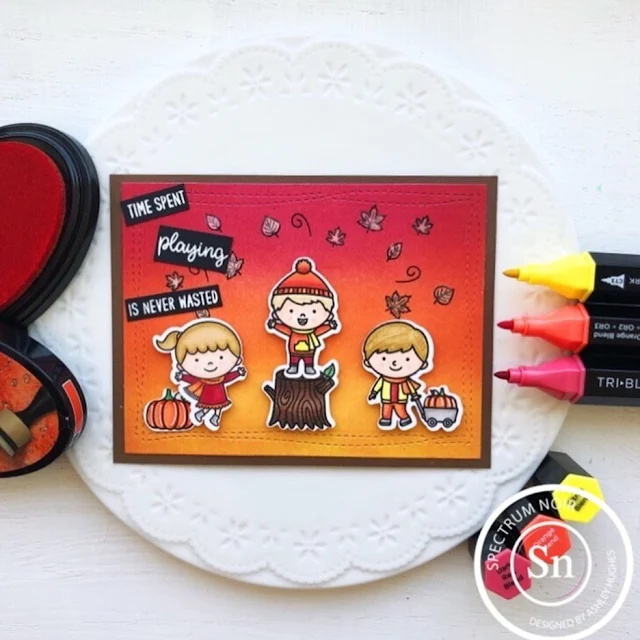
Fall Kiddos card by Ashley Hughes


Sunny Studio Stamps: Fall Kiddos Customer Card by Ashley Hughes

Nutty For You and Beautiful Autumn card by Maria Rudolph


Sunny Studio Stamps: Nutty For You Beautiful Autumn Customer Card by Maria Rudolph

Nutty For You and Colorful Autumn card by Vrbka Art


Sunny Studio Stamps: Nutty For You Customer Card by Vrbka Art

Silly Sloths card by Karin Akesdotter


Sunny Studio Stamps: Silly Sloths Customer Card by Karin Akesdotter

Bold Balloons and Just Bee-cause card by Ana Anderson


Sunny Studio Stamps: Bold Balloons Just Bee-cause Customer Card by Ana Anderson

Hawaiian Hibiscus card by C Kesler


Sunny Studio Stamps: Hawaiian Hibiscus Customer Card by C Kesler

Thank you for sharing all these fabulous ideas with us! I hope you will continue to share your gorgeous projects with us--It always makes my day to see them. You can tag us on instagram with the hashtag #sunnystudiostamps or share your projects with us in our flickr group or on our facebook page. ☺


Sunny Studio Supplies Used:


Fresh & Fruity Dies
Fresh & Fruity Dies
Shop at:
Sunny Studio
Fresh & Fruity Stamps
Shop at:
Sunny Studio
Sweet Word Die
Sweet Word Die
Shop at:
Sunny Studio
Vintage Jar Dies
Vintage Jar Dies
Shop at:
Sunny Studio
Vintage Jar Stamps
Vintage Jar Stamps
Shop at:
Sunny Studio
Bold Balloons Stamps
Shop at:
Sunny Studio
Bold Balloons Dies
Bold Balloons Dies
Shop at:
Sunny Studio
Beautiful Autumn Stamps
Shop at:
Sunny Studio
Beautiful Autumn Dies
Shop at:
Sunny Studio
Fall Kiddos Stamps
Fall Kiddos Stamps
Shop at:
Sunny Studio
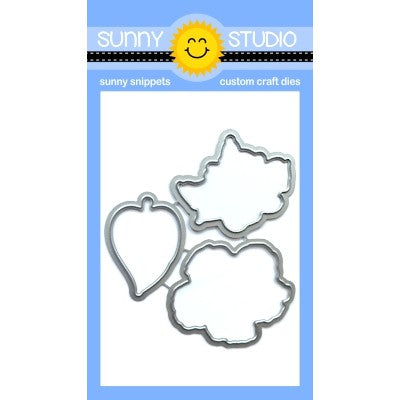
Fall Kiddos Dies
Fall Kiddos Dies
Shop at:
Sunny Studio
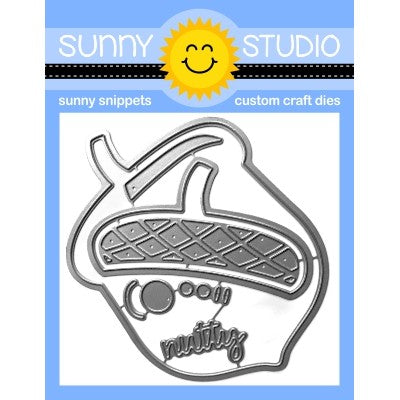
Nutty For You Dies
Nutty For You Dies
Shop at:
Sunny Studio
Everything's Rosy Stamps
Shop at:
Sunny Studio
Everything's Rosy Dies
Shop at:
Sunny Studio
Hawaiian Hibiscus Stamps
Shop at:
Sunny Studio
Hawaiian Hibiscus  Dies
Hawaiian Hibiscus Dies
Shop at:
Sunny Studio
Silly Sloths Stamps
Silly Sloths Stamps
Shop at:
Sunny Studio
Silly Sloths Dies
Silly Sloths Dies
Shop at:
Sunny Studio
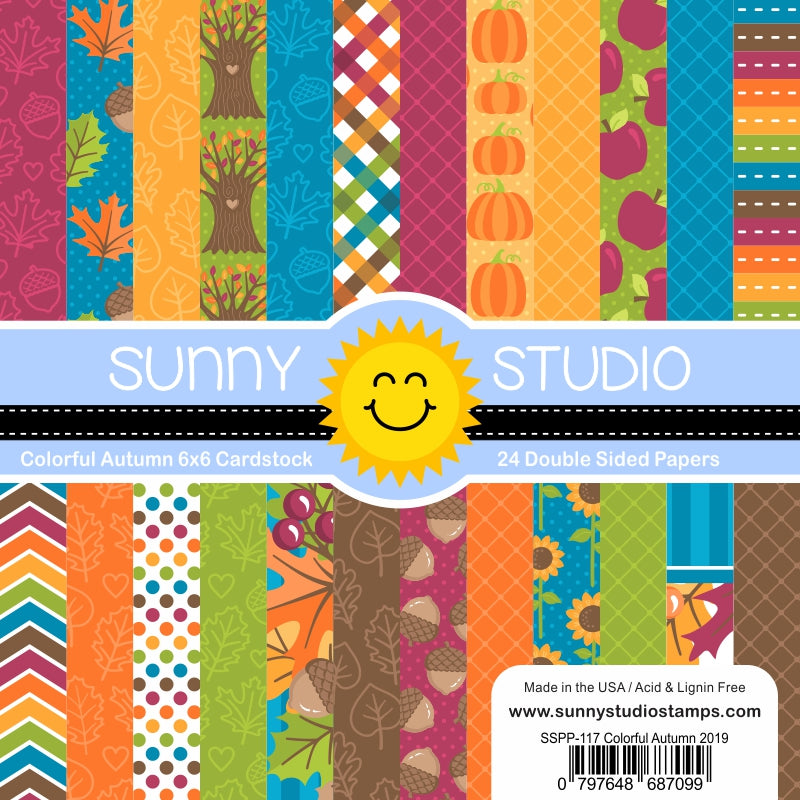
Colorful Autumn 6x6 Paper
Shop at:
Sunny Studio
Cruising Critters Stamps
Shop at:
Sunny Studio
Cruising Critters Dies
Shop at:
Sunny Studio
Woodsy Autumn Stamps
Shop at:
Sunny Studio
Woodsy Autumn Dies
Woodsy Autumn Dies
Shop at:
Sunny Studio
Just Bee-cause Stamps
Shop at:
Sunny Studio
Just Bee-cause Dies
Just Bee-cause Dies
Shop at:
Sunny Studio

Friday, October 4, 2019

Feeling Frosty Cards with Rachel and Candice

Hello! It's Rachel here and I have a fun double layer shaker card to share with you today featuring the new Feeling Frosty Stamp Set! I love shaker cards and making them double layered adds twice the fun because it adds room for some dimension.

Sunny Studio Stamps: Feeling Frosty Christmas Garland Frame Die Woodland Borders Winter Themed Card by Rachel Alvarado

The Feeling Frosty Set is filled with the cutest snowmen! I started my card by stamping my images onto a sheet of Neenah Solar White 110lb Card Stock and coloring them with Copies. I used the coordinating Feeling Frosty Dies to cut them out. For my background, I trimmed a piece of Neenah Solar White 110lb Card Stock and blended it with some Mermaid Lagoon Distress Oxide Ink. I then splattered this piece with some water to give the blending some texture.

Sunny Studio Stamps: Feeling Frosty Christmas Garland Frame Die Woodland Borders Winter Themed Card by Rachel Alvarado

Once dry, I then splattered it generously with some diluted Opaque White Paint to resemble falling snow. Once my background was ready, I added a few pine trees and a stitched snow drift using the Woodlands Border Die Set and some white card stock. Since this was my bottom layer, I adhered these pieces with liquid adhesive directly to my ink blended background.

I then liberally added some chunky white glitter to this first layer and used .25" wide 3D Foam Tape and a piece of clear acetate to seal it off. Once this layer was secure, I started to work on my second layer. I added another stitched snow drift to this layer once again using the Woodlands Borders Die. I glued this piece directly to the acetate below it. I also did the same with my snowmen and gift images.

Sunny Studio Stamps: Feeling Frosty Christmas Garland Frame Die Woodland Borders Winter Themed Card by Rachel Alvarado

I then repeated the same process with adding some chunky white glitter, foam tape, and acetate to this second layer. I used less glitter on the second layer so that it wouldn't cover my snowmen too much when laying flat.

To finish off my card, I added a thin white white frame to which I had attached a gorgeous frame of garland in white using the new Christmas Garland Frame Die. I love the final effect!

Thanks so much for taking the time to stop by today! If you want a good video tutorial for this type of technique, check out THIS video by Jennifer McGuire. Have a lovely weekend!

----------------------------------------------------

It's Friday and I wish you all a crafty weekend ahead! Candice here and can I tell you how excited I am to be sharing my first official post with you on the Sunny Studio's Design Team?!  Just look at how cute this new Holiday release is!

Sunny Studio Stamps: Feeling Frosty Layered Snowflake Frame Die Scenic Route Woodland Borders Winter Themed Card by Candice Fisher

I truly love how Sunny Studio stamps sets can easily be combined!  For this card, I used:

I began my card by creating an 8 1/2 x 3 1/2 card base which fits perfectly into the size 9A envelopes.

Sunny Studio Stamps: Feeling Frosty Layered Snowflake Frame Die Scenic Route Woodland Borders Winter Themed Card by Candice Fisher

I first stamped the snowmenhouses & kiddos, colored them with Copic markers, and used the coordinating dies listed above for each set. I then heat embossed the sentiment in silver and trimmed to a banner.

For the background, I inked the sky using peacock feathers, tumbled glass & shabby shutters, gluing the houses right at the green glow. Next, I created my snowhills from the AMAZING new Subtle Grey Tones 6x6 paper.  I know I will be going back to this pack often, so many possibilities with this set!

Sunny Studio Stamps: Feeling Frosty Layered Snowflake Frame Die Scenic Route Woodland Borders Winter Themed Card by Candice Fisher

To put the card together, I layered the snowhills and pop dotted the images along them, adding the sentiment along the bottom. For the final touch, I added a bit of sparkle with some glitter snowflakes.

If you haven't seen the full new holiday release, take some time to check it out here.  You will absolutely fall in love! Thank you for visiting!

Sunny Studio Supplies Used:

Fall Kiddos Stamps
Fall Kiddos Stamps
Shop at:
Sunny Studio
Fall Kiddos Dies
Fall Kiddos Dies
Shop at:
Sunny Studio
Woodland Borders Dies
Shop at:
Sunny Studio
Subtle Grey Tones Paper
Shop at:
Sunny Studio
Feeling Frosty Stamps
Shop at:
Sunny Studio
Feeling Frosty Dies
Feeling Frosty Dies
Shop at:
Sunny Studio
Scenic Route Stamps
Scenic Route Stamps
Shop at:
Sunny Studio
Scenic Route Dies
Scenic Route Dies
Shop at:
Sunny Studio
Layered Snowflake Frame
Shop at:
Sunny Studio
Christmas Garland Frame
Shop at:
Sunny Studio