Showing posts with label Stitched Rectangles. Show all posts

Sunday, May 12, 2024

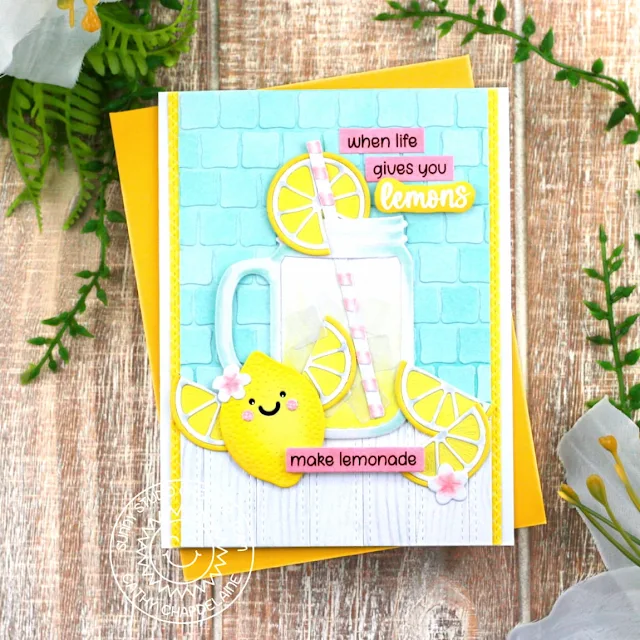
Fresh Lemon Die Focused Card with Cathy

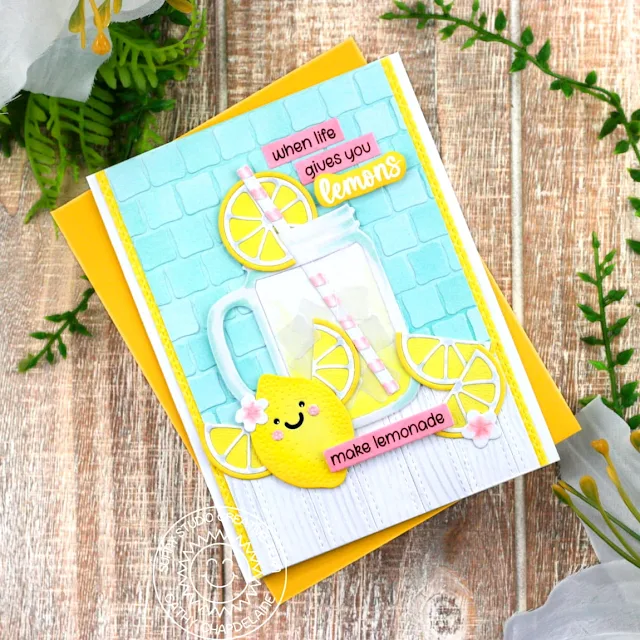
Hey friends! Cathy here today with an uplifting card for you featuring the Fresh Lemon Dies. I had so much fun making this and I can’t get enough of the cute smiley faces you can add to these lemons!

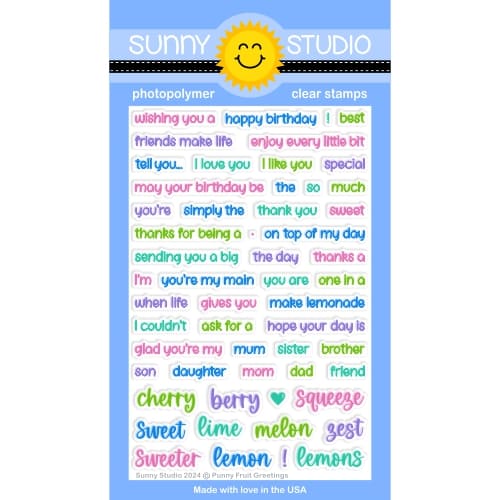
Sunny Studio Stamps: Fresh Lemon Card by Cathy Chapdelaine (featuring Punny Fruit Greetings, Summer Jar Mug Dies, Ribbon & Lace Border Dies, Stitched Rectangles Dies)

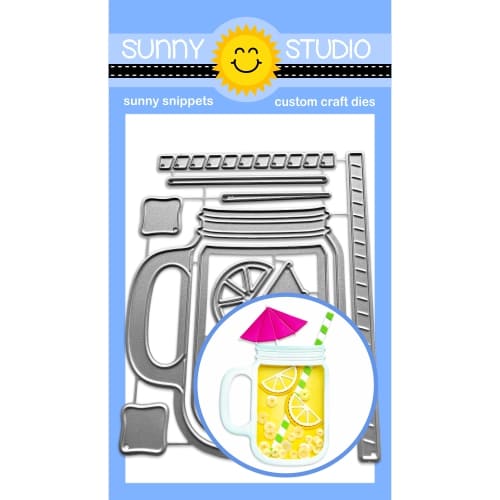
I started with the background panel by cutting a piece of white cardstock 4" x 5 1/2" and inking it lightly with Simon Says Stamp Seafoam ink. For a little texture (and because I thought it looked like a glass tile backsplash) I inked a second piece of white cardstock with the Seafoam ink and die-cut it multiple times using the ice cube dies from the Summer Jar Mug Dies. I adhered them to the background piece in rows covering the top 4" of the panel.

For a countertop look, I embossed a 2” x 5” piece of white cardstock using the Woodgrain Embossing Folder and inked it lightly with Lost Shadow Distress ink. I then die-cut this piece 6 times using the small die from the Stitched Rectangles Dies. I cut a piece of white cardstock 1 1/2" x 3 3/4" and adhered the woodgrain pieces to it trimming any excess from the edges. I then adhered this piece to the bottom of the background panel.

Next, I die-cut 2 strips of yellow paper from the Gingham Pastels Paper using the ribbon die from the Ribbon & Lace Border Dies. I overlapped/adhered the background panel to the ribbon strips on the left and right sides so just a stitched edge is visible and adhered the combined piece to the center of an A2 card front.

Sunny Studio Stamps: Fresh Lemon Card by Cathy Chapdelaine (featuring Punny Fruit Greetings, Summer Jar Mug Dies, Ribbon & Lace Border Dies, Stitched Rectangles Dies)

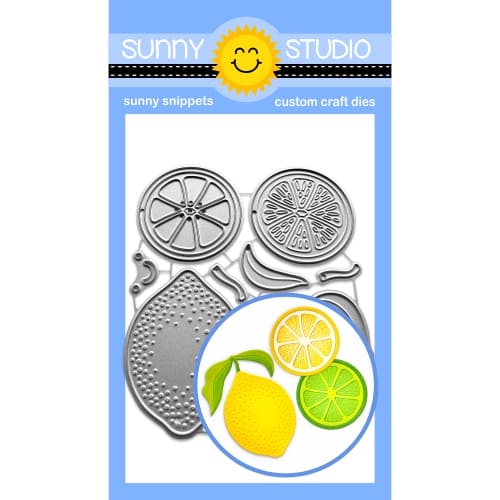
I die-cut the mug and straw from the Summer Jar Mug Dies from white cardstock and added some Copic colored details. I die-cut the ice cubes from vellum. I inked the lemon and slices from the Fresh Lemon Dies using Simon Says Stamp Lemonade and Sunbeam inks and added some gray Copic details to the white portions of the slices.

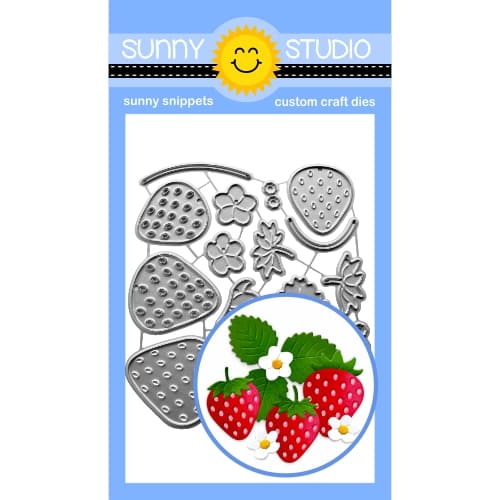
To finish, I die-cut 2 flowers and flower centers from white cardstock using the Strawberry Patch Dies and colored them with Copics. I added the flower centers as blush to my lemon. I stamped sentiments from the Punny Fruit Greetings Stamps on strips of pink cardstock and heat embossed the “lemons” sentiment with white embossing powder on white cardstock. I then inked over the sentiment with Lemonade and Sunbeam inks and fussy cut around it. I adhered the “lemons” and “make lemonade” sentiments with foam dimensional tape.

I hope you enjoyed and thanks for stopping by today! For more inspiration, please visit my blog www.inkredibleadventures.com and you can also find me on Instagram as @cathy.chapdelaine.

Sunny Studio Supplies Used:

Stitched Rectangle Dies
Shop at:
Sunny Studio
Gingham Pastels 6x6 Paper
Shop at:
Sunny Studio
Woodgrain Embossing
Woodgrain Embossing
Shop at:
Sunny Studio
Ribbon & Lace Dies
Ribbon & Lace Dies
Shop at:
Sunny Studio
Punny Fruit Greetings
Shop at:
Sunny Studio
Strawberry Patch Dies
Shop at:
Sunny Studio
Fresh Lemon Dies
Fresh Lemon Dies
Shop at:
Sunny Studio
Summer Jar Mug Dies
Summer Jar Mug Dies
Shop at:
Sunny Studio

Friday, May 10, 2024

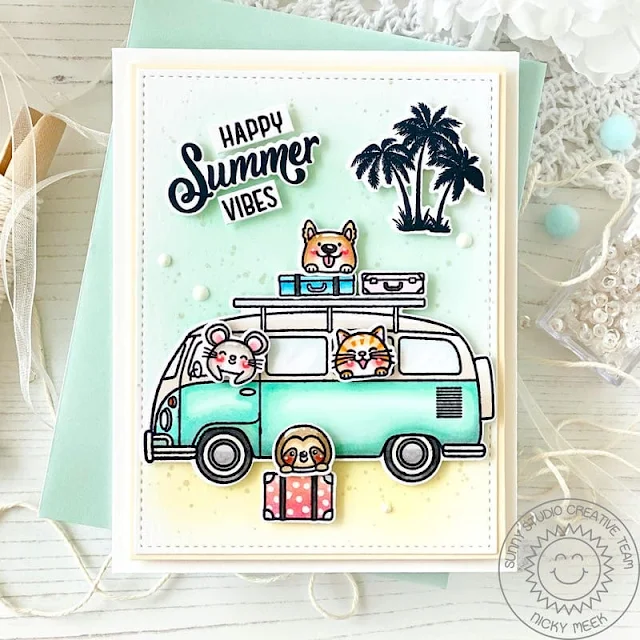
Beach Bus Card with Nicky

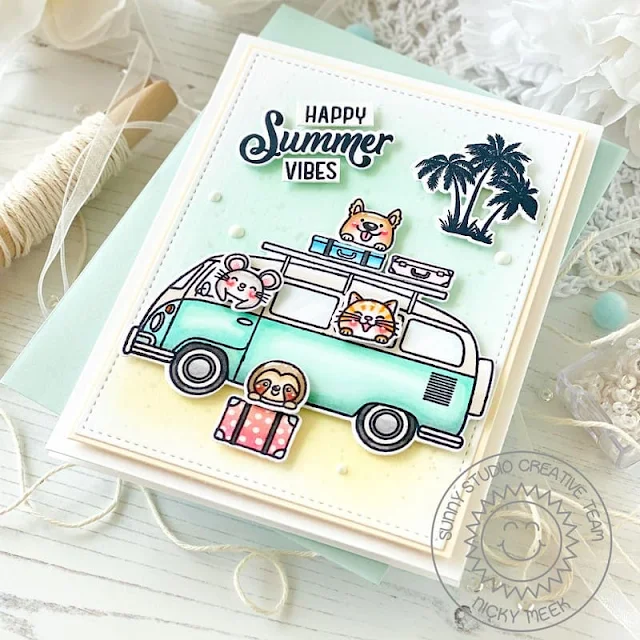
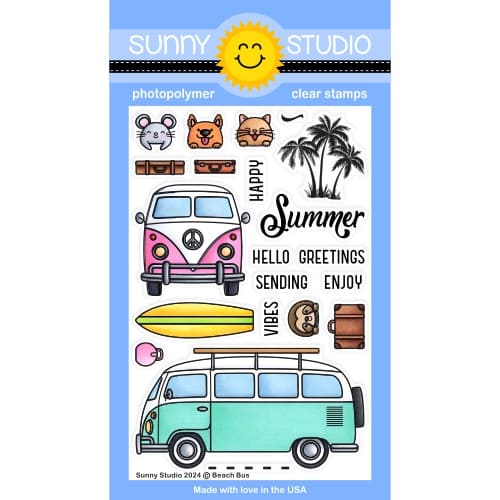
Hello! This is Nicky with you today on the Sunny Studio Blog. I have a fun Summer themed card to share with you today, featuring the new Beach Bus Stamps so please read on to learn all the details.

Sunny Studio Stamps: Beach Bus Summer Themed Card by Nicky Meeks (featuring Stitched Rectangles Dies)

I kicked things off by creating a panel of white cardstock which I softly ink blended to create some sand and sky using Scattered Straw and Salvaged Patina Distress Oxide Inks. I splashed the panel with some Perfect Pearls mixed with a couple of drops of  water and I then used the Stitched Rectangle Die (listed and linked above) to create the faux stitched edge.

I applied this panel to a slightly large panel of cream cardstock and then I backed this with white craft foam and adhered it to a white A2 panel, then to the card base. I set this to one side.

Sunny Studio Stamps: Beach Bus Summer Themed Card by Nicky Meeks (featuring Stitched Rectangles Dies)

I stamped the images from Beach Bus using Memento Ink in Tuxedo Black and I used the following Copic markers to colour the images:

Bus - BG32, G00, G000, G0000, E40, W00, T6, T5, T4
Mouse - T2, T0
Cat - YR24, E01, YR30
Sloth - E44, E43,
Pink - R22, RV23, R32, R20, RV00
Blue - FBG2, B00

Sunny Studio Stamps: Beach Bus Summer Themed Card by Nicky Meeks (featuring Stitched Rectangles Dies)

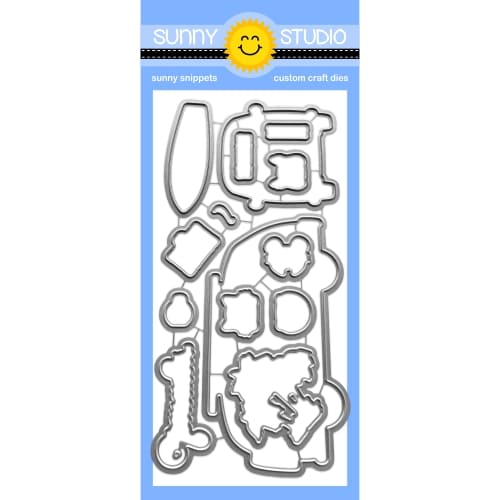
I highlighted points with a white gel pen and then die cut using the coordinating Beach Bus Die. Images and sentiments were added to the background panel using dimensional foam tape. I added 4 white Nuvo drops as some finishing accents and with that, this card was complete.

Thanks for stopping by the blog today, I'll be back next Friday with something new.

Sunny Studio Supplies Used:

Stitched Rectangle Dies
Shop at:
Sunny Studio
Beach Bus Stamps
Beach Bus Stamps
Shop at:
Sunny Studio
Beach Bus Dies
Beach Bus Dies
Shop at:
Sunny Studio

Friday, April 26, 2024

Fresh Lemon Die Focused Card with Nicky

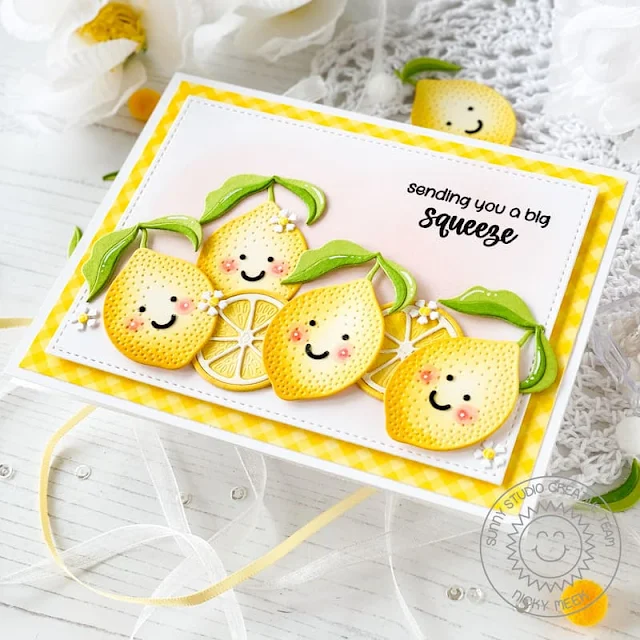
Hello this is Nicky with you today and I'm sharing my first card featuring products from Sunny's wonderful brand new release. I've got a zesty scene, focusing on the Fresh Lemon Dies.

Sunny Studio Stamps: Fresh Lemon Die Focused Card by Nicky Meeks (featuring Punny Fruit Greetings, Stitched Rectangle Dies)

I used the Stitched Rectangle Die to create a white panel and I ink blended the panel softly using a blush ink. I stamped the sentiment from Punny Fruit Greetings in my Misti using Memento Ink in Rich Cocoa.

I backed this panel with white craft foam and applied it to a panel of Gingham Pastels patterned cardstock and then to my white card base.

Sunny Studio Stamps: Fresh Lemon Die Focused Card by Nicky Meeks (featuring Punny Fruit Greetings, Stitched Rectangle Dies)

I used sturdy white cardstock and I die cut the lemon images using the Fresh Lemon Dies. For the leaves I used a light green cardstock. I ink blended the lemons using Squeezed Lemonade, Scattered Straw and Fossilized Amber Distress Oxide inks. I die cut their little faces from black cardstock and glued in place and I pieced together the leaves adding a little Copic marker to darken one half of each leaf. I blushed their cheeks using Copic Markers in R22, R20, R00 and highlighted with a white gel pen before assembling the leaves and glueing them to the lemons and then either glueing directly to the background or popping elements up on dimensional tape.

Sunny Studio Stamps: Fresh Lemon Die Focused Card by Nicky Meeks (featuring Punny Fruit Greetings, Stitched Rectangle Dies)

I die cut, assembled and applied a few little blooms from the Wonderful Windows Die and with that this card was done.

Thanks for stopping by for the details today, I'll be back next Friday with something new.

Sunny Studio Supplies Used:

Stitched Rectangle Dies
Shop at:
Sunny Studio
Gingham Pastels 6x6 Paper
Shop at:
Sunny Studio
Wonderful Windows Dies
Shop at:
Sunny Studio
Punny Fruit Greetings
Shop at:
Sunny Studio
Fresh Lemon Dies
Fresh Lemon Dies
Shop at:
Sunny Studio

Tuesday, April 23, 2024

Build-A-Bowl Die Focused Card with Isha

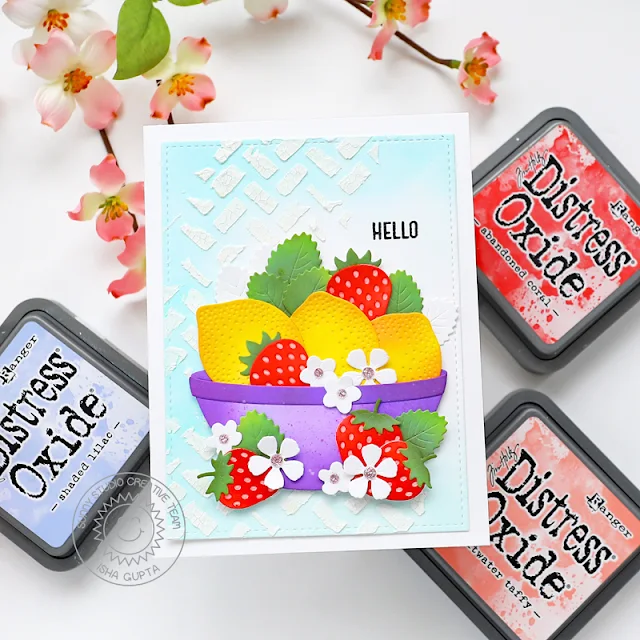
Hello everyone! Isha here with you today sharing a fun CAS mixed media card featuring the new Build-A-Bowl dies. I am sure you might have seen the wonderful cards by Mendi last week, if not then, do check the new release out.

Sunny Studio Stamps: Build-A-Bowl Die Focused Friendship Card by Isha Gupta (featuring Strawberry Patch Dies, Stitched Rectangle Dies, Fresh Lemon Dies, Frilly Frame Dies)

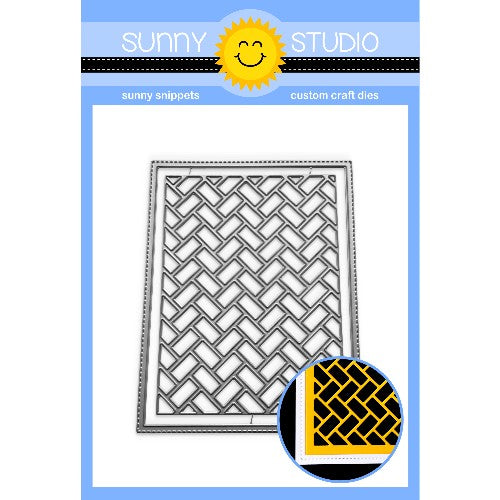
I used various dies from the new release. To start, I sponged peacock feathers and salty ocean to a piece of cardstock. Die-cut using the Stitched Rectangle dies. Next, die-cut the center using the Frilly Frames Herringbone die. I used this as a stencil and applied crackle embossing paste to the panel and let it dry.

Meanwhile I die-cut various elements from the dies and added distress oxide inks to add color to them.

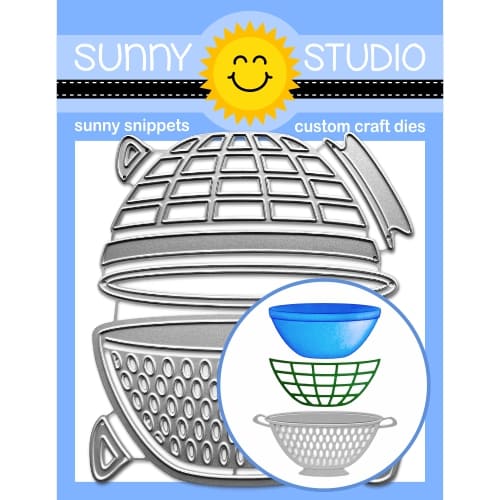
Bowl - Build-A-Bowl dies
Lemon - Fresh Lemon dies
Strawberry, florals and leaves - Strawberry Patch dies

Sunny Studio Stamps: Build-A-Bowl Die Focused Friendship Card by Isha Gupta (featuring Strawberry Patch Dies, Stitched Rectangle Dies, Fresh Lemon Dies, Frilly Frame Dies)

Assemble everything together. Stamp the sentiment from the Beach Bus stamp set. To finish, add some sparkle gems to the flower center.  

Thank you for dropping by and have a nice day!

Sunny Studio Supplies Used:

Stitched Rectangle Dies
Shop at:
Sunny Studio
Frilly Frames Herringbone
Shop at:
Sunny Studio
Beach Bus Stamps
Beach Bus Stamps
Shop at:
Sunny Studio
Strawberry Patch Dies
Shop at:
Sunny Studio
Fresh Lemon Dies
Fresh Lemon Dies
Shop at:
Sunny Studio
Build-A-Bowl Dies
Build-A-Bowl Dies
Shop at:
Sunny Studio

Tuesday, April 2, 2024

Puddle Jumpers Card with Isha

Hello everyone! Isha here on the blog with a fun and happy card featuring the Puddle Jumpers stamp and coordinating dies. This stamp set gives a happy feel, so I decided to go with rainbow colors.

Sunny Studio Stamps: Puddle Jumpers Spring Themed Card by Isha Gupta (featuring Stitched Rectangle Dies, Stitched Circle Dies)

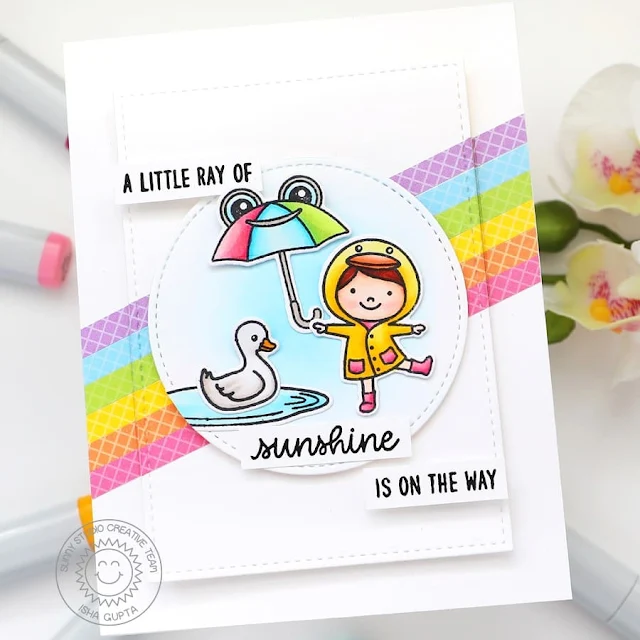
I started by cutting strips in rainbow colors using the Gingham Pastels paper pad. Adhere the stripes to a white panel. Die-cut this panel using the Stitched Rectangle die. Adhere the negative piece to a white cardbase. Adhere the center rectangle to the card using 3d foam.

Sunny Studio Stamps: Puddle Jumpers Spring Themed Card by Isha Gupta (featuring Stitched Rectangle Dies, Stitched Circle Dies)

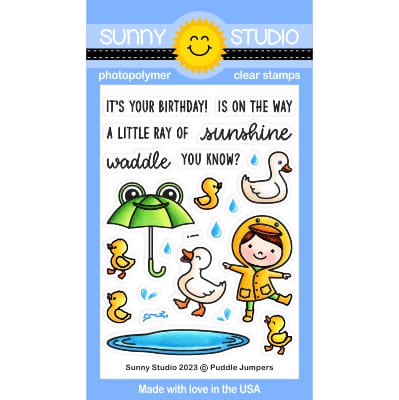
Now, die-cut a circle using the Stitched Circle Large die. Sponge salty ocean distress ink towards the center. Stamp the images from the Puddle Jumpers stamp set, color using copic markers and die-cut using the coordinating dies. Adhere to the circle and then using 3d foam adhere the circle to the card. Stamp the sentiments, cut in stripes and adhere to the card. Hope you got inspired. 

Thank you for dropping by and have a nice day!

Sunny Studio Supplies Used:

Stitched Rectangle Dies
Shop at:
Sunny Studio
Gingham Pastels 6x6 Paper
Shop at:
Sunny Studio
Stitched Circle Large Dies
Shop at:
Sunny Studio
Puddle Jumpers Stamps
Shop at:
Sunny Studio
Puddle Jumpers Dies
Puddle Jumpers Dies
Shop at:
Sunny Studio

Friday, March 29, 2024

Sprawling Surfaces Card with Nicky

Happy Friday everyone this is Nicky with you today on the Sunny Studio blog and I have a card featuring the Sprawling Surfaces Stamp set to share with you. This is such a handy stamp set for scene building or just grounding other stamp images.

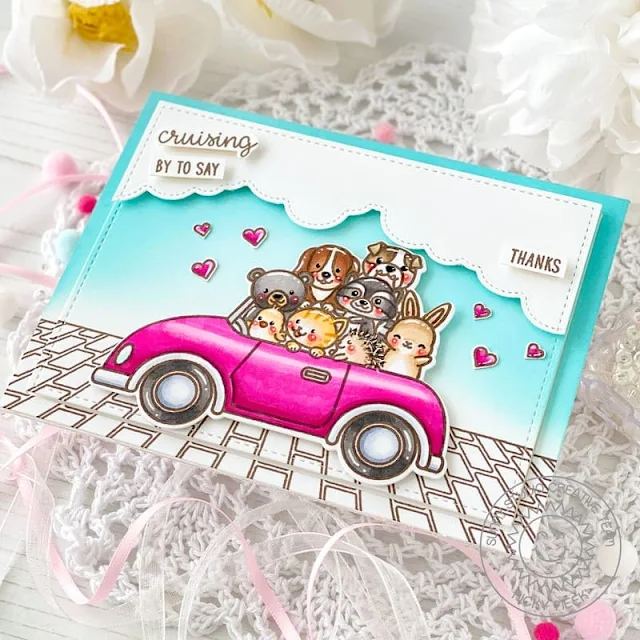
Sunny Studio Stamps: Sprawling Surfaces Card by Nicky Meeks (featuring Fluffy Cloud Border Dies, Cruising Critters, Stitched Rectangle Dies)

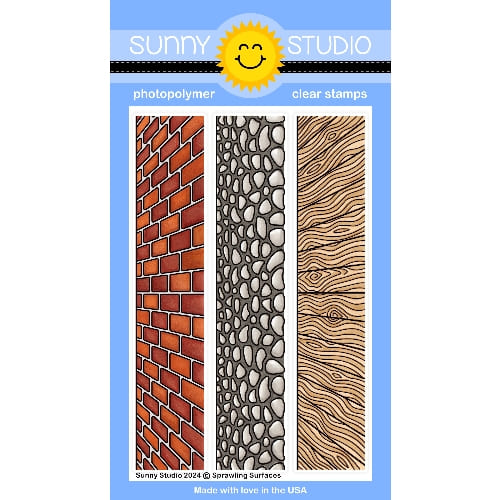
I took an A2 panel of white cardstock. I stamped the brick pattern from the Sprawling Surfaces Stamp set and then ink blended the sky. I die cut the panel using the Stitched Rectangle Die and backed the centre portion with white craft foam. The outer cut was adhered to an A2 panel and then I nestled the inside cut in the centre with glue.

I used the Fluffy Clouds Border Die to create some interest and sized it by again using the Stitched Rectangle Die and I applied with foam tape.

Sunny Studio Stamps: Sprawling Surfaces Card by Nicky Meeks (featuring Fluffy Cloud Border Dies, Cruising Critters, Stitched Rectangle Dies)

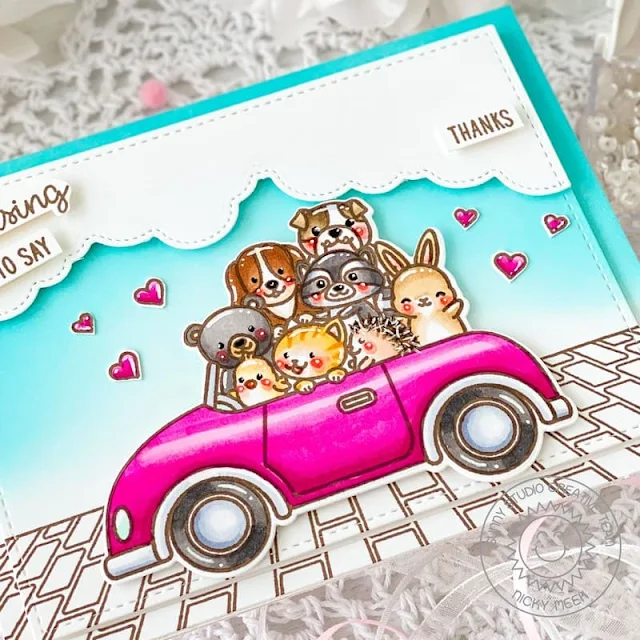
Using Memento Ink in Rich Cocoa I stamped the Cruising Critters image and coloured with the following Copic marker combinations:

Car - RV17, RV55, RV06, RV04, RV02
Car Trim - C3, C1, C00
Tires - T6, T4, T3
Hearts - RV17, RV06, RV02
Raccoon - T6, T4, T3
Bunny - E31, E41
Hedgehog - E44, E42, E31, E41
Kitten - YR24, YR31, YR20
Chick - YR00, YR31, YR21
Black Bear - T6, T4, T2, E31
Dog (left) - E57, E23
Dog (right) - E44, E42
Blushes - R22, R20, R00

Sunny Studio Stamps: Sprawling Surfaces Card by Nicky Meeks (featuring Fluffy Cloud Border Dies, Cruising Critters, Stitched Rectangle Dies)

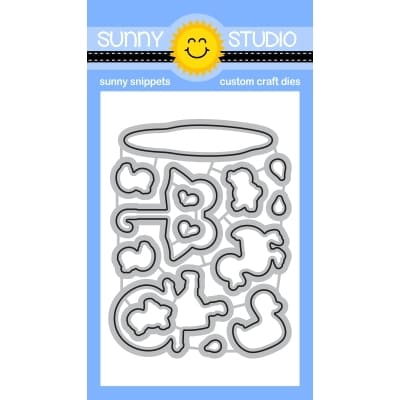
I die cut the image using the Cruising Critters Dies and added it to the background with foam tape then fussy cut and glued on the hearts. Points were highlighted with a white gel pen including adding 'prickles' to the hedgehog and the sentiments stamped on strips and applied with foam tape.

Many thanks for coming by to read the blog today, I'll be back next Friday with something new. Happy crafting!

Sunny Studio Supplies Used:

Stitched Rectangle Dies
Shop at:
Sunny Studio
Cruising Critters Stamps
Shop at:
Sunny Studio
Cruising Critters Dies
Shop at:
Sunny Studio
Fluffy Clouds Border Dies
Shop at:
Sunny Studio
Sprawling Surfaces Stamps
Shop at:
Sunny Studio

Thursday, March 28, 2024

Big Bunny Card with Marine

Hello crafty friends, Marine here, I'm very happy to be back on the blog with this lovely Easter card featuring the adorable Big Bunny and cute chickie friends. Another colorful card just as I like them to be!

Sunny Studio Stamps: Big Bunny Easter Card by Marine Simon (featuring Chickie Baby, Chubby Bunny, Frilly Frame Dies, Stitched Rectangle Dies, Picket Fence Border Dies)

I started off by stamping all my images on 80lb Neenah solar white cardstock using an alcohol marker friendly black ink. I used the matching dies to cut them all, and colored everything using my Spectrum Noir Illustrator markers and my Graph'it brush markers. And as very often, I mixed and matched images from different sets:

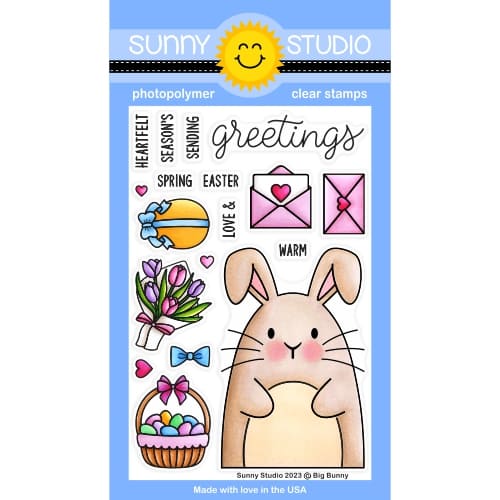
• Big Bunny for the bunny, Easter basket, bow

• Chickie Baby for the chicks, bunny ears, eggs

• Chubby Bunny for the chocolate bunnies, flowers, banner, egg

• Bunnyville for a flower

Sunny Studio Stamps: Big Bunny Easter Card by Marine Simon (featuring Chickie Baby, Chubby Bunny, Frilly Frame Dies, Stitched Rectangle Dies, Picket Fence Border Dies)

For my background, I cut a few pieces, starting with a 5,5 x 4,25 inches Spring Fever floral panel that I attached on a white card base. Next I cut a light brown woodgrain scalloped rectangle using the Frilly Frames Hexagon main die, and cut an opening out of it using the second Stitched Rectangle die in order to create a frame.

Sunny Studio Stamps: Big Bunny Easter Card by Marine Simon (featuring Chickie Baby, Chubby Bunny, Frilly Frame Dies, Stitched Rectangle Dies, Picket Fence Border Dies)

I also cut a grass border out of a Spring Fever green polka dot paper using a Picket Fence Border die, attached that grass border at the back of my frame at the very bottom using 1mm foam squares, and then stuck my whole frame on the card base using 2mm foam squares. I attached everything on the card using 1mm and 2mm foam squares, and added highlights and details to the images using a white gel pen. 

And that's it! I hope you like this bright and happy little card. I'm wishing you a very happy Easter weekend if you celebrate it. Thank you so much for stopping by, and see you next week.

Sunny Studio Supplies Used:

Picket Fence Border Dies
Shop at:
Sunny Studio
Stitched Rectangle Dies
Shop at:
Sunny Studio
Chubby Bunny Stamps
Chubby Bunny Stamps
Shop at:
Sunny Studio
Chubby Bunny Dies
Chubby Bunny Dies
Shop at:
Sunny Studio
Frilly Frames Hexagon Dies
Shop at:
Sunny Studio
Chickie Baby Stamps
Chickie Baby Stamps
Shop at:
Sunny Studio
Chickie Baby Dies
Chickie Baby Dies
Shop at:
Sunny Studio
Bunnyville Stamps
Bunnyville Stamps
Shop at:
Sunny Studio
Bunnyville Dies
Bunnyville Dies
Shop at:
Sunny Studio
Spring Fever Paper
Spring Fever Paper
Shop at:
Sunny Studio
Big Bunny Stamps
Big Bunny Stamps
Shop at:
Sunny Studio
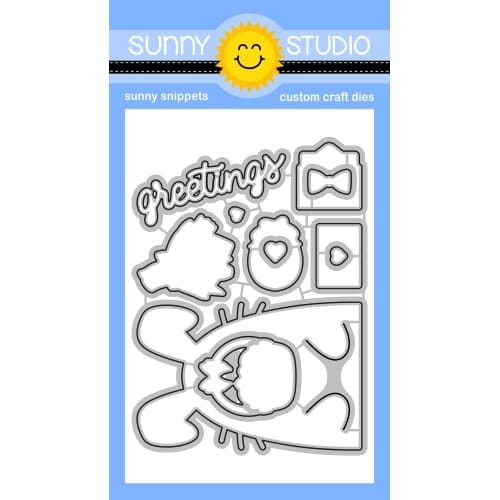
Big Bunny Dies
Big Bunny Dies
Shop at:
Sunny Studio

Saturday, March 23, 2024

Spring Garden Card with Cathy

Hey friends! Cathy here today and I’m excited to share a card featuring the Spring Garden Dies paired with elements of the Wonderful Windows Dies to create a gardening bench!

Sunny Studio Stamps: Spring Garden Die Focused Card by Cathy Chapdelaine (featuring Frilly Frame Dies, Wonderful Windows, Dotted Diamond Dies, Stitched Rectangle Dies, Notebook Dies, Brilliant Banner Dies)

This is an A2 card and I started with the background panel on the card front. I cut a piece of white cardstock 4 1/4" x 5 1/2", inked it with Lilac and Orchid Simon Says Stamp inks and die-cut it with the Dotted Diamond Portrait Die. I then die-cut the piece again with the largest Stitched Rectangle Die and adhered it to a white card front.

For the lattice, I die-cut a piece of white cardstock using the notebook paper die from the Notebook Photo Corners Dies and then die-cut the center of it using the smallest Stitched Rectangle Die. This created a frame for the lattice. (You could also just cut a piece of white cardstock 3” x 4 1/8” in place of the notebook paper die, but I liked the slightly rounded corners that this die produces.) Next, I cut a piece of white cardstock 3” x 4 1/8” and die-cut it using the Frilly Frames Lattice Die. I then adhered the frame over the lattice and adhered the combined piece to the card front 1/4" from the top of the lilac background panel. I was able to line the lattice up with the lines of the Dotted Diamond Portrait Die background, but you could also back the lattice with an inked piece of cardstock before adhering it to the card front.

Sunny Studio Stamps: Spring Garden Die Focused Card by Cathy Chapdelaine (featuring Frilly Frame Dies, Wonderful Windows, Dotted Diamond Dies, Stitched Rectangle Dies, Notebook Dies, Brilliant Banner Dies)

For the drawer portion of the bench, I die-cut a shutter twice from white cardstock using a Wonderful Windows Dies, layered them together and adhered them slightly overlapping the bottom of the lattice using foam dimensional tape. I die-cut drawer pulls from silver cardstock using dies also found in the Wonderful Windows Dies. I used a combination of inking and Copic coloring on the Spring Garden Dies. I just love the details of these dies and the cute little gardening tools!

To finish, I die-cut a piece of white cardstock using the Brilliant Banner 1 Die, embossed a sentiment from the Watering Can Stamps with white embossing powder and inked it with Memento Lulu Lavender ink.

I hope you enjoyed and thanks for stopping by today! For more inspiration, please visit my blog www.inkredibleadventures.com and you can also find me on Instagram as @cathy.chapdelaine.

Sunny Studio Supplies Used:

Stitched Rectangle Dies
Shop at:
Sunny Studio
Frilly Frames Lattice Dies
Shop at:
Sunny Studio
Watering Can Stamps
Watering Can Stamps
Shop at:
Sunny Studio
Wonderful Windows Dies
Shop at:
Sunny Studio
Notebook Photo Corners Dies
Shop at:
Sunny Studio
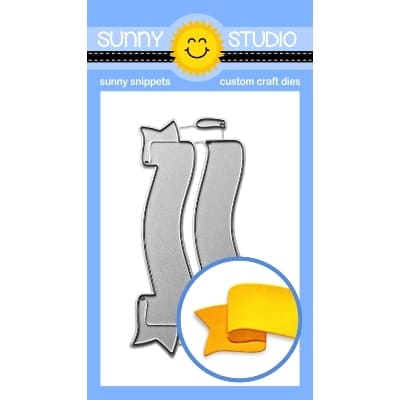
Brilliant Banner 1 Dies
Shop at:
Sunny Studio
Dotted Diamond Portrait
Shop at:
Sunny Studio
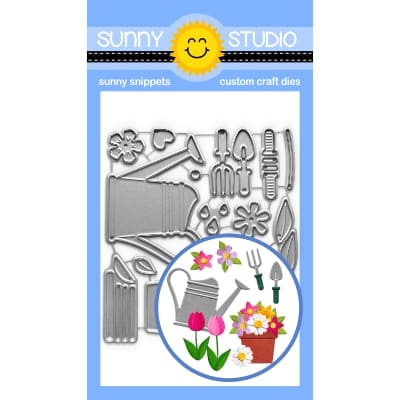
Spring Garden Dies
Spring Garden Dies
Shop at:
Sunny Studio