Showing posts with label Stitched Arch Dies. Show all posts

Sunday, October 29, 2023

Holiday Hugs Tags with Tammy

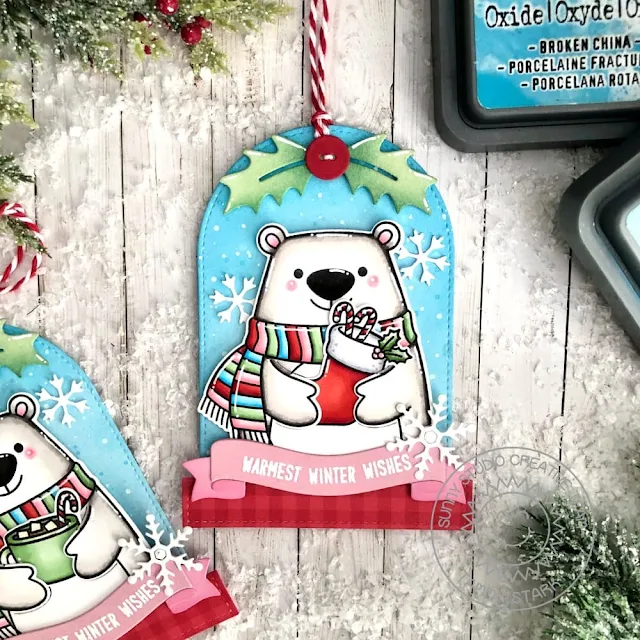
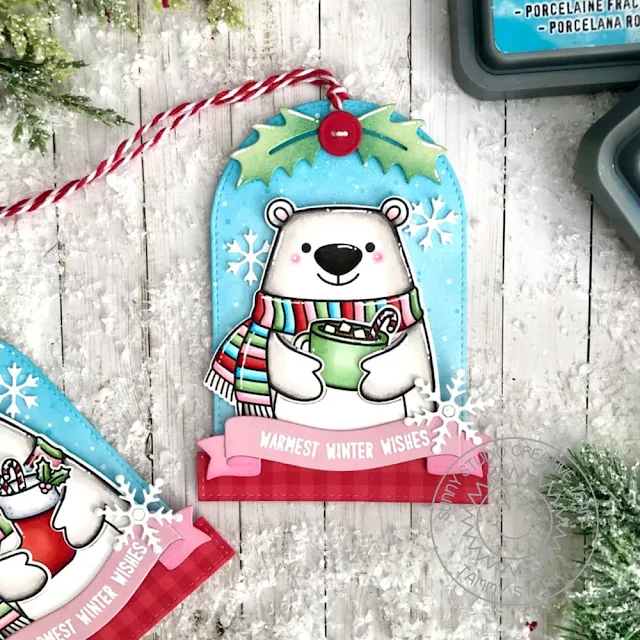
Hello friends! Tammy here with some fun snow globe tags, featuring the adorable set, Holiday Hugs.

Sunny Studio Stamps: Holiday Hugs Christmas Tags by Tammy Stark (featuring Stitched Arch Dies, Lacy Snowflake Dies, Brilliant Banner Dies)

To begin, I stamped the images from Holiday Hugs, colored with Copic markers, and die cut with the Holiday Hugs Dies.  Next, I die cut the tags from Bristol smooth cardstock using the largest die from the Stitched Arch Dies. I ink blended the tags using Broken China and Tumbled Glass Distress Oxide inks. I splattered some white acrylic paint, thinned with water, onto the background to create a snowy look. 

Sunny Studio Stamps: Holiday Hugs Christmas Tags by Tammy Stark (featuring Stitched Arch Dies, Lacy Snowflake Dies, Brilliant Banner Dies)

I used the smallest pennant from the Slimline Pennant Dies to create the snow globe bases. I die cut the red gingham paper from the Joyful Holiday Paper using the smallest pennant die. I ran it through my die cut machine twice, moving the die to use the square end of the die to shorten it and to create the rectangular base.

Sunny Studio Stamps: Holiday Hugs Christmas Tags by Tammy Stark (featuring Stitched Arch Dies, Lacy Snowflake Dies, Brilliant Banner Dies)

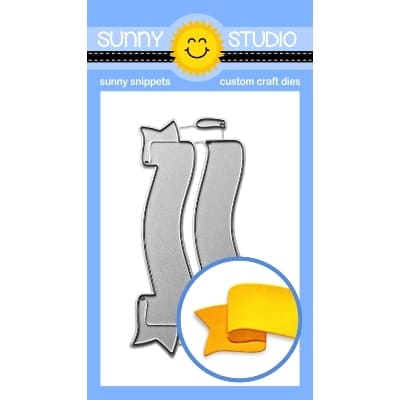
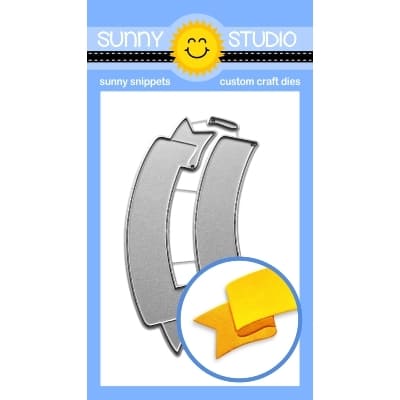
I attached snow globe bases to the bottom of the stitched arches, then the bears to the tags with foam tape for dimension. Using the Brilliant Banner 1 DiesI die the sentiment banners from pink cardstock, then white heat embossed the sentiment and attached them to the tags with foam tape. I added some die cut white snowflakes using the Lacy Snowflake Dies and Basic Mini Shape Dies 2.

Sunny Studio Stamps: Holiday Hugs Christmas Tags by Tammy Stark (featuring Stitched Arch Dies, Lacy Snowflake Dies, Brilliant Banner Dies)

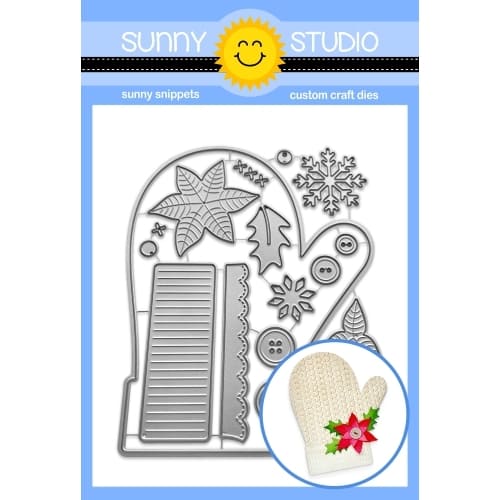
Next, I punched a hole at the top of the tags, then added the holly and berry, die cut from the Woolen Mitten Dies. I added some red and white bakers twine to complete my snow globe tags.

Thanks so much for stopping by! See you next time!

Sunny Studio Supplies Used:
  

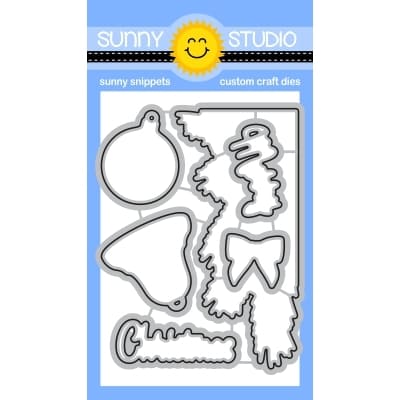
Lacy Snowflakes Die
Lacy Snowflakes Die
Shop at:
Sunny Studio
Basic Mini Shape Dies 2
Shop at:
Sunny Studio
Stitched Arch Dies
Stitched Arch Dies
Shop at:
Sunny Studio
Slimline Pennant Dies
Shop at:
Sunny Studio
Joyful Holiday Paper
Shop at:
Sunny Studio
Brilliant Banner 1 Dies
Shop at:
Sunny Studio
Woolen Mitten Dies
Woolen Mitten Dies
Shop at:
Sunny Studio
Holiday Hugs Stamps
Holiday Hugs Stamps
Shop at:
Sunny Studio
Holiday Hugs Dies
Holiday Hugs Dies
Shop at:
Sunny Studio

Monday, October 16, 2023

Holiday Hugs Card with Bobbi

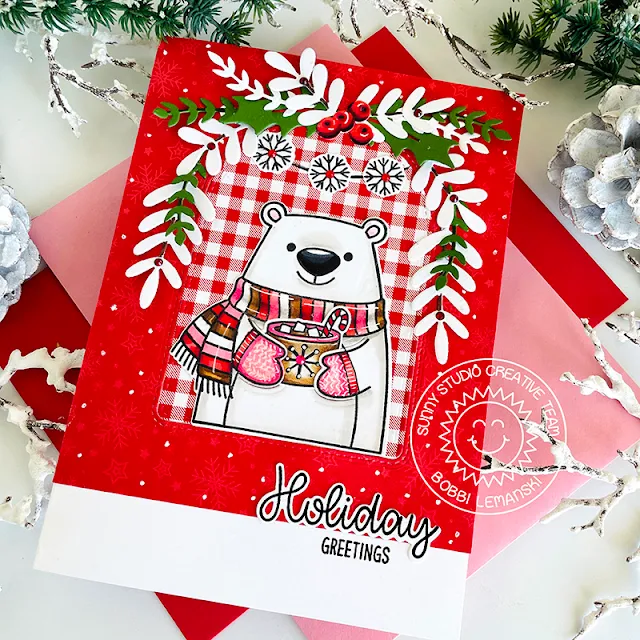
Hello friends! It’s Bobbi here with one big “Holiday Hug” for you! This 5″ X 7″ card includes the adorable bear from this new multi seasonal / holiday stamp set by Sunny Studio Stamps.

Sunny Studio Stamps: Holiday Hugs Christmas Card by Bobbi Lemanski (featuring Winter Greenery, Stitched Arch Dies)

The card base is made from 80lb Classic Crest Solar White cardstock. To create the front panel, I cut a piece of snowflake pattern paper from the Joyful Holiday Paper pack, to the size of 5″ wide X 6″ long. I cut an arch from the paper using the largest die from the Stitched Arch Die set. I also cut the same size arch from a red and white check pattern paper, too. Both frame and arch were secured to a white card base, leaving 1″ white space at the bottom. I added a few white dots to the snowflake paper using my white Gelly Roll pen.

Sunny Studio Stamps: Holiday Hugs Christmas Card by Bobbi Lemanski (featuring Winter Greenery, Stitched Arch Dies)

I stamped, colored and cut out the bear and the cup of hot cocoa. The bear die includes a separate die for the front paws, allowing smaller images from the set to be placed in the bear’s hands. How cute is that?! I added mittens to the bear with a couple of simple curved lines at both wrists. To color the bear and cup of hot cocoa, I used the following Copic Marker colors: E59, E57, E55, R89, R46, R17, R14, R20, RV13, RV14, W3, W0, 100, C7, C5. I used the same reds to color the berries, too. I stamped a snowflake on the cocoa cup and accented it with my white Gelly Roll Pen.

I attached the bear inside the arch window. I added three snowflakes inside the arch and hand drew a string to hang them from. I added sparkly rhinestones to the centers of the hanging snowflakes and the snowflake on the cup.  I added greenery around the top of the arch window using the Winter Greenery Dies. I cut greens from green and white cardstock and mixed the two to create the swag. Berries were added at the top.

Sunny Studio Stamps: Holiday Hugs Christmas Card by Bobbi Lemanski (featuring Winter Greenery, Stitched Arch Dies)


I stamped and die cut the "holiday"
sentiment and attached it at the bottom of the card front. I stamped "greetings" in the 1″ white space, right below "holiday" to finish the card.

Thanks for stopping by today. If you want to see more ideas and inspiration from me, subscribe to my blog, 
BobbiHartDesign.com. I’ll send you updates on new posts! You can also find me on Instagram as @BobbiHartDesign and on Facebook as BobbiHartDesign.

Sunny Studio Supplies Used:

Stitched Arch Dies
Stitched Arch Dies
Shop at:
Sunny Studio
Winter Greenery DIes
Shop at:
Sunny Studio
Joyful Holiday Paper
Shop at:
Sunny Studio
Holiday Hugs Stamps
Holiday Hugs Stamps
Shop at:
Sunny Studio
Holiday Hugs Dies
Holiday Hugs Dies
Shop at:
Sunny Studio

Friday, October 13, 2023

Bells & Baubles Card with Tina

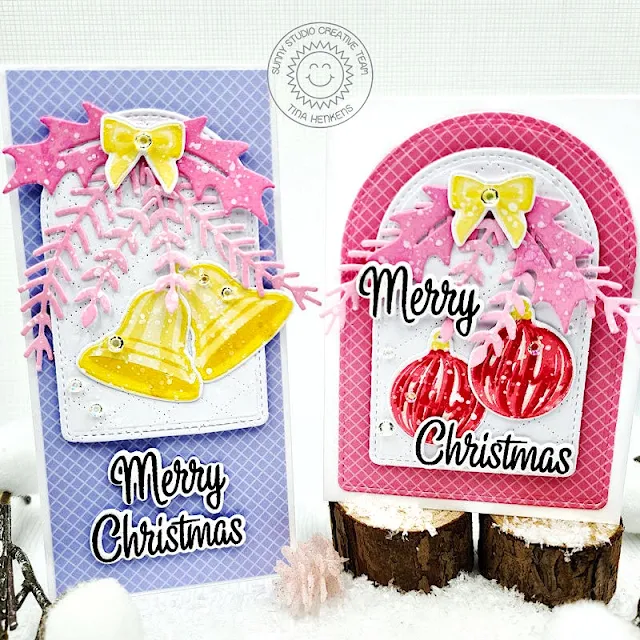
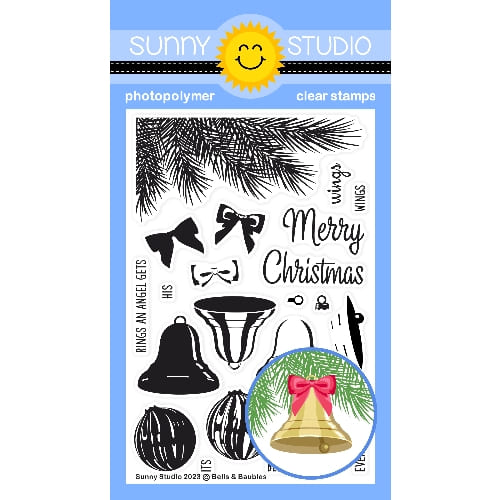
Hello crafty friends, it’s Tina with a set of festive cards featuring the beautiful Bells & Baubles layering stamp and die set. I had so much fun working with these products that I created two cards using similar supplies!

Sunny Studio Stamps: Bells & Baubles Christmas Holiday Cards by Tina Henkens (featuring Stitched Arch Dies, Winter Greenery Dies, Dotted Diamond Background Dies)

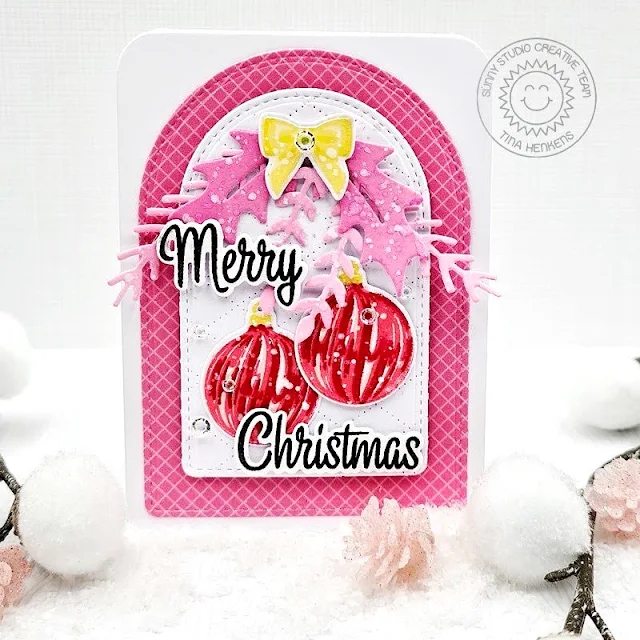
Both cards start with a base layer of white card stock cut with the middle of the Stitched Arched Dies. This arch was embellished with the Dotted Diamond Portrait die. Next, I cut colored panels from a pink and purple sheet (Gingham Pastel paper pad) using the largest of the Stitched Arched Dies and a slimline die from my stash. I adhered the white arch to the bright papers with foam tape and glued these pieces to white card bases.

Sunny Studio Stamps: Bells & Baubles Christmas Holiday Cards by Tina Henkens (featuring Stitched Arch Dies, Winter Greenery Dies, Dotted Diamond Background Dies)

After die cutting a bunch of branches from the Winter Greenery set, I used a paper pouncer and Distress Oxides in pink tones (Spun Sugar, Picked Raspberry)  to add some nontraditional colors to these Christmas greens. I love opting for bright happy colors! Then I got out my Misti and several inks from my stash to do the layered stamping. As always, I used the stamp sheet as my layering guide!

For the baubles, I went with pink and red tones, while the bells and bows were stamped in traditional yellow golden colors. It’s always magical to see all the details these layers create!  

Lastly, I stamped the Merry Christmas sentiment from the Bells & Baubles layering stamp with Versafine Onyx Black ink and used the coordinating dies to cut out the words.

Sunny Studio Stamps: Bells & Baubles Christmas Holiday Cards by Tina Henkens (featuring Stitched Arch Dies, Winter Greenery Dies, Dotted Diamond Background Dies)

I used some temporary tape runner to place the branches together so they would create a nice arch shape. When I was happy with the layout, I glued them to the white panel. Next, I adhered the bows, baubles, and bells with liquid glue. To finish the cards, I added the sentiments and a few Chrystal Clear Jewels.

I hope you will have fun creating with these gorgeous layering stamps! Thank you for joining me and happy crafting!

Sunny Studio Supplies Used:

Gingham Pastels 6x6 Paper
Shop at:
Sunny Studio
Stitched Arch Dies
Stitched Arch Dies
Shop at:
Sunny Studio
Winter Greenery DIes
Shop at:
Sunny Studio
Dotted Diamond Portrait
Shop at:
Sunny Studio
Bells & Baubles Stamps
Shop at:
Sunny Studio
Bells & Baubles Dies
Shop at:
Sunny Studio

Monday, October 9, 2023

Love & Light Hanukkah Card with Bobbi

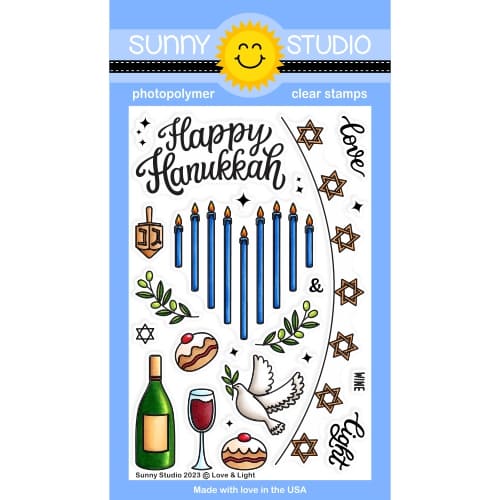
Hello everyone, Bobbi here! Today, I’m sharing a card that features the Love & Light stamps and diesThere are many beautiful images in this set to help celebrate Hanukkah. For this card, I’m also using the inverse cut out of the Stitched Arch die for the background of this card.

Sunny Studio Stamps: Love & Light Hanukkah Card by Bobbi Lemanski (featuring Stitched Arch Dies)

To make this 5″ X 7″ card, I stamped and die cut the images from the Love & Light stamp set. I used Copic Sketch markers to color them. Here’s a list of the Copic colors I used to color the images:


  • Greens: YG67, YG63, YG03
  • Reds: R89, R46, R22
  • Browns: E55, E53, E43
  • Blues: B39, B05
  • Yellows: YR24, YR08
Sunny Studio Stamps: Love & Light Hanukkah Card by Bobbi Lemanski (featuring Stitched Arch Dies)

I cut the arch die from a white rectangle and attached the inverse cut to a blue A7 card base. 
(I’ll save the white arch cut for another card.) I added the symbolic images in and around the arch. I used foam tabs behind some of the elements to create some dimension. Simple shading on the bottom grounds the lower images.

Thanks for stopping by today. If you want to see more ideas and inspiration from me, subscribe to my blog, BobbiHartDesign.com. I’ll send you updates on new posts! You can also find me on Instagram as @BobbiHartDesign and on Facebook as BobbiHartDesign.

Sunny Studio Supplies Used:

Stitched Arch Dies
Stitched Arch Dies
Shop at:
Sunny Studio
Love & Light Stamps
Love & Light Stamps
Shop at:
Sunny Studio
Love & Light Dies
Love & Light Dies
Shop at:
Sunny Studio

Monday, October 2, 2023

Baking Spirits Bright Tags with Bobbi

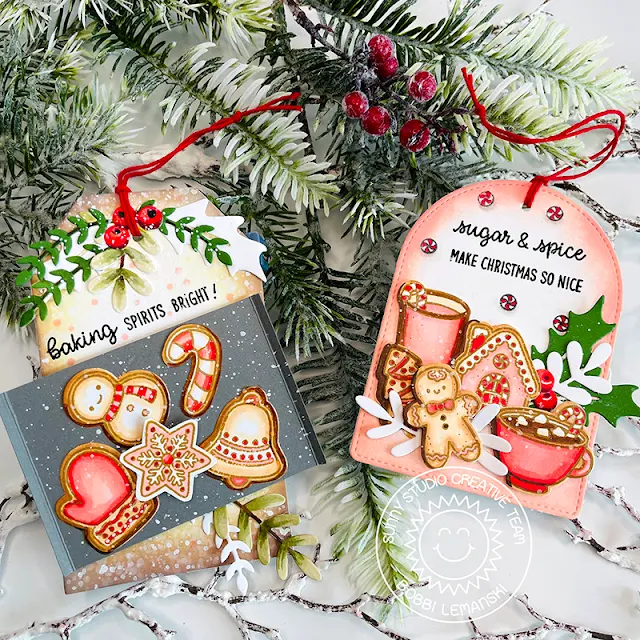
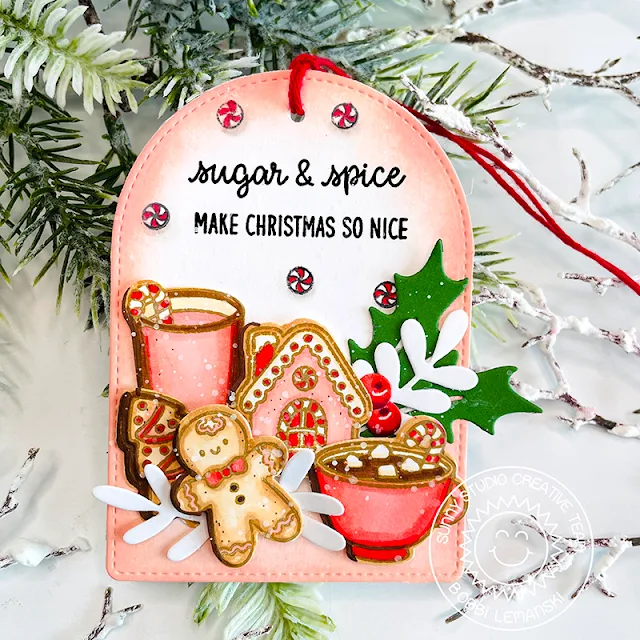
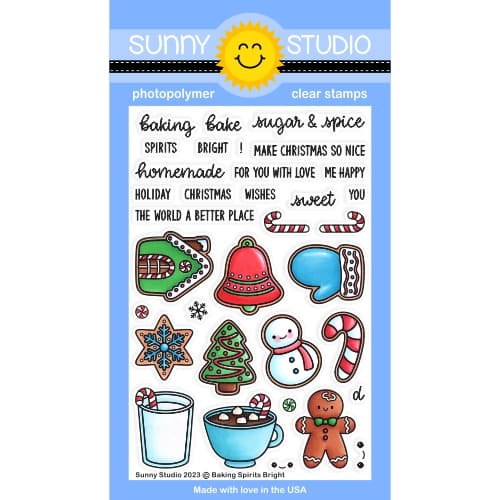
Hello friends! It’s Bobbi here with holiday tags for happy bakers and cookie lovers! I am using the new, Baking Spirits Bright stamps and diesThe first tag was made using the largest die of the Stitched Arch dies for the tag base. Both tags feature greenery from the Winter Greenery dies, too.

Sunny Studio Stamps: Baking Spirits Bright Holiday Tags by Bobbi Lemanski (featuring Stitched Arch Dies, Winter Greenery)

For the first tag, I ink-blended Ranger’s Saltwater Taffy Distress Oxide Ink around the edges of the largest arch of the Stitched Arch die set cut from white cardstock. Tip: I always cut two tags so that I have a nice finished backing for my tags to add a to/from or message on the back.

Sunny Studio Stamps: Baking Spirits Bright Holiday Tags by Bobbi Lemanski (featuring Stitched Arch Dies, Winter Greenery)

Next, I stamped all of the images from the Baking Spirits Bright stamps and dies on a separate piece of white cardstock. I used Brushed Corduroy ink for the stamping. I colored all of the images using Copic Sketch Markers in R89, R46, R29, R17, R14, R22, and R20. I also used E57, E55, E53, and E51 for the brown tones. I stamped a sentiment from the same set at the top of the tag and then attached the images below it, popping up the gingerbread man and hot cocoa with foam tabs for added dimension.


I added some greenery sprigs and berries to the tag using the Winter Greenery dies and white and green cardstock. I splattered the whole tag with a little "white snow" using white paint and a fan brush. I attached a piece of baker’s twine string in red to finish the tag.


Sunny Studio Stamps: Baking Spirits Bright Holiday Tags by Bobbi Lemanski (featuring Stitched Arch Dies, Winter Greenery)

For the second tag, I clipped two corners of a 4-3/4" X 2-3/4″ rectangular-shaped piece of white cardstock to create a large-sized tag. I blended Vintage Photo, Brushed Corduroy and Antique Linen Distress Oxide Ink around the edges and splattered water over the ink and blotted it with a paper towel for the splotchy effect.


I made a grey metal cookie sheet from a 2-1/4″ X 3-1/2″ piece of dark gray cardstock, I simply scored the two short edges 1/4″ in on both ends of the rectangle. It looks just like a cookie sheet I have in my cabinet!  I added five decorated sugar cookies to the cookie sheet, adding a foam tab under the center snowflake cookie to make it stand out a bit more, as if it is resting on the other cookies. I sprinkled the entire tag using Dr. PH Marten's white ink and a fan-shaped paint brush. I think it looks like powdered sugar all over the baking area!

Sunny Studio Stamps: Baking Spirits Bright Holiday Tags by Bobbi Lemanski (featuring Stitched Arch Dies, Winter Greenery)


I added some greenery sprigs to the tag using the 
Winter Greenery dies cut from white and green cardstock. I stamped the sentiment from the Baking Spirits Bright stamp set. Baker’s twine in red finishes the tag.

Thanks for stopping by today. If you want to see more ideas and inspiration from me, subscribe to my blog, BobbiHartDesign.com. I’ll send you updates on new posts! You can also find me on Instagram as @BobbiHartDesign and on Facebook as BobbiHartDesign.

Sunny Studio Supplies Used:

Stitched Arch Dies
Stitched Arch Dies
Shop at:
Sunny Studio
Winter Greenery DIes
Shop at:
Sunny Studio
Baking Spirits Bright Stamps
Shop at:
Sunny Studio
Baking Spirits Bright Dies
Shop at:
Sunny Studio

Monday, September 18, 2023

Brilliant Banner Die Focused Card with Bobbi

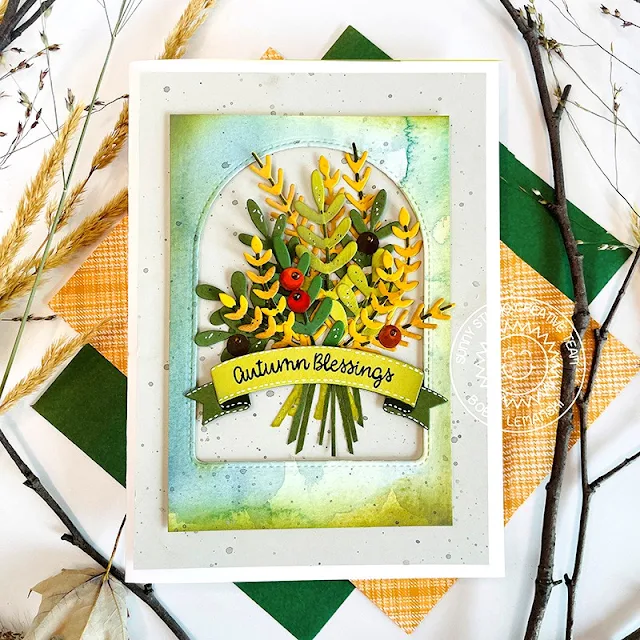
Hello Sunny friends. It’s Bobbi sharing an 5″ X 7″ card featuring the new Brilliant Banner dies. Sunny Studio Stamps just released two shapes of banner dies and they come as #1 and #2. I am using the Brilliant Banner 2 die on my greeting today. I think these banners add elegance to a card. You can curve any appropriately-sized, straight, clear sentiment stamp on an acrylic block to fit the banner shape for maximum versatility and usage.

Sunny Studio Stamps: Brilliant Banner Die Focused Fall Themed Card by Bobbi Lemanski (featuring Winter Greenery, Stitched Arch Dies)

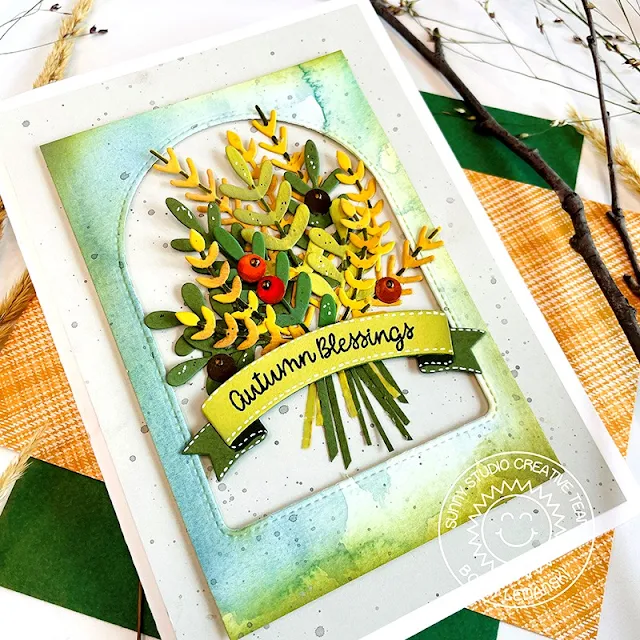
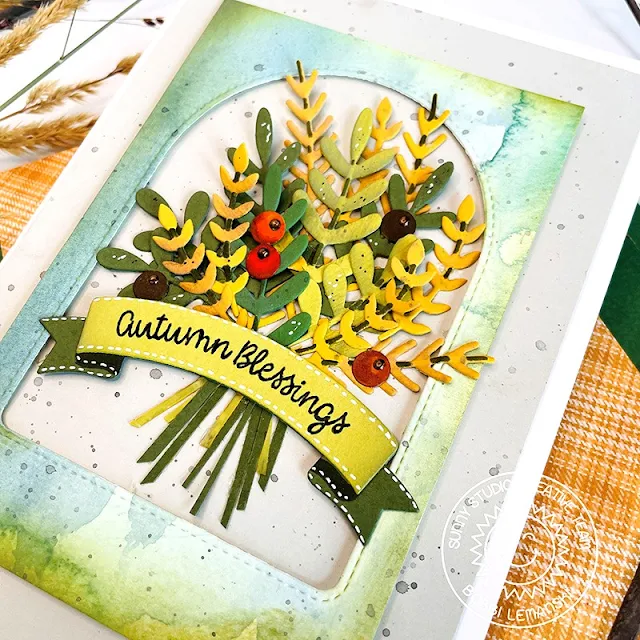
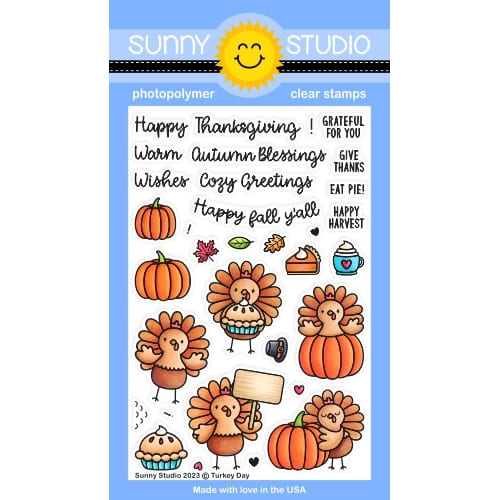
To make this card, I created the banner using three different green shades of cardstock. If you are missing a color, you can easily use a marker to color the piece to fit your shade scheme. I didn’t have the darkest green color so I colored that in with a Copic YG99 marker. I curved my "autumn blessings" sentiment (using our Turkey Day stampson an acrylic block to fit the banner curve and stamped the phrase in black. I attached the elements of the banner together, added white stitching to the banner’s edges using my white Gelly Roll pen. I added foam dots to the back and set it aside while I worked on the foliage.

Sunny Studio Stamps: Brilliant Banner Die Focused Fall Themed Card by Bobbi Lemanski (featuring Winter Greenery, Stitched Arch Dies)

For the foliage, I used the Winter Greenery die set. I love this set because all of the leaves are so beautiful for not only the winter season, but the fall season, too! There are berry dies in the set as well. I colored them using Copic Markers,  YR27 and R14 to make the red berries and E49 and E57 for the brown ones. Some of the berries were cut from green cardstock, making them a little darker. Small dots of white and black were added to the leaves to make them look imperfect. I also used YG99 to color the stems of the gold foliage.


Sunny Studio Stamps: Brilliant Banner Die Focused Fall Themed Card by Bobbi Lemanski (featuring Winter Greenery, Stitched Arch Dies)


For the background, I used the Stitched Arch Die (largest arch in the set) cut from a scrap of watercolor paper I had on hand. To make the frame, I attached the inverse of the arch die cut to a 4-1/2″ wide X 6-1/2″ tall warm gray cardstock using foam tabs and splattered the two with black watercolor paint. I love how this die included stitching on both the inverse and arch. Do you see the stitched detailing on my frame? I love it! I attached the foliage and the banner to the inside of the arch to frame it and attached the entire ensemble to a white card base to complete the card. I love how this card turned out and I hope it inspires you to try something similar, too!


Thanks for stopping by today. If you want to see more ideas and inspiration from me, subscribe to my blog, BobbiHartDesign.com. I’ll send you updates on new posts! You can also find me on Instagram as @BobbiHartDesign and on Facebook as BobbiHartDesign.


Sunny Studio Supplies Used:


Stitched Arch Dies
Stitched Arch Dies
Shop at:
Sunny Studio
Winter Greenery DIes
Shop at:
Sunny Studio
Brilliant Banner 2 Dies
Shop at:
Sunny Studio
Turkey Day Stamps
Turkey Day Stamps
Shop at:
Sunny Studio

Wednesday, September 13, 2023

Brilliant Banner Die Focused Card with Gladys

Hello crafty friends, Gladys here! I know it's not officially Fall but I'm totally feeling all the Fall vibes. One of the many things I love about Fall are the beautiful colors of the leaves. So, I wanted to incorporate those warm color tones on my card.

Sunny Studio Stamps: Brilliant Banner Die Focused Fall Card by Gladys Marcelino (featuring Stitched Arch Dies, Happy Harvest, Fall Kiddos)

I combined some older stamp sets for this card, Fall Kiddos and Happy Harvest (tree). I stamped the images using alcohol friendly ink, colored them with copic markers and cut using their coordinating dies.

I cut the main panel twice, one from pattern paper and the other from Bristol smooth cardstock. Then I used the largest Stitched Arch die to cut the center. I ink blended on the negative cut out using shabby shutter, rustic wilderness, seedless preserves, abandoned coral and tattered rose distress oxide inks. To add more interest, I used a small paint brush to splatter seedless preserves diluted with some water.

Sunny Studio Stamps: Brilliant Banner Die Focused Fall Card by Gladys Marcelino (featuring Stitched Arch Dies, Happy Harvest, Fall Kiddos)

Next, I stacked the pattern paper and Bristol cardstock to give it more stability. Then I put double sided foam tape for dimension before adhering it to an A2 size white cardstock. I inlaid the inked panel and adhered the colored images. For the sentiment, I stamped the sentiment from Turkey Day "Happy Fall Ya'll". It has a very nice cursive font which I really like. Finally, I used the beautiful Brilliant Banner 1 die to cut it and inked the edges with scattered straws.

That completes my card, thank you so much for stopping by. Have a wonderful day!!   

Sunny Studio Supplies Used:

Fall Kiddos Stamps
Fall Kiddos Stamps
Shop at:
Sunny Studio
Fall Kiddos Dies
Fall Kiddos Dies
Shop at:
Sunny Studio
Happy Harvest Stamps
Shop at:
Sunny Studio
Happy Harvest Dies
Happy Harvest Dies
Shop at:
Sunny Studio
Stitched Arch Dies
Stitched Arch Dies
Shop at:
Sunny Studio
Brilliant Banner 1 Dies
Shop at:
Sunny Studio
Turkey Day Stamps
Turkey Day Stamps
Shop at:
Sunny Studio