Monday, June 4, 2018

Hello Word Die Window Shaker Card with Eloise

Hi everyone, Eloise here and today I'll be using the Window Trio Square Dies along with the Hello Word Die to create a simple shaker card.

Sunny Studio Stamps: Hello Word Die Window Trio Dies Shaker Card by Eloise Blue

To begin my card, I started off with die cutting all my elements. I used the Window Trio Square Dies on a piece of white cardstock and cut that out using my Big Shot Machine. Then, I also die cut the Hello Word Die and cut it out of some green and black cardstock. I then adhered my Hello Word Die together using some liquid glue, leaving a little black border and set it off to the side to dry. While that was drying, I cut around my windows using a trimmer to make it even and then rounded the corners using a corner chomper. I added a piece of acetate behind that piece and also added two layers of foam tape. Now I was ready to adhere my card together. 

Sunny Studio Stamps: Hello Word Die Window Trio Dies Shaker Card by Eloise Blue

To start off I cut down a landscape card base and adhered a piece of grey polka dot patterned paper from Polka-Dot Parade. I then added some sequins onto the base from Pretty Pink Posh and adhered my window piece over the top. I then added more liquid glue to the back of my "Hello" word and adhered that into the centre as well. 

Thanks so much for stopping by today, I hope you enjoyed and got inspired and I'll catch you all next time. 

Sunny Studio Supplies Used:

Window Trio- Square Die
Shop at:
Sunny Studio
Hello Word Die
Hello Word Die
Shop at:
Sunny Studio
Polka-dot Parade 6x6 Paper
Shop at:
Sunny Studio

Saturday, June 2, 2018

Guest Designer Spotlight: Cards with Wanda Guess

Hi everyone! Wanda Guess here! Super excited to be a guest designer today on the Sunny Studio Blog! Big thanks to Mendi for the invitation to be here with you! I love the clean and fun style of all the Sunny Studio Stamps, and today I'm using two new sets! Also, if you don't have any of the new papers from Sunny Studio, you need to get some! They are bright and vivid and well, perfect! I combined the stamps today with the gingham and stripes papers. A great match!

Sunny Studio Stamps: Fast Food Fun Berry Bliss Brightly Colored Cards by Wanda Guess

First up is a cheerful card I created using the Fast Food Fun stamps and dies. I love to color with Copic Markers and these images are great for coloring. I chose the burger, fries and soda and matched them with the perfect sentiment! I think this will be a great card for my husband! 


Sunny Studio Stamps: Fast Food Fun Berry Bliss Brightly Colored Cards by Wanda Guess

I started with an A2 card base from white cardstock. Then I layered yellow and red striped papers, from the Striped Silly paper pad, to match the colors in the foods. I stamped and die cut the images with the coordinating dies, and then colored them in. I added highlights with a white gel pen. I also added a few tiny hearts from the Breakfast Puns stamp set. 


Sunny Studio Stamps: Fast Food Fun Berry Bliss Brightly Colored Cards by Wanda Guess

I attached the top white layer with foam tape and also attached the burger, fries and soda with foam tape. A few sparkly gems finished off the card. Their little smiling faces make me happy! 


Sunny Studio Stamps: Fast Food Fun Berry Bliss Brightly Colored Cards by Wanda Guess

Next up are some sweet cherries on a card with a country chic feeling, using the Berry Bliss stamp set. Again, I started with an A2 white card base. I layered two more layers of white cardstock. The top white layer has some black paint splatters on it. I wrapped vellum and Sunny Studio green gingham paper, from the Classic Gingham paper pad, around that top layer also. I love the green gingham with the cherries! 


Sunny Studio Stamps: Fast Food Fun Berry Bliss Brightly Colored Cards by Wanda Guess

The cherries are three steps of stamping - and give such a realistic effect. Then two layers of green for the leaves and stems. This is layered stamping done right! I stamped the cherries and the sentiment onto a white die cut circle and layered a red scalloped circle around it. A little twine bow completes the look. 


Sunny Studio Stamps: Fast Food Fun Berry Bliss Brightly Colored Cards by Wanda Guess

I'm so happy to stamp with you today, and again thanks to Mendi for having me! Please pop over to my blog to see more of my cards and creations. Have a blessed and beautiful day everyone! 

Sunny Studio Supplies Used:

Breakfast Puns Stamps
Shop at:
Sunny Studio
Breakfast Puns Dies
Breakfast Puns Dies
Shop at:
Sunny Studio
Fast Food Fun Stamps
Shop at:
Sunny Studio
Fast Food Fun Dies
Fast Food Fun Dies
Shop at:
Sunny Studio
Berry Bliss Stamps
Berry Bliss Stamps
Shop at:
Sunny Studio
Berry Bliss Dies
Berry Bliss Dies
Shop at:
Sunny Studio
Classic Gingham 6x6 Paper
Shop at:
Sunny Studio
Striped Silly 6x6 Paper
Shop at:
Sunny Studio

Friday, June 1, 2018

Party Pups Monochromatic Birthday Card with Lexa

Hello everyone! Lexa here today with a birthday card that highlights the super cute Party Pups stamp and also the coordinating dies. This stamp set has the cutest puppies with their birthday cake and balloons. If you are a dog person like me, than this set is a must have!

Sunny Studio Stamps: Party Pups Fancy Frames Monochromatic Puppy Birthday Card by Lexa Levana

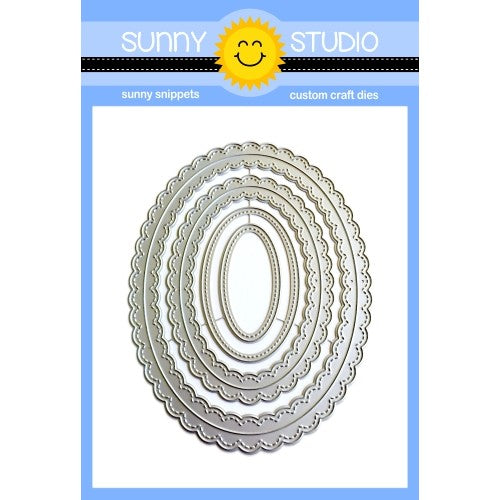
First, I stamped the images with Versafine black ink and watercolored them with Distress Markers. After I finished with the coloring, I used the coordinating dies to die cut them all. The cake is so adorable with all those bones, not to mention the balloons. I can't even. I used the Fancy Frames Oval Dies to frame the little scene. I blended some inks in the inner part of the oval frame with Tumbled Glass and Chipped Sapphire Distress Inks. 

Sunny Studio Stamps: Party Pups Fancy Frames Monochromatic Puppy Birthday Card by Lexa Levana

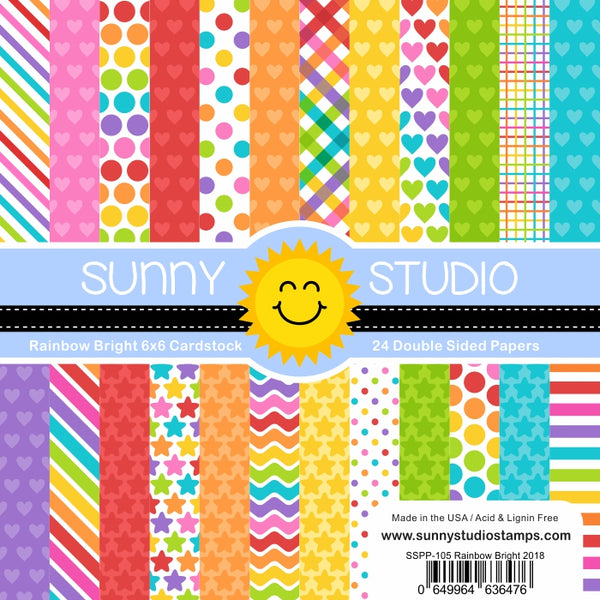
The scene is adhered with some glue on top of the card base. As for the card base, I used the blue star patterned paper from Rainbow Bright 6x6 Paper and matching darker blue ribbon using the Classic Gingham 6x6 Paper.

This is a perfect card for a dog lover, don't you think? Thank you so much for stopping by today. I hope you all have a wonderful day!

Sunny Studio Supplies Used:

Fancy Frames- Ovals
Fancy Frames- Ovals
Shop at:
Sunny Studio
Party Pups Stamps
Party Pups Stamps
Shop at:
Sunny Studio
Party Pups Dies
Party Pups Dies
Shop at:
Sunny Studio
Classic Gingham 6x6 Paper
Shop at:
Sunny Studio
Rainbow Bright 6x6 Paper
Shop at:
Sunny Studio

Thursday, May 31, 2018

Happy Camper Pencil Colored Happy Place Card with Vanessa

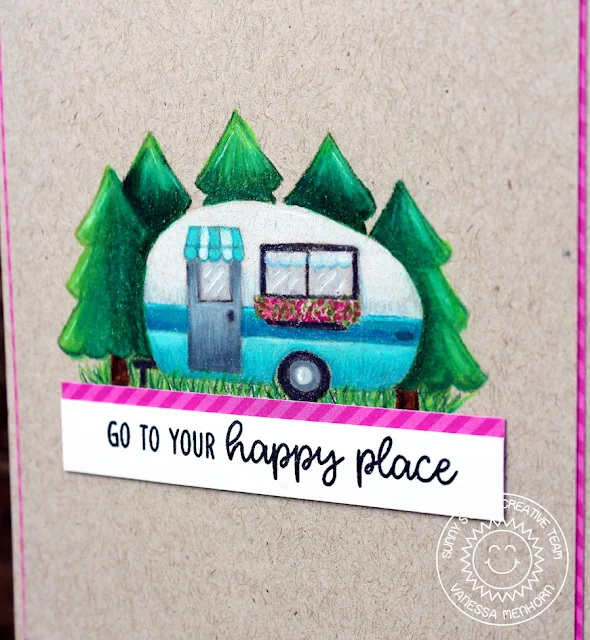
Happy Thursday! Vanessa here with a kraft card using Happy Camper. I first played around with paper-piecing, but then decided to use colored pencils.


Sunny Studio Stamps: Happy Camper Pencil Colored Happy Place Card by Vanessa Menhorn


To start, I stamped the images onto my Kraft panel, using light brown ink (the trees are from Gleeful Reindeer). Then I colored everything with Prismacolors, matted the panel with pink striped patterned paper from the Striped Silly 6x6 Paper pad and adhered the panel to the card base.


Sunny Studio Stamps: Happy Camper Pencil Colored Happy Place Card by Vanessa Menhorn

Now I stamped the sentiment onto a strip of white cardstock, layered it with a strip of pink patterned paper and adhered it.

I'd love to stay in a camper like this, don't you? How cozy it must be inside! Thank you for stopping by today! See you next week!

Sunny Studio Supplies Used:

Gleeful Reindeer Stamps
Shop at:
Sunny Studio
Happy Camper Stamps
Happy Camper Stamps
Shop at:
Sunny Studio
Striped Silly 6x6 Paper
Shop at:
Sunny Studio

Wednesday, May 30, 2018

Critter Campout Happy Campfire Scene Card Set with Franci

Hello there and happy Wednesday! Franci here with you today with two happy cards featuring the Critter Campout set.

Sunny Studio Stamps: Critter Campout Fancy Frames Happy Campfire Scene Card Set with Franci

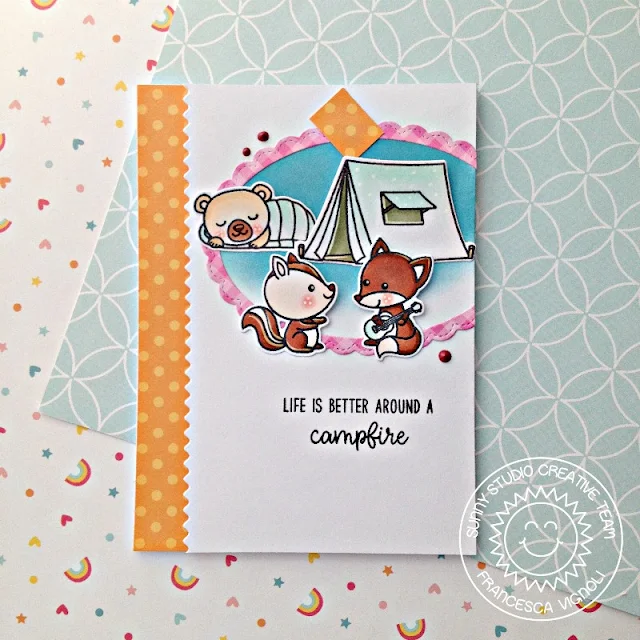
First, I stamped all of the images with Memento black ink. I colored them with Copics and die cut them with their coordinating diesThen I created two card bases out of some white cardstock and cut out two coordinated rectangles in white as well.

Sunny Studio Stamps: Critter Campout Fancy Frames Happy Campfire Scene Card Set with Franci

I die cut one side of the rectangle with one of the borders from the Ric Rac die set and I also cut a strip of patterned paper - love this bright orange one from the Polka-Dot Parade paper set! I also die cut a scalloped oval using the Fancy Frames Oval dies out of the pink sheet from the Classic Gingham paper pack. And of course, I did everything twice to create my two cards.

Sunny Studio Stamps: Critter Campout Fancy Frames Happy Campfire Scene Card Set with Franci

I masked part of the white rectangle to create a background inside the oval frames and I sponged some Distress Oxide ink in Broken China for my sky. I glued the pattern paper stripes onto my cards, and then glued down the frames and all of the critters with foam adhesive.

Sunny Studio Stamps: Critter Campout Fancy Frames Happy Campfire Scene Card Set with Franci

The little leftovers from the orange strips are the perfect "washi tape" for my frames to be glued down (love this effect!). I also added some details to the images with a white gel pen and some embellishments with the Nuvo Crystal Drops in Autumn Red.

Sunny Studio Stamps: Critter Campout Fancy Frames Happy Campfire Scene Card Set with Franci

Finally, I adhered my rectangles onto the cards with foam adhesive. Thank you so much for stopping by and have a happy creative day! 

Sunny Studio Supplies Used:

Critter Campout Stamps
Shop at:
Sunny Studio
Critter Campout Dies
Shop at:
Sunny Studio
Fancy Frames- Ovals
Fancy Frames- Ovals
Shop at:
Sunny Studio
Classic Gingham 6x6 Paper
Shop at:
Sunny Studio
Polka-dot Parade 6x6 Paper
Shop at:
Sunny Studio

Tuesday, May 29, 2018

Cascading Stars Night Sky Framed Background Card with Juliana

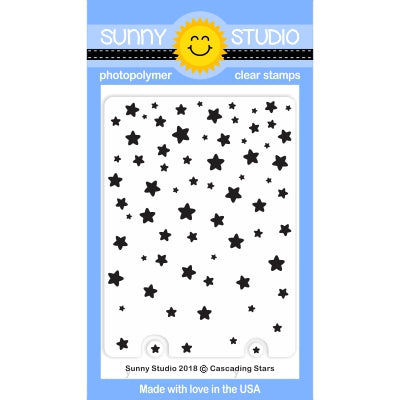
Hello friends it's Juliana Michaels and today, I'm sharing a happy little card using some of the new stamps and dies from Sunny Studio Stamps including the Cascading Stars stamp set. I choose to use this stamp set in a rather traditional way and create a night time sky by combining it with an image from the Critter Campout stamp set.

Sunny Studio Stamps: Cascading Stars Critter Campout Night Sky Framed Background Card by Juliana Michaels

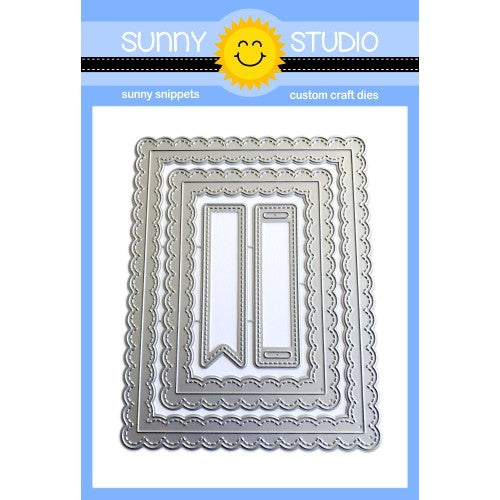
To begin, cut a piece of the teal patterned paper from the Classic Gingham 6x6 paper pad to 4.25 x 5.5 inches. Adhere it to an A2 sized card base. Next, use the middle sized die from the Fancy Frames Rectangle dies to cut a frame from white cardstock. Use one of the banner dies from that same die set, and cut out a banner from white cardstock. Stamp your sentiment using the Happy Camper stamp set.

Now to create the scene inside the frame. Stamp the Cascading Stars stamp onto white cardstock using an embossing ink such as Versamark. Sprinkle it with white embossing powder and heat set it using a heat gun. Use a foam blending tool to apply Distress Oxide Inks in Black Soot, Wilted Violet and Salty Ocean to the cardstock. These colors are great for creating a night time sky!

Sunny Studio Stamps: Cascading Stars Critter Campout Night Sky Framed Background Card by Juliana Michaels

For the grass along the bottom, die cut a piece of white cardstock using the grass die from the Sunny Sentiments die set. Apply Distress Oxide Inks in Peeled Paint and Twisted Citron to give it a nice green grass color. Cut the sky piece to fit behind the die cut frame. Adhere the grass piece to the bottom of the sky and trim off any excess.


Take the banner with the sentiment and adhere it to the sky piece. Again, trim off any excess. Now you are ready to adhere the frame using your favorite adhesive.

For the final touch, stamp and color the adorable little skunk from the Critter Campout stamp set. Then die cut him using the coordinating die set. Use a piece of double sided foam adhesive to adhere it to the card front and to give it a bit of dimension. Your night time sky scene is now complete!

I hope you enjoyed this bit of inspiration using the Cascading Star stamp set along with some other great products from Sunny Studio Stamps. Thanks so much for stopping by today!

Sunny Studio Supplies Used:

Sunny Sentiments Dies
Shop at:
Sunny Studio
Cascading Stars Stamps
Shop at:
Sunny Studio
Critter Campout Stamps
Shop at:
Sunny Studio
Critter Campout Dies
Shop at:
Sunny Studio
Fancy Frames- Rectangles
Shop at:
Sunny Studio
Happy Camper Stamps
Happy Camper Stamps
Shop at:
Sunny Studio
Classic Gingham 6x6 Paper
Shop at:
Sunny Studio