Showing posts with label Brilliant Banners. Show all posts

Friday, April 12, 2024

Designer's Choice: Baby Elephants Card with Nicky

Hello there, this is Nicky with you today on the Sunny Studio blog and I'm sharing a pair of newborn baby cards, featuring the Baby Elephants set, which are always fun projects to tackle.

Sunny Studio Stamps: Baby Elephant Card Set by Nicky Meeks (featuring Quilted Heart Dies, Fluffy Clouds, Brilliant Banner Dies, Scalloped Circle Mat Dies)

Let's start with the baby girl card. I created a panel of white cardstock and used the Quilted Hearts Embossing Folder to create the pretty quilted hearts design. I softly ink blended to a fade with light pink ink. I backed the panel with craft foam and applied to a pink panel of cardstock and then to my card base.

I die cut white cardstock using the Scalloped Circle Mat 2 Dies and applied with foam tape and I stamped using Memento Ink in Rich Cocoa and coloured the Baby Elephants image using the following Copic markers:

Elephant W5, W3, W2, W0, W00, RV04, RV02, R00, R0000

Cloud - RV02, RV00, RV0000, C1

Moon - E51, E50, YR30, YR0000, W2, W0, W00

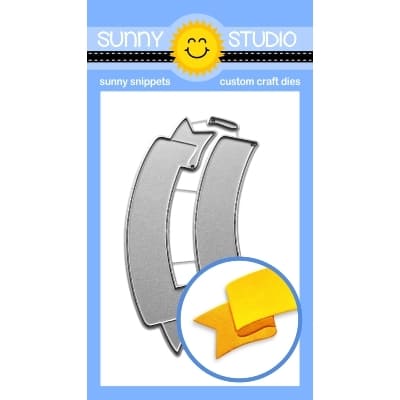
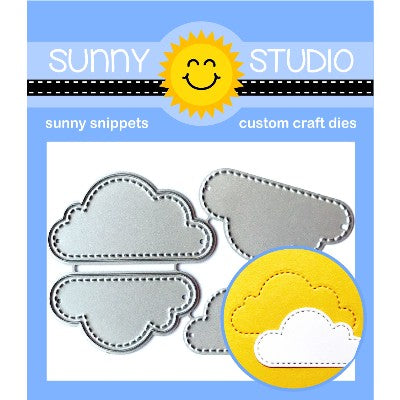
The image was die cut using the Baby Elephants Dies and applied with foam tape and I added some Fluffy Clouds around the image, embellished with Iridescent Star Jewels and stamped and created the Brilliant Banner 1 Die with the sentiment and glued in place.

Sunny Studio Stamps: Baby Elephant Card Set by Nicky Meeks (featuring Quilted Heart Dies, Fluffy Clouds, Brilliant Banner Dies, Scalloped Circle Mat Dies)

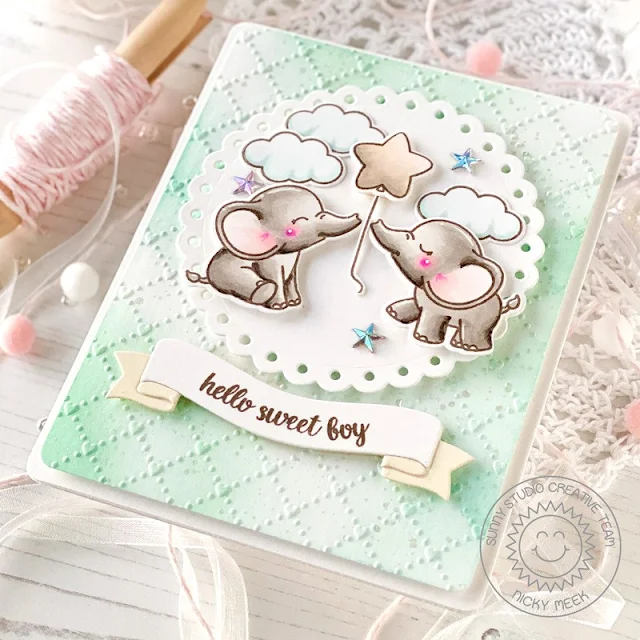
With the baby boy card I basically did everything the same only I used minty greens and baby blues to ink blend the embossed background and I used perfect pearls to splash on some iridescence. Again I die cut the circle focal point and I used different elephants from the Baby Elephants stamp set together with clouds and the star balloon to give this one a slightly different look.

Elephants - W5, W3, W2, W2, W0, W00, RV04, RV02, R00, R000

Clouds - BG000, BG0000, C1

Balloon - E51, E50, YR30, YR0000, W2, W0, W00

Images were die cut using the Baby Elephants Dies and applied with foam tape. I added more of the Iridescent Star Jewels and created a similar sentiment banner using the Brilliant Banner 1 Die. I did a little bit of highlighting with a white gel pen and then both cards were complete.

Sunny Studio Stamps: Baby Elephant Card Set by Nicky Meeks (featuring Quilted Heart Dies, Fluffy Clouds, Brilliant Banner Dies, Scalloped Circle Mat Dies)

I appreciate you stopping by the blog today and I'll be back very soon with something new.

Sunny Studio Supplies Used:
Fluffy Clouds Dies
Fluffy Clouds Dies
Shop at:
Sunny Studio
Scalloped Circle Mat 2 Dies
Shop at:
Sunny Studio
Quilted Hearts Portrait
Shop at:
Sunny Studio
Baby Elephants Stamps
Shop at:
Sunny Studio
Baby Elephants Dies
Baby Elephants Dies
Shop at:
Sunny Studio
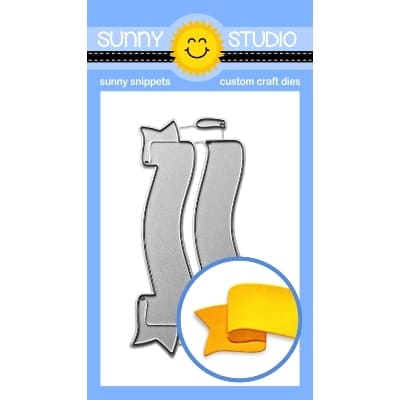
Brilliant Banner 1 Dies
Shop at:
Sunny Studio

Wednesday, April 10, 2024

Designer's Choice: Holiday Hugs Card with Tina

Hello crafters, it’s Tina and today I am mixing and matching several sets for this designer’s choice blog post. The darling bear from Holiday Hugs is perfect for all your winter cards but I wanted to see how I could make him the focal point of a Spring birthday card!

Sunny Studio Stamps: Holiday Hugs Birthday Card by Tina Henkens (featuring Make A Wish, Frilly Frame Dies, Quilted Hearts Dies, Stitched Arch Dies, Brilliant Banner Dies, Happy Thoughts)

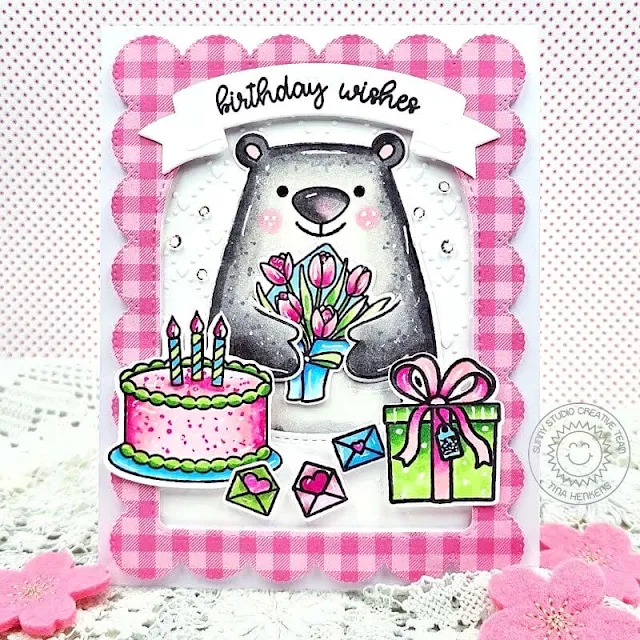
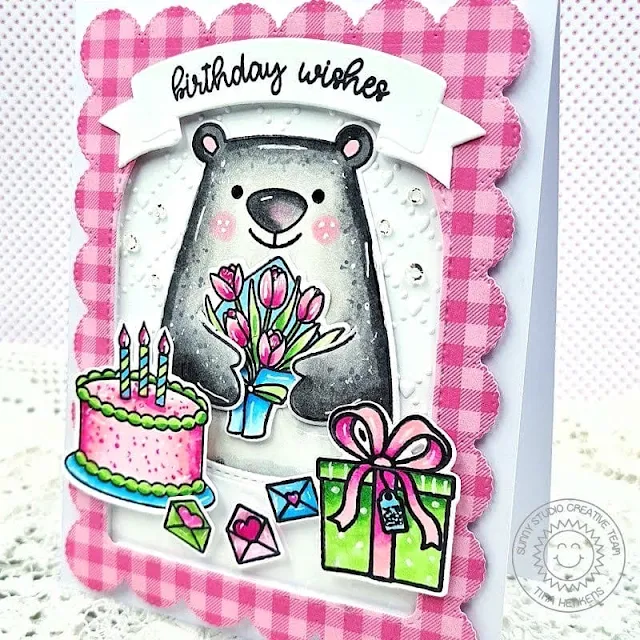
To achieve this look, I had to mask off his scarf with some Post-it tape while I was stamping. It went really well and next I used the matching dies to cut him out. I love the special die for the arms! 

Whilst browsing through my stash I selected a few birthday related stamps like the big cake (Make A Wish), the gift (Holiday Hugs), the bouquet (Big Bunny) and the letters (Bighearted Bears).All these items were colored with alcohol markers in fun Spring colors.

My card base is an A2 size and made from white heavy weight card stock. For the pink gingham frame I used a Joyful Holiday paper, which was cut with the outer of the Frilly Frames Eyelet Lace dies and the largest of the Stitched Arched Dies.

Sunny Studio Stamps: Holiday Hugs Birthday Card by Tina Henkens (featuring Make A Wish, Frilly Frame Dies, Quilted Hearts Dies, Stitched Arch Dies, Brilliant Banner Dies, Happy Thoughts)

Since the coloring was so bright, I opted for a white backdrop. The upper part is dry embossed with the Quilted Hearts folder, whilst the lower part was run through the Lots Of Dots folder (but that is difficult to see in the pictures). I added foam tape to the gingham frame and lower part of the background and adhered all the elements to my card base. Next, I added the cute bear and all his birthday accessories!

I love how the Brilliant Banner 2 Die perfectly fits on top of the arched frame. The combined sentiment was selected from the Happy Thoughts set and stamped in Versafine Onyx Black Ink. For some bling, I adhered a few Crystal Clear Jewels which are one of my favorites.

I hope you got inspired to experiment with stamp masking, it’s such a fun technique! Thank you for joining me and happy crafting!

Sunny Studio Supplies Used:

Happy Thoughts Stamps
Shop at:
Sunny Studio
Make A Wish Stamps
Make A Wish Stamps
Shop at:
Sunny Studio
Make A Wish Dies
Make A Wish Dies
Shop at:
Sunny Studio
Lots of Dots Embossing
Shop at:
Sunny Studio
Frilly Frames-Eyelet Lace
Shop at:
Sunny Studio
Stitched Arch Dies
Stitched Arch Dies
Shop at:
Sunny Studio
Quilted Hearts Portrait
Shop at:
Sunny Studio
Brilliant Banner 2 Dies
Shop at:
Sunny Studio
Holiday Hugs Stamps
Holiday Hugs Stamps
Shop at:
Sunny Studio
Holiday Hugs Dies
Holiday Hugs Dies
Shop at:
Sunny Studio
Big Bunny Stamps
Big Bunny Stamps
Shop at:
Sunny Studio
Big Bunny Dies
Big Bunny Dies
Shop at:
Sunny Studio

Sunday, March 31, 2024

Beautiful Bluebells Card with Tammy

Hello friends! Tammy here with another Easter themed card, featuring the lovely Beautiful Bluebells stamp! I love how fun and easy it is to layer this stamp set to create a beautiful bouquet of bluebells!

Sunny Studio Stamps: Beautiful Bluebells Easter Card by Tammy Stark (featuring Fancy Frame Dies, Big Bunny, Mini Grass Border Dies, Wicker Basket)

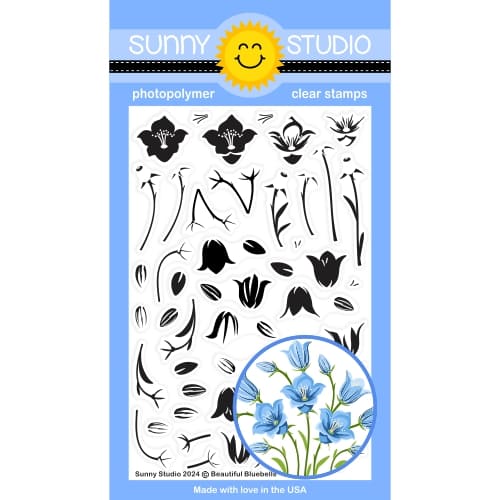
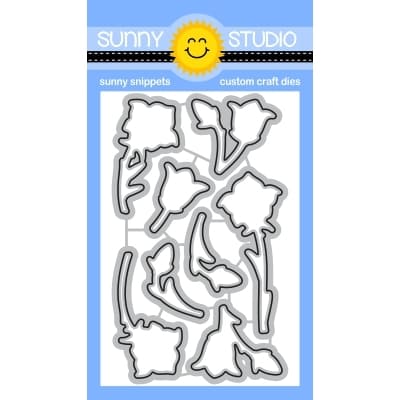
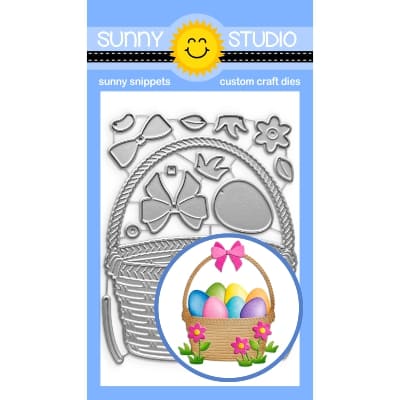
To begin, I stamped the bluebells from Beautiful Bluebells using a variety of blue and green inks (for the stems), then die cut with the Beautiful Bluebells Dies. I then cut a basket from kraft cardstock using the Wicker Basket Dies. I inked the edges of the basket with brown ink and added some details with Copic markers. I arranged the bluebells and tucked into the basket, securing them with tape on the backside of the basket.

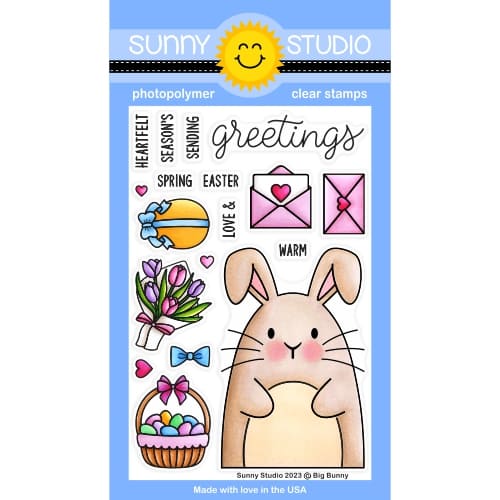
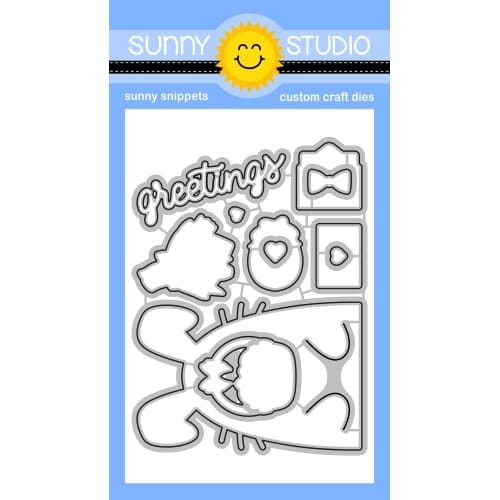
I stamped the bunny and bow from Big Bunnycolored with Copic markers, and die cut with the Big Bunny Dies. 

Sunny Studio Stamps: Beautiful Bluebells Easter Card by Tammy Stark (featuring Fancy Frame Dies, Big Bunny, Mini Grass Border Dies, Wicker Basket)

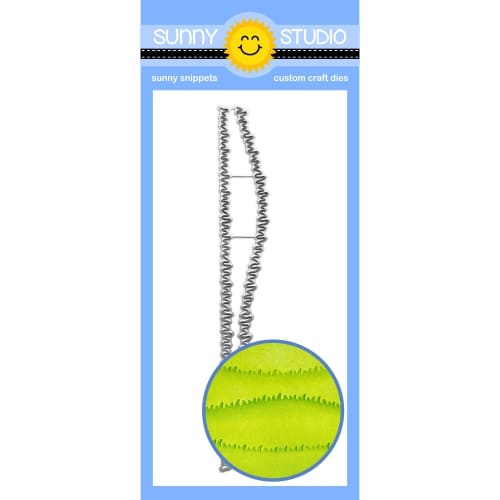
Next, I cut a piece of Spring Fever paper to a 5 inch square to create the card background. I then die cut white scalloped frames using the Fancy Frames Square DiesI die cut a grassy border using the Mini Grass Border from Bristol cardstock and ink blended with Shabby Shutters and Peeled Paint Distress Oxide inks. I attached the grassy border to the patterned paper, then attached the frames using foam tape for dimension.

I then arranged the bunny and basket onto my card, adhering with foam tape. Lastly, I die cut a lavender banner using the Brilliant Banner 1 Dies, then stamped the sentiment from both Big Bunny and Holiday Hugs stampattaching with foam tape for dimension to complete my card!

Thanks so much for stopping by! 

Sunny Studio Supplies Used:

Fancy Frames-Square Dies
Shop at:
Sunny Studio
Spring Fever Paper
Spring Fever Paper
Shop at:
Sunny Studio
Brilliant Banner 1 Dies
Shop at:
Sunny Studio
Holiday Hugs Stamps
Holiday Hugs Stamps
Shop at:
Sunny Studio
Big Bunny Stamps
Big Bunny Stamps
Shop at:
Sunny Studio
Big Bunny Dies
Big Bunny Dies
Shop at:
Sunny Studio
Beautiful Bluebells Stamps
Shop at:
Sunny Studio
Beautiful Bluebells Dies
Shop at:
Sunny Studio
Wicker Basket Dies
Wicker Basket Dies
Shop at:
Sunny Studio
Mini Grass Border Dies
Shop at:
Sunny Studio

Saturday, March 23, 2024

Spring Garden Card with Cathy

Hey friends! Cathy here today and I’m excited to share a card featuring the Spring Garden Dies paired with elements of the Wonderful Windows Dies to create a gardening bench!

Sunny Studio Stamps: Spring Garden Die Focused Card by Cathy Chapdelaine (featuring Frilly Frame Dies, Wonderful Windows, Dotted Diamond Dies, Stitched Rectangle Dies, Notebook Dies, Brilliant Banner Dies)

This is an A2 card and I started with the background panel on the card front. I cut a piece of white cardstock 4 1/4" x 5 1/2", inked it with Lilac and Orchid Simon Says Stamp inks and die-cut it with the Dotted Diamond Portrait Die. I then die-cut the piece again with the largest Stitched Rectangle Die and adhered it to a white card front.

For the lattice, I die-cut a piece of white cardstock using the notebook paper die from the Notebook Photo Corners Dies and then die-cut the center of it using the smallest Stitched Rectangle Die. This created a frame for the lattice. (You could also just cut a piece of white cardstock 3” x 4 1/8” in place of the notebook paper die, but I liked the slightly rounded corners that this die produces.) Next, I cut a piece of white cardstock 3” x 4 1/8” and die-cut it using the Frilly Frames Lattice Die. I then adhered the frame over the lattice and adhered the combined piece to the card front 1/4" from the top of the lilac background panel. I was able to line the lattice up with the lines of the Dotted Diamond Portrait Die background, but you could also back the lattice with an inked piece of cardstock before adhering it to the card front.

Sunny Studio Stamps: Spring Garden Die Focused Card by Cathy Chapdelaine (featuring Frilly Frame Dies, Wonderful Windows, Dotted Diamond Dies, Stitched Rectangle Dies, Notebook Dies, Brilliant Banner Dies)

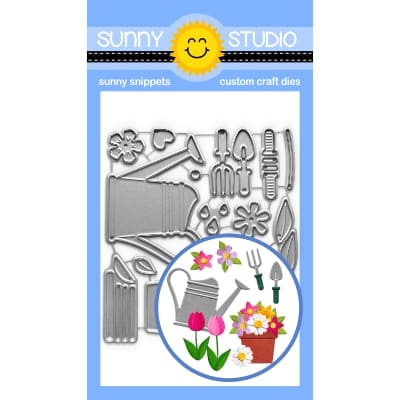
For the drawer portion of the bench, I die-cut a shutter twice from white cardstock using a Wonderful Windows Dies, layered them together and adhered them slightly overlapping the bottom of the lattice using foam dimensional tape. I die-cut drawer pulls from silver cardstock using dies also found in the Wonderful Windows Dies. I used a combination of inking and Copic coloring on the Spring Garden Dies. I just love the details of these dies and the cute little gardening tools!

To finish, I die-cut a piece of white cardstock using the Brilliant Banner 1 Die, embossed a sentiment from the Watering Can Stamps with white embossing powder and inked it with Memento Lulu Lavender ink.

I hope you enjoyed and thanks for stopping by today! For more inspiration, please visit my blog www.inkredibleadventures.com and you can also find me on Instagram as @cathy.chapdelaine.

Sunny Studio Supplies Used:

Stitched Rectangle Dies
Shop at:
Sunny Studio
Frilly Frames Lattice Dies
Shop at:
Sunny Studio
Watering Can Stamps
Watering Can Stamps
Shop at:
Sunny Studio
Wonderful Windows Dies
Shop at:
Sunny Studio
Notebook Photo Corners Dies
Shop at:
Sunny Studio
Brilliant Banner 1 Dies
Shop at:
Sunny Studio
Dotted Diamond Portrait
Shop at:
Sunny Studio
Spring Garden Dies
Spring Garden Dies
Shop at:
Sunny Studio

Thursday, March 14, 2024

Spring Garden Die Focused Tags with Marine

Hello crafty friends, Marine here with you today, I'm back with a trio of tags featuring Spring Garden, which includes the perfect dies to create lovely scenes during springtime. Really love that set!

Sunny Studio Stamps: Spring Garden Die Focused Tag Set by Marine Simon (featuring Scalloped Tag Dies, Mini Grass Dies, Picket Fence Dies, Brilliant Banner Dies)

I started off by cutting different Scalloped Square Tags panels to build my tags:

• three blue tags using floral pattern papers from Spring Fever and from Spring Fling

• three green tags using a grass pattern paper from Spring Fever

• three white tags, to make the back of my tags nice

Sunny Studio Stamps: Spring Garden Die Focused Tag Set by Marine Simon (featuring Scalloped Tag Dies, Mini Grass Dies, Picket Fence Dies, Brilliant Banner Dies)

I cut a Mini Grass Border out of each grassy tag, and attached a grass border at the bottom of each blue floral tag using 1mm foam squares. And then I stuck each blue tag on a white one. I also cut three Picket Fences that I attached on each tag.

Sunny Studio Stamps: Spring Garden Die Focused Tag Set by Marine Simon (featuring Scalloped Tag Dies, Mini Grass Dies, Picket Fence Dies, Brilliant Banner Dies)

Next I cut all the bits and pieces out of colored cardstock using Spring Garden dies for most of them, but also used the bird from Build A Birdhouse, the boots from Rainy Days, and the low plant box from Wonderful Windows. I assembled all those cute pieces, and attached them on each tag using foam squares.

Sunny Studio Stamps: Spring Garden Die Focused Tag Set by Marine Simon (featuring Scalloped Tag Dies, Mini Grass Dies, Picket Fence Dies, Brilliant Banner Dies)

For my greetings, I started off by cutting three Brilliant Banners 1 bases out of different colored cardstock. I also cut the front pieces out of Dots & Stripes Pastels pattern papers, white heat embossed "Hello spring" from Chubby Bunny on each piece, and attached those banner front pieces on the banner bases using 1mm foam squares. I attached a banner on each tag, tied some ribbon and twine at the top of each tag, and added a small black pearl on each bird to make the eye. 

And that's it! Let me know what you think about those spring tags! Thanks so much for stopping by, and see you next week.

Sunny Studio Supplies Used:

Picket Fence Border Dies
Shop at:
Sunny Studio
Dots & Stripes Pastels 6x6 Paper
Shop at:
Sunny Studio
Chubby Bunny Stamps
Chubby Bunny Stamps
Shop at:
Sunny Studio
Scalloped Tags-Square
Shop at:
Sunny Studio
Spring Fling Paper
Spring Fling Paper
Shop at:
Sunny Studio
Build-A-Birdhouse Dies
Shop at:
Sunny Studio
Rainy Days Dies
Rainy Days Dies
Shop at:
Sunny Studio
Wonderful Windows Dies
Shop at:
Sunny Studio
Spring Fever Paper
Spring Fever Paper
Shop at:
Sunny Studio
Brilliant Banner 1 Dies
Shop at:
Sunny Studio
Spring Garden Dies
Spring Garden Dies
Shop at:
Sunny Studio
Mini Grass Border Dies
Shop at:
Sunny Studio

Wednesday, February 21, 2024

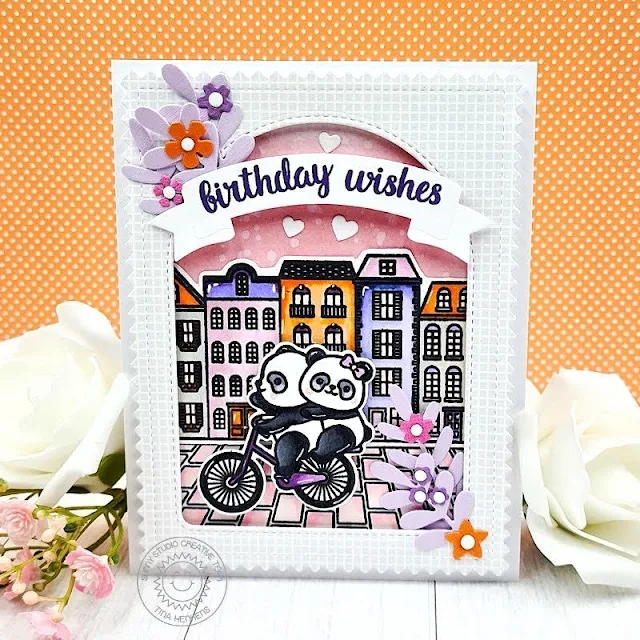
Sprawling Surfaces Card with Tina

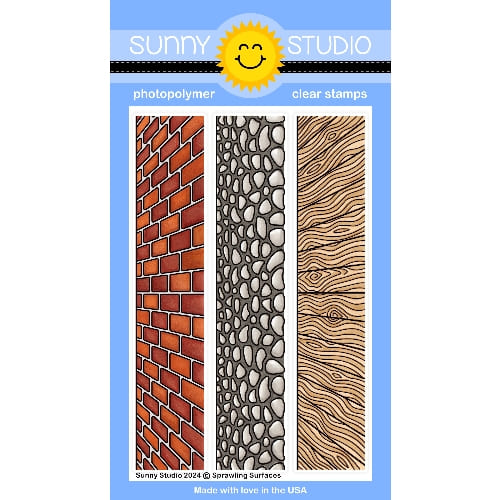
Hello crafters, it’s Tina and today I am featuring the versatile Sprawling Surfaces stamp set which will be a staple in my stash for sure! I love that you get three different textures, so the possibilities are endless.

Sunny Studio Stamps: Sprawling Surfaces Birthday Card by Tina Henkens (featuring Bighearted Bears, Charming City, Stitched Arch Dies, Winter Greenery Dies, Brilliant Banner Dies)

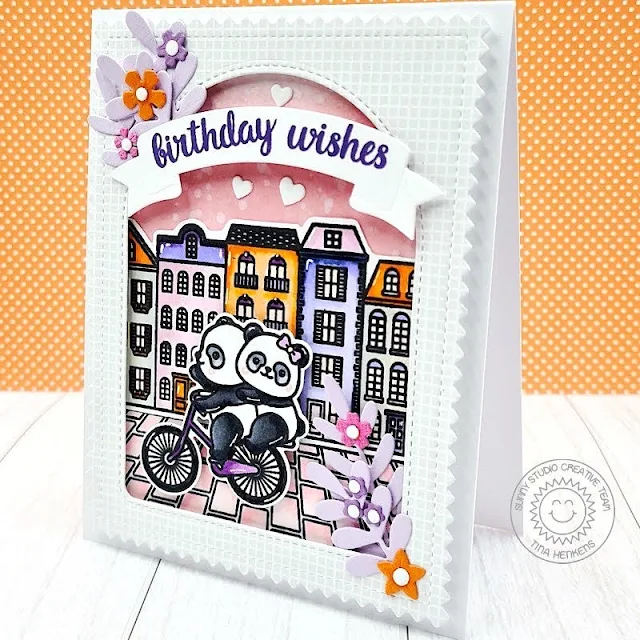
I had been wanting to use the adorable houses from the Charming City for a while and they are the perfect match for the brick pavement. Since I incorporated several fun colors for the houses, my card base and frame needed to be more muted. To start, I created a simple white base and cut a panel with the border die from Frilly Frames Chevron and a tiled paper (Subtle Grey Tones pad). The largest Stitched Arched Die creates the perfect opening for any scene and you’ll end up with a an arched frame and an inner piece that I put aside for another project.

Next, I stamped the row of houses from Charming City and the cycling cuties from Bighearted Bears. All the coloring was done with Copic Markers, and I added some details with a white gel pen. This time I opted for a more Mediterranean vibe and houses in bright colors.

Sunny Studio Stamps: Sprawling Surfaces Birthday Card by Tina Henkens (featuring Bighearted Bears, Charming City, Stitched Arch Dies, Winter Greenery Dies, Brilliant Banner Dies)

For my background, I stamped the brick pavement onto a piece of white Neenah paper and used some more Copics in matching pink shades. The sky portion was ink blended with Distress Oxide Victorian Velvet.

I glued the background to my card base and added the row of houses directly above the brick pavement. Then I could mount the grey frame with foam tape. That instantly creates lots of dimension. Lastly, I placed the cute bears in front of the houses.

My sentiment (Heartfelt Wishes) was stamped in a purple die ink onto a white Brilliant Banner 2. It fitted perfectly above the row of houses. As extra embellishments I added a few white hearts (Bursting Hearts die), some leaves (Winter Greenery dies) and small flowers (Spring Garden dies).

I am sure you will create amazing projects with these great surface stamps! Thank you for joining me and happy crafting!

Sunny Studio Supplies Used:

Heartfelt Wishes Stamps
Shop at:
Sunny Studio
Frilly Frames Chevron Die
Shop at:
Sunny Studio
Subtle Grey Tones Paper
Shop at:
Sunny Studio
Stitched Arch Dies
Stitched Arch Dies
Shop at:
Sunny Studio
Winter Greenery DIes
Shop at:
Sunny Studio
Bursting Heart Die
Bursting Heart Die
Shop at:
Sunny Studio
Charming City Stamps
Shop at:
Sunny Studio
Charming City Dies
Charming City Dies
Shop at:
Sunny Studio
Brilliant Banner 2 Dies
Shop at:
Sunny Studio
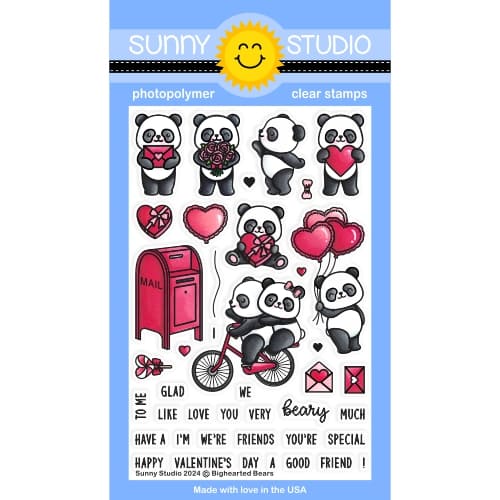
Bighearted Bears Stamps
Shop at:
Sunny Studio
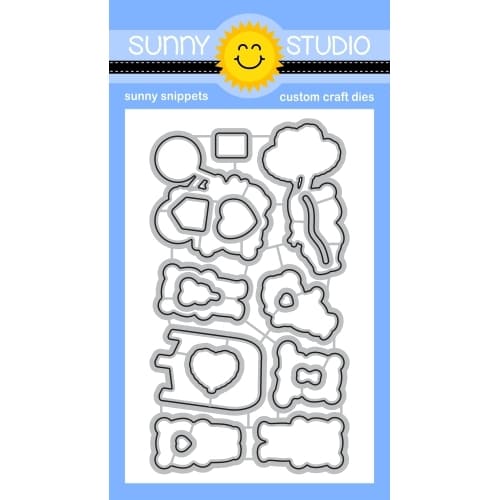
Bighearted Bears Dies
Shop at:
Sunny Studio
Sprawling Surfaces Stamps
Shop at:
Sunny Studio
Spring Garden Dies
Spring Garden Dies
Shop at:
Sunny Studio