I think for these dies you are only limited by your imagination so pull up a chair and check out today's cards. Also make sure to scroll down for the video I created (gasp) and for a special offer for free shipping this weekend. ;)
Card No. 1: So these dies create a window in the center of your card front with a sliding pop-up window where you have have hidden messages and other surprises below. This was the first one I created so I kept my design fairly simple and just heat embossed my sentiments below the sliders. Love how the trees from our Woodland Border dies look when popped up.
And here's the front view of the card before it has been popped up... I used papers from our Classic Gingham, Gingham Jewel Tones & Amazing Argyle 6x6 Paper packs, along with the clouds from our Comic Strip Everyday die, pumpkins from our Happy Harvest Stamps and the boy pulling the wagon from Fall Kiddos.
Card No. 2: For this card I started by coloring my scene on a A2 sized cardstock panel before cutting the front with the sliding window die. I die-cut masks for the clouds from full adhesive post it notes using cloud dies from our Rain or Shine, Sunny Sentiments and Comic Strip Everyday dies.
For my little leaf pile I cut several masks of the leaves from our Fall Kiddos set and went to work moving them around as I stamped the pile one by one. When I was done, I colored in the background with a darker brown and filled in the ground with quick brush strokes using my Copic marker to create the look of grass. I then added my girl to the top of the heap which I had fussy cut out, being careful to not adhere the top portion of her hat that pops up. I then finished my card front with a sentiment from the Happy Harvest set.
For my little leaf pile I cut several masks of the leaves from our Fall Kiddos set and went to work moving them around as I stamped the pile one by one. When I was done, I colored in the background with a darker brown and filled in the ground with quick brush strokes using my Copic marker to create the look of grass. I then added my girl to the top of the heap which I had fussy cut out, being careful to not adhere the top portion of her hat that pops up. I then finished my card front with a sentiment from the Happy Harvest set.
Here's a view of the card when the sliding window has been popped up... As I was starting to get a little bit more into my groove, I started to think through what I wanted to show on my sliding pop-up and down below my scene. Flat designs help the slider move smoothly so I masked off these the leaves and clouds and did all my coloring before assembling the card which wasn't the case in some of my earlier card designs where I tried to figure that out after the card was assembled.
Card No. 3: For my third card I combined our Nutty For You die together with our Beautiful Autumn stamps. I started by stamping the leaves and acorns onto my A2 sized card panel and coloring the images with Copics. I then masked off the images and inked on some distress inks, first in Peacock Feathers and then mixing in some Broken China to better match my striped paper from the Dots & Stripes Jewel Tones 6x6 Paper pack.
The 3-1/4" x 4-7/8" panel that you cut to pull on and operate the sliding window is a third opportunity for embellishment with a hidden surprise. For this card I used a contrasting color of patterned paper which I stamped with a custom sentiment using our Sweet Script stamps. I decided to switch things up and use a piece of ribbon as my pull tab. To counterbalance the extra thickness of the ribbon, I also die-cut a circular notch from the front of my card base, choosing to go with a side-folding card.
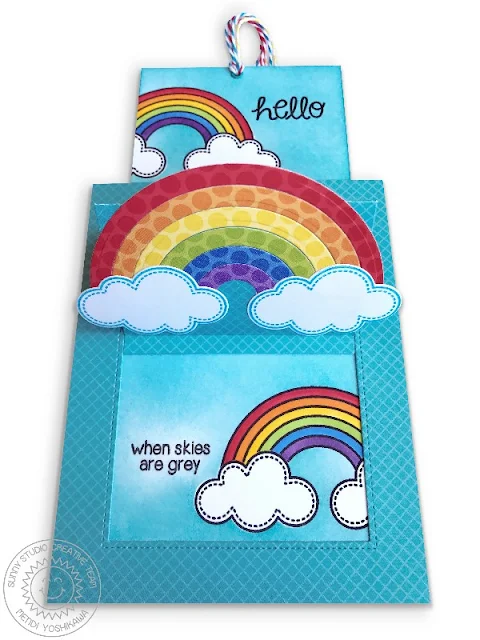
Card No.4: This is another early experiment with a prototype of the dies. I had all my papers cut and the card assembled before knew how I would embellish it which is very doable, but also limited me in some of my design choices. I had already adhered my rainbow created with our Sunny Semi Circle dies when I screwed up the stamping of my sentiment and needed a way to cover my mistake. I decided I would use it as an opportunity for embellishment so I pieced together and elongated our Fancy Frames Square dies, snipping them off where they hid behind my rainbow and re-stamped my sentiment from our Sunny Sentiments set on a contrasting piece of paper. In the end I actually like how it turned out better than my original plan, but it took some work scoring the frame to match the folds of the window.

Card No.5: Here's my second take on the previous card, this time planning the various layers beforehand. As I was working on my other card, I really had wished I could have some colored rainbows on the reveal so for my video today I decided to use this card as my example and have a second go at it using our Rain or Shine stamps for the stamped rainbows.
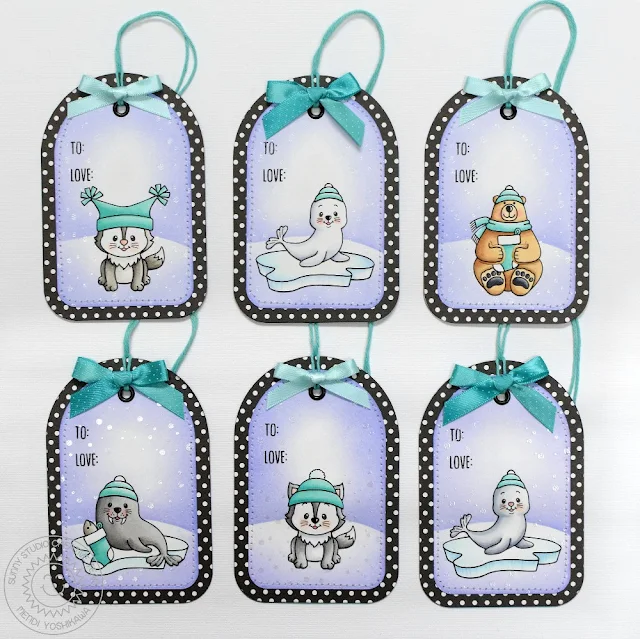
As one last project for the day I created a trio of gift tags using one of the three bonus dies from the set that would be perfect for adding to the top of a birthday present on the go. At 1-5/8" x 2-3/4" they are also a great size for mass producing for the holidays.
I used a mix of Gingham Jewel Tones, Dots & Stripes Jewel Tones and Preppy Prints for my paper and our Christmas Icons set to stamp the "to" and "from".
Miracles of all Miracles I actually created a video sharing our entire fall release as well as a tutorial using the sliding window dies (at the 11:10 mark) that you can view in HD on our YouTube channel HERE. :)
Due to overwhelming popularity the Sliding Window die has already sold out, but is now available as a pre-order. Orders that include the die will be held and sent out when more come back in stock on approximately July 30th. Thank you for your patience.
Here's a set of printable step-by-step instructions (click on image to view larger):
And here's a peek at this month's mini die freebie that comes automatically with orders placed this weekend. Sadly we received very limited supplies this time so they may not last long. ;)
Please note: The leaf dies are now gone and will be substituted with our previously released mini flower die.
Weekend Offer: Receive free shipping on all retail orders over $25 shipping within the USA using the promo code FREESHIP today through Monday at 11:59 pm PST. :)
I'm so excited you've joined me for today's sneak peek and I'd love to give a $25 gift code to one lucky winner. Make sure to keep checking back all this week for more peeks & prizes for up to five chances to win. The contests run through Saturday at Midnight PST with winners announced here on Sunday, July 15th. :)
a Rafflecopter giveaway
Here's a full look at the new sliding window dies featured today...
Other Sunny Studio Supplies Used:
Christmas Icons Stamps Shop at: Sunny Studio |
 Rain or Shine Dies Shop at: Sunny Studio |
 Rain or Shine Stamps Shop at: Sunny Studio |
 Sunny Semi Circles Dies Shop at: Sunny Studio |
|
 Sunny Sentiments Stamps Shop at: Sunny Studio |
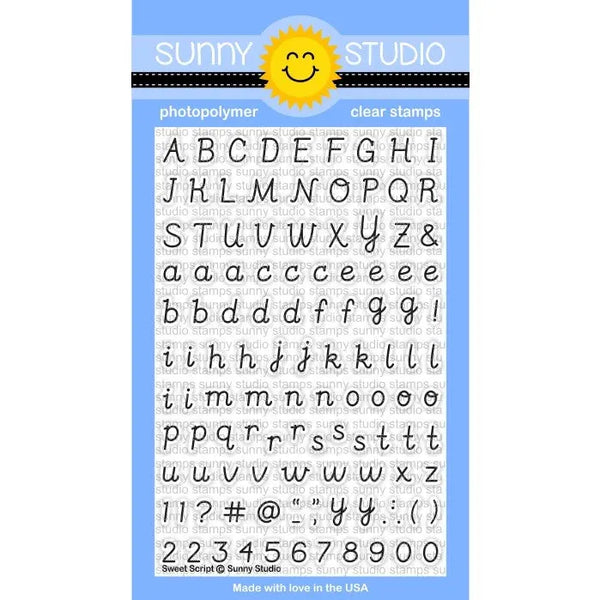 Sweet Script Stamps Shop at: Sunny Studio |
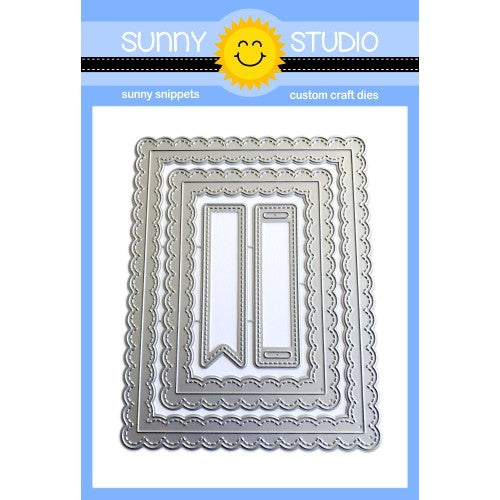 Fancy Frames- Rectangles Shop at: Sunny Studio |
 Classic Gingham 6x6 Paper Shop at: Sunny Studio | |
 Polka-dot Parade 6x6 Paper Shop at: Sunny Studio |
 Gingham Jewel Tones 6x6 Paper Shop at: Sunny Studio |
 Amazing Argyle 6x6 Paper Shop at: Sunny Studio |
 Dots & Stripes Jewel Tones 6x6 Paper Shop at: Sunny Studio | |
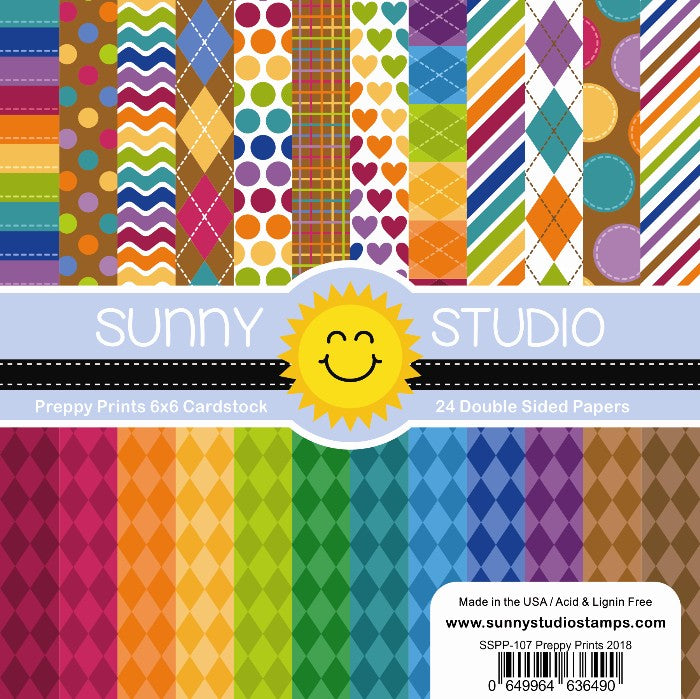 Preppy Prints 6x6 Paper Shop at: Sunny Studio |
 Beautiful Autumn Stamps Shop at: Sunny Studio |
 Comic Strip Everyday Dies Shop at: Sunny Studio |
 Fall Kiddos Stamps Shop at: Sunny Studio | |
 Sunny Sentiments Dies Shop at: Sunny Studio |
 Happy Harvest Stamps Shop at: Sunny Studio |
 Nutty For You Dies Shop at: Sunny Studio |
 Woodland Borders Dies Shop at: Sunny Studio |


