Showing posts with label Rounded Rectangle Mat Dies. Show all posts

Monday, April 14, 2025

Designer's Choice: Chickie Baby Card with Leanne

Hello there! Leanne here today. Can you believe Easter is just a few days away? I thought this was the perfect time to share an Easter card. I have created a cheerful little scene featuring images from the Chickie Baby and Bunnyville stamp sets. 

Sunny Studio Stamps: Chickie Baby Easter Card by Leanne West (featuring Bunnyville, Picket Fence Border Dies, Rounded Rectangle Mat Dies)

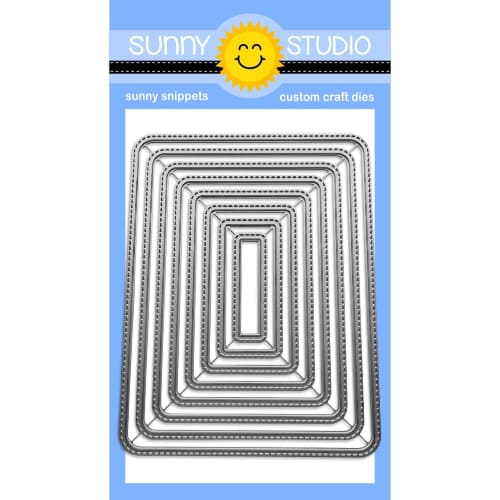
This card is A2 size. I used the largest die Rounded Rectangle Mat set to create the pink mat which perfectly frames the scene. I used the second largest die in the set for the scene mat and grass layer. The grass die can be found in the Picket Fence die set

As I mentioned I used two stamp sets to create the scene.  The chicks and eggs are from the Chickie Baby stamp set. The tulips, butterflies, and greeting are from the Bunnyville stamp set.

Sunny Studio Stamps: Chickie Baby Easter Card by Leanne West (featuring Bunnyville, Picket Fence Border Dies, Rounded Rectangle Mat Dies)

I used Copic markers to color the images. chicks(Y11, Y32, Y15, YR12) tulips(YR12, YR18, YG11, YG13) small flowers(RV13, RV14, YG11, YG13) egg colors(RV13, RV14, Y11, Y13, BG11, BG13) butterflies(V22, V25)

Thanks for stopping by today. I hope everyone has a wonderful week and Happy Easter to those who are celebrating!

Sunny Studio Supplies Used: 
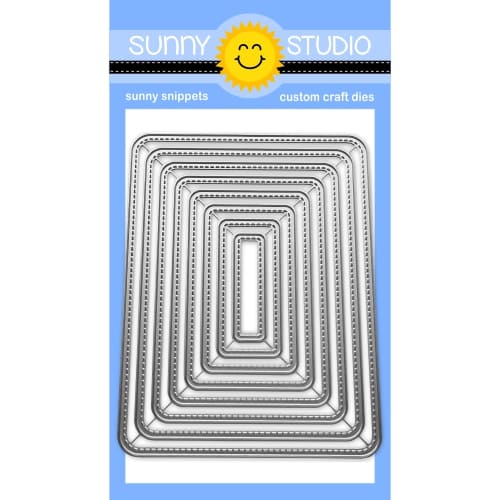
Picket Fence Border Dies
Shop at:
Sunny Studio
Chickie Baby Stamps
Chickie Baby Stamps
Shop at:
Sunny Studio
Chickie Baby Dies
Chickie Baby Dies
Shop at:
Sunny Studio
Bunnyville Stamps
Bunnyville Stamps
Shop at:
Sunny Studio
Bunnyville Dies
Bunnyville Dies
Shop at:
Sunny Studio
Rounded Rectangle Mat Dies
Shop at:
Sunny Studio

Sunday, April 6, 2025

Balloon Alphabet Card with Hanh

Hello Crafty Friends! This is Hanh on the Sunny Studio Stamps blog today with a fun card to share with you showcasing the Balloon Alphabets set and these adorable kitties from Party Pets and Cat Antics sets. These kitties are super excited and ready to party!

Sunny Studio Stamps: Balloon Alphabet Focused Birthday Card by Hanh Nguyen (featuring Cat Antics, Party Pets, Rounded Rectangle Mat Dies, Inside Greetings)

I stamped the Balloon Alphabets stamps with Candied Apple, Carved Pumpkin, Mustard Seed, Mowed Lawn and Blueprint Sketch Distress Oxide inks onto a piece of Neenah Classic Crest Solar White 110 lb cardstock. I die cut them out with the coordinating Balloon Alphabet Dies.

Sunny Studio Stamps: Balloon Alphabet Focused Birthday Card by Hanh Nguyen (featuring Cat Antics, Party Pets, Rounded Rectangle Mat Dies, Inside Greetings)

Next, I stamped the kitties from the Cat Antics stamps and Party Pets stamps sets onto a piece of Neenah Classic Crest Solar White 110 lb cardstock with Memento Tuxedo Black ink and used the coordinating Cat Antics Dies and Party Pets Dies to die cut them out. I colored them with Copic markers and highlighted them with a white gel pen.

COPIC COLORS:
Orange Cats: YR31/20/21/24/27, R00/20
Gray Cats: C00/0/1/3, R00/20
Brown Cats: E51/53/33, R00/20

Sunny Studio Stamps: Balloon Alphabet Focused Birthday Card by Hanh Nguyen (featuring Cat Antics, Party Pets, Rounded Rectangle Mat Dies, Inside Greetings)

For the background, I used Tumbled Glass Distress Oxide ink to ink blend the center of a piece of white cardstock. The second largest die from the Rounded Rectangle Mat Dies was used to trim the inked panel. I used the largest die from this same set to die cut a piece of red cardstock.

For the sentiment, I stamped one of the sentiments from the Inside Greetings Birthday Stamps set directly onto the inked panel with Memento Tuxedo Black ink. 

Sunny Studio Stamps: Balloon Alphabet Focused Birthday Card by Hanh Nguyen (featuring Cat Antics, Party Pets, Rounded Rectangle Mat Dies, Inside Greetings)

For my card base, I took a piece of sturdy white cardstock (4.25" x 11"), scored it at the midline (5.5" mark) and folded it in half. I placed the largest die from the Rounded Rectangle Mat Dies just slightly above the fold line (hinge of the card base) and die cut the cardstock. This created a white card base just slightly shorter than my red panel. 

I appreciate you taking the time to stop by and visit today. I hope you liked my card. For more info, ideas and to check out the entire Spring Release, be sure to visit the Sunny Studio Stamps Shop. Please also visit my INSTAGRAM feed for more inspirations.

Have a wonderful and crafty day!

Sunny Studio Stupplies Used:

Inside Greetings Birthday
Shop at:
Sunny Studio
Balloon Alphabet Stamps
Shop at:
Sunny Studio
Balloon Alphabet Dies
Shop at:
Sunny Studio
Cat Antics Stamps
Cat Antics Stamps
Shop at:
Sunny Studio
Cat Antics Dies
Cat Antics Dies
Shop at:
Sunny Studio
Party Pets Stamps
Party Pets Stamps
Shop at:
Sunny Studio
Party Pets Dies
Party Pets Dies
Shop at:
Sunny Studio
Rounded Rectangle Mat Dies
Shop at:
Sunny Studio

Thursday, April 3, 2025

Rounded Rectangle Mat Die Focused Card with Marine

Hello crafty friends, Marine here, I'm so happy to be back on the blog with this bright and cheerful shaker card featuring some super cute chicks all gathered to celebrate Easter. Love those little guys and their chubby faces so much!

Sunny Studio Easter Chick Card using Chickie Baby Spring Showers Clear Craft Stamps & Rounded Rectangle Mat Metal Cutting Die

I started off by creating the whole shaker card base, and first cut a 4,5 x 3,5 inches Rounded Rectangle Mat panel out of a fun multicolored polka dot Summer Splash pattern paper, I cut two windows out of this panel using the third smallest Rounded Rectangle Window die, attached my panel to a piece of acetate and then trimmed the excess of acetate around my Rounded Rectangle Mat multicolored polka dot panel.

At the back of my multicolored polka dot panel, I added 2mm foam strips all around the windows and on the rest of the panel as well. I poured multicolored sequins into each window, removed the backing papers off the foam strips, and attached a Flirty Flowers green panel to the foam strips to totally close my shaker panel totally.

Sunny Studio Easter Chick Card using Chickie Baby Spring Showers Clear Craft Stamps & Rounded Rectangle Mat Metal Cutting Die

I attached my shaker panel to a 5,25 x 4 inches Gingham Pastels pink panel using liquid glue, next to a 5,5 x 4,25 inches Polka Dot Parade blue panel using liquid glue again, and then to a white card base to finish my shaker card base.

Next I stamped my images on 110lb Neenah solar white cardstock using an alcohol marker friendly black ink, I cut them all using the coordinating dies and colored everything using my Ohuhu markers and Graph'it brush markers. As always, here is a detailed list of the stamp sets I used: Chickie Baby (for chicks, basket, flowers, eggshells), Chubby Bunny (for the banner, flowers), and Spring Showers (umbrellas).

Sunny Studio Easter Chick Card using Chickie Baby Spring Showers Clear Craft Stamps & Rounded Rectangle Mat Metal Cutting Die

I added highlights and details to the images using a white gel pen, and then attached them to my card using 1mm and 2mm foam squares. And to finish it, I added glossy accents to the multicolored Chubby Bunny banner to make it super shiny. 

And that's it! I hope that you like this super cute and colorful Easter card. Thanks so much for stopping by, and see you next time.

Sunny Studio Supplies Used:

Gingham Pastels 6x6 Paper
Shop at:
Sunny Studio
Flirty Flowers 6x6 Paper
Shop at:
Sunny Studio
Chubby Bunny Stamps
Chubby Bunny Stamps
Shop at:
Sunny Studio
Chubby Bunny Dies
Chubby Bunny Dies
Shop at:
Sunny Studio
Polka-dot Parade 6x6 Paper
Shop at:
Sunny Studio
Summer Splash 6x6 Paper
Shop at:
Sunny Studio
Chickie Baby Stamps
Chickie Baby Stamps
Shop at:
Sunny Studio
Chickie Baby Dies
Chickie Baby Dies
Shop at:
Sunny Studio
Spring Showers Stamps
Shop at:
Sunny Studio
Spring Showers Dies
Spring Showers Dies
Shop at:
Sunny Studio
Rounded Rectangle Mat Dies
Shop at:
Sunny Studio
Rounded Rectangle Window Dies
Shop at:
Sunny Studio

Friday, March 28, 2025

Inside Greetings Belated Birthday Card with Nicky

Welcome to the Sunny Studio Stamps blog today, this is Nicky with you with everything you need to know about how I made this belated birthday card featuring the Inside Greetings Belated Birthday Stamp Set

Sunny Studio Stamps: Inside Greetings Belated Birthday Card by Nicky Meeks (featuring Party Pets, Rounded Rectangle Mat Dies, Sunburst Embossing Folder)

I took a white A2 panel of sturdy cardstock and used the Sunburst Embossing Folder on it and then used Spun Sugar Distress Oxide Ink and a blending brush and in circular movements both clockwise and anti clockwise I blended to emphasise the embossed effect and create some warmth. I die cut a simple circle of white cardstock and glued it a fraction above centre.

I stamped some images from Party Pets and coloured with the following Copic markers:

Cat - E74, E71, E70, E40, W00
Blush - R22, R21, R20, R00
Beige - E44, E31, E42, E40
Blue - BG01, B01, B00, B000
Red - R39, R29, R24
Pink - RV02, RV52

Sunny Studio Stamps: Inside Greetings Belated Birthday Card by Nicky Meeks (featuring Party Pets, Rounded Rectangle Mat Dies, Sunburst Embossing Folder)

I stamped the large Happy Birthday sentiment with Versamark Ink and heat embossed with Wow! Opaque Pastel Blue Embossing Powder. I also stamped the word 'belated' from the Inside Greetings Belated Birthday Stamp Set. I used pink ink to do this and then I backed all images with dimensional foam tape and adhered them in position. I highlighted my coloured images with a white gel pen.

I found some party streamer images from the Party Pets stamp set and stamped them in toning colours around the cat. I added Nuvo drops in toning colours throughout the sunburst and set the panel aside to dry.

Sunny Studio Stamps: Inside Greetings Belated Birthday Card by Nicky Meeks (featuring Party Pets, Rounded Rectangle Mat Dies, Sunburst Embossing Folder)

I stamped the long inside greeting from the Inside Greetings Belated Birthday Stamp Set. Rather than stamp directly I stamped it on a die cut created by using the Rounded Rectangle Mat Dies. I used a foam blender and more Spun Sugar ink to edge it and then glued it to the inside of the card. I then came in with the tiny heart image and stamped the pastel hearts just for a little added interest.

I appreciate you coming by to read the blog today and will be back next Friday with something brand new to share. Happy crafting!

Sunny Studio Supplies Used:
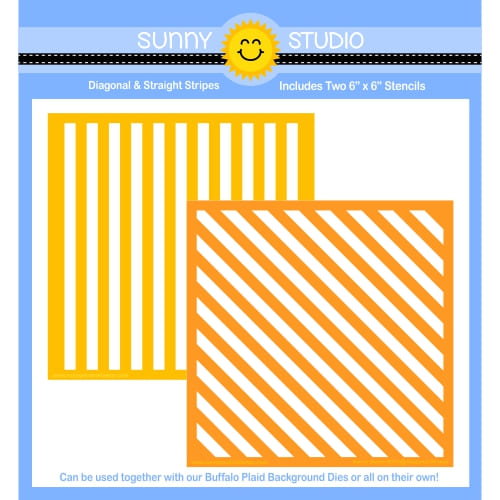
Sunburst Embossing
Sunburst Embossing
Shop at:
Sunny Studio
Inside Greetings Belated Birthday
Shop at:
Sunny Studio
Party Pets Stamps
Party Pets Stamps
Shop at:
Sunny Studio
Party Pets Dies
Party Pets Dies
Shop at:
Sunny Studio
Rounded Rectangle Mat Dies
Shop at:
Sunny Studio

Tuesday, March 25, 2025

Rounded Rectangle Window Die Focused Card & Tag with Amanda

Welcome back to the Sunny Studio Stamps Blog! Amanda here, and I’m glad you’re here with me today! I’m sharing this adorable duo I created using the Rounded Rectangle Window Dies! Keep reading to see how I created this card and coordinating tag!

Sunny Studio Stamps: Rounded Rectangle Window Die Focused Card and Tag by Amanda Fitterer (featuring Foxy Friends, Background Basics 2, Rounded Rectangle Mat Dies, Majestic Meadow)

First, we’ll start with the card! I trimmed a piece of white cardstock to 4”x5.25” and then taped the 4th largest rectangle in the center of the panel. I ran it through my die cutting machine.  

On a separate white cardstock panel, I stamped the background image from the Majestic Meadow Stamp. Then, I trimmed the stamped panel to fit in the opening of the window, including an extra 1/4” border. I was careful to leave the left side of the stamped image for my tag! Then, I stamped my sentiment.

I colored the background with Copic markers. Here are the colors I used:
Flowers: RV55, RV66, RV69
Grass: YG0000, YG00, YG01
Trees & Bushes: E43, E44, E47, E49, YG06, G07, G14

Sunny Studio Stamps: Rounded Rectangle Window Die Focused Card and Tag by Amanda Fitterer (featuring Foxy Friends, Background Basics 2, Rounded Rectangle Mat Dies, Majestic Meadow)

I glued this panel to an A2 card base in the center. On my window panel, I used double sided tape to attach a piece of acetate trimmed to 1/4” larger than the window. Then, I put foam tape strips all around the acetate to create a shaker pocket. I added extra foam tape strips on the border of the panel so it was the same depth all the way around.  

I placed a mixture of sequins in the center of my card base. Then, I carefully lined up my window panel and attached it to the card base, ensuring that the sequins stayed inside the shaker pocket.

Next, I stamped 2 foxes and and 2 birds from the Foxy Friends Stamps. I colored these with Copic markers, too.

I used these markers:
Birds: RV10,  RV52, RV55, Rv66, RV69, YR21, YR24
Foxes: YR20, YR21, YR24, YR27, E50, E53, R00, R20, R32, W8

Then, I cut the images out using the coordinating dies. I put 3D foam squares behind each of the images. I adhered the 2 birds and 1 fox to the card. I glued a few sequins from the my sequin mix to the front of the card as well.

Sunny Studio Stamps: Rounded Rectangle Window Die Focused Card and Tag by Amanda Fitterer (featuring Foxy Friends, Background Basics 2, Rounded Rectangle Mat Dies, Majestic Meadow)

For the tag, I cut the 4th largest Rounded Rectangle Mat Dies. I stamped the Background Basics 2 stamp with Catherine Pooler’s Pucker Up Ink onto this rectangle. I also die cut the 5th largest Rounded Rectangle Mat Dies. Then, I taped the 3rd smallest Rounded Rectangle Window Dies to the center of rectangle and put it through the die cutting machine to create a frame for my shaker.

On the leftover piece from the Majestic Meadow Stamp, I taped the same 3rd smallest Rounded Rectangle Window Die and ran it through my die cutting machine to get my background piece. I colored this background with the same Copic markers.

I punched a hole and added an eyelet with my Crop-a-dile Big Bite to my largest rectangle. To create the shaker, I folowed the same steps as I did for the card. I added some baker’s twine to finish the tag off!

The Rounded Rectangle Mat Dies and Rounded Rectangle Window Dies work so well together! I can’t wait to gift this card and tag to a FOXTASTIC friend! Thanks so much for coming by the blog today! Come back tomorrow for more inspo! 

Sunny Studio Supplies Used:

Background Basics 2 Stamps
Shop at:
Sunny Studio
Majestic Meadow Stamps
Shop at:
Sunny Studio
Majestic Meadow Dies
Shop at:
Sunny Studio
Foxy Friends Stamps
Foxy Friends Stamps
Shop at:
Sunny Studio
Foxy Friends Dies
Foxy Friends Dies
Shop at:
Sunny Studio
Rounded Rectangle Mat Dies
Shop at:
Sunny Studio
Rounded Rectangle Window Dies
Shop at:
Sunny Studio