Showing posts with label Inside Greetings. Show all posts

Tuesday, September 22, 2026

Pathway Home Card with Marieke

Hello all, Marieke here. I'm back again with my weekly post for Sunny Studio Stamps. Today I hope to inspire you with a card that I made using the Pathway Home.

Sunny Studio Stamps: Pathway Home Fall Themed Friendship Card by Marieke Slaats (featuring Inside Greetings Friends)

The base of the card is a white top fold card. Cut a 4 1/4 x 5 1/2 inch green rectangle and adhered it to the front of the card. Cut a kraft 4 x 5 1/4 inch rectangle and a slightly smaller cream rectangle. Ink Blended the cream cardstock using Scattered Straw and Vintage Photo Distress Oxide inks. Splattered some water.

Sunny Studio Stamps: Pathway Home Fall Themed Friendship Card by Marieke Slaats (featuring Inside Greetings Friends)

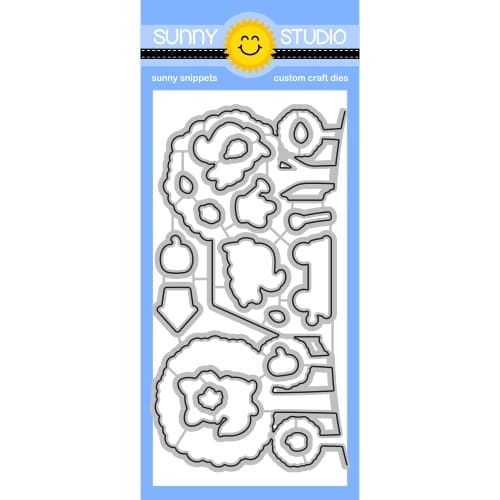
Stamped all the images of Pathway Home using a brown Copic friendly ink. Colored the images up using my Copic markers and cut the images using the matching Pathway Home Dies. Adhered the images onto the cream rectangle.

Used Copic Colors:
Light Brown - E44, E43, E41, E40
Dark Brown E49, E47, E44, E43
Stone - W3, W1, W0, 0
Light Green - G46, G43, G40
Dark Green - G99, G94, G21
Red/ Brown - E19, E17, E15
Path/ Squirrel - E53, E51, E50, 0

Sunny Studio Stamps: Pathway Home Fall Themed Friendship Card by Marieke Slaats (featuring Inside Greetings Friends)

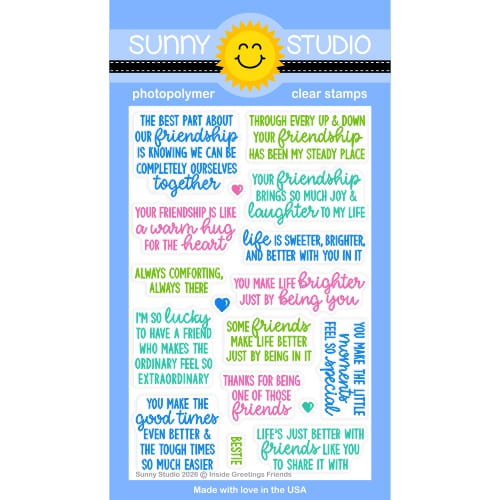
Adhered the cream rectangle on to the kraft rectangle and on to the basecard. Finished the card by stamping the sentiment out of Inside Greetings Friends Stamp using a darker brown ink.

Have a wonderful day!

Sunny Studio Supplies Used:

Pathway Home Stamps
Pathway Home Stamps
Shop at:
Sunny Studio
Pathway Home Dies
Pathway Home Dies
Shop at:
Sunny Studio
Inside Greetings Friends Stamps
Shop at:
Sunny Studio

Sunday, September 20, 2026

Preppy Prints Paper Focused Card with Hanh

Hello Crafty Friends! It's Hanh here today, and I have a postcard-style birthday card to share featuring the sweet bear from the Holiday Hugs set and a fun patterned paper from the Preppy Prints 6 x 6 Paper. So let’s get started.

Sunny Studio Stamps: Holiday Hugs Birthday Card by Hanh Nguyen (featuring Gift Card Envelope Dies, Inside Greetings Birthday)

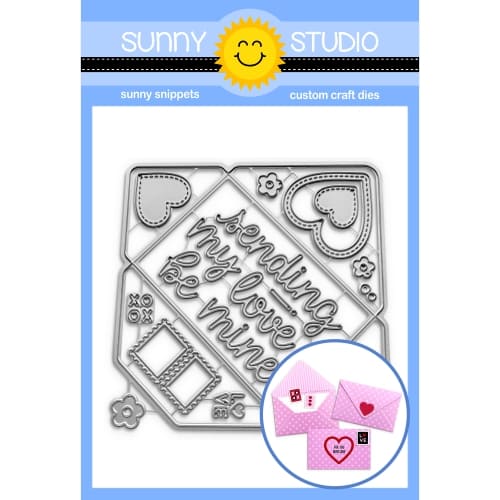
I stamped the adorable bear and present images from the Holiday Hugs Stamps, the party hat and present from the Foxy Friends Stamps, and the cupcake from the Panda Party Stamps set onto Neenah Solar White 110 lb cardstock with Memento Tuxedo Black ink. I used the coordinating Holiday Hugs Dies and the postage stamp die from the Gift Card Envelope Dies to die-cut them out. I also used the Gift Card Envelope Dies set to die-cut 3 postage stamps to create frames out of red cardstock. I colored with Copic markers and highlighted with a white gel pen.

COPIC COLORS:
Bear: E51/53/33/35/99, W5/7, R00/20, R20
Scarf: R35/37, Y38 YR04, Y15/17, YG03/25, BG45/49, V04/06
Large Present: BG10/53/45, R35/37
Party Hat: R35/37
Cupcake: E42, Y38 YR04, Y15, Y38
Small Present: BG53/45/49, YG03/25

Sunny Studio Stamps: Holiday Hugs Birthday Card by Hanh Nguyen (featuring Gift Card Envelope Dies, Inside Greetings Birthday)

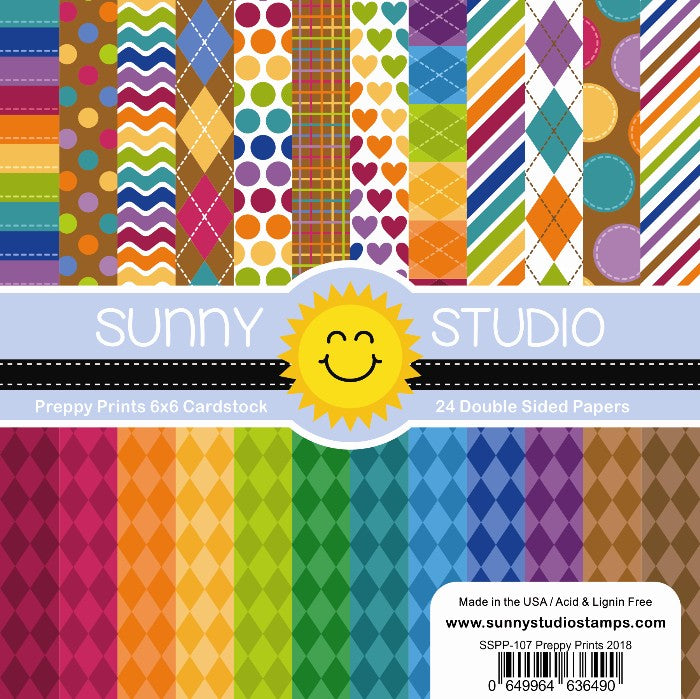
For the layout, I took 2 pieces of white cardstock (5.25” x 4"). I lightly ink-blended the edges of one with Tumbled Glass Distress Oxide ink. I trimmed a sliver off the edges to remove the harsh inked edges and adhered it to the top of the second piece of white cardstock to create a slim white border. I adhered the panel to a piece of patterned paper from the Preppy Prints 6 x 6 Paper (5.5” x 4.25”) to add a fun pop of colors to the edge. 

Sunny Studio Stamps: Holiday Hugs Birthday Card by Hanh Nguyen (featuring Gift Card Envelope Dies, Inside Greetings Birthday)

For the sentiment, I stamped the sentiments from the Inside Greetings - Birthday Stamps directly onto the panel with red and black ink. I drew a couple of lines to resemble a postcard with a black pen. I adhered the stamps to the upper right corner of the postcard. Finally, I adhered the panel to a white A2 cardbase (5.5” x 4.25”). 

Thank you for taking the time to stop by and visit today. I hope you liked my card. Be sure to visit the Sunny Studio Stamps Shop for more info and ideas. Please also visit my INSTAGRAM feed for more inspiration.

Have a wonderful and crafty day!

Sunny Studio Supplies Used:

Preppy Prints 6x6 Paper
Shop at:
Sunny Studio
Inside Greetings Birthday
Shop at:
Sunny Studio
Panda Party Stamps
Panda Party Stamps
Shop at:
Sunny Studio
Panda Party Dies
Panda Party Dies
Shop at:
Sunny Studio
Holiday Hugs Stamps
Holiday Hugs Stamps
Shop at:
Sunny Studio
Holiday Hugs Dies
Holiday Hugs Dies
Shop at:
Sunny Studio
Gift Card Envelope Die
Shop at:
Sunny Studio
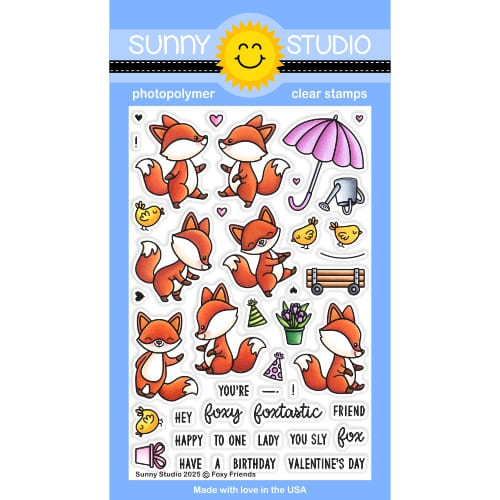
Foxy Friends Stamps
Foxy Friends Stamps
Shop at:
Sunny Studio
Foxy Friends Dies
Foxy Friends Dies
Shop at:
Sunny Studio

Wednesday, September 2, 2026

Pathway Home Card with Tina H

Hello crafters, it’s Tina and I always love beautiful scene cards. The Pathway Home stamp and die set is a great staple to have in your stash because it is so versatile.

Sunny Studio Stamps: Pathway Home Card by Tina Henkens (featuring Inside Greetings, Rounded Rectangle Mat Dies)

A whole scene is ready for you to create with and the matching dies make it super easy to add any background you want. Today I opted for a partial landscape on this sweet autumnal card. After stamping the house and cute raccoon, I also added some pumpkins from Turkey Day. I settled down, put on my favourite music and enjoyed the coloring with my Copic markers. 

Next, I tried several sizes of the Rounded Rectangle Mat dies to figure out which one would be the perfect match. For some extra contrast, I also cut a slightly larger mat from a green Polka-Dot-Parade paper. Then I glued both rectangle mats to a white card base with liquid glue. I added the cute raccoon and pumpkins with some foam tape for dimension.

Sunny Studio Stamps: Pathway Home Card by Tina Henkens (featuring Inside Greetings, Rounded Rectangle Mat Dies)

The sentiment was taken from the Inside Greetings Congrats set and stamped on a small white banner with Versafine Onyx Black ink. This scene card only needed some subtle embellishments, so I went with a few Champagne Clear Jewels.

Now I am curious to see all your takes on this beautiful background stamp and die set! Thank you for joining me and happy crafting!

Sunny Studio Supplies Used:

Polka-dot Parade 6x6 Paper
Shop at:
Sunny Studio
Inside Greetings Congrats
Shop at:
Sunny Studio
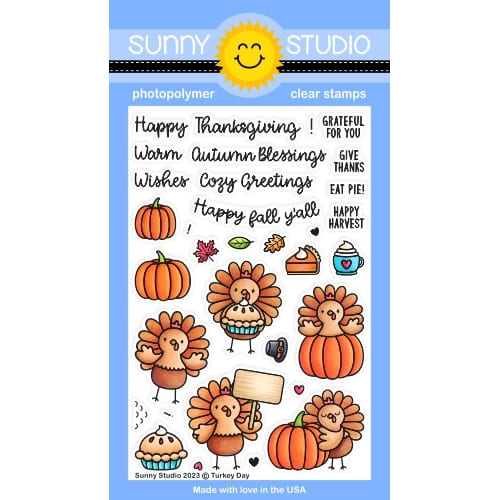
Turkey Day Stamps
Turkey Day Stamps
Shop at:
Sunny Studio
Turkey Day Dies
Turkey Day Dies
Shop at:
Sunny Studio
Pathway Home Stamps
Pathway Home Stamps
Shop at:
Sunny Studio
Pathway Home Dies
Pathway Home Dies
Shop at:
Sunny Studio
Rounded Rectangle Mat Dies
Shop at:
Sunny Studio

Thursday, August 27, 2026

Sneak Peek: Introducing Nativity Scene Builder Craft Dies

Hello, and welcome to day 4 of our Holiday Sneak Peek Week!  All this week, I am sharing cards showcasing our newest collection, which will be available for purchase tomorrow!

Card No. 1: I've been wanting a versatile Nativity die set for years. I own a couple of different sets that you cut out in one pass, but I was longing for something with more flexibility to create a variety of scenes, and with that, our newest Nativity Scene Builder Dies were born!

For my first card using the set, I started by die-cutting small circles from masking material, which I positioned randomly across the center to give the look of bokeh with the out-of-focus lights of Bethlehem in the background. To achieve this look, I inked a bit, then moved the dots and inked some more using Scattered Straw, Wild Honey, Salty Ocean, Prize Ribbon, Chipped Sapphire, and Black Soot Distress inks. I then added the stable and layered it with the Mini Grass Border Dies, which I ran through my machine twice to line up and achieve the dip in the center I was after. I then arranged Mary, Joseph, the baby Jesus in the manger and the adoring animals around them. For my sentiment, I split up the sentiment in two parts using our Inside Greetings Christmas Stamps and stamped the first portion in black ink onto a Brilliant Banner 4 Dies and then the second half, heat-embossing it with White Detail Embossing Powder onto the black cardstock.

Sunny Studio Stamps Joseph, Mary, & Baby Jesus in Stable Bokeh Christmas Card using Nativity Scene Builder Cutting Craft Dies

Card No. 2: For my next card showcasing the Nativity Scene Builder Dies, I started by inking my sky with Scattered Straw, Kitsch Flamingo, Salty Ocean, Prize Ribbon, and Chipped Sapphire with Black Soot Distress Ink in the far corners. I then stamped the palm trees on each side from our Beach Bus Stamps and layered in the village dies from the set, adding small rectangles of yellow inked cardstock to fill the window and door openings for the bottom layer. Next, I added stitched hills cut from navy cardstock using our Slimline Nature Border Dies, inked with Black Soot Distress Ink, and tucked in a couple of palm trees from the set. I flipped the shepherd to fill in as Joseph and put Mary on the back of the donkey. I added some highlights with my white gel pen to make them stand out against the dark background, but then felt the white was too stark and walked it back by coloring over them with a dark grey Copic marker. Lastly, I heat-embossed a greeting from those same Inside Greetings Christmas Stamps.

Sunny Studio Stamps Joseph & Mary on a Donkey Bethlehem Christmas Card using Nativity Scene Builder Metal Cutting Craft Dies

Card No. 3: Next up, I have a slimline Christmas card featuring the Nativity Scene Builder Dies. I started with an unexpected color scheme for Christmas and inked up my 8" x 4" slimline panel with a blend of Picked Raspberry, Seedless Preserves, Wilted Violet, and a tiny bit of Villainous Potion Distress Inks. I kept the spot where I wanted my shining star to be much lighter to give a glowing appearance. I then stamped some tree branches along the top edge using the fir tree sprigs from the Classy Christmas Stamps and Christmas Trimmings Stamps, using Versafine Onyx Black Ink. I added a simple stitched hillside with the Slimline Nature Border Dies and tucked the building from the Nativity Scene Builder dies to form Bethlehem in the distance. Lastly, when I was certain the background and border along the top were fully dry, I heat-embossed a sentiment from the Inside Greetings Christmas Stamps.

Sunny Studio Stamps Wise Men in Bethlehem Slimline DIY Christmas Card using Nativity Scene Builder Metal Cutting Craft Dies

Card No. 4: For this card, using the Nativity Scene Builder Dies, I switched up my color palette a bit, selecting warm tones. For this vertically oriented card, I wanted to have the stable scene in the foreground with Bethlehem behind it, like it's up in the hills. To do this, I started by inking the sky with Lumberjack Plaid, Candied Apple, and scattered straw in the center (mostly hidden by the buildings). For my hills, cut using the Slimline Nature Border Dies, I inked them up using Tea Dye Distress Ink and then inked the star and the area glowing behind Jesus with Scattered Straw ink. Initially I had just the one hill, but I felt like the buildings were standing a little too tall and stark against the red, so I added in the hills behind them to look like they are in a bit of a valley. I wasn't left with very many places to squeeze my greeting, so I repositioned my elements so they would fit around the greeting from the Inside Greetings Christmas Stamps set and be framed by the stable. I was happy with how the scene came together, and I think this could be reimagined with a variety of different color schemes.

Sunny Studio Stamps Stable & Bethlehem Religious Holiday Christmas Card using Nativity Scene Builder Metal Cutting Craft Dies

Card No. 5: I couldn't create a card with the new Nativity Scene Builder Dies without taking our Sunburst Embossing Folder out for a spin. I found a digital nativity scene that provided the inspiration I needed for my background, and I've walked you through the steps of how I recreated that background below. I was really pleased that it turned out the way I was envisioning!  To complete my card, I cut a stitched hill using the border die from our Slimline Nature Border Dies and added a heat-embossed sentiment from the Inside Greetings Christmas Stamps.

Sunny Studio Stamps Sunburst Hearts Warmed By Jesus DIY Christmas Card using Nativity Scene Builder Metal Cutting Craft Dies

The create my sunburst background I started with a piece of 5.5" x 5.5" 120 pound white cardstock. I first inked up the raised surface of one side of my embossing folder using the brayer with the Colorbox blue pigment ink from my stash. In hindsight, the Versafine Clair Paradise or Bluebell inks would also work well for this. You need to use a pigment ink that can stick well to the plastic surface without beading up like dye ink would. Even though I don't need a full square piece of cardstock on my final card, I thought it would give me more options for rotating, if I messed up one corner. In the end, I felt all the corners were usable, but now it also has the added bonus of 1/3 being leftover to use on a future card.

After rolling the ink out on the surface of my embossing folder, I took a Q-tip with a bit of rubbing alcohol and carefully removed any portions of ink that accidentally got onto the recessed portions of the folder. I then laid my white cardstock on the un-inked side of the embossing folder and carefully closed the inked "lid" down onto my paper and held it tight so it wouldn't shift before running it through my die-cutting machine. When I removed the panel, there were some areas that didn't ink up as well as I would have liked to I zapped it with my heat gun and then filled in the lighter spots with a coordinating Copic Marker in the same color.

Next, I inked up the entire outside edges with a medium to light blend of Prize Ribbon Distress Ink, followed by Chipped Sapphire and Black Soot on the most outside corners. While I never used Distress Ink on the centers, I still wanted to lighten the raised rays that had been inked in my first step with the pigment ink, so I smooshed some of my Hero Arts Unicorn Pigment Ink onto my glass mat and then rubbed it around the center and into the rays using my finger. I decided I would have more control that way, and it would be easier to wash my finger later than sacrifice one of my precious brushes to become filled with pigment ink that was tinted with blue.

Sunny Studio Stamps Sunray & Starburst 6x6 Embossed Background created with Sunburst Embossing Folder & ink for Nativity Card

Card No. 6: For my last card today using the Nativity Scene Builder Dies, I switched gears and this time went a bit lighter and airier for my scene, cutting the pieces from white cardstock. For my background, I blended Salty Ocean, Shaded Lilac, and Spun Sugar Distress Inks before adding a grassy border cut from white cardstock, using the Mini Grass Border Dies (running them through twice to span the distance), and inking the bottom with a blend of Bundled Sage and Twisted Citron Distress inks. I splattered the background with water before adding stars with a white gel pen and scattering small die-cut stars across the sky using the mini dies from the Nativity set. Lastly, I stamped the "O Holy Night" in black ink using the Holy Night Stamps.

Sunny Studio Stamps Pastel Slimline Holiday Religious Christmas Card using Nativity Scene Builder Metal Cutting Craft Dies

That wraps up today's sneak peek. I'm so happy you joined me today! I'd love to give a $40 gift code to one lucky winner, who will be randomly selected from comments on this blog post and on our Facebook and Instagram posts. Our daily contests will run through Saturday, August 29th, at Midnight PST, with winners announced here on our blog on Sunday, August 30th.

Here's a closer look at our new Nativity Scene Builder Dies, which will be available for purchase starting tomorrow.

Sunny Studio Stamps Nativity Scene Builder Metal Cutting Craft Dies for Holiday Christmas Cards

Other Supplies Used:

Christmas Trimmings Stamps
Shop at:
Sunny Studio
Christmas Trimmings Dies
Shop at:
Sunny Studio
Brilliant Banner 4 Dies
Shop at:
Sunny Studio
Slimline Nature Borders
Shop at:
Sunny Studio
Classy Christmas Stamps
Shop at:
Sunny Studio
Classy Christmas Dies
Shop at:
Sunny Studio
Holy Night Stamps
Holy Night Stamps
Shop at:
Sunny Studio
Holy Night Dies
Holy Night Dies
Shop at:
Sunny Studio
Inside Greetings-Christmas
Shop at:
Sunny Studio
Mini Grass Border Dies
Shop at:
Sunny Studio
Beach Bus Stamps
Beach Bus Stamps
Shop at:
Sunny Studio
Beach Bus Dies
Beach Bus Dies
Shop at:
Sunny Studio
Sunburst Embossing
Sunburst Embossing
Shop at:
Sunny Studio
Spellbinders Masking Sheets
Shop at:
Sunny Studio
We R Nesting Circles Dies
Shop at:
Sunny Studio
Hero Arts White Detail
Shop at:
Sunny Studio
VersaMark Watermark Ink
Shop at:
Sunny Studio
Versafine Onyx Black Ink
Shop at:
Sunny Studio
PinkFresh Studio Blending Brushes
Shop at:
Sunny Studio