Showing posts with label Big Bold Greetings. Show all posts

Thursday, August 14, 2025

Cat Antics Card with Marine

Hello crafty friends, Marine here, I'm super happy to be celebrating Sunny Studio's 10th birthday with those fun kitties and cheerful colors. This is a fantastic milestone, and I'm very proud to be part of it. Congratulations, Mendi! And happy birthday to Sunny Studio!!

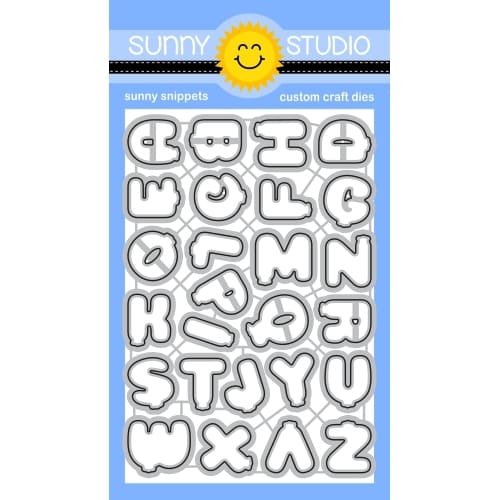
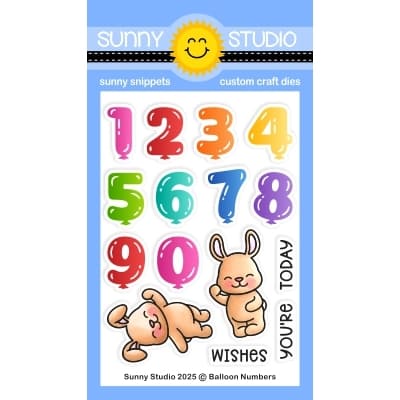
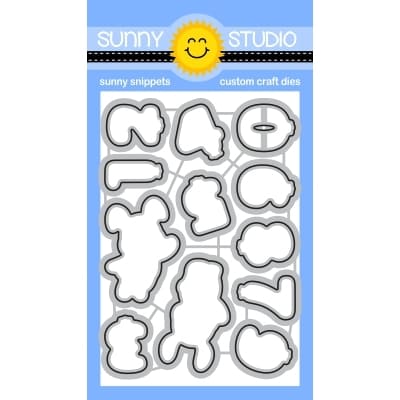
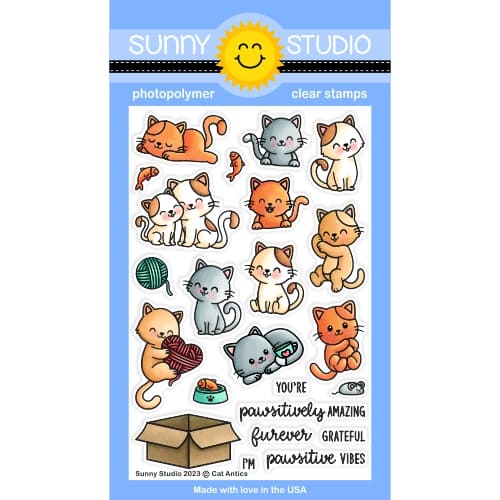
Sunny Studio Stamps: Cat Antics Birthday Card by Marine Simon (featuring Party Pets, Big Bold Greetings, Balloon Alphabet, Balloon Numbers, Scalloped Square Dies)

I started by creating the background and cut a 4-3/8 inches square panel out of a Spring Sunburst green paper. I mixed copic opaque white ink with water and used a slim brush to add white splatters all over my panel. I did the same with mowed lawn distress ink, and then with peacock feathers distress spritz. Once it was dry, I attached my green panel to a Stitched Square white panel using liquid glue, and then the white panel to a Scalloped Square 1 Large turquoise panel using 1mm foam tape.

Sunny Studio Stamps: Cat Antics Birthday Card by Marine Simon (featuring Party Pets, Big Bold Greetings, Balloon Alphabet, Balloon Numbers, Scalloped Square Dies)

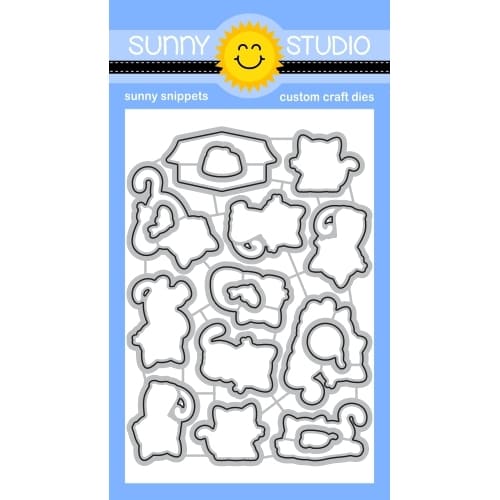
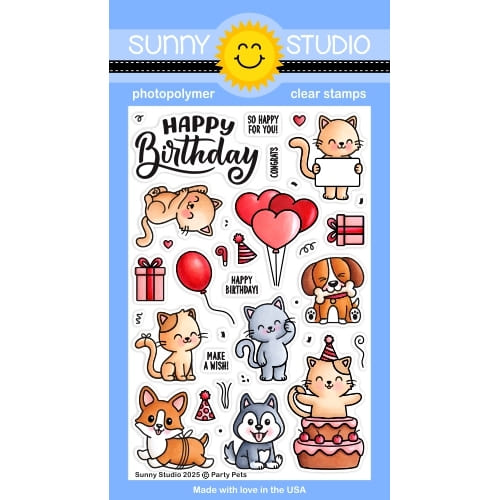
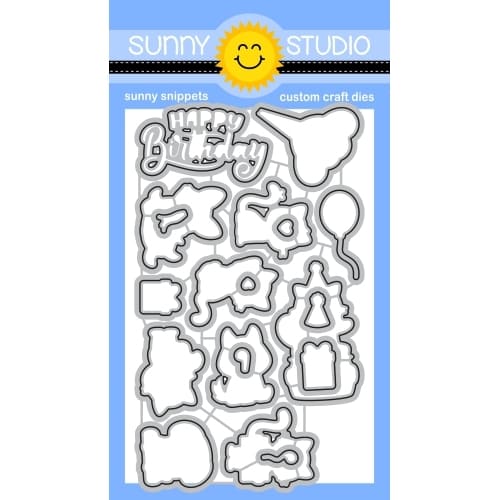
I stamped all my images on 110lb Neenah solar white cardstock using an alcohol marker friendly black ink, I cut them all using the matching dies and colored everything with my Ohuhu markers and Graph'it brush markers, using one of my all-time favorite color palette: aqua, green and yellow. Here is a detailed list of the stamp sets I used: • Cat Antics - 3 cats • Party Pets - 3 cats, presents, party hats, hearts, balloons, "make a wish" • Purrfect Birthday - cake.

Sunny Studio Stamps: Cat Antics Birthday Card by Marine Simon (featuring Party Pets, Big Bold Greetings, Balloon Alphabet, Balloon Numbers, Scalloped Square Dies)

Once the coloring was done, I added highlights and details to the images using a white gel pen. Next I stamped the Balloon Number "10" on the same white cardstock using aqua dye ink from my stash, and cut each digit using the matching dies. I also stamped two strings in black using two stamps from the Balloon Alphabet and fussy cut them. For my greeting, I white heat embossed "Happy birthday" from Big Bold Greetings on aqua cardstock, cut it using the matching die, and then attached everything on my Spring Sunburst card base using 1mm and 2mm foam squares.

And that's it, so let's join this pawsome party, have fun and eat a piece of cake, if the kitties have left some! Thanks so much for stopping by, see you next week, and once again: happy birthday to Sunny Studio!!

--------------------------------------------------

Before you go, I'd love to share the details about a special sale that Sunny Studio is having in honor of their 10th birthday!!! Use the discount code TENYEARS to save 20% on all Sunny Studio branded products (excludes retired items already on sale) through Monday, August 25th at Midnight PDT. Plus, all retail orders that exceed $100 will automatically receive free US shipping. Limit one discount code per order.

Sunny Studio Supplies Used:

Purrfect Birthday Stamps
Shop at:
Sunny Studio
Purrfect Birthday Dies
Shop at:
Sunny Studio
Big Bold Greetings Stamps
Shop at:
Sunny Studio
Big Bold Greetings Dies
Shop at:
Sunny Studio
Scalloped Square 1 Large Die
Shop at:
Sunny Studio
Balloon Alphabet Stamps
Shop at:
Sunny Studio
Balloon Alphabet Dies
Shop at:
Sunny Studio
Balloon Numbers Stamps
Shop at:
Sunny Studio
Balloon Numbers Dies
Shop at:
Sunny Studio
Cat Antics Stamps
Cat Antics Stamps
Shop at:
Sunny Studio
Cat Antics Dies
Cat Antics Dies
Shop at:
Sunny Studio
Party Pets Stamps
Party Pets Stamps
Shop at:
Sunny Studio
Party Pets Dies
Party Pets Dies
Shop at:
Sunny Studio
Spring Sunburst 6x6 Paper
Shop at:
Sunny Studio

Wednesday, July 30, 2025

Truckloads of Love Card with Tina

Hello crafters, it’s Tina and today I am making a birthday card for my hubby. I always stress when I need to make a male card. Being someone who loves pink, bows and cuteness makes it hard to switch to a more masculine design. As you can tell, I kept the cute critters, but I am sure hubby will love the ‘rusty truck’ (and the pile of presents!).

Sunny Studio Stamps: Truckloads Of Love Birthday Card by Tina Henkens (featuring Fall Scenes, Big Bold Greetings, Party Pets)

Mini slimline cards are my favorite design for making scene cards. I started with a white card base and cut two white panels with a slim line die from my stash. On one panel, I stamped the long fence with tree and grass border from the Fall Scenes set, I made sure to leave about an inch of paper beneath the fence to color in more grass. Then I used the matching die to cut along the top of the fence.

This way, I created the lower part of my scene as a separate piece which fits perfectly on top of the second panel. As always, I used my Copics for the coloring.

Sunny Studio Stamps: Truckloads Of Love Birthday Card by Tina Henkens (featuring Fall Scenes, Big Bold Greetings, Party Pets)

My second panel was a bit more challenging, I decided to draw my own ‘hillside’ in Copic. I switched between several tones of greens for more dimension. The top part of this piece was turned into a sky using a stencil from my stash and Faded Jeans Distress Oxide. I mounted the fence panel piece with foam tape on top of the hills scene and glued the whole to the card base.

To set the scene, I stamped a cute cat (Party Pets) and a fox driving a rusty truck (Truckloads of Love). I love how a underlayer of brown Copic coloring can achieve that worn look! For my sentiment (stamped with Versafine Onyx Black ink) I used a small phrase from Party Pets and a large Happy Birthday (Big Bold Greetings). Finally, I added a few Iridescent Clear Jewels.

I hope you will like this idea for a masculine card! Thank you for joining me and happy crafting.

Sunny Studio Supplies Used:

Fall Scenes Stamps
Fall Scenes Stamps
Shop at:
Sunny Studio
Fall Scenes Dies
Fall Scenes Dies
Shop at:
Sunny Studio
Big Bold Greetings Stamps
Shop at:
Sunny Studio
Big Bold Greetings Dies
Shop at:
Sunny Studio
Truckloads of Love Stamps
Shop at:
Sunny Studio
Truckloads of Love Dies
Shop at:
Sunny Studio
Party Pets Stamps
Party Pets Stamps
Shop at:
Sunny Studio
Party Pets Dies
Party Pets Dies
Shop at:
Sunny Studio

Monday, June 23, 2025

Summer Greenery Rainbow Cards with Mendi

Hello and welcome! This is Mendi here today, popping in to share a bright and happy rainbow card set featuring the tropical leaves from our Summery Greenery Dies!

Sunny Studio Rainbow Tropical Leaves Retirement & Birthday Cards using Summer Greenery Dies, Big Bold Greetings, & Happy Thoughts Stamps

For my first card showcasing the Summery Greenery Dies, I started by inking a cardstock panel with Picked Raspberry, Carved Pumpkin, Mustard Seed, Twisted Citron, Salty Ocean, and Wilted Violet Distress inks. Rather than a straight rainbow, I layered patches of color adjacent to each other on the color wheel and then spritzed them with water to help them blend a tiny bit more and to get the look of some of the reactive drops. I then arranged all the tropical leaves cut from white cardstock over the top, leaving them plain for a graphic look and to keep the focus on all the wonderful embossed details these dies provide. 

I then inked up a small scrap of white cardstock with a similar blend of inks where I wanted my sentiment to go. I then stamped my "Happy Birthday" greeting from our Big Bold Greetings Stamps using VersaFine Onyx Black Ink, and heating-embossing it with Clear Embossing PowderLastly, I used the Big Bold Greetings Dies to cut out a shadow around my greeting and glued another strip of cardstock behind, which had been covered with adhesive to give me a sticky surface to pop the negative portions back in place. Having these sections in place kept my greeting from looking too busy with the white parts of the leaves that were peeking through the openings.

Sunny Studio Rainbow Tropical Leaves Birthday Card using Summer Greenery Dies & Big Bold Greetings Stamps

For my second colorful card using the Summery Greenery Dies, I started by die-cutting the tropical leaves from white cardstock. Then I inked each one using a different bright color of distress ink, alternating between Picked Raspberry, Carved Pumpkin, Mustard Seed, Twisted Citron, Peacock Feathers, and Wilted Violet. To add a little interest, I inked the left side 
of each leaf with a heavier hand and kept the right side lighter to give the appearance of a light source on the right. I then die-cut a stitched strip from black cardstock using the smallest pennant from our Slimline Pennant Dies (elongating it by hanging it off the cutting plate and running it through my machine a second time). Lastly, I heat-embossed the sentiment "wishing you a happy retirement" from our Happy Thoughts Stamps using White Embossing Powder with VersaMark Ink.

Sunny Studio Rainbow Tropical Leaves Retirement Card using Summer Greenery Dies & Happy Thoughts Stamps

That wraps up my projects for today. Thanks so much for hanging out with me. I hope I've inspired you to spread a little happiness by sending out a card to someone you love. 😊

Don't forget to check out our Summery Greenery Dies in our online shop, which are currently on sale! Also, please check out all the card ideas using these sets on each of their product pages. I always make sure to upload tons of card ideas following the product image so there are lots of ideas to scroll through there organized by set. ðŸ’›

Supplies Used:

Versafine Onyx Black Ink
Shop at:
Sunny Studio
Happy Thoughts Stamps
Shop at:
Sunny Studio
Slimline Pennant Dies
Shop at:
Sunny Studio
Summer Greenery Die
Summer Greenery Die
Shop at:
Sunny Studio
Big Bold Greetings Stamps
Shop at:
Sunny Studio
Big Bold Greetings Dies
Shop at:
Sunny Studio
Hero Arts Ultra Fine Clear
Shop at:
Sunny Studio
Hero Arts White Detail
Shop at:
Sunny Studio
Tsukineko Jumbo Dauber
Shop at:
Sunny Studio
VersaMark Watermark Ink
Shop at:
Sunny Studio

Thursday, May 29, 2025

Everything's Rosy Card with Marine

Hello crafty friends, Marine here, I'm very happy to be back with something different than I usually do. I mean, you know that I'm a "the busier the merrier" type of girl with lots and lots of critters. Well, today I'm sharing this floral shaker card showcasing the gorgeous Everything's Rosy stamp set, and I had a blast creating all those beautiful roses and foliage with this layering stamp set!

Sunny Studio Stamps: Everything's Rosy Miss You card by Marine Simon (featuring Big Bold Greetings, Frilly Frame Dies, Stitched Rectangle Dies, Spring Greenery Dies)

And speaking of which, I started off by stamping the roses and leaves, using all the layers, along with Lawn Fawn premium dye inks and Altenew crisp dye inks. For the roses, light to dark I used frosty pink (Alt.) + peachy keen (LF) + guava (LF) + lobster (LF) + raspberry (LF). And for the leaves, light to dark I used frayed leaf (Alt.) + forest glades (Alt.) + moss (Alt.)

I cut all the images using the matching dies, mixed some copic opaque white ink with water and used a slim brush to add splatters to each rose and piece of greenery, and set them aside to dry. I also cut additional pieces of greenery out of vellum using Spring Greenery dies, added white ink splatters to each piece and set them aside as well for later.

Next I cut a 5,5 x 4,25 inches Strathmore bristol smooth panel, and started by covering it with tattered rose oxide ink. I added a brick pattern to my panel using a brick stencil from stash along with saltwater taffy oxide ink, splattered water all over the panel and dried it with a paper towel, mixed some worn lipstick oxide ink with water and added more splatters to the panel, and then did the same with copic opaque white ink.

Sunny Studio Stamps: Everything's Rosy Miss You card by Marine Simon (featuring Big Bold Greetings, Frilly Frame Dies, Stitched Rectangle Dies, Spring Greenery Dies)

Once my panel was dry, I cut an opening out of it right in the center using the second largest Stitched Rectangle die, kept the frame piece only, and added a piece of acetate at the back of my brick frame using liquid glue. And I wanted my roses to be climbing up on a lattice, so I cut three white panels using the same die I used to create the opening, and cut a lattice design out of each white panel using the Frilly Frame Lattice die set. I layered the three lattice panels on top of each other using liquid glue to create a little bit of dimension, and then attached my lattice panel in the middle of my brick panel, right on the acetate using liquid glue again.

I flipped my brick panel over, added foam strips along the opening, close to the edges, and on the edges of the panel as well. I poured a lot of Pink Blossoms confetti inside the acetate opening, peeled all the foam strips backing papers off, and then closed my shaker panel with a Flirty Flowers pink panel.

Next, back to the front of the brick panel. Along with my climbing roses, I wanted to add some extra foliage, so I cut a Botanical Backdrop panel out of green cardstock, added some rustic wilderness oxide ink to darken some spots, mixed that same ink with water and added splatters to the leaves, did the same with copic opaque white ink, and attached this leafy panel to my brick panel using 1mm foam squares.

Sunny Studio Stamps: Everything's Rosy Miss You card by Marine Simon (featuring Big Bold Greetings, Frilly Frame Dies, Stitched Rectangle Dies, Spring Greenery Dies)

Before attaching the roses and leaves, I wanted to frame my panel with wood, so I used the Tropical Trees die set to cut my frame out of light brown woodgrain cardstock, attached it to my panel using liquid glue, and then finally stuck the roses and leaves using 1mm and 2mm foam squares, and the vellum greenery using liquid glue. For my greeting, I white heat embossed "Miss you" from Big Bold Greetings on dark brown cardstock, cut it using the matching die, and attached it to my panel using foam squares again. I attached my panel to a white card base, and to finish my card I added a scattering of clear droplets from my stash for shine and brightness.

And that's it! I hope that you like this card as much as I enjoyed creating it. It was pretty amazing to see those beautiful roses come to life layer after layer, and it was super easy to line everything up! Thanks so much for stopping by, and see you next week!

Sunny Studio Supplies Used:

Stitched Rectangle Dies
Shop at:
Sunny Studio
Flirty Flowers 6x6 Paper
Shop at:
Sunny Studio
Everything's Rosy Stamps
Shop at:
Sunny Studio
Everything's Rosy Dies
Shop at:
Sunny Studio
Frilly Frames Lattice Dies
Shop at:
Sunny Studio
Spring Greenery Dies
Shop at:
Sunny Studio
Tropical Trees Backdrop
Shop at:
Sunny Studio
Big Bold Greetings Stamps
Shop at:
Sunny Studio
Big Bold Greetings Dies
Shop at:
Sunny Studio
Botanical Backdrop Die
Shop at:
Sunny Studio