Showing posts with label Love Birds. Show all posts

Wednesday, July 29, 2026

Stitched Heart Die Focused Card with Tina H

Hi there crafty friends, Tina here and today we are creating a sweet shaped card starting with the largest Scalloped Heart die and a piece of white card stock. This will be our base.

Sunny Studio Stamps: Stitched Heart & Love Birds Card by Tina Henkens (featuring Scalloped Heart Dies, Inside Greetings)

Next, I cut a white heart with the largest of the Stitched Heart dies. This shape is slightly smaller than the scalloped one so they fit perfectly when you layer them. Since this piece will be the background scene, I am using a cloud stencil from my stash and Shaded Lilac Distress oxide. I love trying out new color combo’s and in this design I was really having fun with different tones.

Star of the show are the adorable parrots from Love Birds. I went all out with my Copics coloring these cuties! Since the card is not complex, I wanted my images to stand out! After creating a heart shaped card base (Stitched Heart dies), I simply glued the white heart and the sky one to the base with liquid glue.

Sunny Studio Stamps: Stitched Heart & Love Birds Card by Tina Henkens (featuring Scalloped Heart Dies, Inside Greetings)

The sentiment needed to be simple and rather small due to limited space in my design, so I found the perfect one from Inside Greetings Congrats and stamped it directly on to the sky panel with Versafine Onyx Black ink

Next, I could place the branch, birds and leaves with foam tape beneath the phrase. For some extra sparkle, I added three of the beautiful Heart Shaped Pearls around the sentiment.

Do you like shaped cards as much as I do? Thank you for joining me and happy crafting!

Sunny Studio Supplies Used:

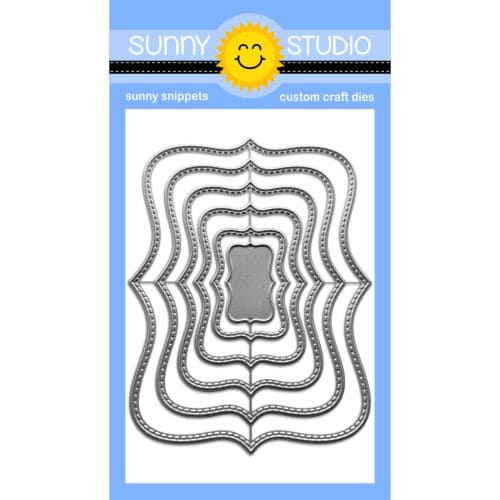
Stitched Heart Dies
Stitched Heart Dies
Shop at:
Sunny Studio
Scalloped Heart Dies
Shop at:
Sunny Studio
Inside Greetings Congrats
Shop at:
Sunny Studio
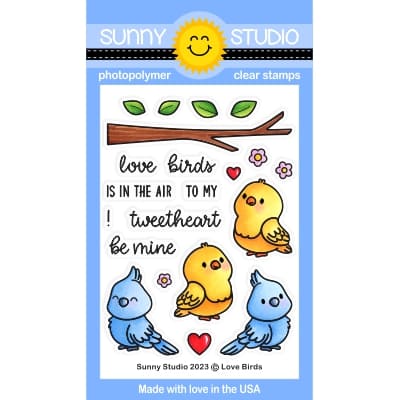
Love Birds Stamps
Love Birds Stamps
Shop at:
Sunny Studio
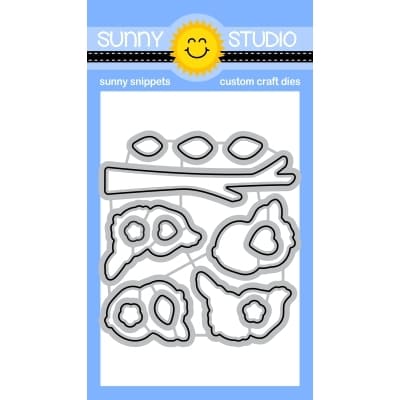
Love Birds Dies
Love Birds Dies
Shop at:
Sunny Studio

Monday, June 29, 2026

Love Birds Card with Tina M

Hi there! Tina M here sharing a birthday card made using the cute Love Birds set!

Sunny Studio Stamps: Love Birds & Afternoon Tea Birthday Card by Tina Magnusson (featuring Scalloped Oval Mat Dies, Big Bold Greetings)

I started off by trimming a piece of pink patterned paper, from the Classic Sunburst Paper to 5,5 x 4,25 inches, the sunburst patterned side up and adhered it to my A2 size card base.

From white card stock I die cut out the largest of the Scalloped Oval Mat 3 Dies and ink blended with gray ink, darker at the bottom to fade to light gray and finally white.
I finished it off by splattering gold watercolor to it!

I then stamped all the images I wanted to feature from the Love Birds Stamps set and the Afternoon Tea Stamps set, using Memento Tuxedo Black ink on alcohol ink friendly paper and colored them with my Copic Markers, see list below. Next, I die cut out the colored pieces using the coordinating Love Birds Dies, and the Afternoon Tea Dies.

Copic colors used:
Birds: RV52/55/66, V000 and YR21/24/27
Teacups: RV52, V000
Flowers: G94, YG61/63, YR21/24/27, C0/1

Sunny Studio Stamps: Love Birds & Afternoon Tea Birthday Card by Tina Magnusson (featuring Scalloped Oval Mat Dies, Big Bold Greetings)

As I wanted my greeting to coordinate with the gold watercolor splatters, I stamped the Happy Birthday from the Big Bold Greetings Stamps set with VersaMark Watermark ink, added gold embossing powder from my stash and heat embossed it with my heat gun. I then cut it out using the coordinating Big Bold Greetings Die. I used liquid glue to adhere it to the Scalloped oval.

Lastly, I added foam dots to the back of the die cut birds, teacups and flowers for dimension and adhered them to the card.

Thanks for stopping by! Wishing you a happy and colorful day! 

Sunny Studio Supplies Used:

Classic Sunburst Paper
Shop at:
Sunny Studio
Scalloped Oval Mat 3 Dies
Shop at:
Sunny Studio
Big Bold Greetings Stamps
Shop at:
Sunny Studio
Big Bold Greetings Dies
Shop at:
Sunny Studio
Love Birds Stamps
Love Birds Stamps
Shop at:
Sunny Studio
Love Birds Dies
Love Birds Dies
Shop at:
Sunny Studio
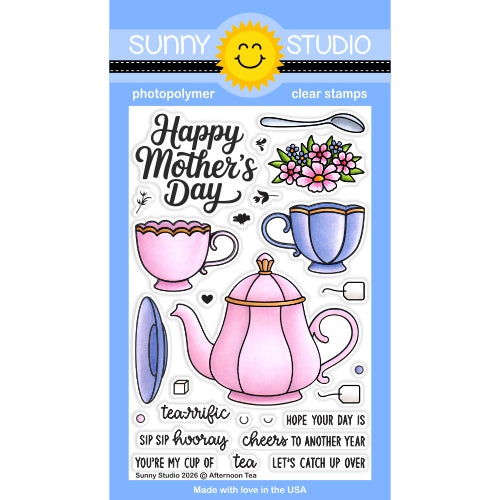
Afternoon Tea Stamps
Shop at:
Sunny Studio
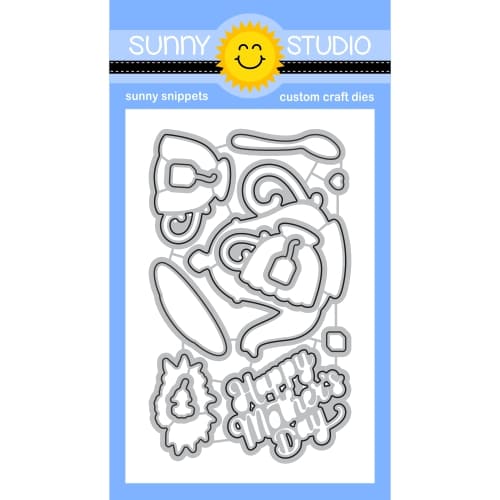
Afternoon Tea Dies
Afternoon Tea Dies
Shop at:
Sunny Studio

Monday, June 8, 2026

Wedded Bliss Card with Tina M

Hi there! Tina M here! Today I’m sharing a card featuring the Wedded Bliss Set! I started off by trimming a piece of red patterned paper, from the Classic Sunburst Paper to 5,5 x 4,25 inches, the sunburst patterned side up and adhered it to my A2 size card base.

Sunny Studio Stamps: Wedded Bliss Wedding Card with Tina Magnusson (featuring Love Birds, Slimline Nature Border Dies, Limitless Labels Dies)

Next, I ran two pieces of white cardstock and one piece of black cardstock through my die cutting machine using the largest of the Limitless Labels 1 DieI ink blended one of the white pieces with turquoise ink, the other with green ink, for sky and grass. The black piece I adhered behind the turquoise piece as a shadow. As I wanted a festive feel for this bride & groom, I splattered gold watercolor on the turquoise panel!

For my hill/grass piece I used the Slimline Nature Borders DieNext, I stamped the adorable penguins from the Wedded Bliss Stamps, the branches, leaves and flowers from the Love Birds Stamps using Memento Tuxedo Black ink on alcohol ink friendly card stock and used the coordinating Wedded Bliss Dies, and the Love Birds Diesto die cut them out and colored them with my Copic Markers, see list below.

Leaves: G94, YG03/17
Tree: E21/23/25
Penguins; W0/1/2/3, N3/4/5/6, R30/32, YR21/24/27
Tiara: Y26/28
Dress: C1
Tux: N3/4/5
Flowers: R02/05, Y26/28
Hearts: R02/05

Sunny Studio Stamps: Wedded Bliss Wedding Card with Tina Magnusson (featuring Love Birds, Slimline Nature Border Dies, Limitless Labels Dies)

I used the branches as trees for this card, and I glued the leaves and flowers to them! Next, I stamped the sentiment, from the Wedded Bliss Stamps set on my grass piece. I added foam dots to the grass piece so that I could easily tuck the bottom of my trees underneath.

I added foam dots to the upper half of the bride & groom and used liquid glue for the lower part and adhered them to the card. I glued the flowers directly on the grass and the hearts were popped up with foam dots. I adhered my sweet wedding scene to the sunburst patterned card base!

Thank you for stopping by! Wishing you a happy and colorful day!

Sunny Studio Supplies Used:

Slimline Nature Borders
Shop at:
Sunny Studio
Classic Sunburst Paper
Shop at:
Sunny Studio
Wedded Bliss Stamps
Wedded Bliss Stamps
Shop at:
Sunny Studio
Wedded Bliss Dies
Wedded Bliss Dies
Shop at:
Sunny Studio
Love Birds Stamps
Love Birds Stamps
Shop at:
Sunny Studio
Love Birds Dies
Love Birds Dies
Shop at:
Sunny Studio
Limitless Labels 1 Dies
Shop at:
Sunny Studio

Sunday, June 7, 2026

Love Birds Card with Hanh

Hello Crafty Friends! This is Hanh on the Sunny Studio Stamps blog today and I have a sweet and punny birthday card to share with you showcasing the Love Birds set. 

Sunny Studio Stamps: Love Birds Birthday Card by Hanh Nguyen (featuring Slimline Dies, Stitched Arch Dies)

I stamped the mages from the Love Birds Stamps set onto a piece of Neenah Solar White 110 lb cardstock with Memento Tuxedo Black ink. I used the coordinating Love Birds Dies to diecut them out. I colored with Copic markers and highlighted with a white gel pen.

COPIC COLORS:
Blue Birds: B32/21/24, Y17, R20
Yellow Bird: Y11/13/15/19. Y17, R20
Green Bird: YG00/01/03, Y17, R20
Branch: E31/23/25
Leaves: YG01/03/25
Flowers: Y13/17, R20

Sunny Studio Stamps: Love Birds Birthday Card by Hanh Nguyen (featuring Slimline Dies, Stitched Arch Dies)

For the background, I used the Slimline Nature Borders Dies to diecut a piece of clear acetate to make my own cloud stencil. I used my homemade cloud stencil and Saltwater Taffy Distress Oxide ink to ink blend a subtle background onto a piece of Neenah Solar White cardstock. On another piece of Neenah Solar White cardstock, I used the largest die from the Stitched Arch Dies to diecut a window.  

For the sentiment, I used the Comic Strip Speech Bubbles Die to diecut a speech bubble and the Stitched Rectangle Dies to diecut a banner out of pink cardstock. I stamped the “A Little Birdie Told Me” and the “It’s Your Bird Day” sentiments from the Little Birdie Stamps onto the speech bubble and the banner with Memento Tuxedo Black ink. 

Sunny Studio Stamps: Love Birds Birthday Card by Hanh Nguyen (featuring Slimline Dies, Stitched Arch Dies)

I adhered the colored images and the sentiments to the panel with a combination of liquid glue and foam tape. Foam tape was used to adhere the two panels to each other before it was adhered to a white A2 cardbase (4.25” x 5.5”).

I appreciate you taking the time to stop by and visit today. I hope you liked my card. Be sure to visit the Sunny Studio Stamps Shop for more info and ideas. Please also visit my INSTAGRAM feed for more inspirations.

Have a wonderful and crafty day!

Sunny Studio Supplies Used:

Stitched Rectangle Dies
Shop at:
Sunny Studio
Comic Strip Speech Bubble Dies
Shop at:
Sunny Studio
Stitched Arch Dies
Stitched Arch Dies
Shop at:
Sunny Studio
Slimline Nature Borders
Shop at:
Sunny Studio
Little Birdie Stamps
Shop at:
Sunny Studio
Love Birds Stamps
Love Birds Stamps
Shop at:
Sunny Studio
Love Birds Dies
Love Birds Dies
Shop at:
Sunny Studio

Friday, May 15, 2026

The Graduate Card with Janneke

Hello crafty friends, Janneke here. Today I'm sharing a cute card featuring  The Graduate stamp set.

Sunny Studio Stamps: The Graduate & Love Birds Graduation Card by Janneke Peters (featuring Comic Strip Everyday Dies)

For this card, I started by die-cutting the background using the Comic Strip Everyday die, and then ink-blended the different sections using shades of blue and green ink.

Next, I stamped the sentiment from The Graduate stamp set with the same green ink, die-cut it, and cut it again from blue cardstock. By layering the blue piece behind the main sentiment, I created a subtle shadow effect.

Sunny Studio Stamps: The Graduate & Love Birds Graduation Card by Janneke Peters (featuring Comic Strip Everyday Dies)

After that, I stamped the birds and leafy branches from the Love Birds stamp set, along with the graduation caps and diplomas from The Graduate stamp set, and I colored all the images with my Ohuhu markers.

Sunny Studio Stamps: The Graduate & Love Birds Graduation Card by Janneke Peters (featuring Comic Strip Everyday Dies)

Once everything was colored, I arranged and adhered all the elements onto the card, creating a playful graduation scene. To finish the card, I added highlights with a white gel pen and placed a few transparent dots.

Card done, ready to send joy! Thanks for joining me, and see you next week.

Sunny Studio Supplies Used:

Comic Strip Everyday Dies
Shop at:
Sunny Studio
Love Birds Stamps
Love Birds Stamps
Shop at:
Sunny Studio
Love Birds Dies
Love Birds Dies
Shop at:
Sunny Studio
The Graduate Stamps
The Graduate Stamps
Shop at:
Sunny Studio
The Graduate Dies
The Graduate Dies
Shop at:
Sunny Studio

Monday, May 11, 2026

Sweet As Can Bee Card with Tina M

Hello there! Tina M here sharing a card created with the Sweet As Can Bee Stamps!

Sunny Studio Stamps: Sweet As Can Bee Card by Tina Magnusson (featuring Love Birds, Hayley Alphabet Dies)

I have a mini slim line card for you today! The size of the card base is 3,50 x 6 inches. I added a piece of orange polka dot paper from the 
Polka-Dot Parade Paper pack to cover the card base, using double sided tape.

Next, on a piece of white card stock I ink blended orange and pink ink. I then trimmed a piece of black cardstock for a frame to go behind my ink blended panel and adhered them both to the card base, using double sided tape. Now on to the stamping of the images!

I stamped the bees, the beehive, the little bucket and the heart shaped swirl from the Sweet As Can Bee Stamps set and the branch, leaves and flowers from the Love Birds Stamps set on alcohol ink friendly card stock using Memento Tuxedo black ink and used the coordinating Sweet As Can Bee Dies and Love Birds Dies to die cut them out and colored them with my Copic Markers, see list below. I added the leaves and flowers to the branch using liquid glue.

Copic colors used:
Bees: YR04, Y15/17, B01/000
Beehive: YR04/07, Y15/17, N5/6/8
Branch: E21/23/25
Leaves: YG03/17
Flowers: Y17, RV52/55

Sunny Studio Stamps: Sweet As Can Bee Card by Tina Magnusson (featuring Love Birds, Hayley Alphabet Dies)

Next, I added foam dots to the back of the die cut images for dimension and adhered them to the card, except for the heart swirl which I glued directly to the panel using liquid glue.

For the sentiment I stamped the “Just buzzin´ by to say” from the Sweet As Can Bee Stamps set at the bottom of the panel. I used the Hayley Lowercase Alphabet Dies to die cut the HI letters out of pink and black cardstock. I layered and adhered the letters to each other and then onto the panel.

To complete my card I used Distress Rock Cand and Distress Matte medium for glue to the wings of the bees and to the center of the flowers for some sparkle!

Thanks for stopping by! Wishing you all a happy and colorful day!

Sunny Studio Supplies Used:

Polka-dot Parade 6x6 Paper
Shop at:
Sunny Studio
Hayley Lowercase Alphabet Dies
Shop at:
Sunny Studio
Love Birds Stamps
Love Birds Stamps
Shop at:
Sunny Studio
Love Birds Dies
Love Birds Dies
Shop at:
Sunny Studio
Sweet As Can Bee Stamps
Shop at:
Sunny Studio
Sweet As Can Bee Dies
Shop at:
Sunny Studio