Hey everyone! Laura Vegas here to share some scrapbooking inspiration on National Scrapbook Day! When I think of Sunny Studio's stamps, I automatically think of card making. But when I think of Sunny Studio's dies - specifically her standalone dies - I can see so many ways to work them into scrapbooking projects, whether it's traditional layouts, smaller sized travelers notebook pages, or pocket pages. I've switched over to the smaller sized "layouts" and pocket page style of scrapbooking over the last few years, so I was excited when Mendi asked if I'd create some projects using her new dies (and I couldn't help but mix in a few older dies as well!)
For this travelers notebook sized spread (pages are 4"x8.25"), I started by die-cutting the white cardstock base of the second page using the Staggered Circle dies. I backed it with some black and white polka dot patterned paper, and then added some borders along the top and bottom using the Ribbon & Lace Border dies.
I used the Notebook Photo Corner dies to die-cut two banners and added alphabet stickers to each to hold my title. I also die-cut three notebook pages from white cardstock, using the same die set, adhered my photos to each of them, and then tore the cardstock directly under the photo.
I used the Notebook Tab dies to create a tab for each photo, writing my "chore" (aka, where you'll find me on my days off work) in the center piece of each tab.
(Ribbon & Lace Border Dies, Staggered Circle Dies, Notebook Photo Corner Dies, Notebook Tabs Dies, Classic Gingham Paper, Polka-dot Parade Paper, Amazing Argyle Paper, Heroic Halftones Paper)
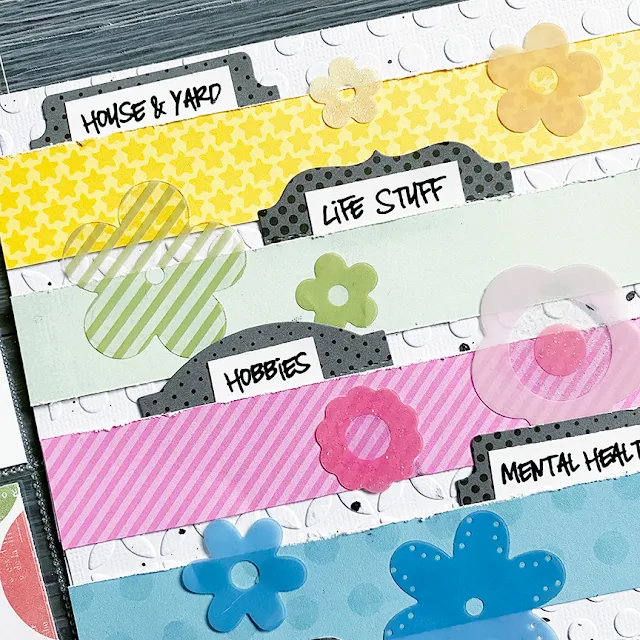
For this 6x8" spread (half pocket page, half full sized page), I wanted to focus on the Notebook Tab dies. I had a 3"x4" filler card that reads "my brain has too many tabs open", and I knew it was perfect for this project. This is a photo-less scrapbook page, which I do often. I'm all about documenting stories, whether I have specific photos for those stories or not.
I used the Moroccan Circles embossing folder and Lots Of Dots embossing folder to emboss strips of white cardstock and covered my 6"x8" page with them. I then cut strips of patterned papers (using my dotted patterned paper on the first page to pull my colors from) and layered them over the embossed strips, mimicing the look of file folders stacked up.
For this 6x8" spread, I used the Staggered Circle dies to create two borders for the top and bottom of the left side of the spread. I adhered those pieces on a sheet of patterned paper, so that the fun teal pattern would show through the cut out circles.
I used the Ribbon & Lace Border dies to die-cut several border strips - two for the first page of the spread, to go above and below my journaling and title card, and one for the second page of the spread to go alongside my photo.
I used the Notebook Tab dies to die cut a notebook page from yellow patterned paper, adding my journaling block to the center. I work with 3"x4" filler cards and journaling cards in the majority of my scrapbooking these days, so these notebook page dies fit perfectly into my design process.
(Ribbon & Lace Border Dies, Notebook Tab Dies, Staggered Circle Dies, Dots & Stripes Jewel Tones Paper)
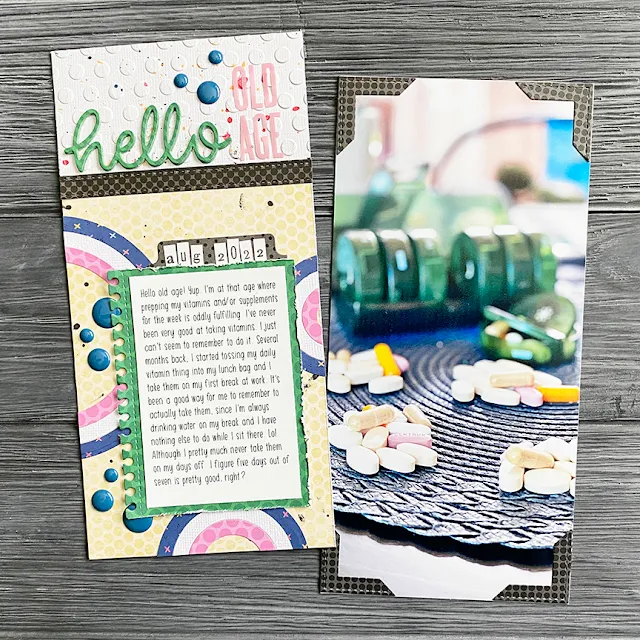
For this travelors notebook sized spread (pages are 4"x8.25"), I started by using the Sunny Semi-Circle dies on several different patterned papers, as well as white cardstock. My original plan for these pieces didn't work like I had hoped, so I played around with a few other options and was happy with their final placement.
I die cut the Hello Word die multiple times from green patterned paper and layered them together to create a thicker "hello" word, adding some pink alpha stickers to complete my title. I used the Lots of Dots embossing folder on white cardstock to add texture to the piece behind my title. I'm a huge fan of using white cardstock in my projects and always love to add texture and interest using embossing folders, as well as light ink splatters.
I used the Notebook Tab dies on green patterned paper (coordinates with the paper I used for my title) to create a notebook page to hold my journaling block and added a die-cut tab along the top, which holds the date. I also used the Notebook Photo Corner dies to add photo corners to the full photo that makes up the second page of the spread.
(Sunny Semi-Circle Dies, Hello Word Die, Notebook Photo Corner Dies, Notebook Tabs Dies, Ribbon & Lace Border
Dies, Dots & Stripes Jewel Tones Paper, Polka-dot Parade Paper, Heroic Halftones Paper, Lots Of Dots Embossing)
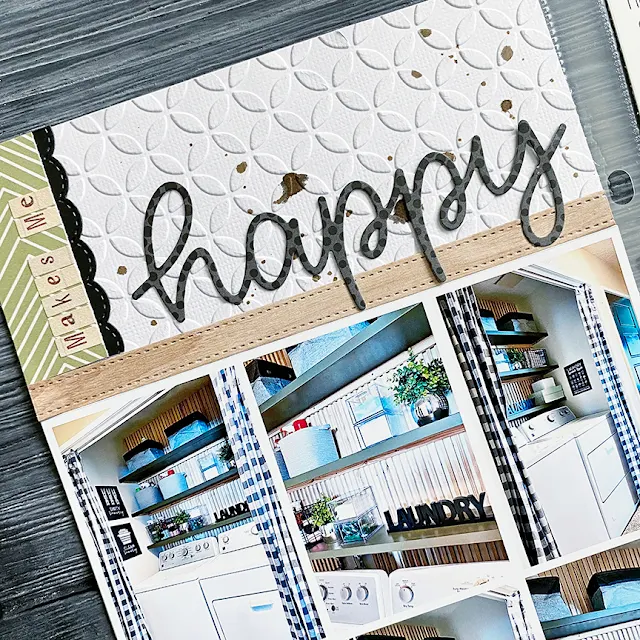
For this 6"x12" spread (half full sized page, and half pocket page), I started by printing a 6"x6" photo collage for the first page, building around it with patterned papers and white cardstock. I used the Ribbon & Lace Border dies to add small strips between my collage and the papers. I like very clean and linear designs, so I feel like adding those small strips helps define each "section" and creates a sort of block design that I love.
I used the Moroccan Circles embossing folder to add texture to the white cardstock at the top of the first page, using the Happy Word die to create the main part of my title (I added alphabet stickers to complete the title).
I die cut the inside piece of the middle Fancy Frame Squares Dies, cutting them from white cardstock and adhering them onto 3"x3" pieces of patterned paper.
(Ribbon & Lace Border Dies, Happy Word Die, Fancy Frame Squares Dies, Heroic Halftones Paper, Moroccan Circles Embossing)
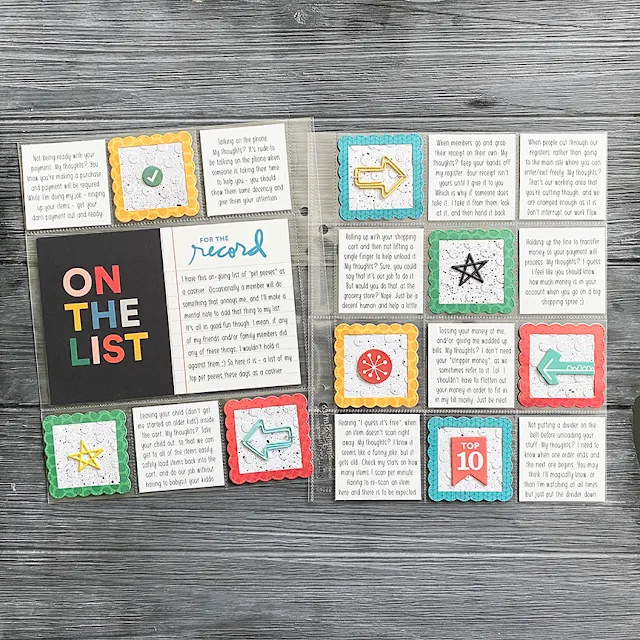
For this 6x8" pocket page spread, I picked out two pocket page dividers that have lots of tiny 2"x2" pockets. The smallest die in the Fancy Frame Squares dies fits perfectly in the 2"x2" pocket, which I just love.
I picked out a handful of patterned papers to coordinate with the colors in my 3"x4" title card, and die cut lots of tiny scalloped frames. I used the Lots of Dots embossing folder to emboss square of white cardstock to add behind each frame, and then added random embellishments to the centers of each.
This is another photo-less layout, which I'm a huge fan of. But it includes lots of journaling and random facts about my life, which I think will be fun to look back on.
(Fancy Frame Square Dies, Heroic Halftones Paper, Dots & Stripes Jewel Tones Paper, Sweater Weather Paper, Lots Of Dots Embossing)
Thanks so much for hanging out with me today! I hope this has given you a new way to look at your dies that may be geared towards card making, but can be used for scrapbooking projects as well!
Sunny Studio Supplies Used:
 Sunny Semi Circles Dies Shop at: Sunny Studio |
 Fancy Frames-Square Dies Shop at: Sunny Studio |
 Hello Word Die Shop at: Sunny Studio |
 Classic Gingham 6x6 Paper Shop at: Sunny Studio |
 Striped Silly 6x6 Paper Shop at: Sunny Studio |
 Polka-dot Parade 6x6 Paper Shop at: Sunny Studio |
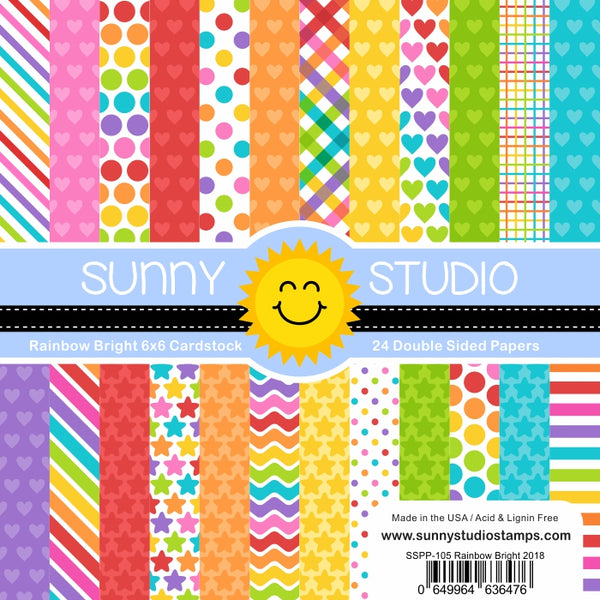 Rainbow Bright 6x6 Paper Shop at: Sunny Studio |
 Amazing Argyle 6x6 Paper Shop at: Sunny Studio |
 Dots & Stripes Jewel Tones 6x6 Paper Shop at: Sunny Studio | |
 Happy Word Die Shop at: Sunny Studio |
 Staggered Circles Die Shop at: Sunny Studio |
 Heroic Halftones 6x6 Paper Shop at: Sunny Studio |
 Lots of Dots Embossing Shop at: Sunny Studio | |
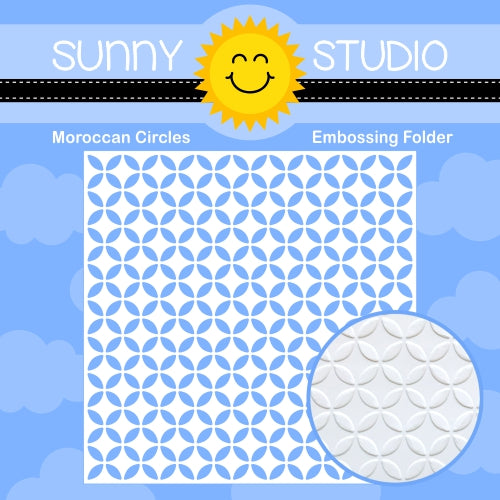 Moroccan Circles Embossing Shop at: Sunny Studio |
 Sweater Weather Paper Shop at: Sunny Studio |
 Ribbon & Lace Dies Shop at: Sunny Studio |
 Notebook Photo Corners Dies Shop at: Sunny Studio | |
 Notebook Tabs Dies Shop at: Sunny Studio |


