Showing posts with label Fancy Frames. Show all posts

Monday, August 4, 2025

Baby Elephants Card Set with Mendi

Hello and welcome! This is Mendi here today, popping in to share some ice cream-themed cards for Summer using our Baby Elephant Stamps.

Sunny Studio Stamps Baby & Encouragement Card Set Featuring Baby Elephants Clear Craft Stamps

For my first card today I have a stars and moon baby-themed card using the Baby Elephant Stamps. I started by die-cutting a stitched scalloped frame using our Fancy Frames Rectangle Dies and then layered it with a Stitched Rectangle Die cut from a deep blue patterned paper from our Gingham Jewel Tones Paper pack. For my greeting, I used white embossing powder to emboss the sentiment "I Love You to the Moon and Back" from our Lovey Dovey Stamps. I then arranged my sleeping elephant cradled in the moon with the polka-dot clouds and star balloons stamped with the optional happy faces.

Sunny Studio Clouds & Stars Baby Card (using Baby Elephants & Lovey Dovey Stamps, Fancy Frames Rectangle & Stitched Rectangle Dies)

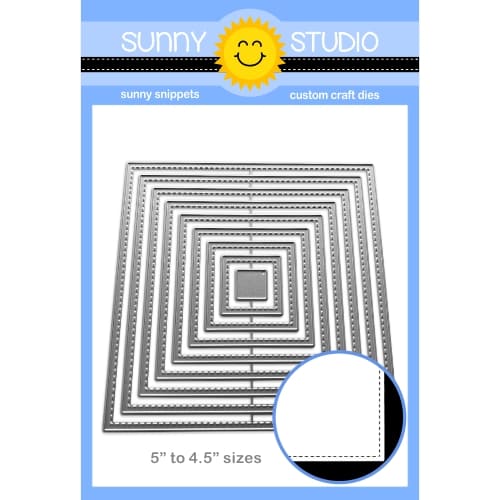
For my second card featuring the Baby Elephant Stamps today, I have an encouragement card pairing the elephants with the umbrella from the set. I stamped six of them, colored in solid pastel colors, before adding small white polka-dots with a white gel pen. For my card base, I die-cut the largest 4.5" Stitched Square Die and then matted it with a 5" lavender polka-dot print from our Spring Fever Paper pack. I stamped the greeting "You are my sunshine on a cloudy day" from our Sunny Sentiments Stamps in the top, center and then scattered the umbrellas around it like they had been picked up in a gust of wind. I also sprinkled 5 pale pink hearts cut from white cardstock and colored with Copic markers to fill in some empty spaces from our Basic Mini Shape 2 Dies.

Sunny Studio Umbrellas & Sunshine Encouragement Card (using Baby Elephants & Sunny Sentiments Stamps, and Stitched Square Dies)

That wraps up my projects for this morning. I hope I've inspired you in your own cardmaking and that you spread a little happiness by sending out a card to a loved one today.💛

Don't forget to check out our patterned paper packs in our online shop, many of which are currently on sale for 25% off!

Supplies Used:

Sunny Sentiments Dies
Shop at:
Sunny Studio
Sunny Sentiments Stamps
Shop at:
Sunny Studio
Stitched Rectangle Dies
Shop at:
Sunny Studio
Versafine Onyx Black Ink
Shop at:
Sunny Studio
Fancy Frames- Rectangles
Shop at:
Sunny Studio
Gingham Jewel Tones 6x6 Paper
Shop at:
Sunny Studio
Basic Mini Shape Dies 2
Shop at:
Sunny Studio
Lovey Dovey Stamps
Lovey Dovey Stamps
Shop at:
Sunny Studio
Lovey Dovey Dies
Lovey Dovey Dies
Shop at:
Sunny Studio
Baby Elephants Stamps
Shop at:
Sunny Studio
Baby Elephants Dies
Baby Elephants Dies
Shop at:
Sunny Studio
Spring Fever Paper
Spring Fever Paper
Shop at:
Sunny Studio
Stitched Square Dies
Shop at:
Sunny Studio
Hero Arts White Detail
Shop at:
Sunny Studio
Memento Tuxedo Black Ink Pad
Shop at:
Sunny Studio
VersaMark Watermark Ink
Shop at:
Sunny Studio

Tuesday, April 9, 2024

Designer's Choice: Captivating Cameliias Card with Isha

Hello everyone! Isha here with a floral card as this week is designer's choice as the theme. I decided to use various products and create this card.

Sunny Studio Stamps: Captivating Cameliias Thank You Card by Isha Gupta (featuring Frilly Frame Dies, Fancy Frame Dies, Big Bold Greetings, Spring Greenery)

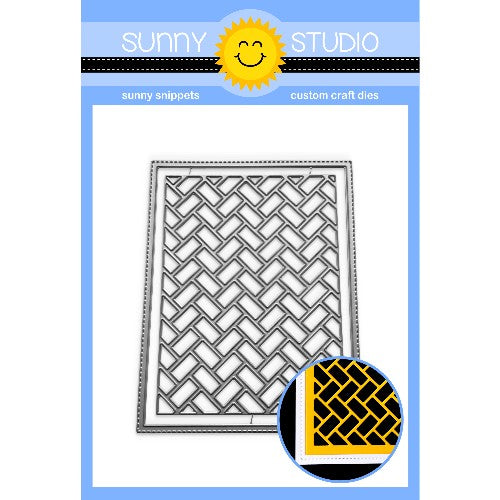
To start, I took a white cardbase. Sponged some picked raspberry and wilted violet distress ink towards the right. I then die-cut a piece of white card with Frilly Frame Herringbone die. I then die-cut another piece using Fancy Frames Rectangle die and adhere the inside frame to the white herringbone piece. Adhere this to the cardbase using 3d foam.

Sunny Studio Stamps: Captivating Cameliias Thank You Card by Isha Gupta (featuring Frilly Frame Dies, Fancy Frame Dies, Big Bold Greetings, Spring Greenery)

Stamp the sentiment from the Big Bold Greetings, die-cut using the coordinating dies. Stamp the layering florals using the Captivating Camellias stamp set and die-cut using the coordinating dies. Adhere to the card. Die-cut the leaves from white card using the Spring Greenery dies. Sponge them with cracked pistachio and peacock feathers distress inks. Adhere to the card. To finish, I stamped and embossed butterflies from the Watering Can stamps onto vellum using white embossing powder, die-cut using the coordinating dies and adhere to the card.

Thank you for dropping by and have a nice day!

Sunny Studio Supplies Used:

Fancy Frames- Rectangles
Shop at:
Sunny Studio
Frilly Frames Herringbone
Shop at:
Sunny Studio
Captivating Camellias Stamps
Shop at:
Sunny Studio
Captivating Camellias Dies
Shop at:
Sunny Studio
Spring Greenery Dies
Shop at:
Sunny Studio
Watering Can Stamps
Watering Can Stamps
Shop at:
Sunny Studio
Watering Can Dies
Watering Can Dies
Shop at:
Sunny Studio
Big Bold Greetings Stamps
Shop at:
Sunny Studio
Big Bold Greetings Dies
Shop at:
Sunny Studio

Sunday, February 25, 2024

Spring Garden Die Focused Card with Rachel

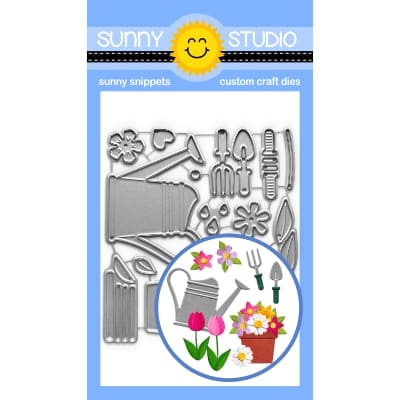
Hello crafty friends! It's Rachel here with a clean and simple card featuring the beautiful Spring Garden Dies. I kept my card super simple by using a single watering can with flowers as my focus. 

Sunny Studio Stamps: Spring Garden Die Focused Card by Rachel Alvarado (featuring Fancy Frame Dies)

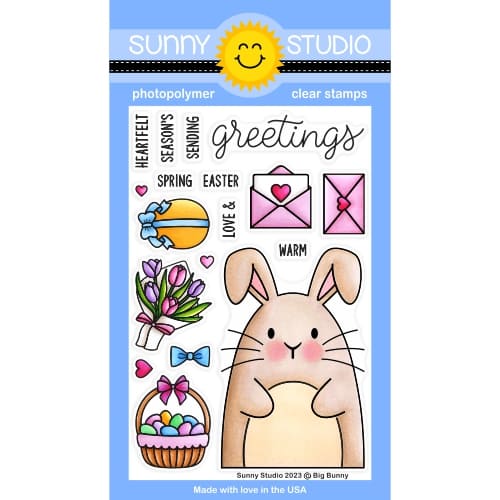
To start my card, I first created my A2 sized card base from a piece of white card stock. I then layered it with a 4" x 5.25" piece of blue floral patterned paper from the Spring Fling Paper Pad. Next, I stamped my large sentiment from the Big Bunny Stamp Set with some Memento Tuxedo Black Ink.

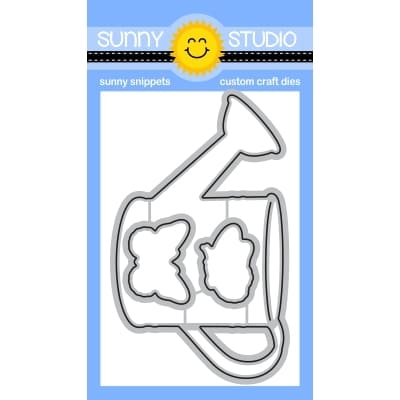
To create my focal point, I then added a scalloped circle to the top center portion of my card that I had die cut from a piece of white card stock using the second largest of the Fancy Frames Circle Dies. Lastly, I die cut the pieces for my watering can and added some dimension to the blue base of the can with some Pinkfresh Storm Ink

Sunny Studio Stamps: Spring Garden Die Focused Card by Rachel Alvarado (featuring Fancy Frame Dies)

I then used a variety of colored card stock to die cut the rest of my pieces and adhered all of it to my card base with some 3D foam adhesive squares to give my die cuts a pop of dimension. Lastly, I added some white accents using a size 10 white Gelly Roll pen.

Thanks so much for taking the time to stop by! I hope you enjoyed my card today! If you want more card making inspiration, feel free to check out my Instagram feed.

Sunny Studio Supplies Used:

Fancy Frames-Circle Dies
Shop at:
Sunny Studio
Spring Fling Paper
Spring Fling Paper
Shop at:
Sunny Studio
Big Bunny Stamps
Big Bunny Stamps
Shop at:
Sunny Studio
Spring Garden Dies
Spring Garden Dies
Shop at:
Sunny Studio

Sunday, September 17, 2023

Truckloads of Love Holiday Card with Tammy

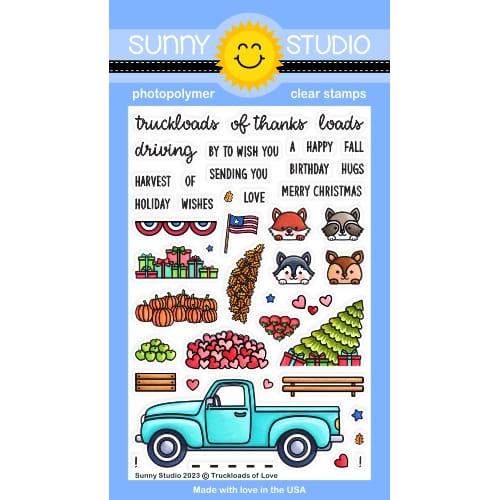
Hi there! Tammy here, sharing a card featuring the adorable set, Truckloads of LoveI love how versatile this set is, allowing you to create for all seasons! I chose to create a Christmas-themed card since they are my favorite to make!

Sunny Studio Christmas Holiday Pick-up Truck Winter Card (using Truckloads of Love & Festive Greetings Stamps, Rustic Winter, Lacy Snowflakes & Fancy Frames Rectangle Dies)

To begin, I stamped the images from Truckloads of Love, colored with Copic markers, and die cut with the Truckloads of Love Dies. Next, I cut a piece of Bristol smooth cardstock to an A2 size and ink-blended it with Broken China and Tumbled Glass Distress Oxide inks. I then splattered some white acrylic paint, thinned with water, onto the background to create a snowy feel. I then white heat embossed the "Season's Greetings" sentiment from the Festive Greetings Stamps.


Next, I die-cut some snowy hills using the Slimline Nature Borders Dies, cutting them to size, inking the tops with Tumbled Glass ink, and attaching them to the bottom of my card. I die-cut some trees from white cardstock using the Rustic Winter Dies, tucking them under the snowy borders. I added a white scalloped frame die cut using the Fancy Frames Rectangle Dies, attaching it with foam tape for dimension. I then white heat embossed the sentiment from Truckloads of Love onto a dark gray sentiment strip and added some white Lacy Snowflakes to complete my card.

Thanks so much for stopping by!

Hugs,
Tammy

Supplies Used:
Lacy Snowflakes Die
Lacy Snowflakes Die
Shop at:
Sunny Studio
Tsukineko Jumbo Dauber
Shop at:
Sunny Studio
Festive Greetings Stamps
Shop at:
Sunny Studio
Fancy Frames- Rectangles
Shop at:
Sunny Studio
Slimline Nature Borders
Shop at:
Sunny Studio
Truckloads of Love Stamps
Shop at:
Sunny Studio
Truckloads of Love Dies
Shop at:
Sunny Studio
Hero Arts White Detail
Shop at:
Sunny Studio
VersaMark Watermark Ink
Shop at:
Sunny Studio

Saturday, August 5, 2023

Guest Designer Spotlight: Cards with Marie Marco

Hello Crafty Friends!! It's Marie back on the blog with two birthday cards featuring the lovely Special Day Stamp. This stamp set features two super adorable layered cake images and number candles perfect for celebrating all the special occasions from birthdays to weddings and everything in between! 

Sunny Studio Stamps: Special Day Wedding Themed Card by Marie Marco

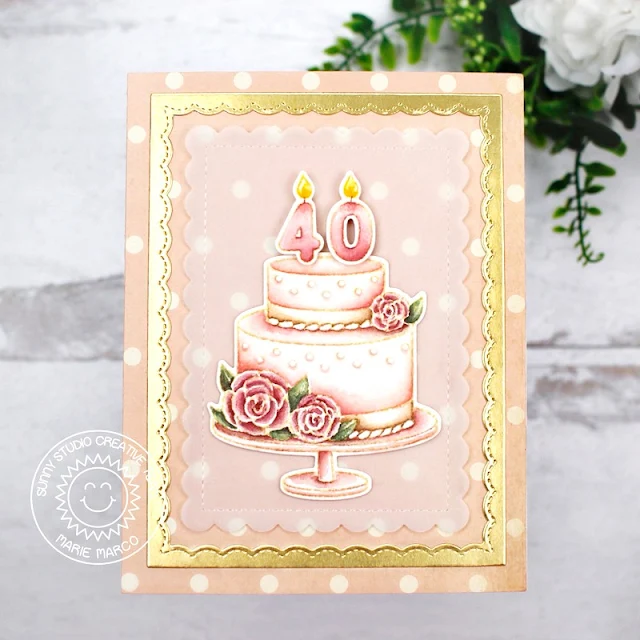
My first card features the gorgeous two tiered floral cake from the set. This design made me want to create a vintage inspired color palette for a friend's 40th birthday. To create this card, I first stamped my images onto watercolor paper using Antique Linen Distress Ink. All my images were colored using Faber- Castell Watercolor pencils. I cut out the images using the corresponding Special Day Dies. To construct my card front, I first die cut an A2 sized base panel from 110 lb Neenah Solar White cardstock paper. I also, cut an A2 sized polka dot pink pattern paper panel which I adhered to the base panel. For a simple elegant touch, I created a gold frame with the Fancy Frames Rectangle Die

I really wanted to keep my pattern paper visible while keeping the birthday cake the focal point so I cut out a scalloped panel from vellum paper using the Mini Mat & Tag 1 Dies. Taking my cake image, I used double sided tape to adhere it to the vellum paper. Before adhering the vellum to the pattern paper, I apply double sided tape adhesive to the back of the vellum hidden behind the cake so no tape adhesive is visible on the translucent vellum. To finish off this card, I applied foam strips to the back of the number candles to create some dimension and adhered it to the top of the cake. Finally, I used some Nuvo Crystal Drops on the decorative dots of the cake to create dimension. 

Sunny Studio Stamps: Special Day Birthday Card by Marie Marco (featuring Birthday Cat, Panda Party)

My second card features both the Special Day Stamp and the Birthday Cat Stamp. The Birthday Cat Stamp set is too cute for words! The adorable cats in this set inspired me to create a fun a playful pop up box card purrfect for my cat loving friend. To start off, I cut out all my box card elements from Bristol Smooth Cardstock and inked all the edges using Kitsch Flamingo Distress Ink. For all the decorative panels and inside panels, I used the double sided Sunny Studio Dots & Stripes Pastels Paper in the beautiful shade of pink. 

Sunny Studio Stamps: Special Day Birthday Card by Marie Marco (featuring Birthday Cat, Panda Party)

After assembling the box card, I stamped all my images onto watercolor paper and colored them with Faber-Castell Watercolor pencils. I also used party banner images from the Panda Party Stamp. I used the corresponding Birthday Cat DiesSpecial Day Dies, as well as the banner dies from Panda Party Dies to cut all my images. I adhered the birthday cake and cats using a strip of cardstock on the backs of all my images so they remain sturdy inside the box. Finally, I stamped my sentiment using VersaFine Onyx Black Ink to the pattern paper and adhered it to the front of the card. I absolutely love how cute this box card turned out that I'm tempted to keep it for myself! 

These two cards were super fun and simple to create! Thank you for stopping by and joining me today! Until next time, Happy Crafting friends!!!

Sunny Studio Supplies Used:

Fancy Frames- Rectangles
Shop at:
Sunny Studio
Dots & Stripes Pastels 6x6 Paper
Shop at:
Sunny Studio
Mini Mat & Tag 1 Dies
Shop at:
Sunny Studio
Panda Party Stamps
Panda Party Stamps
Shop at:
Sunny Studio
Panda Party Dies
Panda Party Dies
Shop at:
Sunny Studio
Birthday Cat Stamps
Birthday Cat Stamps
Shop at:
Sunny Studio
Birthday Cat Dies
Birthday Cat Dies
Shop at:
Sunny Studio
Special Day Stamps
Special Day Stamps
Shop at:
Sunny Studio
Special Day Dies
Special Day Dies
Shop at:
Sunny Studio