Showing posts with label Scalloped Oval Mat. Show all posts

Tuesday, November 25, 2025

Holiday Express & Penguin Party Card with Amanda

Hey crafty friends! It’s Amanda here with you today on the Sunny Studio blog and I’m sharing a sweet little holiday card!

Sunny Studio Stamps: Holiday Express & Penguin Party Holiday Card by Amanda Fitterer (featuring Scalloped Oval Mat Dies, Frosty Flurries)

To create the card base, I trimmed a piece of white cardstock to 5.5”x8.25” and then scored and folded it in half. On the edges of the card base, I lightly swiped Catherine Pooler Clay Mask ink to create a pretty pink border. Next, I trimmed a piece of white cardstock to 4”x5.25”. I glued this panel to the card base.

To create that gorgeous lacy frame, I used the Scalloped Oval Mat 3 Dies. I ran a white cardstock panel through the die cutting machine with the largest oval. Then, I ran the frame through with the Diagonal Cover Die to create the little criss cross pattern. To add color to the oval, I ink blended Catherine Pooler Clay Mask and Polished inks. Using the Frosty Flurries Stamps and the Polished ink, I added some pink snow in the background. Then, I put 3D foam strips behind the oval and attached it to my card.

Sunny Studio Stamps: Holiday Express & Penguin Party Holiday Card by Amanda Fitterer (featuring Scalloped Oval Mat Dies, Frosty Flurries)

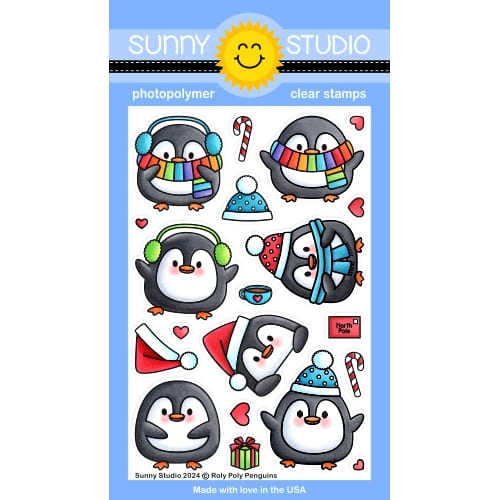
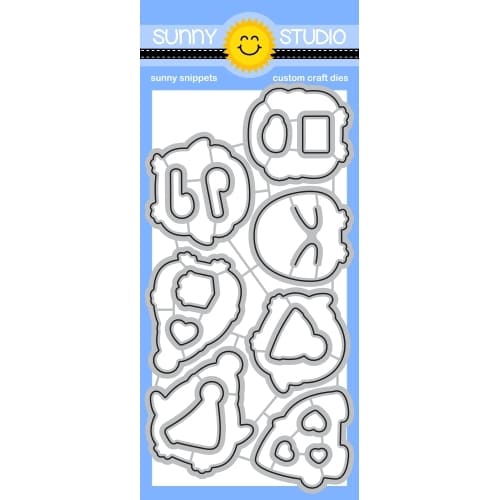
My images are from the Holiday Express and Penguin Party stamps. I stamped all the images with black ink and then colored them in with Copic markers. I added some white highlights and dots with a white Gelly Roll pen. I also added gold accents with a gold Gelly Roll pen. I cut each image out using their coordinating dies. I put 3D foam squares behind all of the images and added them to the front of the card.

To create my sentiment, I stamped the 2 separate stamps onto a piece of black cardstock with my WOW! embossing pad. I applied white embossing powder to the glue and then melted the powder using my heat tool. I used scissors to cut out each sentiment. I applied white foam tape behind them and added them to my card front. The final touch was to add 3 Metallic Gold Confetti pieces with liquid glue to add a little more shine to the card!

I hope you enjoyed this post and don’t forget to come back tomorrow for even more inspiration!

-------------------------------------------

Plus, check out our Black Friday Sale, which is in progress! Save 15% on Sunny Studio branded products, automatically receive a free "Mouse in Mug" enamel pin with orders of $25 or more, and free USA shipping on retail orders of $50 or more using discount code BLACKFRIDAY. These deals run through December 1st at Midnight PST, but some clearance items are in short supply, so shop early for the best selection. 💛

Save 15% on Sunny Studio branded products, receive a free "Mouse in Mug" pin with orders of $25+, and free USA shipping on retail orders of $50+ using discount code BLACKFRIDAY through 12/1/25

*Limit one discount code per order and one free enamel pin per household.

Sunny Studio Supplies Used:

Holiday Express Stamps
Shop at:
Sunny Studio
Holiday Express Dies
Shop at:
Sunny Studio
Frosty Flurries Stamps
Shop at:
Sunny Studio
Scalloped Oval Mat 3 Dies
Shop at:
Sunny Studio
Penguin Party Stamps
Shop at:
Sunny Studio
Penguin Party Dies
Penguin Party Dies
Shop at:
Sunny Studio

Saturday, November 22, 2025

Deck the Hall Holiday Ornament Cards with Mendi

Hello and welcome! This is Mendi here today, popping in to share some Christmas cards featuring our Deck the Halls Stamps.

Sunny Studio Christmas Character Ornaments Holiday Cards by Mendi using Deck the Hall Clear Stamps & Metal Cutting Craft Dies

For my first card today, I started by cutting an A2-sized panel using the snowflake patterned paper from the Joyful Holidays Paper pack. I layered a Scalloped Oval Mat 1 Die cut from red cardstock with a Scalloped Oval Mat 2 Die over the top, cut from white cardstock. I then attached a garland across my card, created with Tim Holtz "Pine Twine" from my stash. I threaded narrow Offray red satin ribbon through each die-cut opening for the snowman, penguin, and polar bear ornaments from the Deck the Halls Stamps, and added some bows over the top with liquid adhesive. Lastly, I heat-embossed a customized greeting using our new Build-a-Greeting Holidays Stamps on the Brilliant Banner 2 Dies, which I had inked to look like a black chalkboard color to match my penguin.

Sunny Studio Snowman, Penguin & Polar Bear Holiday Ornaments Christmas Card using Deck the Hall Clear Stamps & Craft Dies

For my second card using the 
Deck the Halls Stamps, I started by stamping the tree branches from the Classy Christmas Stamps with Versamark ink onto black cardstock, before taking turns sprinkling them with Ranger Leaf Green & Fern Green Embossing Powders. I first stamped and embossed them all in one color, leaving space between them so I could go back and stamp another branch to heat emboss in the alternating color. When I was done, I heat-embossed the greeting from the set with white embossing powder. I also added a scalloped edge along the bottom of my panel using a border from the Slimline Pennant Dies. I then loosely laid out where I wanted my ornaments to go and drew straight lines for the strings using a ruler with a white gel pen before adhering the ornaments with liquid adhesive. Lastly, using a print from the All is Bright Paper pack, I added a candy cane striped patterned paper to contrast with the scalloped edge at the bottom of my card.

Sunny Studio Santa Claus, Reindeer & Elf Holiday Ornaments Christmas Card using Deck the Hall Clear Stamps & Metal Craft Dies

That wraps up my projects for today. Thanks so much for hanging out with me. I hope I've inspired you to spread a little happiness by sending out a card to someone you love. ðŸ’›

Don't forget to check out the Classy Christmas Stamps, Slimline Pennant Dies, and Joyful Holiday Paper in our online shop, which are all currently on sale!

Also, please check out all the card ideas using these sets on each of their product pages. I always make sure to upload tons of card ideas following the product image, so there are lots of ideas to scroll through, organized by set.

Supplies Used: 

Deck The Halls Stamps
Shop at:
Sunny Studio
Deck The Halls Dies
Deck The Halls Dies
Shop at:
Sunny Studio
Classy Christmas Stamps
Shop at:
Sunny Studio
Classy Christmas Dies
Shop at:
Sunny Studio
Slimline Pennant Dies
Shop at:
Sunny Studio
Scalloped Oval Mat 1 Dies
Shop at:
Sunny Studio
Scalloped Oval Mat 2 Dies
Shop at:
Sunny Studio
Brilliant Banner 2 Dies
Shop at:
Sunny Studio
All Is Bright Paper
All Is Bright Paper
Shop at:
Sunny Studio
Joyful Holiday Paper
Shop at:
Sunny Studio
Build-a-Greeting Holidays
Shop at:
Sunny Studio
Zig Chisel Tip Glue Pen
Shop at:
Sunny Studio
Hero Arts White Detail
Shop at:
Sunny Studio
VersaMark Watermark Ink
Shop at:
Sunny Studio

Wednesday, October 22, 2025

Alpaca Holiday Card with Tina

Hello crafters, it’s Tina and I have another cute holiday card for you! This time we are creating an oval design with the sweet images from the Alpaca Holiday stamp and die set.

Sunny Studio Stamps: Alpaca Holiday Winter Themed Card by Tina Henkens (featuring Stitched Oval Dies, Scalloped Oval Mat Dies, Brilliant Banner Dies, Inside Greetings)

To create an oval shaped card base from white card stock, I folded the paper in two and used the largest die from Stitched Ovals. You just have to make sure to place the die higher than the fold line from the card stock, that way it will not cut through.

I wanted to have a fun frame for my scene, so I opted for the largest of the Scalloped Oval Mat 1 dies combined with a smaller die from the Stitched Ovals. These sets work great together. My paper was a sheet of teal from the Polka-dot Parade pack. To give this frame a more distressed look I went in with a blending brush and Salvaged Patina Distress Oxide.

To build the scene I needed three more pieces of white card stock in an oval shape (Stitched Ovals), two for the snow banks and one for my sky (also inked with Salvaged Patina and sprinkled with splatters of white paint to mimic the snow).

Sunny Studio Stamps: Alpaca Holiday Winter Themed Card by Tina Henkens (featuring Stitched Oval Dies, Scalloped Oval Mat Dies, Brilliant Banner Dies, Inside Greetings)

From the Alpaca Holiday stamp, I selected three cuties and the mountain range (twice). I colored my images in pink, brown and teal Copics colors. Then it was time to build the scene layer by layer, starting with the sky and adding the two snow banks (cut with a die from my stash). Next, I added the two mountain ranges tucked in behind the snow. I used the second piece to strategically place the hills, doing some cutting with my scissors were needed. Then, I could add the frame and the sweet alpacas.

For oval designs, I love to work with a banner (Brilliant Banners 2), because it has that perfect rounded shape. My sentiment was taken from the Inside Greetings Holiday set and stamped in a pink ink from my stash. As embellishments, I glued three small snowflakes (Snowflake Circle Frame die) across the sky, adorning each of them with an Iridescent JewelFor this winter scene, I added lots of snowy dots with my white gel pen! 

I hope you got inspired by these cute alpacas for your holiday cards! Thank you for joining me and happy crafting!

Sunny Studio Supplies Used:

Polka-dot Parade 6x6 Paper
Shop at:
Sunny Studio
Alpaca Holiday Stamps
Shop at:
Sunny Studio
Alpaca Holiday Dies
Alpaca Holiday Dies
Shop at:
Sunny Studio
Stitched Oval Dies
Stitched Oval Dies
Shop at:
Sunny Studio
Snowflake Circle Frame
Shop at:
Sunny Studio
Inside Greetings-Holidays
Shop at:
Sunny Studio
Scalloped Oval Mat 1 Dies
Shop at:
Sunny Studio
Brilliant Banner 2 Dies
Shop at:
Sunny Studio

Saturday, October 11, 2025

Classy Christmas Poinsettia & Holly Cards with Mendi

Hello and welcome! This is Mendi here today, popping in to share some Christmas cards featuring our Classy Christmas Stamps.

Sunny Studio Poinsettia & Holly Holiday Cards using Classy Christmas Stamps, Craft Dies & Quilted Hearts Embossing Folder

First, I made a card focusing on the holly leaves and berry images from the Classy Christmas Stamps. I arranged the holly groupings around a navy Scalloped Oval Mat 1 Die, which I then mounted onto a white Stitched Oval 2 Die. For my background, I embossed a piece of red cardstock using the Quilted Hearts Embossing Folder and inked the edges with Candied Apple and Fired Brick Distress Ink. I completed my card by heat-embossing the "Have a holly jolly Christmas" greeting from the Deck The Halls Stamps to tie my theme together.

Sunny Studio Red & Navy Holly Scalloped Oval Holiday Card using Classy Christmas Stamps & Quilted Hearts Embossing Folder

For my second card, I die-cut a navy scalloped mat using the Frilly Frames Eyelet Lace Dies and backed the lace openings with black cardstock before mounting it onto a green A2-sized panel. I then embellished my card with the poinsettias, leaves, pinecones, and berries from the Classy Christmas Stamps, which I had colored with Copic Markers. Lastly, I white heat-embossed my "Merry Christmas" phrase from the Holiday Greetings Stamps onto a piece of navy cardstock and die-cut it using the coordinating Holiday Greetings Dies to help it blend into my background.

Sunny Studio Poinsettia Navy Scalloped Holiday Card using Classy Christmas Clear Stamps & Frilly Frames Eyelet Lace Craft Die Sunny Studio Poinsettia Navy Scalloped Holiday Card using Classy Christmas Clear Stamps & Frilly Frames Eyelet Lace Craft Die

That wraps up my projects for today. Thanks so much for hanging out with me. I hope I've inspired you to spread a little happiness by sending out a card to someone you love. ðŸ’›

Don't forget to check out the Classy Christmas Stamps and Classy Christmas Dies in our online shop, which are currently on sale!

Also, please check out all the card ideas using these sets on each of their product pages. I always upload tons of card ideas following the product image, so there are lots of ideas to scroll through, organized by set.

Supplies Used: 

Deck The Halls Stamps
Shop at:
Sunny Studio
Frilly Frames-Eyelet Lace
Shop at:
Sunny Studio
Classy Christmas Stamps
Shop at:
Sunny Studio
Classy Christmas Dies
Shop at:
Sunny Studio
Scalloped Oval Mat 1 Dies
Shop at:
Sunny Studio
Stitched Oval 2 Dies
Shop at:
Sunny Studio
Holiday Greetings Stamps
Shop at:
Sunny Studio
Holiday Greetings Dies
Shop at:
Sunny Studio
Quilted Hearts Embossing
Shop at:
Sunny Studio
PinkFresh Studio Blending Brushes
Shop at:
Sunny Studio
Hero Arts White Detail
Shop at:
Sunny Studio
VersaMark Watermark Ink
Shop at:
Sunny Studio