Showing posts with label Layered Basket. Show all posts

Friday, October 10, 2025

Holiday Style Jingle Bell Christmas Cards with Mendi

Hello and welcome! This is Mendi here today, popping in to share some cute and colorful holiday cards using our Holiday Style Stamps.

Sunny Studio Jingle Bell & Ornament Christmas Cards using Holiday Style Clear Stamps & Buffalo Plaid Diagonal Metal Craft Die

It's been years since I've had the chance to revisit our Holiday Style Stamps, and I fell in love with them all over again. For my first card, I played with the classic glass ball ornament, consisting of only two simple layers, which I inked up in a pastel color palette. It's always fun mixing in non-traditional Christmas colors, and I turned to patterned papers from the Spring Sunburst Paper and Dots & Stripes Pastels Paper packs to tie in with the ornaments. I cut the "ribbon" border using the Ribbon & Lace Border Dies and the scalloped edge with the Slimline Pennant Dies. Lastly, I heat embossed my greeting using a sentiment from the Holiday Style set.

Sunny Studio Christmas Ornament Card using Holiday Style Clear Layering Stamps, Ribbon & Lace Border, & Slimline Pennant Dies

For my next card set, I used the fabulous bell and bow images from the Holiday Style Stamps. I went clean and simple, turning to the two tree bough images from the Classy Christmas Stamps to repeatedly stamp and heat-emboss along the top and bottom of my two card fronts. I used my MISTI tool to stamp them assembly line style by rotating the panels 180 degrees and stamping again while the images were set up. I strung Silver Embroidery thread by DMC through the openings I had punched with a 1/8" hole punch and taped to the back of the bells and card panels before adhering them to my card base. I then stamped the greeting from the Holiday Style Stamps using VersaFine Onyx Black Ink and sprinkled them with Clear Embossing Powder to make them shine.


Sunny Studio Jingle Bells & Bows Magical Christmas Card using Holiday Style & Classy Christmas Clear Stamps & Metal Craft Die

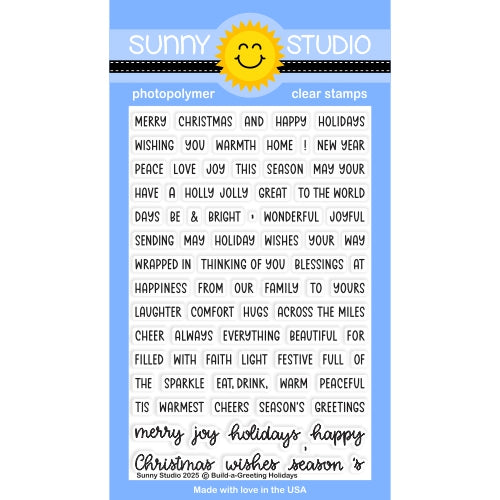
For my last card using the Holiday Style Stamps, I thought it would be fun to experiment with stamping gold jingle bells. After trying several different ink combinations, I found a mix I really like using inks from three different companies (linked below). I created a festive arrangement by stacking several bells in a basket using our Layered Basket Stamps, filling in around the basket with the tree bough image from the Holiday Style set. I had this leftover red gingham piece from another window card that I decided to hold onto, and it added just the right splash of red and holiday feel I was looking for. It was created using the Buffalo Plaid Diagonal Dies, inked up with the coordinating Diagonal & Straight Stripes Stencils, and trimmed down with a stitched edge using the Rounded Rectangle Mat Dies. I completed my card by heat embossing a custom-made sentiment with our new Build-a-Greeting Holidays Stamps, which I heat embossed onto the red pennant strip cut using the Notebook Photo Corner Dies.

Sunny Studio Jingle Bells Christmas Card using Holiday Style & Layered Basket Clear Layering Stamps & Buffalo Plaid Craft Die

I am frequently asked which ink colors I used for my layered images, so I have shared what I used today for these examples (from lightest to darkest).

Silver Bells
Hero Arts Soft Granite
Hero Arts Charcoal
Versafine Onyx Black

Gold Bells
Gina K. Kraft
Concord & 9th Wheat
Hero Arts Cup O' Joe

Basket
Hero Arts Soft Sand
Gina K. Sandy Beach
Memories Sand
Gina K. Kraft

Pink Ornament
Gina K. Bubblegum Pink
Hero Arts Ultra Pink

Hot Pink Ornament
Hero Arts Ultra Pink
Gina K. Medium Orchid

Lilac Ornament
PinkFresh Studio Soft Lilac
Gina K. Light Orchid

Blue Ornament
VersaFine Claire Arctic
Hero Arts Cornflower

Aqua Ornament
Gina K. Ocean Mist
GIna K. Sea Glass

That wraps up my projects for today. Thanks so much for hanging out with me. I hope I've inspired you to spread a little happiness by sending out a card to someone you love. ðŸ’›

Don't forget to check out the Holiday Style DiesClassy Christmas Stamps, and Layered Basket Stamps in our online shop, which are all currently on sale.

Supplies Used:

Holiday Style Dies
Holiday Style Dies
Shop at:
Sunny Studio
Holiday Style Stamps
Shop at:
Sunny Studio
Spring Sunburst 6x6 Paper
Shop at:
Sunny Studio
Dots & Stripes Pastels 6x6 Paper
Shop at:
Sunny Studio
Classy Christmas Stamps
Shop at:
Sunny Studio
Classy Christmas Dies
Shop at:
Sunny Studio
Layered Basket Stamps
Shop at:
Sunny Studio
Layered Basket Dies
Layered Basket Dies
Shop at:
Sunny Studio
Slimline Pennant Dies
Shop at:
Sunny Studio
Ribbon & Lace Dies
Ribbon & Lace Dies
Shop at:
Sunny Studio
Buffalo Plaid Diagonal Die
Shop at:
Sunny Studio
Diagonal & Straight Stripes Stencils
Shop at:
Sunny Studio
Notebook Photo Corners Dies
Shop at:
Sunny Studio
Rounded Rectangle Mat Dies
Shop at:
Sunny Studio
Build-a-Greeting Holiday
Shop at:
Sunny Studio
PinkFresh Over The Hills Ink
Shop at:
Sunny Studio
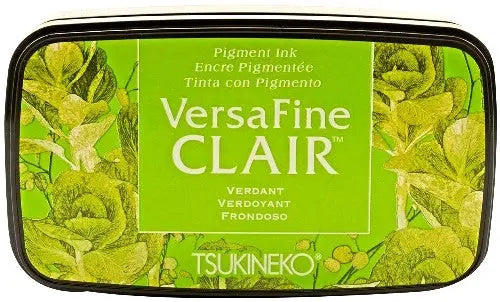
Versafine Clair Ink- Verdant
Shop at:
Sunny Studio
Versafine Onyx Black Ink
Shop at:
Sunny Studio
Hero Arts White Detail
Shop at:
Sunny Studio
VersaMark Watermark Ink
Shop at:
Sunny Studio

Friday, May 30, 2025

Berry Bliss & Slice of Summer Fruit Cards with Mendi

Hello and welcome! This is Mendi here today, popping in to share some fruit-themed cards for Summer using our fabulous Berry Bliss Stamps and Slice of Summer Stamps.

Sunny Studio Citrus, Strawberry, Watermelon, & Cherries Fruit Cards using Slice of Summer & Berry Bliss Clear Layering Stamps

First, I have a card using the layered citrus slice from our Slice of Summer Stamps, which I stamped to look like lemon, lime, grapefruit, and orange slices. I then die-cut a stitched circle using our Stitched Circle Small Dies, where I lightly drew 12 spokes on the back with my pencil and clear ruler like I was slicing a pizza or adding clock tick marks to give me a way to evenly space my fruit slices. Then, on the back of each slice, I drew a pencil through the center at the halfway mark to give me another point to line up each slice. I then arranged each slice, having them overlap the outside edge of my white cardstock circle by 1/2". I used liquid adhesive for this task to have a little wiggle room to adjust them before they dried as I quickly worked around the circle. As I was starting this project, I was nervous about my ability to make it look symmetrical. However, the easy measurement tricks I described worked, and I assembled this summer "wreath" rather quickly. 

I then used our Scalloped Square 1 Large Dies to die-cut the striped paper to match the fruit from our Summer Splash Paper pack. After it was die-cut, I carefully used my paper trimmer to trim off the four scalloped edges and leave a small border around the stitching. This gave me the perfect stitched square to layer over the same scalloped square cut from white cardstock for my card base. I cut a second white scalloped square to score along the top and to adhere to the backside of my card front to form my notecard. Lastly, I stamped the greeting from the Slice of Summer Stamps, substituting the word "slice" from our Hayley 
Uppercase Alphabet Dies and Hayley Lowercase Alphabet Dies.

Sunny Studio Citrus Slice of Happiness Wreath Card using Slice of Summer Clear Layering Craft Stamps & Scalloped Square Dies

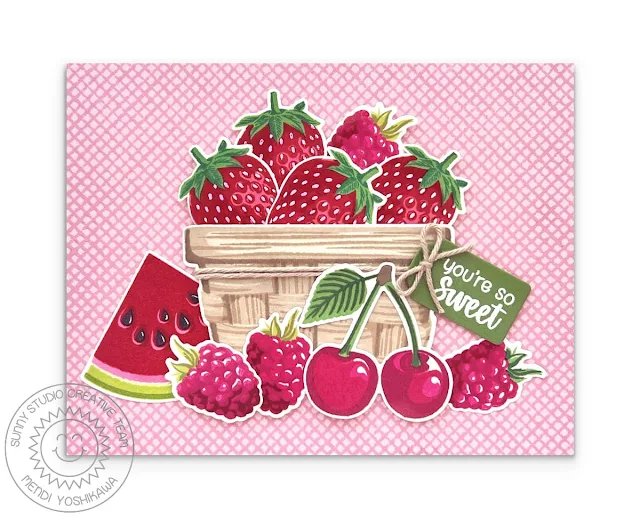
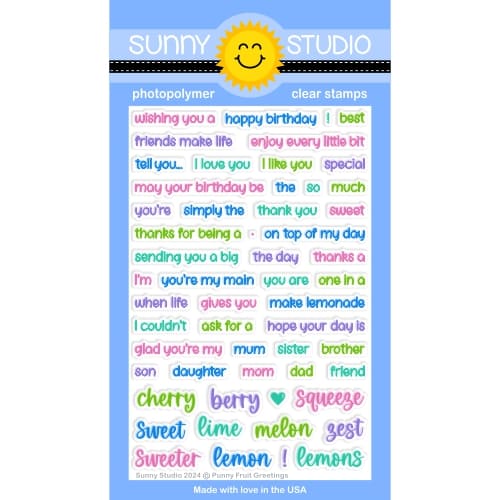
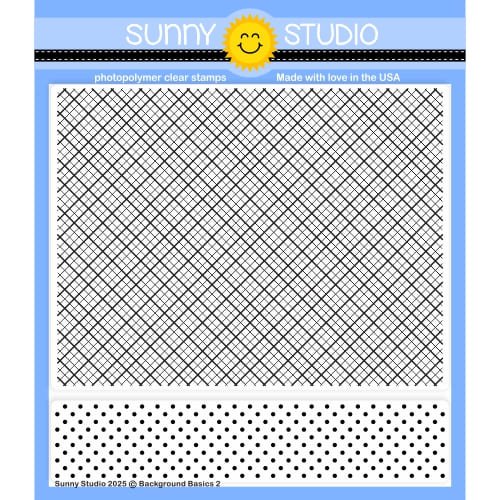
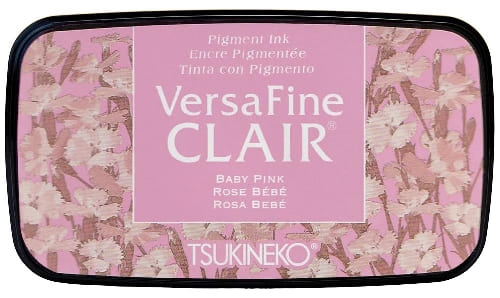
My second card pairs the watermelon from the Slice of Summer Stamps with the strawberries, raspberries, and cherries from our Berry Bliss Stamps. I arranged them in and around our Layered Basket Stamps, wrapping twine around the basket and popping it up with foam tape to help it lie flat with the thickness of the twine. I stamped and heat-embossed the greeting "You're so sweet" from our Punny Fruit Greetings Stamps onto a small tag cut with our Sweet Treats Gift Bag Die, which I topped with a twine bow. I also stamped a subtle pink diagonal grid pattern using our Background Basics 2 Stamps with VersaFine Clair Baby Pink Ink to add some interest to my background.

Sunny Studio Fruit Card using Berry Bliss, Slice of Summer, Layered Basket, & Background Basics 2 Clear Layering Stamps

I am frequently asked which ink colors I used for my layered images. Some of these images were previously stamped using now-retired Colorbox inks; however, I spent considerable time trying to find the closest matches to share them here with you (from lightest to darkest).

Strawberries 
Concord & 9th Honeysuckle
Gina K. Red Velvet
Concord & 9th Cranberry
Gina K. Lucky Clover
PinkFresh Evergreen

Raspberries
Gina K Medium Carnation
Gina K Dark Carnation

PinkFresh Candy Apple
Gina K Cherry Red

Cherries
Gina K Medium Carnation
Gina K Dark Carnation

Gina K Cherry Red

Watermelon
Gina K Medium Carnation
PinkFresh Candy Apple
Gina K Cherry Red
Altenew Limeade
VersaMark Verdant
Gina K Lucky Clover

Layered Basket 
Hero Arts Soft Sand
Gina K. Sandy Beach
Memories Sand
MFT Kraft

Yellow Lemon

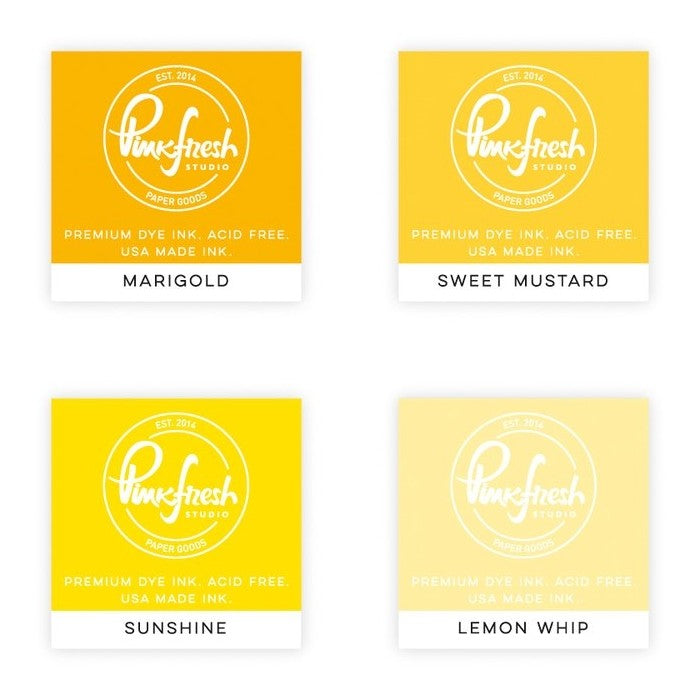
PinkFresh Lemon Whip
Versafine Cheerful

Lime Slice
Altenew Limeade
VersaMark Verdant


Orange Slice
PinkFresh Apricot
Hero Arts Tangerine

Grapefruit Slice

C&9 Ballet Slipper
PinkFresh Coral Reef

or Gina K. Innocent Pink
& Lawn Fawn Bubblegum

That wraps up my projects for this morning. I hope I've inspired you in your own cardmaking and that you spread a little happiness by sending out a card to a loved one today.💛

Don't forget to check out our Slice of Summer Stamps and Layered Basket Stamps in our online shop, which are all currently on sale!

Also, please check out all the card ideas using these sets on each of their product pages. I always make sure to upload tons of card ideas following the product image so there are lots of ideas to scroll through there organized by set.

Supplies Used:

Berry Bliss Stamps
Berry Bliss Stamps
Shop at:
Sunny Studio
Berry Bliss Dies
Berry Bliss Dies
Shop at:
Sunny Studio
Slice of Summer Stamps
Shop at:
Sunny Studio
Slice of Summer Dies
Shop at:
Sunny Studio
Summer Splash 6x6 Paper
Shop at:
Sunny Studio
Sweet Treats Gift Bag
Shop at:
Sunny Studio
Layered Basket Stamps
Shop at:
Sunny Studio
Layered Basket Dies
Layered Basket Dies
Shop at:
Sunny Studio
Hayley Lowercase Alphabet Dies
Shop at:
Sunny Studio
Hayley Uppercase Alphabet Dies
Shop at:
Sunny Studio
Punny Fruit Greetings
Shop at:
Sunny Studio
Scalloped Square 1 Large Die
Shop at:
Sunny Studio
Background Basics 2 Stamps
Shop at:
Sunny Studio
Hero Arts White Detail
Shop at:
Sunny Studio
Versafine Clair Ink- Baby Pink
Shop at:
Sunny Studio
PinkFresh Rise & Shine Ink
Shop at:
Sunny Studio
Stitched Circle Small Dies
Shop at:
Sunny Studio
VersaMark Watermark Ink
Shop at:
Sunny Studio
Versafine Clair Ink- Verdant
Shop at:
Sunny Studio

Friday, May 2, 2025

Cheerful Daisies Layered Daisy Cards with Mendi

Hello and welcome! This is Mendi here today, popping in to share some floral cards for Spring using our Cheerful Daisies Stamps and Dies. These have always been a favorite set of mine, so I had so much fun revisiting them for these two clean and simple cards.

Sunny Studio Daisy Birthday & Mother's Day Card using Cheerful Daisies & Layered Basket Clear Stamps & Botanical Backdrop Die

For my first card today featuring the Cheerful Daisies Stamps, I started by stamping a classic white daisy using only the top petal layer of the daisy image, which I stamped with a very pale ink called Barely Beige by Simon Says Stamp. I kept my color scheme yellow and green to match my daisies, filling the background with a yellow polka-dot patterned paper from our Polka-dot Parade Paper pack. I then layered our Botanical Backdrop Die over the top, which I cut from olive green cardstock. 

I cut three extra groupings of leaves by positioning some of my leftover cardstock to run through my machine again with the same die so I could fill in more of my edges with the leafy vines since my two daisies grouped on the bottom were pretty large and obstructed the view of many of the leaves. To add interest, I added some vein details to each leaf with my G07 Copic sketch marker. For my sentiment, I stamped the oversized "Happy Birthday" phrase from our Big Bold Greetings Stamps in Versafine Onyx Black ink. Lastly, I adhered some yellow Citrine Jewels to add a little sparkle and help fill in some visually empty spots.

Sunny Studio Daisy Birthday Card using Cheerful Daisies & Big Bold Greetings Clear Craft Stamps & Botanical Backdrop Die

Ink Color used for White Daisy: 

Ink colors used for Green Leaves:

For my second card today, I inked up all my gerber daisies from our Cheerful Daisies Stamps in various pink hues, pairing them with the woven basket from our Layered Basket Stamps. To embrace my country feel, I paired the flowers with a scalloped mat cut using our Frilly Frames Hexagon Dies from a lilac gingham print. However, the lilac gingham from our Gingham Pastels Paper pack is a bit more vibrant and it felt like it was competing for attention with the flowers in the foreground. I considered covering it with a piece of vellum, but decided I didn't want to mess with finding a way to hide the adhesive. Instead I applied a layer of white Hero Arts Unicorn Pigment Ink over the top of my patterned paper with a Jumbo Dauber to tone it down and make it appear more muted. This was my first time attempting something like this and while the background is still a bit busier than I wanted, it helped give me the look I was after. I finished my Mother's Day card with a small sentiment from our Puppy Parents Stamps.

Sunny Studio Daisy Mother's Day Card using Cheerful Daisies & Layered Basket Clear Layering Craft Stamps & Metal Cutting Dies

Ink colors for pale pink daisy:

Ink colors for medium pink daisy:

Ink colors for hot pink daisy:

Ink colors for lilac daisy:

Ink colors for centers of each daisy:

Ink colors for leaves:

Ink colors for layered basket: 
  • Skipped Lightest Layer
  • Hero Arts Soft Sand
  • Memories Soft Sand or Gina K. Sandy Beach
  • Memories Sand

That wraps up my projects for this morning. I hope I've inspired you in your own cardmaking and that you spread a little happiness by sending out a card to a loved one today.💗

Don't forget to check out our Cheerful Daisies Stamps, Layered Basket Stamps, Botanical Backdrop Die, and 6x6 Patterned Paper Pads in our online shop, which are all currently on sale!

I also encourage you to check out all the card ideas with these sets on each of their product pages. I always make sure to upload tons of ideas for each set following the product image so there are lots of ideas to scroll through there organized by set.

Supplies Used:

Versafine Onyx Black Ink
Shop at:
Sunny Studio
Polka-dot Parade 6x6 Paper
Shop at:
Sunny Studio
Gingham Pastels 6x6 Paper
Shop at:
Sunny Studio
Puppy Parents Stamps
Shop at:
Sunny Studio
Botanical Backdrop Die
Shop at:
Sunny Studio
Frilly Frames Hexagon Dies
Shop at:
Sunny Studio
Cheerful Daisies Stamps
Shop at:
Sunny Studio
Cheerful Daisies Dies
Shop at:
Sunny Studio
Layered Basket Stamps
Shop at:
Sunny Studio
Layered Basket Dies
Layered Basket Dies
Shop at:
Sunny Studio
Big Bold Greetings Stamps
Shop at:
Sunny Studio
Citrine Jewels
Citrine Jewels
Shop at:
Sunny Studio
Tsukineko Jumbo Dauber
Shop at:
Sunny Studio
PinkFresh Studio Blending Brushes
Shop at:
Sunny Studio
Hero Arts Unicorn Pigment Ink
Shop at:
Sunny Studio