Hello crafty friends, Marine here, I'm super happy to be back with this new busy slimline card featuring some cheeky kitties on Christmas night. They're all gathered around the fireplace, napping, chilling and waiting for Santa to bring more presents! Let's hope that the Christmas tree stays up a few more minutes!
I started off by stamping the images on 110lb Neenah solar white cardstock using Memento tuxedo black ink, I cut them all with the coordinating dies, and colored everything with my Ohuhu markers.
As always, here is a detailed list of the stamp sets I used: • Cat Antics - cats, balls of yarn • Cozy Christmas - Christmas tree, armchairs, glass of milk, side tables, lamps, presents, cushion • Santa Claus Lane - fireplace, presents, stockings • Purrfect Birthday - mouse toy • North Pole - cookies • Penguin Party - hats • Bunnyville - carrot.
For the armchairs, I stamped them a second time on a Joyful Holiday gingham red paper, fussy cut them, added shadows to each piece using red markers and then attached each red armchair to a white one. This way we have a nice pattern on the armchairs and still have the white border around the images. When all the coloring was done, I added highlights and details to the images using a white gel pen, and added a dot of glossy accents to each light in the Christmas tree.
Next I cut a slimline panel out of Strathmore bristol smooth cardstock using a Slimlime Scalloped Frame die, masked the stitched edges off with washi tape, and divided it in two parts using washi tape again to create wallpaper on the upper section and the floor on the lower section. I first covered the top section with tattered rose oxide ink, and then created a vertical stripe pattern using the Straight Stripes stencil along with saltwater taffy oxide ink. I mixed some of that ink with water and added splatters to my panel, I did the same with festive berries oxide ink for more contrast, the same with copic opaque white ink for brightness and then the same again with liquid stardust because every Christmas scene needs sparkles!
Next I covered the floor section with antique linen oxide ink, added a bit of vintage photo oxide ink at the very bottom of my panel and blended the colors with my antique linen blending tool. I mixed some vintage photo oxide ink with water and added brown splatters to the floor section, and then did the same with white ink.
When my panel was dry, I stamped my "Wishing you a purrfect Christmas" greeting in black right in the top center of my panel. "Wishing you a purrfect" is from Birthday Cat and "Christmas" is from Santa Claus Lane. Next I attached all the images on my panel using 1mm and 2mm foam squares.
I attached my panel to an 8 x 3 inches kraft panel using 1mm foam tape. I cut a scalloped panel out of yellow cardstock using another Slimline Scalloped Frame die and stuck the kraft panel to it using liquid, and then I attached my yellow panel to an 8,5 x 3,5 inches red card base using 1mm foam tape.
And that's it! Thank you so much for stopping by, and see you next week!
Sunny Studio Supplies Used:
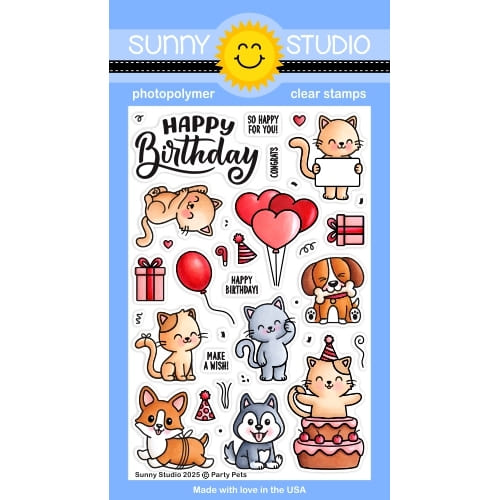
 Purrfect Birthday Stamps Shop at: Sunny Studio |
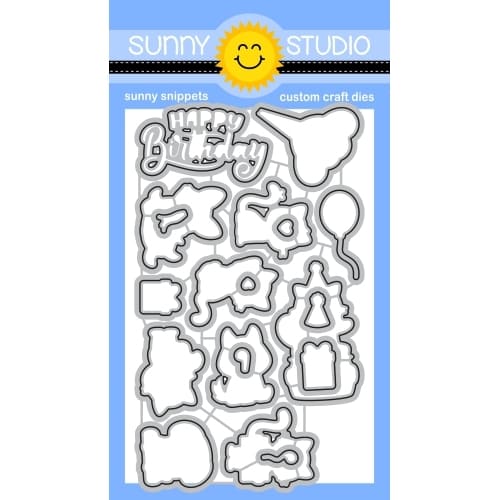
 Purrfect Birthday Dies Shop at: Sunny Studio |
 Santa Claus Lane Stamps Shop at: Sunny Studio |
 Santa Claus Lane Dies Shop at: Sunny Studio |
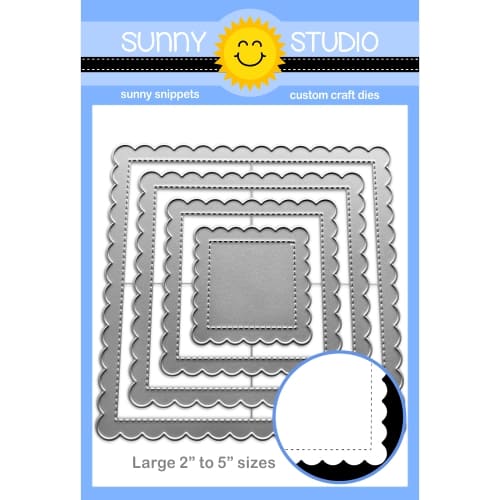
 Slimline Scalloped Frame Shop at: Sunny Studio |
 North Pole Stamps Shop at: Sunny Studio |
 North Pole Dies Shop at: Sunny Studio |
 Cozy Christmas Stamps Shop at: Sunny Studio |
 Cozy Christmas Dies Shop at: Sunny Studio | |
 Penguin Party Stamps Shop at: Sunny Studio |
 Penguin Party Dies Shop at: Sunny Studio |
 Joyful Holiday Paper Shop at: Sunny Studio |
 Birthday Cat Stamps Shop at: Sunny Studio | |
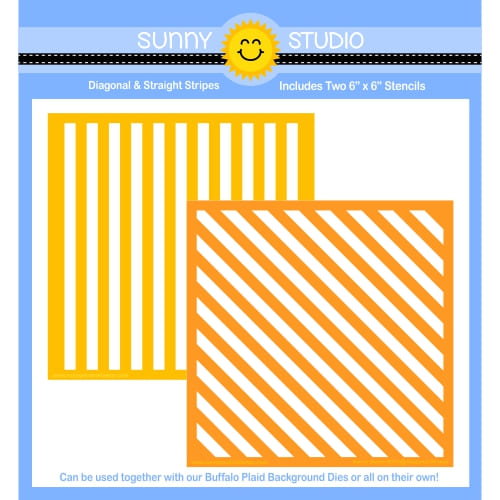 Diagonal & Straight Stripes Stencils Shop at: Sunny Studio |
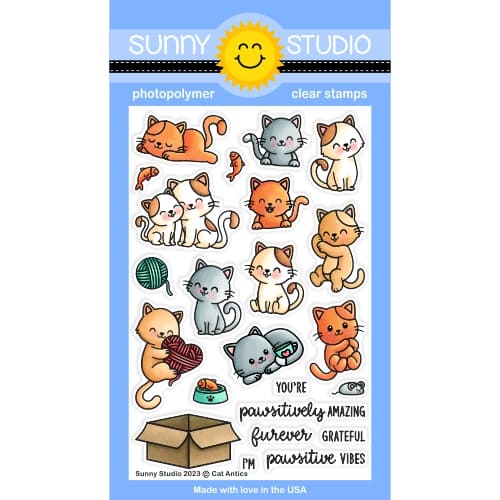 Cat Antics Stamps Shop at: Sunny Studio |
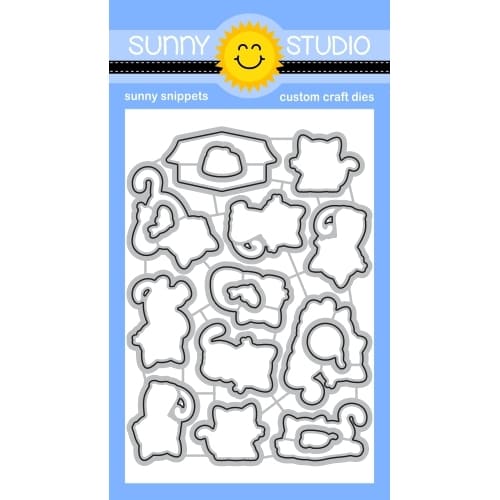 Cat Antics Dies Shop at: Sunny Studio |


