Showing posts with label Little Birdie. Show all posts

Saturday, April 13, 2024

Sunny Saturday Share: Customer Cards


Hey everyone, how are you all doing this weekend? I'm so excited to be popping in today with a Sunny Saturday Share. There have been so many amazing cards popping up on Instagram that have made my jaw drop so I couldn't wait to share them with all of you! 


Sunny Studio Stamps: Spring Showers Customer Card by Mayumi Adler

Thank you for sharing all these fabulous ideas with us! I hope you will continue to share your gorgeous projects with us--It always makes my day to see them. You can tag us on instagram with the hashtag #sunnystudiostamps or share your projects with us in our flickr group or on our facebook page. ☺


Sunny Studio Supplies Used:

Two Scoop Dies
Two Scoop Dies
Shop at:
Sunny Studio
Two Scoop Stamps
Two Scoop Stamps
Shop at:
Sunny Studio
Fabulous Flamingos Stamps
Shop at:
Sunny Studio
Fabulous Flamingos Dies
Shop at:
Sunny Studio
Spring Showers Stamps
Shop at:
Sunny Studio
Spring Showers Dies
Spring Showers Dies
Shop at:
Sunny Studio
Little Birdie Stamps
Shop at:
Sunny Studio
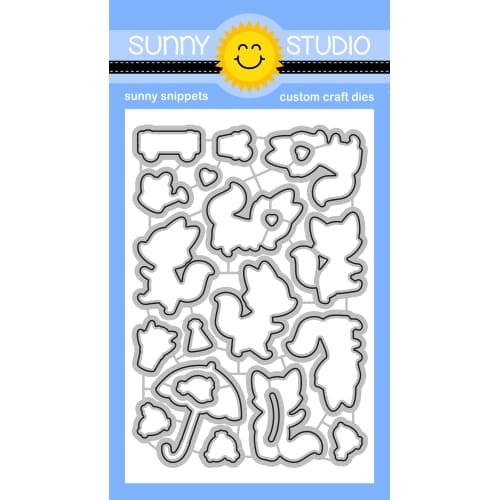
Little Birdie Dies
Little Birdie Dies
Shop at:
Sunny Studio
Baby Elephants Stamps
Shop at:
Sunny Studio
Baby Elephants Dies
Baby Elephants Dies
Shop at:
Sunny Studio
Wonderful Windows Dies
Shop at:
Sunny Studio
Big Bunny Stamps
Big Bunny Stamps
Shop at:
Sunny Studio
Big Bunny Dies
Big Bunny Dies
Shop at:
Sunny Studio
Puddle Jumpers Stamps
Shop at:
Sunny Studio
Puddle Jumpers Dies
Puddle Jumpers Dies
Shop at:
Sunny Studio
Spring Garden Dies
Spring Garden Dies
Shop at:
Sunny Studio

Thursday, April 11, 2024

Designer's Choice: Garden Fairy Shaker Tags with Marine

Hello crafty friends, Marine here, I'm thrilled to be back on the blog with this trio of bee themed shaker tags. I've had this idea of creating bee fairies since last year, so I'm glad I can finally share this project with you.

Sunny Studio Stamps: Garden Fairy & Just Bee-cause Shaker Tags by Marine Simon (featuring Scalloped Tag Dies, Garden Critters, Love Birds, Little Birdie)

I started off by stamping my images on 80lb Neenah solar white cardstock using an alcohol marker friendly black ink. I cut them all using the coordinating dies, and colored everything using my Spectrum Noir Illustrator markers and my Graph'it brush markers.

Here is a detailed list of the stamp sets I picked:

• Garden Fairy for three fairies
• Garden Critters for the bees
• Just Bee-cause for the beehive
• Little Birdie for the branch
• Love Birds for a heart and flowers

Sunny Studio Stamps: Garden Fairy & Just Bee-cause Shaker Tags by Marine Simon (featuring Scalloped Tag Dies, Garden Critters, Love Birds, Little Birdie)

Next I worked on the shaker tags. I built them following the same process, so here are the different steps:

1. Cut a Scalloped Tag Circle out of light brown woodgrain cardstock, and use a 2,5 inches circle die to cut a window out of it

2. Use the same Scalloped Tag Circle die to cut a whole tag out of acetate, and another one out of a Polka Dot Parade aqua pattern paper

Sunny Studio Stamps: Garden Fairy & Just Bee-cause Shaker Tags by Marine Simon (featuring Scalloped Tag Dies, Garden Critters, Love Birds, Little Birdie)

3. Attach the acetate tag at the back of the woodgrain tag using liquid glue, and add foam strips on the acetate, all along the scalloped edges of the tag, following the rounded shape

4. Pour some shaker accessories on the acetate, I used 3mm clear sequins, peel the backing papers off the foam strips, and attach the polka dot aqua tag to close the shaker tag

Sunny Studio Stamps: Garden Fairy & Just Bee-cause Shaker Tags by Marine Simon (featuring Scalloped Tag Dies, Garden Critters, Love Birds, Little Birdie)

I stamped "What's buzzin'?" from Garden Critters on each tag, directly on the acetate, using white stazon ink, attached my images using 1mm and 2mm foam squares, added ribbon and twine, applied a little bit of white blizzard nuvo drops on the hearts and wings, and finished my tags with highlights and details using a white gel pen.

And that's it! I really love how those shaker tags turned out, I hope you like them too! Thanks so much for stopping by, and see you next time.

Sunny Studio Supplies Used:

Polka-dot Parade 6x6 Paper
Shop at:
Sunny Studio
Just Bee-cause Stamps
Shop at:
Sunny Studio
Just Bee-cause Dies
Just Bee-cause Dies
Shop at:
Sunny Studio
Scalloped Tags-Circle
Shop at:
Sunny Studio
Garden Fairy Stamps
Garden Fairy Stamps
Shop at:
Sunny Studio
Garden Fairy Dies
Garden Fairy Dies
Shop at:
Sunny Studio
Little Birdie Stamps
Shop at:
Sunny Studio
Little Birdie Dies
Little Birdie Dies
Shop at:
Sunny Studio
Garden Critters Stamps
Shop at:
Sunny Studio
Garden Critters Dies
Shop at:
Sunny Studio
Love Birds Stamps
Love Birds Stamps
Shop at:
Sunny Studio
Love Birds Dies
Love Birds Dies
Shop at:
Sunny Studio

Tuesday, March 12, 2024

Beautiful Bluebells Card with Isha

Hello everyone! Isha here with you with a clean and simple card featuring the new Beautiful Bluebells stamps and dies. These are lovely layering stamps, which are easy to line up and give a beautiful dimension without having to do much work.

Sunny Studio Stamps: Beautiful Bluebells Birthday Card by Isha Gupta (featuring Stitched Arch Dies, Little Birdie, Watering Can)

To start, I die-cut an arch using the Stitched Arch dies. I then sponged yellow ink to the top and side. Adhere the negative layer to a yellow cardbase.

I stamped the florals and stems using pinkfresh studio inks. Adhere the arch using 3d foam, adhere the florals. Stamp the banner and the sentiment from the Little Birdie stamp set, die-cut using the coordinating dies.

Sunny Studio Stamps: Beautiful Bluebells Birthday Card by Isha Gupta (featuring Stitched Arch Dies, Little Birdie, Watering Can)

Stamp the butterflies from the Watering Cans stamp set onto vellum using versamark ink, sprinkle WOW! opaque white embossing powder, heat set. Add color using copic markers. Die-cut using the coordinating dies. Adhere to the card. Hope you enjoyed today's card. Thank you for dropping by and have a nice day!

Sunny Studio Supplies Used:

Stitched Arch Dies
Stitched Arch Dies
Shop at:
Sunny Studio
Little Birdie Stamps
Shop at:
Sunny Studio
Little Birdie Dies
Little Birdie Dies
Shop at:
Sunny Studio
Watering Can Stamps
Watering Can Stamps
Shop at:
Sunny Studio
Watering Can Dies
Watering Can Dies
Shop at:
Sunny Studio
Beautiful Bluebells Stamps
Shop at:
Sunny Studio
Beautiful Bluebells Dies
Shop at:
Sunny Studio

Sunday, March 10, 2024

Tree Branch Die Focused Card with Rachel

Hello crafty friends! It's Rachel here with a vertical A2 sized card that features the new Tree Branch Die Set along with the previously released, adorable Little Birdie Stamps Set

Sunny Studio Stamps: Tree Branch Die & Little Birdie Birthday Card by Rachel Alvarado

I first stamped my birds and birdhouse onto a sheet of Neenah Solar White 110lb Card Stock with Memento Tuxedo Black Ink. I then used Copic Markers to color them. (Birds: G000, G00, BG34, BG75; Birdhouse: RV00, RV10, RV63, BG90; Eggs: 0, C00, C1). Once I finished coloring, I then used the coordinating Little Birdie Die Set to cut them out.

For my background sky, I blended some pink inks from the Pinkfresh Fairy Dust Ink Cubes Set (Sparkling Rose and Ballet Slipper) onto a 4.25" x 5.5" piece of smooth white card stock. I started with my darker pink at the top and worked my way toward my lighter color pink near the bottom. To add some texture and interest to my background, I also splattered some diluted Copic Opaque White Paint as well as added a few pink dots from some pink Copic Markers (RV63, RV00). Once dry, I then trimmed this piece to 4" x 5.25" and layered it onto a standard A2 sized white card base.

Sunny Studio Stamps: Tree Branch Die & Little Birdie Birthday Card by Rachel Alvarado

I then die cut two branches from white card stock using the Tree Branch Die. I die cut the leaves from both light green and dark green card stock pieces and adhered them to my card base with liquid adhesive. Next, I stamped my sentiment with black ink. Lastly, I adhered my stamped images with 3D foam adhesive tape to allow them to slightly pop-up from my card base.

I hope you enjoyed my card today! Thanks so much for stopping by today! Wishing you all a wonderful day!

Sunny Studio Supplies Used:

Little Birdie Stamps
Shop at:
Sunny Studio
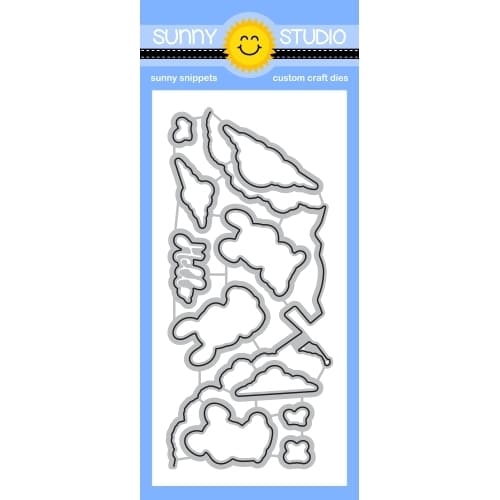
Little Birdie Dies
Little Birdie Dies
Shop at:
Sunny Studio
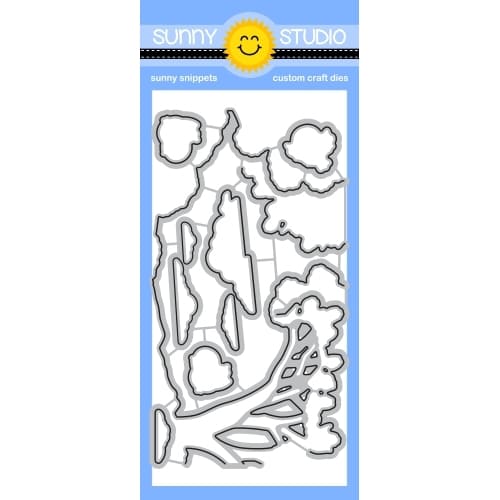
Tree Branch Die
Tree Branch Die
Shop at:
Sunny Studio