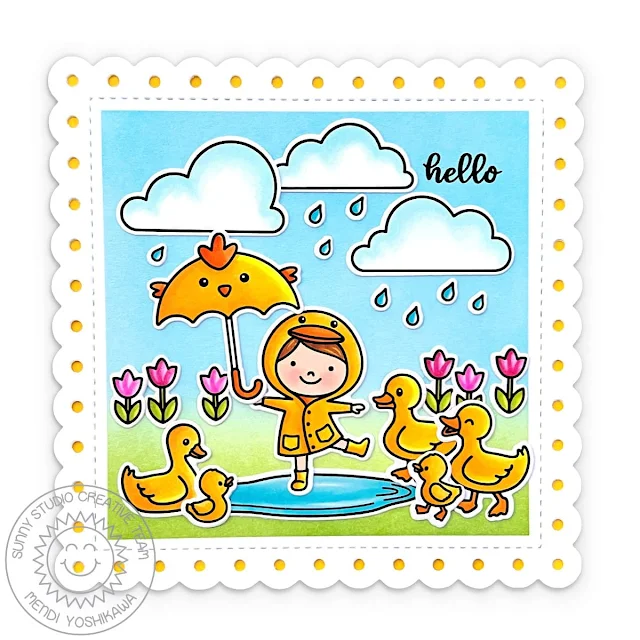
Hi crafty friends, Tina here, and although I have been enjoying a lot of sunny days lately, every now and then, the occasional Spring shower comes along! Great for our garden and refreshing for us all! Anyway, making a fun rainbow card has been on my list for a while. And what better set to use for such a scene than the happy Puddle Jumpers stamps and dies!
How cute is this little girl with her frog umbrella and all the sweet ducks! I also stamped the puddle twice. The clouds were selected from the Spring Showers set and I enjoyed coloring these images with my Copics in bright colors.
Creating the rainbow was a bit tricky. I didn’t have a stamp or die in that shape so I browsed through my stash and had an idea when I saw the Distinctive Doors die! This set contains a staircase with three steps. If I had two of these and glued them together onto a backing piece of card stock, I would end up with a straight mini rainbow! Coloring this piece was easy, I just had to mask each ‘step’ to add the right Copic color.
Now it was time to work on the design layers of this project starting with a white panel cut with the outer die from the Frilly Frames Stripes set. Next, I create a large white rounded rectangle (Rounded Rectangle Mat dies).
I am a huge fan of embossing
folders they truly enhance any card design. And today, I stepped it up a notch
by adding some Tumbled Glass Distress Oxide to the raised side of the Buffalo Plaid folder before running the white rounded piece through the
die cutting machine. When I layered all the pieces onto a white card base, it
felt a little flat. It needed a pop of color! I could not find any matching
blue card stock, so I just colored the borders of a white card base with a
Copic marker I had used previously for the clouds.
To continue the happy vibe of this project, I stamped a sentiment from the Over The Rainbow set onto a white strip with Versafine Onyx Black ink. Adding a few Champagne Clear Jewels finishes this sweet ‘rainbow’ design.
Thank you for visiting the blog and happy crafting!
Sunny Studio Supplies Used:
 Over The Rainbow Stamps Shop at: Sunny Studio |
 Frilly Frames Stripes Die Shop at: Sunny Studio |
 Buffalo Plaid Embossing Shop at: Sunny Studio |
 Spring Showers Stamps Shop at: Sunny Studio |
 Spring Showers Dies Shop at: Sunny Studio |
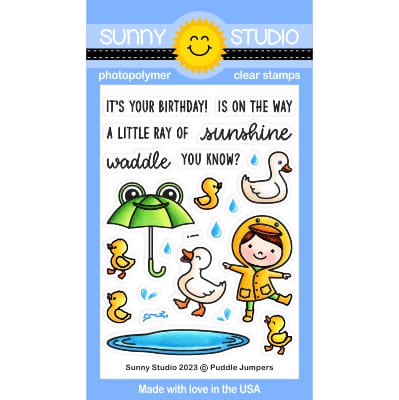 Puddle Jumpers Stamps Shop at: Sunny Studio |
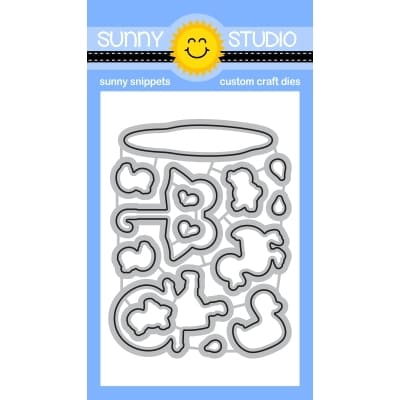 Puddle Jumpers Dies Shop at: Sunny Studio |
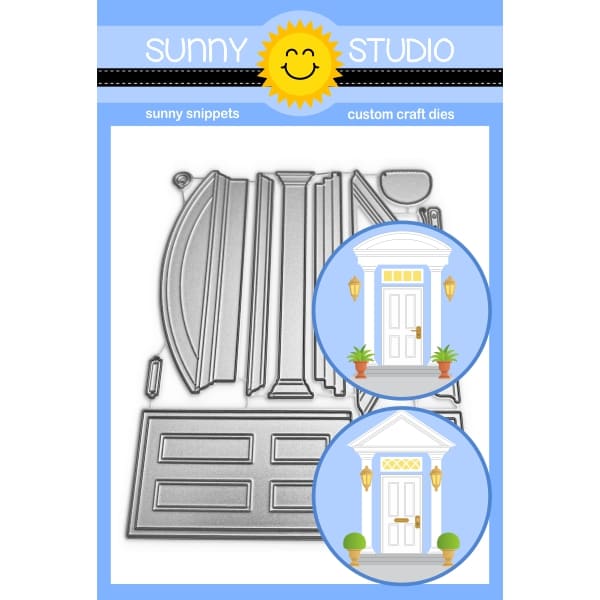 Distinctive Door Dies Shop at: Sunny Studio |
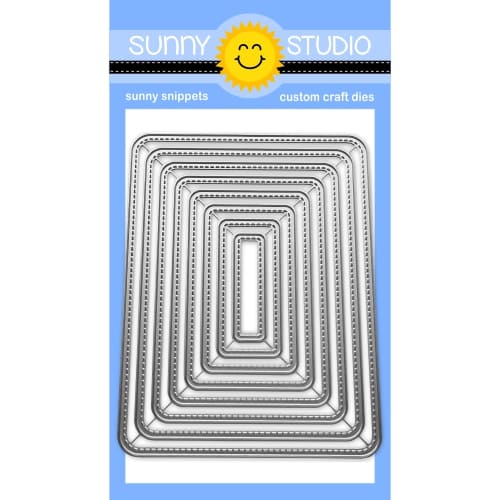 Rounded Rectangle Mat Dies Shop at: Sunny Studio | |


