Showing posts with label Limitless Labels Dies. Show all posts

Sunday, September 13, 2026

Critter Country Paper Focused Card with Hanh

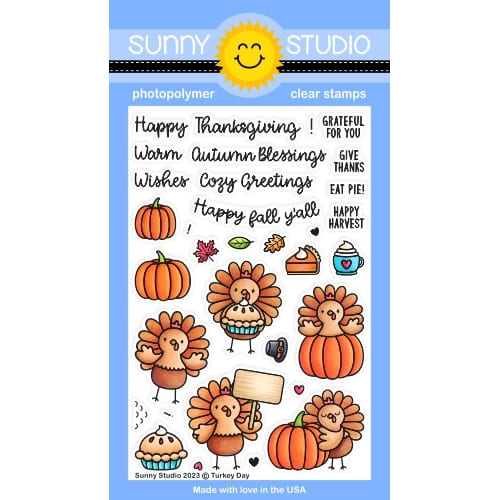
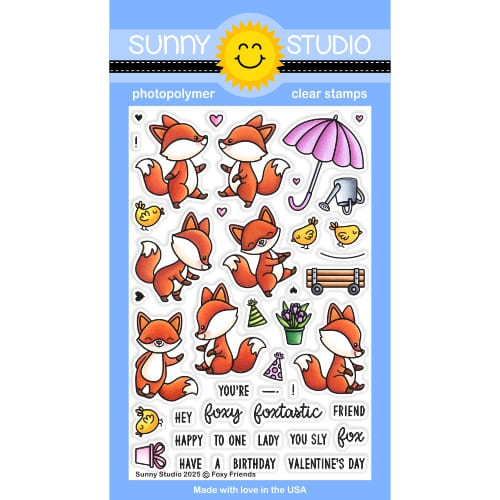
Hello Crafty Friends! It's Hanh here with you today and I have a sweet card to share with you featuring the Foxy Friends, Turkey Day, Pathway Home images set against a Critter Country patterned paper background for a warm autumn vibe. So let’s get started.

Sunny Studio Stamps: Foxy Friends Fall Themed Card by Hanh Nguyen (featuring Limitless Labels Dies, Turkey Day, Pathway Home)

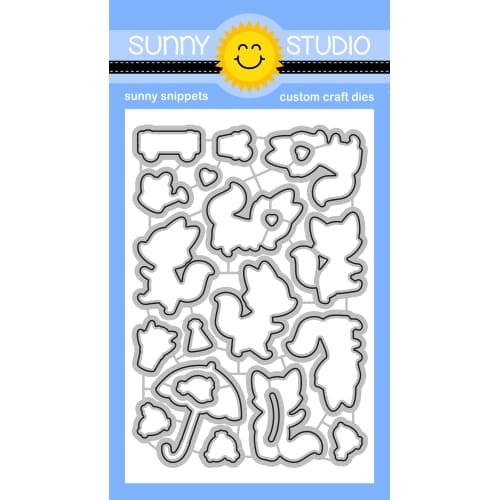
I stamped the adorable fox and bird images from the Foxy Friends Stamps, the pie, cup and leaves from the Turkey Day Stamps, and the pumpkins from the Pathway Home Stamps sets onto a piece of Neenah Solar White 110 lb cardstock with Memento Tuxedo Black ink. I used the coordinating Foxy Friends Dies, Turkey Day Dies and Pathway Home Dies to diecut them out. I colored with Copic markers and highlighted with a white gel pen.

COPIC COLORS:
Foxes: YR21/24/27 E35/37, W00/0/1/3, R00/20
Birds: BG000/01/02, Y38, R20
Leaves: Y17/38 YR04/21/24, YG03/01 Y17/38, YG03/25
Pumpkins: Y17/38 YR04, YG03
Pie: YR30/31/21/24, YR24, E41, R14/24
Cup: BG000/01/02/05, R14/24, E41

Sunny Studio Stamps: Foxy Friends Fall Themed Card by Hanh Nguyen (featuring Limitless Labels Dies, Turkey Day, Pathway Home)

For the background, I used the Limitless Labels 1 Dies to diecut a panel out of white cardstock. I masked off the upper portion of the panel and lightly ink blended with some Mowed Lawn Distress Oxide ink. 

For the sentiment, I stamped the “Autumn Blessings” sentiment from the Turkey Day stamps directly onto the panel with Memento Tuxedo Black ink. 

Sunny Studio Stamps: Foxy Friends Fall Themed Card by Hanh Nguyen (featuring Limitless Labels Dies, Turkey Day, Pathway Home)

I adhered a piece of craft foam to the back of the white panel before adhering it to a piece of patterned paper from the Critter Country Paper. The colored images were adhered to the panel with a combination of liquid glue and foam tape for a bit of dimension and interest. Finally, I adhered the panel to a white A2 cardbase (5.5” x 4.25”).

I appreciate you taking the time to stop by and visit today. I hope you liked my card. Be sure to visit the Sunny Studio Stamps Shop  for more info and ideas. Please also visit my INSTAGRAM feed for more inspirations.

Have a wonderful and crafty day!

Sunny Studio Supplies Used:

Critter Country Paper
Shop at:
Sunny Studio
Turkey Day Stamps
Turkey Day Stamps
Shop at:
Sunny Studio
Turkey Day Dies
Turkey Day Dies
Shop at:
Sunny Studio
Limitless Labels 1 Dies
Shop at:
Sunny Studio
Foxy Friends Stamps
Foxy Friends Stamps
Shop at:
Sunny Studio
Foxy Friends Dies
Foxy Friends Dies
Shop at:
Sunny Studio
Pathway Home Stamps
Pathway Home Stamps
Shop at:
Sunny Studio
Pathway Home Dies
Pathway Home Dies
Shop at:
Sunny Studio

Monday, June 8, 2026

Wedded Bliss Card with Tina M

Hi there! Tina M here! Today I’m sharing a card featuring the Wedded Bliss Set! I started off by trimming a piece of red patterned paper, from the Classic Sunburst Paper to 5,5 x 4,25 inches, the sunburst patterned side up and adhered it to my A2 size card base.

Sunny Studio Stamps: Wedded Bliss Wedding Card with Tina Magnusson (featuring Love Birds, Slimline Nature Border Dies, Limitless Labels Dies)

Next, I ran two pieces of white cardstock and one piece of black cardstock through my die cutting machine using the largest of the Limitless Labels 1 Die. I ink blended one of the white pieces with turquoise ink, the other with green ink, for sky and grass. The black piece I adhered behind the turquoise piece as a shadow. As I wanted a festive feel for this bride & groom, I splattered gold watercolor on the turquoise panel!

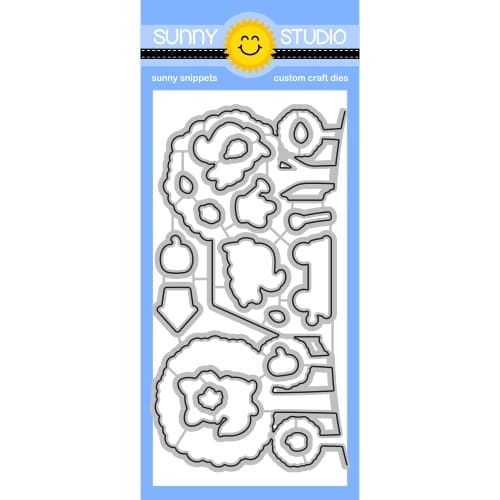
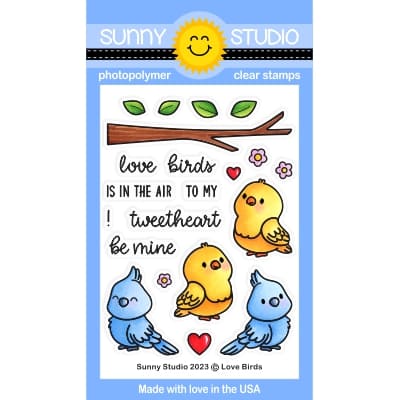
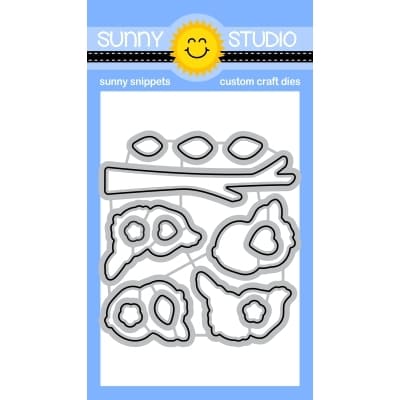
For my hill/grass piece I used the Slimline Nature Borders Die. Next, I stamped the adorable penguins from the Wedded Bliss Stamps, the branches, leaves and flowers from the Love Birds Stamps using Memento Tuxedo Black ink on alcohol ink friendly card stock and used the coordinating Wedded Bliss Dies, and the Love Birds Dies, to die cut them out and colored them with my Copic Markers, see list below.

Leaves: G94, YG03/17
Tree: E21/23/25
Penguins; W0/1/2/3, N3/4/5/6, R30/32, YR21/24/27
Tiara: Y26/28
Dress: C1
Tux: N3/4/5
Flowers: R02/05, Y26/28
Hearts: R02/05

Sunny Studio Stamps: Wedded Bliss Wedding Card with Tina Magnusson (featuring Love Birds, Slimline Nature Border Dies, Limitless Labels Dies)

I used the branches as trees for this card, and I glued the leaves and flowers to them! Next, I stamped the sentiment, from the Wedded Bliss Stamps set on my grass piece. I added foam dots to the grass piece so that I could easily tuck the bottom of my trees underneath.

I added foam dots to the upper half of the bride & groom and used liquid glue for the lower part and adhered them to the card. I glued the flowers directly on the grass and the hearts were popped up with foam dots. I adhered my sweet wedding scene to the sunburst patterned card base!

Thank you for stopping by! Wishing you a happy and colorful day!

Sunny Studio Supplies Used:

Slimline Nature Borders
Shop at:
Sunny Studio
Classic Sunburst Paper
Shop at:
Sunny Studio
Wedded Bliss Stamps
Wedded Bliss Stamps
Shop at:
Sunny Studio
Wedded Bliss Dies
Wedded Bliss Dies
Shop at:
Sunny Studio
Love Birds Stamps
Love Birds Stamps
Shop at:
Sunny Studio
Love Birds Dies
Love Birds Dies
Shop at:
Sunny Studio
Limitless Labels 1 Dies
Shop at:
Sunny Studio

Monday, January 26, 2026

Quill Cuties Card with Tina M

Hi there! Tina M here! Today I’m sharing a card featuring the Quill Cuties Stamps!

Sunny Studio Stamps: Quill Cuties Friendship Card by Tina Magnusson (featuring Limitless Labels Dies, Slimline Nature Border Dies)

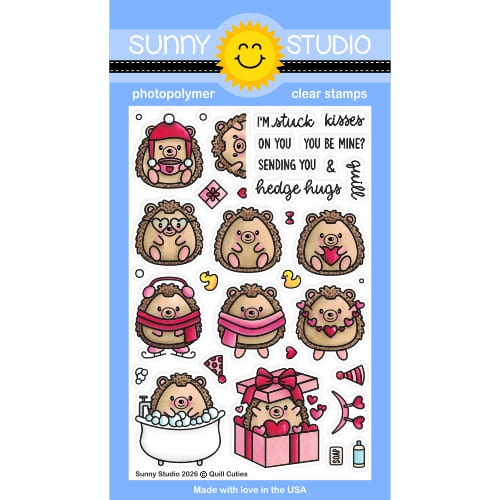
I stamped three of the cute hedgehogs from the stamp set on alcohol ink friendly card stock using Memento Tuxedo black ink and colored them with my Copic Markers, see list below. I then die cut the images using the coordinating Quill Cuties dies. I trimmed a piece of turquoise patterned paper, the grid pattern side from the Classic Sunburst Paper to 5,5 x 4,25 inches and adhered it to my A2 size card base.

Copic colors used:
Hedgehogs: W0/1/3/5, R00/30/32
Accessories: BG11/45/49
Mug: RV52/55, BG 11/45

Next, I trimmed a piece of white card stock 3,7/8 x 5 inches and a piece of black card stock just a little larger for a black mat to place behind the white panel. I love black accents on my cards, you will se me use black details quite often!

Sunny Studio Stamps: Quill Cuties Friendship Card by Tina Magnusson (featuring Limitless Labels Dies, Slimline Nature Border Dies)

For my background I used another patterned paper from the Classic Sunburst Paper, this time the pink sunburst paper. I used the grass die from the Slimline Nature Borders die set to die cut a strip of grass, and as I wanted to create a winter scene for my hedgehogs, I used white card stock for that. I glued the piece of grass to the pink sunburst paper, ran the piece through my die cutting machine using the largest of the Limitless Labels 1 Die. Next, using the same die, I die cut a piece of black card stock. I adhered the black piece behind the sunburst/grass panel to show just a tiny bit at the bottom and on the right-hand side.

I then stamped the greeting, also from the Quill Cuties Stamps on the sunburst panel, and to finish off my card I added foam dots to the back of the hedgehogs for dimension and adhered them to the white grass! For extra detail I used a white gel pen on the hat and scarves!

Thank you for stopping by! Wishing you all a happy and colorful day!

Sunny Studio Supplies Used:

Slimline Nature Borders
Shop at:
Sunny Studio
Classic Sunburst Paper
Shop at:
Sunny Studio
Limitless Labels 1 Dies
Shop at:
Sunny Studio
Quill Cuties Stamps
Quill Cuties Stamps
Shop at:
Sunny Studio
Quill Cuties Dies
Quill Cuties Dies
Shop at:
Sunny Studio

Wednesday, November 19, 2025

Classy Christmas Card with Tina

Hello crafters, it’s Tina and I love to add sparkle and shine to my Christmas cards! For this project, I pulled my golden pigment ink and a golden paint pen to provide lots of holiday cheer! And although I adore cute critters, I also enjoy coloring beautiful flowers like these poinsettias from the Classy Christmas stamp and die set.

Sunny Studio Stamps: Classy Christmas Holiday Card by Tina Henkens (featuring Frilly Frame Dies, Dapper Diamonds Embossing Folder, Limitless Labels Dies, Season's Greetings)

I stamped and cut all the flowers, leaves and berries so I could arrange them in the two corners of my card. For this project, I selected pink, red, yellow and blue Copic markers. I added lots of sparkle to the flowers and berries with a fine gold paint pen.

After creating a coral card base, I cut a white panel using the scalloped die from the Frilly Frames Stripes set. I wanted to keep a white border, so I masked the edges with Post-it tape before inking my panel with a stripe stencil and the golden pigment ink. I set this panel aside since this ink takes a while to dry.

Sunny Studio Stamps: Classy Christmas Holiday Card by Tina Henkens (featuring Frilly Frame Dies, Dapper Diamonds Embossing Folder, Limitless Labels Dies, Season's Greetings)

I love adding layers to my projects by dry embossing (Dapper Diamonds folder) a piece of white card stock cut with the largest of the Limitless Labels 1. I distressed the edges of this piece with the same gold ink before gluing it to the scalloped piece and the card base.

Bold sentiments are amazing focal points of cards, and that is why I love the Season’s Greetings Stamps and Word Dies so much! I stamped the Merry Christmas in gold, and while that was drying (yes, I needed a bit of patience for this card, but it was well worth the wait!) I played around with the floral arrangement. Finally, I glued all the elements in place and used foam tape to add the large sentiment. For some extra shine, I sprinkled a few Gold Jewels on each side of the card.

I hope you got inspired by this project, and I can’t wait to see your take on this layout. Thank you for joining me, and happy crafting!

Sunny Studio Supplies Used:

Dapper Diamonds Embossing
Shop at:
Sunny Studio
Frilly Frames Stripes Die
Shop at:
Sunny Studio
Season's Greetings Stamps
Shop at:
Sunny Studio
Season's Greetings Dies
Shop at:
Sunny Studio
Classy Christmas Stamps
Shop at:
Sunny Studio
Classy Christmas Dies
Shop at:
Sunny Studio
Limitless Labels 1 Dies
Shop at:
Sunny Studio


Mendi here popping in to share that Glassboard Studio has added an incredible new Scrapbook Magnetic Glass Craft Mat to their line-up. The size is a bit more manageable for travel than my favorite 36x24 mat, and it's also the perfect size for making cards! I love that it's oversized, so you not only have room to work on a 2-page scrapbook layout, but have an extra 1" border around it. The magnetic surface will also be super helpful for keeping elements in place until I glue them down. Use the code SUNNYSTUDIO to save 20% off through tonight at Midnight. After that, the code will still be good to save 15% off every day. 💛

Wednesday, September 10, 2025

Foxy Friends Card with Tina

Hi there crafty friends, Tina here and today we are creating a sweet Autumn card with the adorable Foxy Friends stamp and die set. There are many cute images in this set so it was hard to select just three of them.

Sunny Studio Stamps: Foxy Friends & Pretty Pumpkins Autumn Themed Card by Tina Henkens (featuring Limitless Labels Dies, Woodgrain Embossing Folder, Rounded Retangle Mat Dies)

Although I wanted to reflect that fall vibe, I still kept the card light by using a large white panel. This piece was dry embossed with the Woodgrain embossing folder which is perfect for these autumnal cards. I love layering shapes to create dimension so next, I cut the wood panel with the largest die in the Limitless Labels 1 set and splattered it with yellow and brown inks.

Then I browsed in my stash of pattern papers and I chose a fun polka dot sheet (Critter Country) which I ran through the die cut machine with the largest of the Rounded Rectangle Mat dies. I glued both pieces together and added them to a slightly smaller white card base. I colored the cute foxes (Foxy Friends stamp) with my Copics and added white highlights with a gel pen.

Sunny Studio Stamps: Foxy Friends & Pretty Pumpkins Autumn Themed Card by Tina Henkens (featuring Limitless Labels Dies, Woodgrain Embossing Folder, Rounded Retangle Mat Dies)

Then it was time to stamp three pumpkins using the Pretty Pumpkins stamp set. I went with sizes that would work well together and used several Distress Oxide inks in yellow, brown, orange and teal colors.

Before assembling the scene, I stamped the sentiment from the Autumn Greetings set with a teal ink from my stash. This font was the perfect fit for my scene! I used a mix of foam tape and liquid glue to adhere the images to my card panel. Lastly, I added a few Champagne Clear Jewels since I had already brought so much color into this design.

And that finishes my card, I hope you are having fun creating your Autumn projects! Thank you for joining me and happy crafting!

Sunny Studio Supplies Used:

Autumn Greetings Stamps
Shop at:
Sunny Studio
Pretty Pumpkins Dies
Shop at:
Sunny Studio
Pretty Pumpkins Stamps
Shop at:
Sunny Studio
Woodgrain Embossing
Woodgrain Embossing
Shop at:
Sunny Studio
Critter Country Paper
Shop at:
Sunny Studio
Limitless Labels 1 Dies
Shop at:
Sunny Studio
Foxy Friends Stamps
Foxy Friends Stamps
Shop at:
Sunny Studio
Foxy Friends Dies
Foxy Friends Dies
Shop at:
Sunny Studio
Rounded Rectangle Mat Dies
Shop at:
Sunny Studio

Wednesday, March 26, 2025

Doggone Birthday Card with Tina

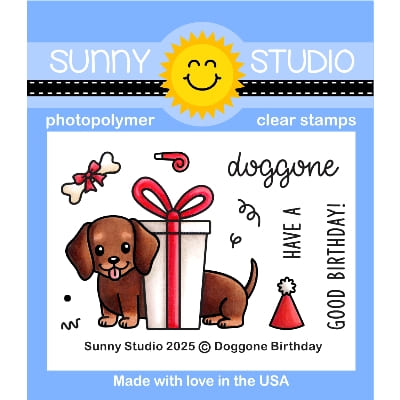
Hi crafty friends, Tina here and today’s card features the very sweat Doggone Birthday stamp and die set. It’s a smaller set yet has all the elements you need to create festive projects!

Sunny Studio Stamps: Doggone Birthday Card by Tina Henkens (featuring Balloon Alphabet Dies, Limitless Labels Dies, Frilly Frame Dies)

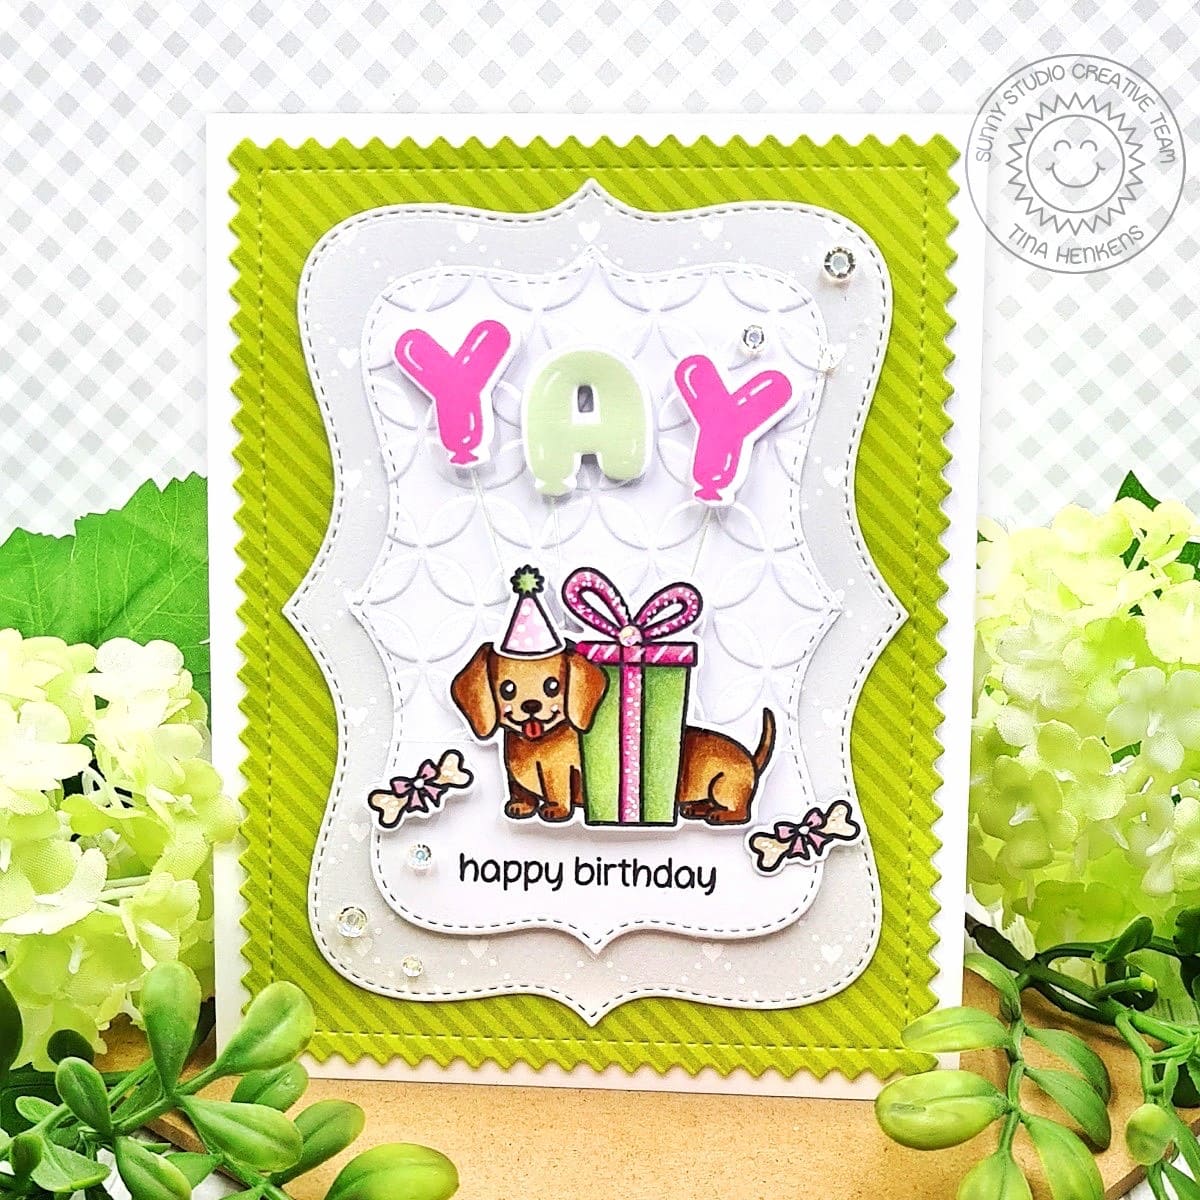
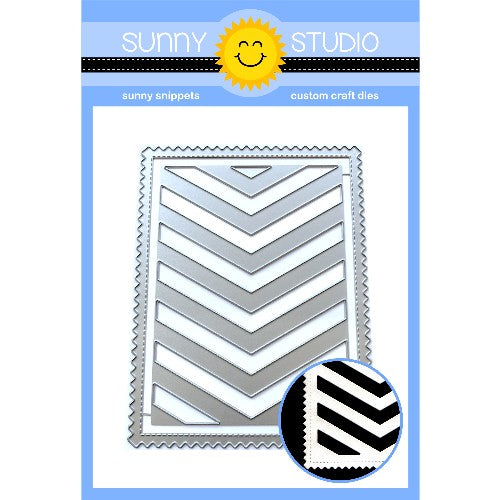
I really wanted to show off this cute little party dog by creating several layers, so after I prepared my white card base, I browsed through my paper stash to find a fun combo. To start, I die cut a panel from a bright green striped paper (Dots & Stripes Jewel Tones) with the outer die from Frilly Frames Chevron.

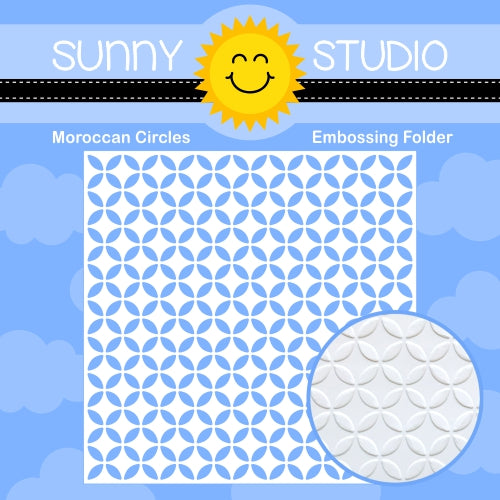
For extra layering I used two sizes of the Limitless Labels 1 dies, cutting the largest from a grey sheet (Subtle Grey Tones) and the smaller from white card stock. To give this latter piece added interest I ran it through my die cutting machine with the Moroccan Circles embossing folder. Both the grey paper as the embossing brings so much extra detail to this simple card design!

After gluing all these panels to the white card base, I stamped and die cut my images. As I mentioned before, this set can be matched with lots of other sets but also works great on its own as I show in this project. I love the little party hat and the bones with bows! So cute!
All the coloring was done with my Copic markers.

Sunny Studio Stamps: Doggone Birthday Card by Tina Henkens (featuring Balloon Alphabet Dies, Limitless Labels Dies, Frilly Frame Dies)

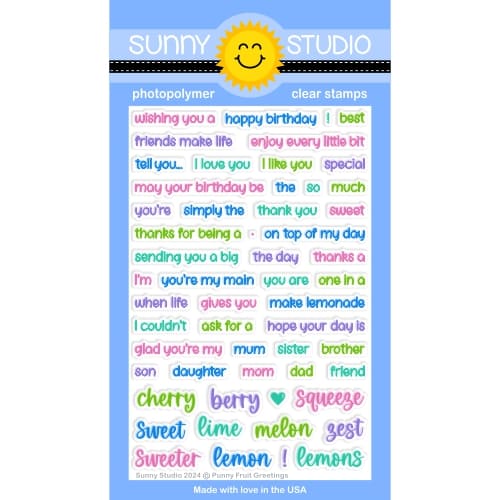
My sentiment consists of two parts. First portion is a stamped ‘Happy Birthday’ (Punny Fruit Greetings). I couldn’t stamp onto the embossed panel, so I cut another smaller piece with the Limitless Labels 1 dies from white card stock and stamped onto this paper in Versafine Onyx Black ink. Next, I glued this to the bottom part of the embossed panel.

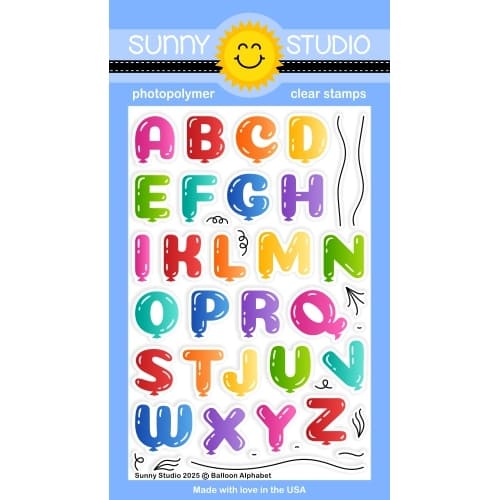
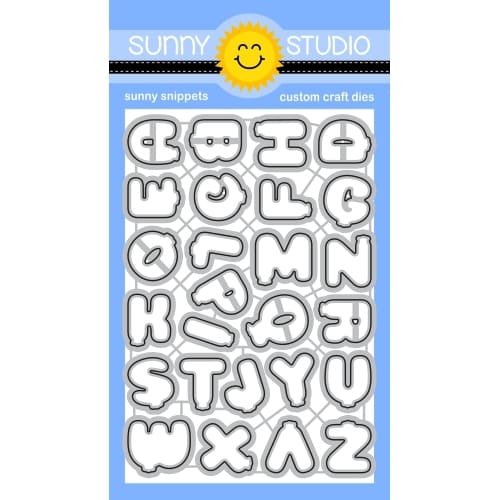
I spelled the word ‘YAY’ in two colors with letters of the Balloon Alphabet stamp and die set. After securing some green thread to the back of the letters, I mounted them to the white panel with foam tape. I made sure to hold the ends of the thread in place with a piece of tape, adhering them to the card base where I could hide them by putting the adorable doggie in place. Lastly, I added the two bones as presents and a few Iridescent Jewels. 

Thank you for visiting the blog and happy crafting!

Sunny Studio Supplies Used:

Dots & Stripes Jewel Tones 6x6 Paper
Shop at:
Sunny Studio
Frilly Frames Chevron Die
Shop at:
Sunny Studio
Moroccan Circles Embossing
Shop at:
Sunny Studio
Subtle Grey Tones Paper
Shop at:
Sunny Studio
Limitless Labels 1 Dies
Shop at:
Sunny Studio
Balloon Alphabet Stamps
Shop at:
Sunny Studio
Balloon Alphabet Dies
Shop at:
Sunny Studio
Doggone Birthday Stamps
Shop at:
Sunny Studio
Doggone Birthday Dies
Shop at:
Sunny Studio
Punny Fruit Greetings
Shop at:
Sunny Studio