Showing posts with label Build-a-Greeting Holidays. Show all posts

Saturday, October 3, 2026

Alpine Adventure Card with Jarle

Hi friends! Jarle here. I am happy to be back with another project for Sunny Studio Stamps. Today, I am featuring the Alpine Adventure stamp set, on a little platform card.

Sunny Studio Stamps: Alpine Adventure Holiday Card by Jarle Franceus (featuring Build-A-Greeting Holidays)

I started by die cutting the Platform Pop-Up from Lawn Fawn out of the beautiful Joyful Holiday paper. That striped pattern is my favorite! I assembled my platform first, before moving on to my images. 

I stamped all the penguins (and the polar bear) out of the Alpine Adventure stamp set with black ink. I also stamped some snowflakes with a blue dye ink (I used Pinkfresh). After that, I colored all my images with Copic markers. I die cut them all with the coordinating dies. (I love that the tiny snowflakes also have dies.) 

Sunny Studio Stamps: Alpine Adventure Holiday Card by Jarle Franceus (featuring Build-A-Greeting Holidays)

For the penguins I used
- BV29, BV25, BV23 + BG10 with the colorless blender

For their little accessories I chose:
- RV19, RV25, RV14
- B05, B02, B00
- YG09, YG06, YG03

Sunny Studio Stamps: Alpine Adventure Holiday Card by Jarle Franceus (featuring Build-A-Greeting Holidays)

I started by putting all my images into my platform box, but I found it missed something. I pulled out the Woolen Mitten die set and die cut the large snowflake two times out of white glitter cardstock. I adhered these to the side panels of my platform. For the tiny snowflakes, I used acetate to let them flow in the air... Cute, right? 

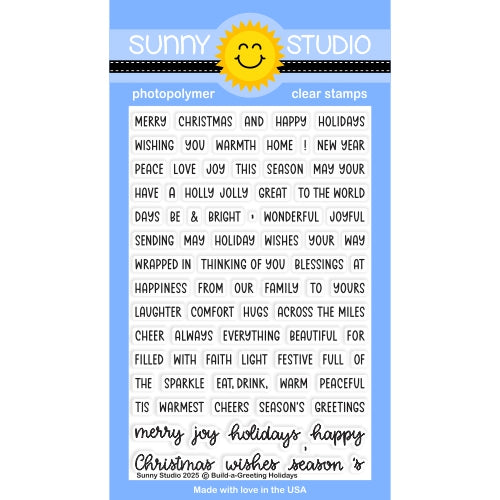
Finally I white embossed my sentiment from the Build-A-Greeting: Holidays stamp set and put it on the front of the platform. 

Those penguins were super fun to color. You should definitely try out that BV color combo! It's my favorite combo to color penguins. Have a beautiful day! 

Sunny Studio Supplies Used:

Joyful Holiday Paper
Shop at:
Sunny Studio
Alpine Adventure Stamps
Shop at:
Sunny Studio
Alpine Adventure Dies
Shop at:
Sunny Studio
Woolen Mitten Dies
Woolen Mitten Dies
Shop at:
Sunny Studio
Build-a-Greeting Holidays
Shop at:
Sunny Studio

Monday, September 28, 2026

Critter Country Paper Focused Card with Tina M

Hi there! Tina M here with you today, sharing a Fall-themed card using a mix of papers from the Critter Country Paper pack! This paper pack comes with so many cute papers, perfect for all sorts of Fall cards!

Sunny Studio Stamps: Critter Country Paper Focused Card by Tina Magnusson (featuring Build-A-Greetings Holidays, Icing Rectangle Frame Dies, Pathway Home, Rounded Rectangle Mat Dies)

For my A2-size card, I started off by trimming the burgundy plaid patterned paper from the Critter Country Paper pack to 4,25 x 5,50 inches and adhered it to the card base. I then die cut out the beautiful fall scene paper using the second largest of the Rounded Rectangle Mat Dies and adhered that to the burgundy paper.

Next, I stamped the squirrels, cart, pumpkins, and leaves from the Pathway Home Stamp set on alcohol ink-friendly card stock using Memento Tuxedo black ink and colored them with my Copic Markers; see list below.

Copic colors used:
Squirrels: E08/09/97, YR21, N5, C0/1/2, R30
Pumpkins: YR04/07, Y17, YG03/17
Leaves: YR04/07, Y17, YG03/17
Cart: E21/23/25, N1/4/5

Sunny Studio Stamps: Critter Country Paper Focused Card by Tina Magnusson (featuring Build-A-Greetings Holidays, Icing Rectangle Frame Dies, Pathway Home, Rounded Rectangle Mat Dies)

I then die-cut the images out using the coordinating Pathway Home Dies. I added foam dots to the back of all die-cut pieces for dimension and set them aside to create the frame and small scene!

I die-cut the third-largest Icing Rectangle Frame Die from the orange polka-dot paper in the paper pack to use the frame piece only. I also die-cut two pieces from white cardstock to use as the inside pieces. I ink-blended one of them with blue ink and the other with green ink for sky and grass. For the green piece, I used the grass border die from the Slimline Nature Borders Die set to create a little piece of grass, which I adhered to the bottom of the sky piece!

I adhered the little frame/scene piece to the card and stamped the “Thinking of you” words from the Build-A-Greeting Holidays Stamps set at the bottom of the panel using black ink. Lastly, I added the squirrels, pumpkins, cart, and leaves!

Thanks for stopping by! Wishing you a happy and colorful day!

Sunny Studio Supplies Used:

Critter Country Paper
Shop at:
Sunny Studio
Pathway Home Stamps
Pathway Home Stamps
Shop at:
Sunny Studio
Pathway Home Dies
Pathway Home Dies
Shop at:
Sunny Studio
Slimline Nature Borders
Shop at:
Sunny Studio
Build-a-Greeting Holidays
Shop at:
Sunny Studio
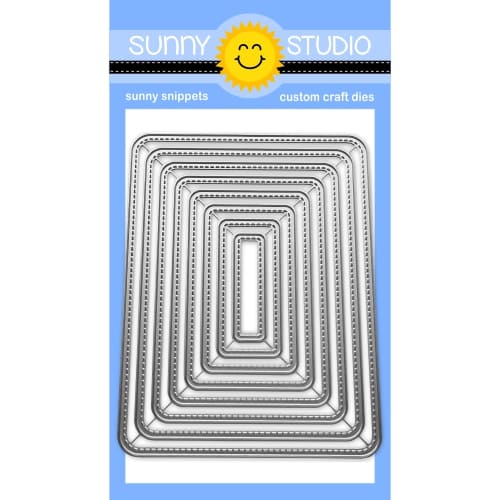
Icing Rectangle Frame Dies
Shop at:
Sunny Studio
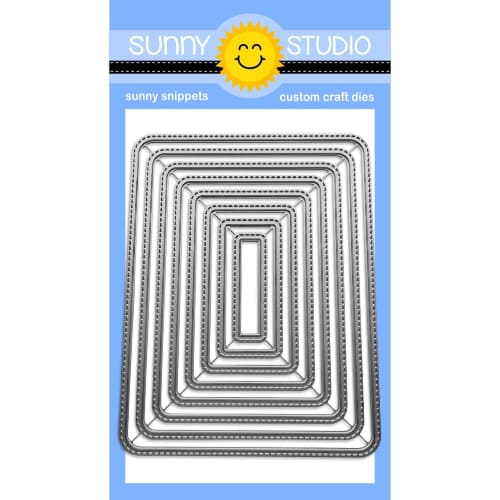
Rounded Rectangle Mat Dies
Shop at:
Sunny Studio

Thursday, September 17, 2026

Pathway Home Card with Yan

Hey crafty friends! It's Yan here, and today I'm sharing a cozy autumn scene featuring the brand-new Pathway Home Stamps set. Fall is just around the corner, and I had so much fun bringing this vibrant, heartwarming piece to life. Grab a warm cup of tea and let's dive into the process!

Sunny Studio Stamps: Pathway Home Fall Themed Card by Yan X DIY (featuring Build-A-Greeting Holidays)

​To kick things off, I stamped the adorable raccoon, pumpkins, cart, watering can, and foliage onto Neenah Solar White cardstock using Memento Tuxedo Black Ink. Next, I brought them to life using my Copic markers. Once the coloring was finished, I lined up the coordinating dies and die-cut all the images flawlessly.

COPIC COLORS:
​Raccoon: E41, R30, W1, W4, W7
Pumpkins: YG03 YG63, YR000, YR65, YR68
Cart & Watering Can: C1, E31, E35, E47, YR000, YR65, YR68

​To build a scene with plenty of depth and dimension, I stamped the background image using a light gray ink onto three separate pieces of cardstock. After coloring each layer with Copic markers, I fussy-cut specific elements using fine-tip scissors:

​Base layer: A softly ink-blended sky using Salvaged Patina Distress Oxide ink, along with the main cottage image.

​Middle layer: The autumn trees and white picket fence popped up to add depth.

​Foreground layer: The cute raccoon, pumpkins, cart, watering can, and stone pathway elements positioned at the very front.

Sunny Studio Stamps: Pathway Home Fall Themed Card by Yan X DIY (featuring Build-A-Greeting Holidays)

​I assembled all three layers using 3D foam tape—stacking them together really brought this crisp autumn scene to life!

COPIC COLORS:
House & Fence: C1, E41, W1, W4, YR000, YR65, YR68
Trees: E31, E35, G40, Y00, Y15, Yg03, YR000, YR65
Stones: W1, W4 

​For the sentiment, I used the Build-A-Greeting Holiday Stamps. I heat-embossed the text in crisp white embossing powder onto black cardstock strips and popped them onto the top of the card with foam tape.

​And there you have it! A warm, layered autumn greeting that's guaranteed to bring a smile to anyone's face. Thanks for stopping by, and happy crafting!

Sunny Studio Supplies Used:

Build-a-Greeting Holidays
Shop at:
Sunny Studio
Pathway Home Stamps
Pathway Home Stamps
Shop at:
Sunny Studio
Pathway Home Dies
Pathway Home Dies
Shop at:
Sunny Studio

Saturday, September 5, 2026

Nativity Scene Builder Card with Jarle

We would like to welcome Jarle Franceus to the Sunny Studio Stamps design team! We are excited to have her on the team and look forward to her beautiful creations. You can find more of her work here:

- Instagram: @handmadecards_by_jarle
- Blog:
Handmade Card Happy Heart 
- YouTube:
Handmade Card Happy Heart

 -------------------------------------------------------

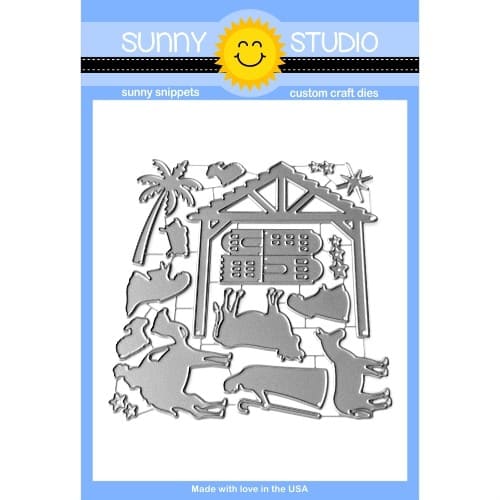
Hi you! It's Jarle here, with my very first post as a member of the Sunny Studio Stamps Design Team. I am excited to be here and I hope to inspire you with my projects. Today I am using the beautiful Nativity Scene Builder die set. 

Sunny Studio Stamps: Nativity Scene Builder Christmas Card by Jarle Franceus (featuring Rounded Rectangle Window Dies, Build-A-Greetings Holidays)

I started by inking up my A2 panel with different Distress Oxide colors: Squeezed Lemonade, Picked Raspberry, Wilted Violet, and Blueprint Sketch. I splattered on some Copic white, diluted with water, and let it dry. 

I trimmed a panel out of Brushed Gold cardstock from Spellbinders to A2 size. I then used the Rounded Rectangle Window dies to die-cut a window out of that same panel. This gives a lovely stitching detail to the frame. Since I really love dimension on handmade cards, I put foam strips on the back of that frame and popped it on the ink-blended panel. 

Sunny Studio Stamps: Nativity Scene Builder Christmas Card by Jarle Franceus (featuring Rounded Rectangle Window Dies, Build-A-Greetings Holidays)

I die-cut different pieces of the Nativity set in black and (the same) brushed gold cardstock. I assembled all the pieces inside the window. Some were popped up with foam squares and others were adhered directly onto the panel with liquid glue. 

After that, I stamped my sentiment of the Build-A-Greeting: Holidays stamp set onto black cardstock with Versamark ink, sprinkled on white embossing powder, and heat-set it with my heat gun. I trimmed it down to a small strip and placed it inside my scene. Finally, I adhered the whole panel to a white card base. 

I like how the colors turned out, and those silhouettes just make the perfect elegant Christmas card! Have a beautiful day! 

Sunny Studio Supplies Used:


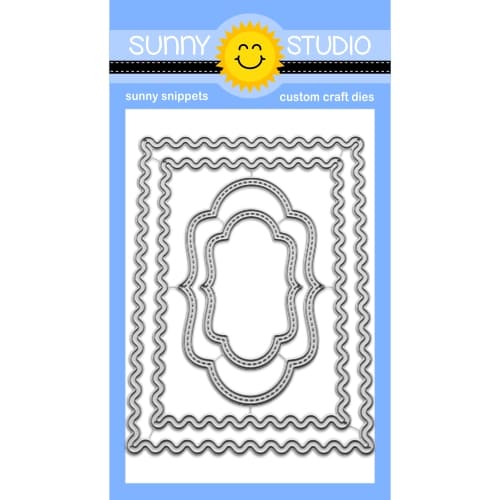
Rounded Rectangle Window Dies
Shop at:
Sunny Studio
Build-a-Greeting Holidays
Shop at:
Sunny Studio
Nativity Scene Builder
Shop at:
Sunny Studio

Tuesday, September 1, 2026

Nativity Scene Builder Card with Marieke

Hello all, Marieke here. I'm back again with my weekly post for Sunny Studio Stamps. Today I hope to inspire you with a card that I made using the Nativity Scene Builder Dies.

Sunny Studio Supplies Used: Nativity Scene Builder Christmas Card by Marieke Slaats (feauting Build-A-Greetings Holiday, Frilly Frame Dies)

So for this project I thought it would be fun to create a light up card. So for this to work I cut a black and a white scalloped rectangle using the Frilly Frames Hexagon dies. Scored one at 1 1/2 inch and adhered them together. This is the base of the card. Cut a slightly smaller watercolor panel and decided where I wanted the light to be placed.

Sunny Studio Supplies Used: Nativity Scene Builder Christmas Card by Marieke Slaats (feauting Build-A-Greetings Holiday, Frilly Frame Dies)

Die cut a circle out of the rectangle and ink blended the top of the card using Dried Marigold, Seedles Preserves and Black Soot. Splattered some water and cut a black strip of cardstock. Decided where the light up button was going to be and heat set the "press" using gold embossing powder.

Cut a watercolor rectangle, placed this on the front of the base card and traced the outside on the card and added the inked panel on to. Traced the circle on the watercolor panel and ink blended it using Scattered Straw.

Sunny Studio Supplies Used: Nativity Scene Builder Christmas Card by Marieke Slaats (feauting Build-A-Greetings Holiday, Frilly Frame Dies)

Die cut all the elements of the scene using black cardstock and gold Glitter cardstock with the Nativity Scene Builder Dies. Placed the scene so I knew where I wanted to place the sentiment. Stamped the sentiment out of the Build-a-Greeting Holidays Stamp directly on a small inked rectangle.

Glued the small rectangle on the base cardstock, decided where the light element needed to go and adhered it to the base. Assembled the elements on the front of the card and finished the card by adding some gold stars.

Have a wonderful day!

Sunny Studio Supplies Used:

Frilly Frames Hexagon Dies
Shop at:
Sunny Studio
Build-a-Greeting Holidays
Shop at:
Sunny Studio
Nativity Scene Builder
Shop at:
Sunny Studio

Tuesday, August 25, 2026

Sneak Peek: Introducing Sleigh Ride Surprise Craft Dies

Hello, and welcome to the second day of our Holiday Sneak Peek Week!  All this week I am sharing cards showcasing our newest collection, which will be available for purchase this Friday!

Card No. 1: Today I'm showcasing our new Sleigh Ride Surprise Dies, and I have fallen completely head over heels in love with them! This set is full of so many fun details. I must point out, though, that the intricate tree die from this set is one of those dies where you need a metal shim with a strong electronic die-cutting machine, or the Sizzix Chrome Precision Base Plate with a manual die-cutting machine. Even with these measures, I found it helpful to run it through a few times, shifting the direction it passed through my machine each time.

My first card today uses almost every element from the set for a colorful Christmas card, and I love the way it turned out! The set includes a fun string of holiday lights to tuck below the sleigh's trim, and I layered up the tree and wreath with two cuts from two different colors of green cardstock to give them a fuller appearance. I trimmed my 4.25" x 4.5" panel from white cardstock and added stitching on the top and bottom edges using our Ribbon & Lace Border Dies. I then tucked 5/8" strips of colorful striped patterned paper from our Joyful Holiday Paper pack, along the top and bottom. The "wrapping paper" on the gifts used prints from our Dots & Stripes Jewel Tones Paper, Classic Gingham Paper, and Joyful Holiday sets. Lastly, I added a sentiment from our Build-a-Greeting Holidays Stamps.

Sunny Studio Stamps Sleigh Stacked with Gifts Colorful DIY Holiday Christmas Card using Sleigh Ride Surprise Metal Craft Dies

Card No. 2: Next up is a card utilizing many of the same elements from the Sleigh Ride Surprise Dies, but this time I went with a pastel pink, green, and gold color scheme. For my background, I pierced my shimmery Opal Cardstock with our Dotted Diamond Portrait Dies and then randomly scattered die-cut stars from the set, cut from gold leaf cardstock. I used this same metallic gold cardstock to cut matching bows for my wreath and gifts. 

Sunny Studio Stamps Pink & Gold Gifts in Sleigh Holiday Christmas Card using Sleigh Ride Surprise Metal Cutting Craft Dies

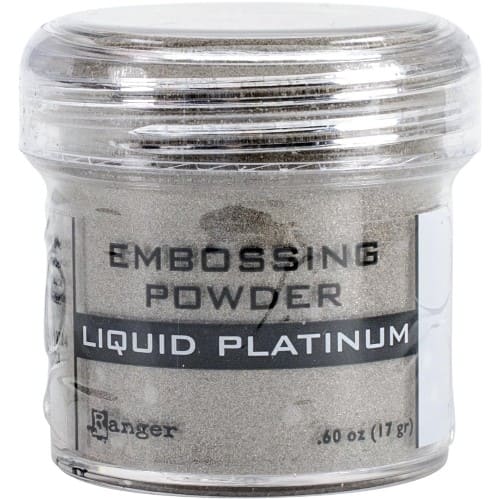
For the presents, I used prints from our Dots & Stripes Pastel Paper and Gingham Pastel Paper packs. Lastly, I added my greeting from the Build-a-Greeting Holidays Stamps to a pennant strip cut using the Notebook Photo Corner Dies. I stamped my sentiment using VersaMark ink with Liquid Platinum Embossing Powder to perfectly complement my metallic gold stars.

Sunny Studio Stamps Pink & Gold Gifts in Sleigh Holiday Christmas Card using Sleigh Ride Surprise Metal Cutting Craft Dies

Card No. 3: For this Christmas card, I used the Sleigh Ride Surprise Dies and went with a classic red and green color scheme, using the dark green checked print from the Joyful Holiday Paper pack and topping it with its crisp white scalloped mat from the Frilly Frames Eyelet Lace Dies. I created a frame around my red sleigh filled with Santa's bags of toys using the smallest holly and berries dies from the set, adding extra touches of realism to the berries with my Copic Markers and a white gel pen. I then layered my greeting over the middle of the sleigh using a sentiment from the Build-a-Greeting Holidays Stamps and the word "holiday" from the Cozy Christmas Stamps, which I heat-embossed onto a green dotted print from the Polka-dot Parade Paper pack, and cut out using the Brilliant Banner 3 Dies.

Sunny Studio Stamps Holly & Berries Red Sleigh DIY Holiday Christmas Card using Sleigh Ride Surprise Metal Cutting Craft Dies

Card No. 4: Up next is a festive, monochromatic slimline card in cool blue tones using the Sleigh Ride Surprise Dies. This time, I used the tree die from the set outside the sleigh, cutting it from white cardstock and topping it with sparkly Stickles Twinkle liquid glitter to give it a snowy appearance. I added a snowy hillside using the Slimline Nature Border Dies and a large oversized blue greeting to match from the Season's Greetings Stamps. For the gifts in my sleigh, I cut them from patterned paper from the Surprise Party Paper, Classic Gingham Paper, and Polka-dot Parade Paper packs and topped them with Metallic Silver Bows.

Sunny Studio Stamps Blue Sleigh with Snowy Trees Slimline Holiday Christmas Card using Sleigh Ride Surprise Metal Craft Dies

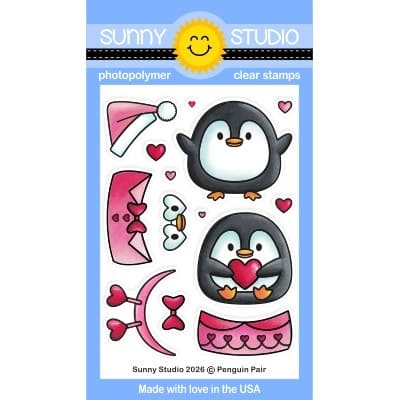
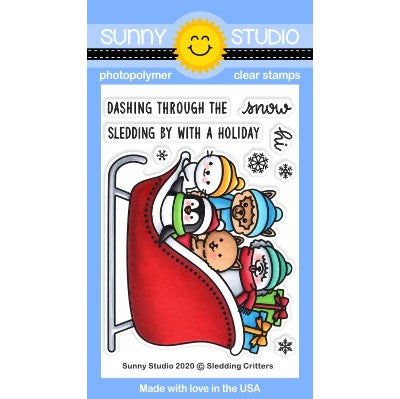
Card No. 5: I could resist pairing our new Sleigh Ride Surprise Dies with some cute critter stamps, and our Roly Poly Penguin Stamps and Penguin Pair Stamps fit the bill. I wanted the adorable penguins to take center stage, so I kept the rest of my card clean and simple, adding a snowy background using the Snow Flurries Stamps together with Gina K. Blue Sky ink. I should note that these stamps usually stamp quite crisp; however, my new ink cube was very juicy, and I decided to double-stamp them, as I'm in the habit of doing. I also failed to zap them with the heat gun to prevent the ink from bleeding, but in the end I decided I kind of liked the blurry, dreamy background that resulted. I added a simple white snowy hill using the Slimline Nature Border Dies and heat-embossed a greeting from the Sledding Critters Stamps, which I added to a Brilliant Banner 2 Die, cut from red cardstock.

Sunny Studio Stamps Penguins Piled in Red Sleigh Holiday Christmas Card using Sleigh Ride Surprise Metal Cutting Craft Dies

Card No. 6: Switching gears, I always enjoy finding ways to stretch my dies by using them a bit outside the box, so for this card, I made the tree from the Sleigh Ride Surprise Dies my focal point, decorating it with the trimmed-down string of lights, mini ornament, and star from the set, and the little pot from the Distinctive Door Holiday Add-on Dies. I then paired the tree with the three deer from the Rustic Winter set, cut from black cardstock, and framed them using the Rounded Rectangle Window Dies, cut from a lime-green checked print found in the Joyful Holiday Paper pack. I added holly and berries to the corner of my frame and a red bow to one of the deer's necks from the Sleigh Ride Surprise Dies. Finally, I heat-embossed a sentiment from the Build-a-Greeting Holidays Stamps onto a red banner cut using the Brilliant Banner 1 Dies.

Sunny Studio Stamps Deer with Glowing Christmas Tree & Holly Holiday Card using Sleigh Ride Surprise Metal Cutting Craft Dies

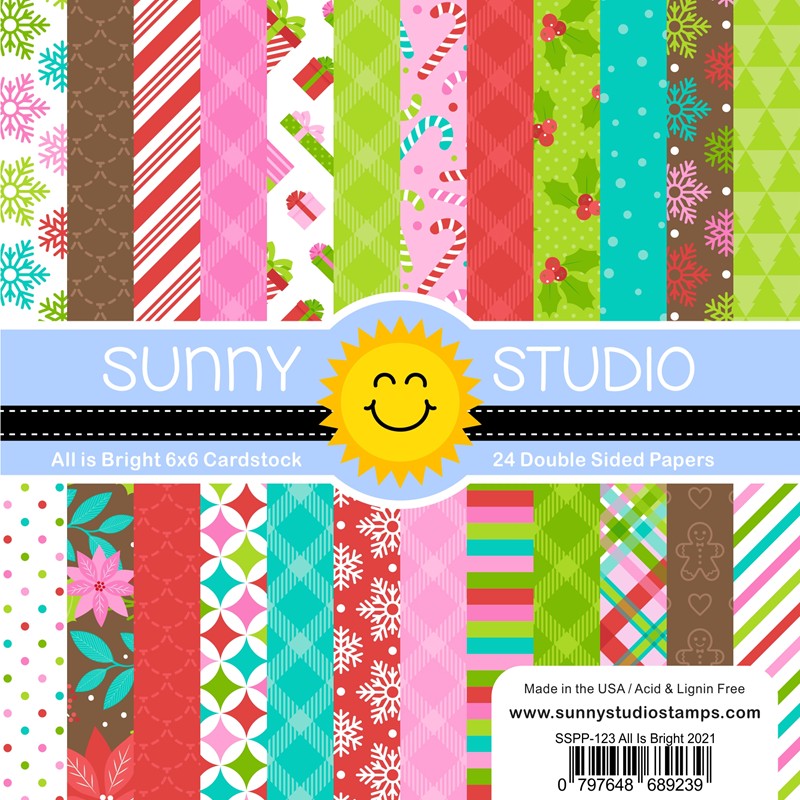
Card No. 7: Continuing the idea of using the Sleigh Ride Surprise Dies on a card without a sleigh, I created a card focusing on the wreath, bow, and holly from the set. I layered and lined up three wreaths, adding the peeking reindeer and Santa Claus from the Holiday Express Stamps. I then added a scalloped edge to my white cardstock panel and topped it with a red stitched strip using the Ribbon & Lace Border Dies. I cut a few 3/4" circles from red cardstock and then cut them in half so that I could glue them behind the eyelet openings of my scalloped border to help keep things from looking too busy when I added the red and white candy striped print from the All Is Bright Paper pack to the bottom of my card. Lastly, I added the retro "Merry Christmas" greeting stamped in red ink from our Bells & Baubles Stamps.

Sunny Studio Stamps Santa Claus & Reindeer Peeking in Wreath DIY Christmas Card using Sleigh Ride Surprise Metal Craft Dies

That wraps up today's sneak peek. I'm so happy you joined me today! I'd love to give a $40 gift code to one lucky winner, randomly selected from comments on this blog post and on our Facebook and Instagram posts. Our daily contests will run through Saturday, August 29th, at Midnight PST, with winners announced here on our blog on Sunday, August 30th.

Here's a closer look at our new Sleigh Ride Surprise Dies, which will be available for purchase starting on Friday morning. I've also shared a number of cards today using our newer Build-a-Greeting Holidays Stamps, which we released on their own without a full release last year, and have since become one of my favorites. You can create hundreds of custom sentiments, and I have compiled them in a printable guide HERE that I've found helpful to store with the set.


Other Supplies Used:

Notebook Photo Corners Dies
Shop at:
Sunny Studio
Brilliant Banner 1 Dies
Shop at:
Sunny Studio
Brilliant Banner 2 Dies
Shop at:
Sunny Studio
Brilliant Banner 3 Dies
Shop at:
Sunny Studio
Season's Greetings Stamps
Shop at:
Sunny Studio
Season's Greetings Word Dies
Shop at:
Sunny Studio
Bells & Baubles Stamps
Shop at:
Sunny Studio
Bells & Baubles Dies
Shop at:
Sunny Studio
Frilly Frames-Eyelet Lace
Shop at:
Sunny Studio
Dotted Diamond Portrait
Shop at:
Sunny Studio
Slimline Nature Borders
Shop at:
Sunny Studio
Ribbon & Lace Dies
Ribbon & Lace Dies
Shop at:
Sunny Studio
Rounded Rectangle Window Dies
Shop at:
Sunny Studio
Rustic Winter Dies
Rustic Winter Dies
Shop at:
Sunny Studio
Distinctive Door Holiday Add-on
Shop at:
Sunny Studio
Snow Flurries Stamps
Shop at:
Sunny Studio
Roly Poly Penguin Stamps
Shop at:
Sunny Studio
Roly Poly Penguin Dies
Shop at:
Sunny Studio
Penguin Pair Stamps
Penguin Pair Stamps
Shop at:
Sunny Studio
Penguin Pair Dies
Penguin Pair Dies
Shop at:
Sunny Studio
Sledding Critters Stamps
Shop at:
Sunny Studio
Sledding Critters Dies
Shop at:
Sunny Studio
All Is Bright Paper
All Is Bright Paper
Shop at:
Sunny Studio
Joyful Holiday Paper
Shop at:
Sunny Studio
Classic Gingham 6x6 Paper
Shop at:
Sunny Studio
Striped Silly 6x6 Paper
Shop at:
Sunny Studio
Polka-dot Parade 6x6 Paper
Shop at:
Sunny Studio
Surprise Party 6x6 Paper
Shop at:
Sunny Studio
Dots & Stripes Jewel Tones 6x6 Paper
Shop at:
Sunny Studio
Dots & Stripes Pastels 6x6 Paper
Shop at:
Sunny Studio
Gingham Pastels 6x6 Paper
Shop at:
Sunny Studio
Stickles Twinkle Glitter
Shop at:
Sunny Studio
Versafine Onyx Black Ink
Shop at:
Sunny Studio
VersaMark Watermark Ink
Shop at:
Sunny Studio
Hero Arts White Detail
Shop at:
Sunny Studio
Liquid Platinum Embossing Powder
Shop at:
Sunny Studio