Friday, April 25, 2025

Vintage Jar Spring Bouquet Cards with Mendi

Hello and welcome! This is Mendi here today, popping in to share some Spring floral bouquet cards today featuring our Vintage Jar Stamps and Dies!

For both of these cards, I started by stamping my first layer onto cardstock and die-cutting the jar with the coordinating dies, and then I stamped the second layer using a slightly darker shade of dye ink onto vellum before sprinkling the image with clear embossing powder and heat setting it. Typically, you can't heat-emboss with dye inks; however, because of the non-porous nature of the vellum and the fact that most dye inks would just smear off without drying, the clear embossing powder helped set the image. It also gave me a wider range of inks in my stash to choose from. I then die-cut the vellum layer and used a Zig Glue Pen to add a thin line of glue on the back of the vellum piece directly behind my heat-embossed lines to hide the adhesive and to give me a pocket to insert my flower stems.

Sunny Studio Floral Card Set by Mendi (using Vintage Jar, Spring Bouquet, Tranquil Tulips Stamps, & Brilliant Banner Dies)

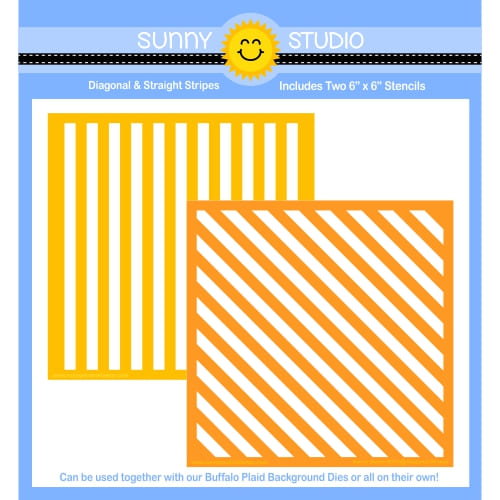
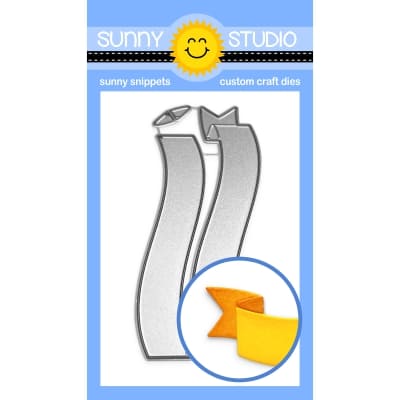
For my first card showcasing the Vintage Jar Stamps, I filled my jar with the daffodils from our Spring Bouquet Stamps and Dies. I created a fresh green gingham backdrop for my card by pairing our Buffalo Plaid Diagonal Die with our Diagonal & Straight Stripes Stencils. I then layered my white scalloped cardstock panel down the center by die-cutting the edges with a border from our Slimline Pennant Dies and added the offset straight stitching with our Slimline Basic Border Dies. As the final touch, I heat-embossed the "Happy Birthday" phrase from our Inside Greetings Birthday Stamps onto a yellow polka-dot print from our Spring Fever Paper pack, which I die-cut using our Brilliant Banner 2 Dies.

Ink colors used for stems & leaves:

Sunny Studio Green Gingham Floral Daffodil Card (using Vintage Jar, Spring Bouquet Stamps, Buffalo Plaid Diagonal, & Brilliant Banner 2 Dies)

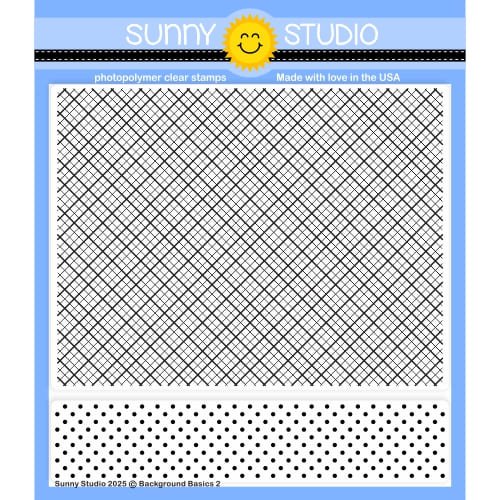
For my next card featuring the Vintage Jar Stamps, I created a floral bouquet using our Tranquil Tulips Stamps and Dies. This time I turned to our Background Basics 2 Stamps to stamp the tone-on-tone hot pink diagonal grid print for my card background. To form my white scalloped cardstock strip down the center, I paired the eyelet lace border and the stitched edge from our Ribbon & Lace Border Dies

I stamped the same "Happy Birthday" phrase from our Inside Greetings Birthday Stamps onto a lavender polka-dot print from our Dots & Stripes Pastels Paper pack, which I die-cut using our Brilliant Banner 1 Dies. The polka-dot print felt washed out next to the vibrant purple tulips, so I inked up my patterned paper with some Wilted Violet Distress ink to closely match the colors. I love the idea of inking patterned paper to make it work for your needs and that the print still shows through the light layer of ink!

Ink colors used for hot pink tulips:
Ink colors used for purple tulips:
Ink colors used for stems & leaves:

Sunny Studio Hot Pink Floral Spring Birthday Card (using Vintage Jar, Tranquil Tulips, Background Basics 2 Stamps, & Brilliant Banner 1 Dies)

That wraps up my projects for this morning. I hope I've inspired you in your own cardmaking and that you spread a little happiness by sending out a card to a loved one today.

Don't forget to check out our Vintage Jar Stamps and Tranquil Tulips Stamps in our online shop, which are both currently on sale I also encourage you to check out all the card ideas with these sets on each of their product pages. I always make sure to upload tons of ideas for each set following the product image so there are lots of ideas to scroll through there organized by set. 💗

Supplies Used:

Vintage Jar Dies
Vintage Jar Dies
Shop at:
Sunny Studio
Vintage Jar Stamps
Vintage Jar Stamps
Shop at:
Sunny Studio
Versafine Onyx Black Ink
Shop at:
Sunny Studio
Polka-dot Parade 6x6 Paper
Shop at:
Sunny Studio

Slimline Basic Borders
Shop at:
Sunny Studio
Slimline Pennant Dies
Shop at:
Sunny Studio
Spring Bouquet Stamps
Shop at:
Sunny Studio
Spring Bouquet Dies
Spring Bouquet Dies
Shop at:
Sunny Studio
Tranquil Tulips Stamps
Shop at:
Sunny Studio
Tranquil Tulips Dies
Shop at:
Sunny Studio
Ribbon & Lace Dies
Ribbon & Lace Dies
Shop at:
Sunny Studio
Spring Fever Paper
Spring Fever Paper
Shop at:
Sunny Studio
Brilliant Banner 1 Dies
Shop at:
Sunny Studio
Brilliant Banner 2 Dies
Shop at:
Sunny Studio
Buffalo Plaid Diagonal Die
Shop at:
Sunny Studio
Diagonal & Straight Stripes Stencils
Shop at:
Sunny Studio
Inside Greetings Birthday
Shop at:
Sunny Studio
Background Basics 2 Stamps
Shop at:
Sunny Studio
Hero Arts White Detail
Shop at:
Sunny Studio
VersaMark Watermark Ink
Shop at:
Sunny Studio
Zig Chisel Tip Glue Pen
Shop at:
Sunny Studio

Thursday, April 24, 2025

Pink Peonies Card with Marine

Hello crafty friends, Marine here, I'm happy to be back with this lovely mix & match of new and less new items. It's always nice to use our older sets and pair them with new images to give them some love.

Sunny Studio Stamps: Pink Peonies Card by Marine Simon (featuring Foxy Friends, Frilly Frame Dies, Buffalo Plaid Dies, Straight Stripes Stencil, Brilliant Banner Dies)

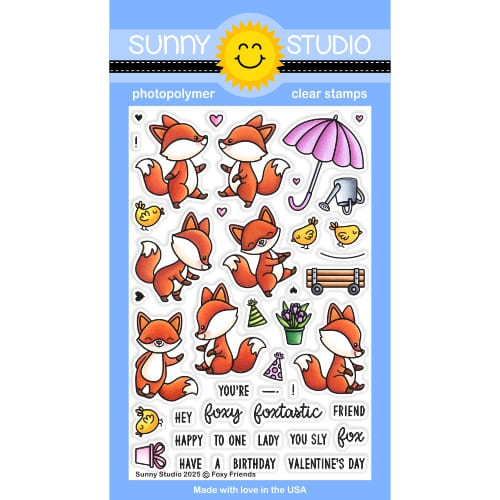
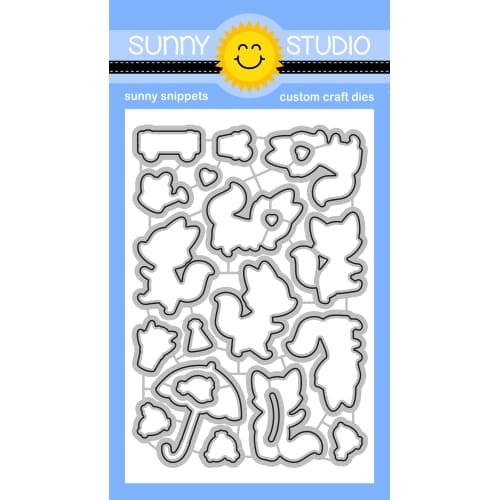
I started off by stamping my images on 110lb Neenah solar white cardstock using an alcohol marker friendly black ink. I cut them using the coordinating dies and colored everything using my Ohuhu markers and Graph'it brush markers. I've only used two stamp sets on this card: Pink Peonies for the flowers and leaves, and Foxy Friends for the foxes, watering can and birds. And once everything was colored, I added highlights and details to the images using a white gel pen.

Sunny Studio Stamps: Pink Peonies Card by Marine Simon (featuring Foxy Friends, Frilly Frame Dies, Buffalo Plaid Dies, Straight Stripes Stencil, Brilliant Banner Dies)

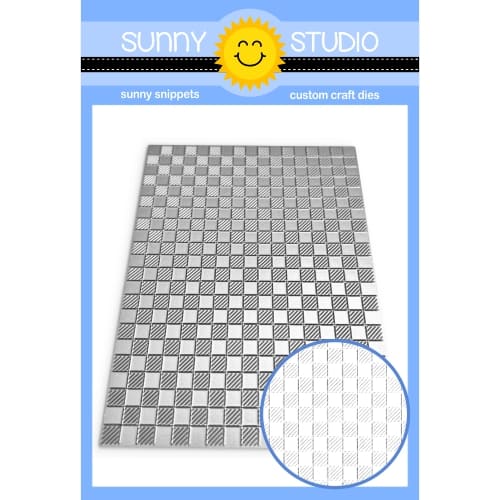
I cut a 5,5 x 4,25 inches panel out of Strathmore bristol smooth, and used the Buffalo Plaid Straight die to add texture to my panel. I wanted my panel to match with the Pink Peonies, so I covered it with spun sugar oxide ink first, and then added a gingham pattern using the Straight Stripes stencil along with worn lipstick oxide ink. I splattered water all over the panel and dried it with a paper towel, mixed some worn lipstick distress spritz with water and added more splatters to my panel, and then did the same with copic opaque white ink and with festive berries oxide ink. Next I cut a Frilly Frame Lattice panel out of white cardstock, attached it to my Buffalo Plaid Straight panel using 1mm foam squares, and then stuck all the images using 1mm and 2mm foam squares.

Sunny Studio Stamps: Pink Peonies Card by Marine Simon (featuring Foxy Friends, Frilly Frame Dies, Buffalo Plaid Dies, Straight Stripes Stencil, Brilliant Banner Dies)

For the greeting, I started off by cutting both pieces of my Brilliant Banner 3 out of vellum, white heat embossed "Thinking of you" from Watering Can on the main vellum piece, attached that main vellum piece to the back element using liquid glue, and then attached the banner to my panel using clear foam squares. I finally glued some clear droplets here and there to bring some shine to the card, and that's it! 

I hope that this card has inspired you to shop your old stash and mix your products with new ones. Thanks so much for stopping by, and see you next time.

Sunny Studio Supplies Used:

Frilly Frames Lattice Dies
Shop at:
Sunny Studio
Pink Peonies Stamps
Pink Peonies Stamps
Shop at:
Sunny Studio
Pink Peonies Dies
Pink Peonies Dies
Shop at:
Sunny Studio
Watering Can Stamps
Watering Can Stamps
Shop at:
Sunny Studio
Brilliant Banner 3 Dies
Shop at:
Sunny Studio
Buffalo Plaid Straight Die
Shop at:
Sunny Studio
Diagonal & Straight Stripes Stencils
Shop at:
Sunny Studio
Foxy Friends Stamps
Foxy Friends Stamps
Shop at:
Sunny Studio
Foxy Friends Dies
Foxy Friends Dies
Shop at:
Sunny Studio

Wednesday, April 23, 2025

Outback Critters Card with Tina

Hi crafty friends, Tina here and I am super excited to create a fun birthday card featuring the Outback Critters stamp and die set! How sweet are these cuties! I love critters and these ones are just the best (that baby!)

Sunny Studio Stamps: Outback Critters Card by Tina Henkens (featuring Blooming Frame Dies, Wishes Word Die, Words of Gratitude)

The Blooming Frame die combined with a green paper from Flirty Flowers is the perfect background to set the scene for these animals. I glued this piece to a white card base to create a light and airy effect.

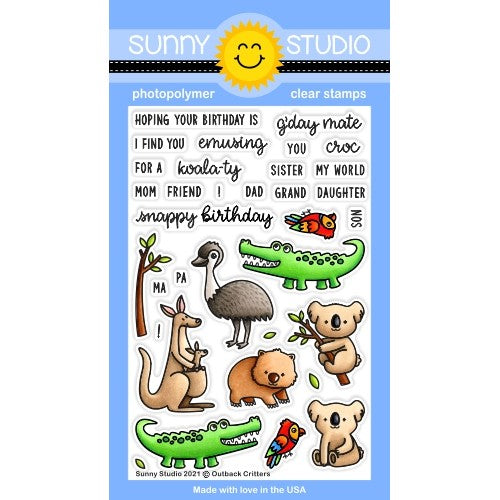
After selecting 5 cute images (Outback Critters stamp) I started coloring with my trusty Copics. I used extra vibrant colors for the parrots since the other images were merely in brown tones. To add even more contrast, I cut the large Wishes Word die three times from white card stock but added a red ombre with my markers.

Sunny Studio Stamps: Outback Critters Card by Tina Henkens (featuring Blooming Frame Dies, Wishes Word Die, Words of Gratitude)

Next, I stamped the ‘Warmest’ sentiment (Words Of Gratitude) onto the background panel with Versafine Onyx Black inkI played around with placement of the animals until I was happy with the result. After adding a few Champagne clear Jewels this sweet project was ready!

I can’t wait to see all these adorable critters featured in your projects! Thank you for visiting the blog and happy crafting! 

Sunny Studio Supplies Used:

Wishes Word Die
Wishes Word Die
Shop at:
Sunny Studio
Outback Critters Stamps
Shop at:
Sunny Studio
Outback Critters Dies
Shop at:
Sunny Studio
Words of Gratitude Stamps
Shop at:
Sunny Studio
Flirty Flowers 6x6 Paper
Shop at:
Sunny Studio
Blooming Frame Die
Blooming Frame Die
Shop at:
Sunny Studio

Tuesday, April 22, 2025

Summer Jar Mug Card with Amanda

Hey crafty friends! It’s Amanda back here on the Sunny Studio Blog today! Thanks for coming by and getting crafty with me! Today, I am sharing this Summer Vibes card! I cannot WAIT for summer to get here, how about you!?

Sunny Studio Stamps: Summer Jar Mug & Fresh Lemon Card by Amanda Fitterer (featuring Stitched Arch Dies)

To create this card, I trimmed a piece of the bright and cheery Summer Splash Paper to 4”x5.25”. I glued this paper to an A2 card base. Next, I cut out the largest of the Stitched Arch Dies in white cardstock. I ink blended a very small amount of Catherine Pooler Melon Ice ink in the center of the arch. I applied some 3D foam strips behind the arch and then adhered it to my card front.

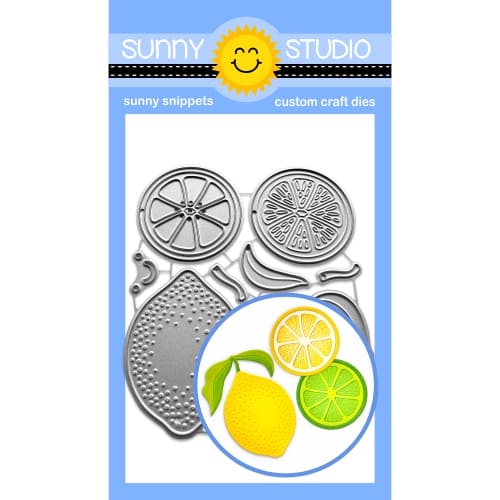
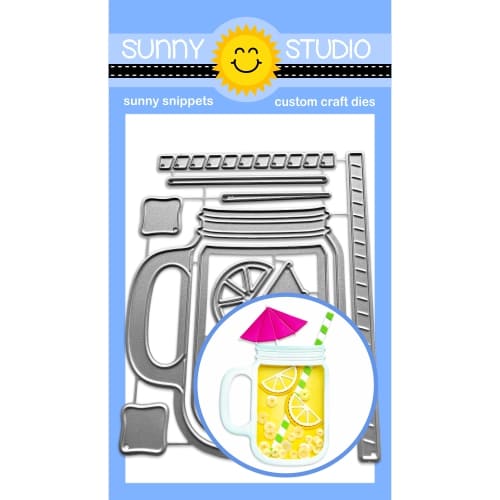
I die cut the Fresh Lemon Dies and the Summer Jar Mug Dies out of white cardstock. First, I used some Glossy Accent on the 3 little ice cubes to make them look like real cubes! I set those aside, as they will take some time to dry.

Next, I ink blended some of the Catherine Pooler Pebble ink on the jar mug front piece. On the back piece of the jar mug, I ink blended a bit of Chiffon ink towards the bottom. For the lemons, I ink blended Chiffon and Limoncello inks to get a 3D look to them. For the straw and umbrella, I used Melon Ice ink. Then, on the umbrella, I also created dimension using some green Copic markers.

Sunny Studio Stamps: Summer Jar Mug & Fresh Lemon Card by Amanda Fitterer (featuring Stitched Arch Dies)

I put 3D foam squares behind the mug and lemon and then attached it to my arch. I used glue to adhere the straw, ice cubes, lemon wedges and umbrella.

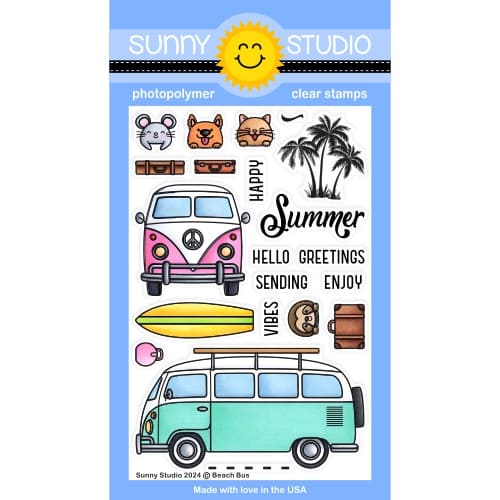
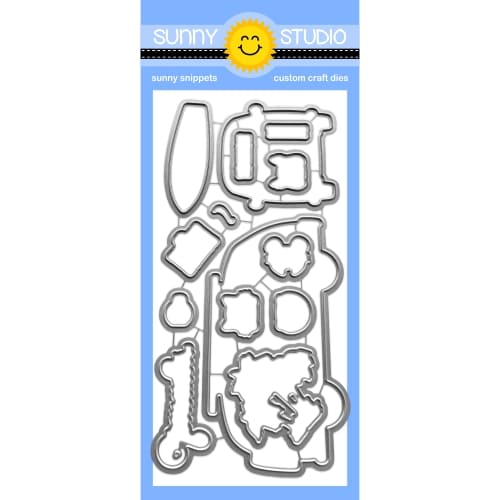
I stamped the “Summer Vibes” sentiment stamps from the Beach Bus Stamps on black cardstock with a WOW! Embossing ink pad. I applied some white embossing powder to it and then melted the powder using my heat tool. I die cut the “Summer” out with the coordinating dies. I used a paper trimmer to cut out the “Vibes” sentiment. I put 3D foam strips behind the sentiment and attached them to my card. To add a little bit of sparkle and fun, I added a few of the Iridescent Clear Jewels!

This card just screams “summer!” and I’m loving it! Thanks for stopping by the Sunny Studio Blog today! 

Sunny Studio Supplies Used:

Summer Splash 6x6 Paper
Shop at:
Sunny Studio
Stitched Arch Dies
Stitched Arch Dies
Shop at:
Sunny Studio
Beach Bus Stamps
Beach Bus Stamps
Shop at:
Sunny Studio
Beach Bus Dies
Beach Bus Dies
Shop at:
Sunny Studio
Fresh Lemon Dies
Fresh Lemon Dies
Shop at:
Sunny Studio
Summer Jar Mug Dies
Summer Jar Mug Dies
Shop at:
Sunny Studio