Showing posts with label Shaker Card. Show all posts

Thursday, May 16, 2024

Summer Jar Mug Card with Marine

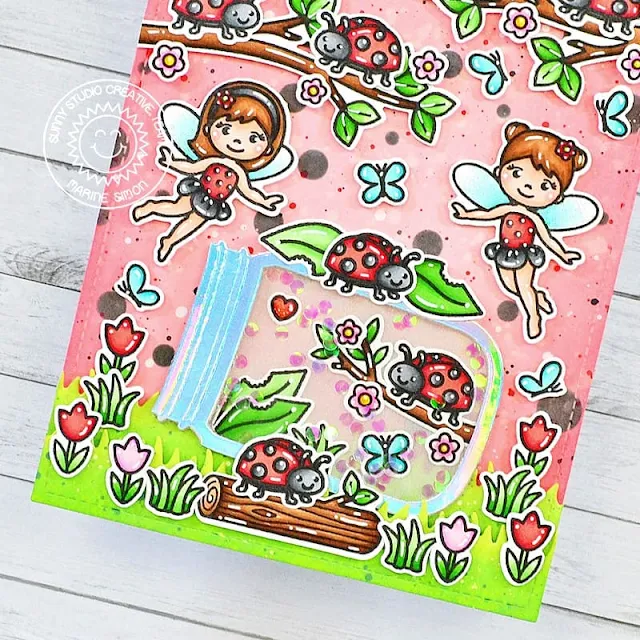
Hello crafty friends, Marine here with you today, I'm thrilled to be sharing with you this lovely card featuring the jar from the Summer Jar Mug die set from the Summer 2024 release. I have so many ideas of cards to make with this new die set, and the first that came to my mind was this ladybug themed card with ladybug fairies, because I like to use them for all the seasons and for any theme. If you missed them, here are the previous Garden Fairy cards I made: Bee FairiesHalloween FairiesNight FairiesHoliday Fairies.

Sunny Studio Stamps: Summer Jar Mug Die Focused Shaker Card by Marine Simon (featuring Garden Fairy, Garden Critters, Picket Fence Border Dies)

I started off by cutting a 5,5 x 4,25 inches Strathmore bristol smooth panel that I entirely covered with saltwater taffy oxide inks, with a little bit of festive berries oxide ink on the edges. To create a ladybug pattern, I used a bubble stencil from my stash along with black soot oxide ink to make black dots all over my panel. I splattered water on my piece of paper and dried it using a paper towel, mixed some festive berries oxide ink with water and added more splatters on my panel using a small brush, and then did the same with black soot oxide ink and with copic opaque white ink.

Next I cut another 5,5 x 4,25 inches bristol panel, cut two grass borders out of it using a Picket Fence Border die, and colored both of them using shabby shutters and mowed lawn oxide inks. I mixed some rustic wilderness oxide ink with water, and used my small brush again to make splatters on the grass borders, and did the same with copic opaque white ink.

I stamped all my images on 80lb Neenah solar white cardstock using an alcohol marker friendly black ink, cut them using the coordinating dies, and colored everything using my Spectrum Noir Illustrator markers and Graph'it brush markers. 

Sunny Studio Stamps: Summer Jar Mug Die Focused Shaker Card by Marine Simon (featuring Garden Fairy, Garden Critters, Picket Fence Border Dies)

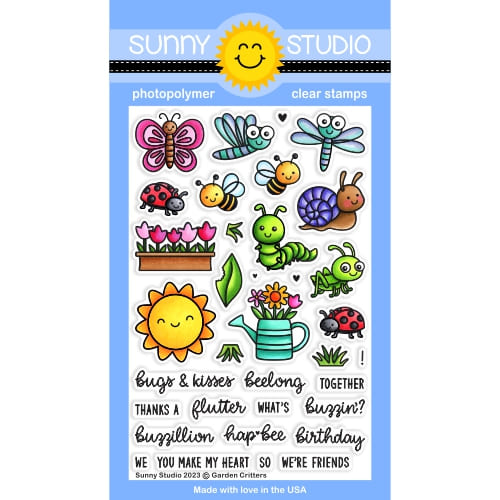
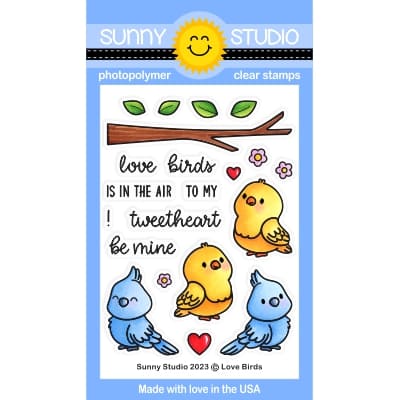
Here is a detailed list of the stamp sets I used: • Garden Fairy - two fairies • Garden Critters - ladybugs and leaves • Special Day - heart • Love Birds - flowers • Little Birdie - branches • Bunnyville - grass, butterflies, tulips • Outback Critters - small branch • Seasonal Trees - log

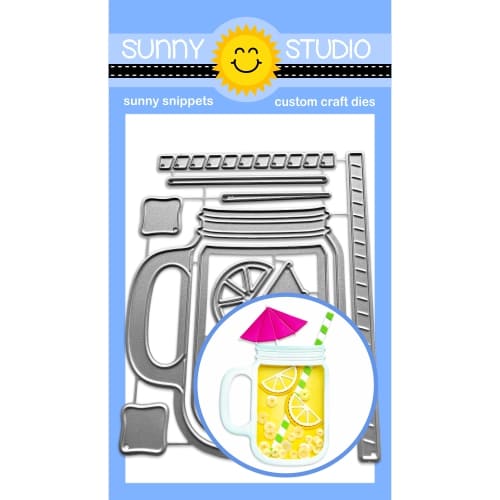
Next I worked on my shaker Summer Jar Mug, and started off by cutting the different pieces: one holographic jar frame for the front, one whole acetate jar, one whole pearlescent vellum jar for the back, and two white jar frames to create dimension inside the jar. I first attached some images directly on the pearlescent jar using liquid glue, making sure to leave enough space on the edges to attach the jar later on. I attached the acetate jar at the back of the holographic jar frame using liquid glue. Next I stuck both white jar frames to the acetate using liquid glue again. Poured some iridescent confetti inside the jar, and finally glued the pearlescent jar to close my shaker jar.

Sunny Studio Stamps: Summer Jar Mug Die Focused Shaker Card by Marine Simon (featuring Garden Fairy, Garden Critters, Picket Fence Border Dies)

I attached everything on my ladybug panel, starting with the grass borders using 1mm foam squares. Next I stuck the jar using liquid glue at the bottom and 1mm foam squares at the top. And then I attached all the images using 1mm and 2mm foam squares, leaving enough space on the top left hand corner for my white heat embossed "You make my heart flutter" greeting from Garden Critters.

Finally I added highlights and details to the images using a white gel pen, applied white blizzard nuvo drops to the fairies wings to make them shine, and glued a tiny red clay heart next to my greeting for a last touch of cuteness. 

And that's it! I hope you like this new card, I had so much fun making it, and I can't wait to share more cards with the amazing Summer Jar Mug. See you next week!

Sunny Studio Supplies Used:

Picket Fence Border Dies
Shop at:
Sunny Studio
Seasonal Trees Stamps
Shop at:
Sunny Studio
Seaonal Trees Dies
Seaonal Trees Dies
Shop at:
Sunny Studio
Garden Fairy Stamps
Garden Fairy Stamps
Shop at:
Sunny Studio
Garden Fairy Dies
Garden Fairy Dies
Shop at:
Sunny Studio
Bunnyville Stamps
Bunnyville Stamps
Shop at:
Sunny Studio
Bunnyville Dies
Bunnyville Dies
Shop at:
Sunny Studio
Little Birdie Stamps
Shop at:
Sunny Studio
Little Birdie Dies
Little Birdie Dies
Shop at:
Sunny Studio
Garden Critters Stamps
Shop at:
Sunny Studio
Garden Critters Dies
Shop at:
Sunny Studio
Special Day Stamps
Special Day Stamps
Shop at:
Sunny Studio
Special Day Dies
Special Day Dies
Shop at:
Sunny Studio
Love Birds Stamps
Love Birds Stamps
Shop at:
Sunny Studio
Love Birds Dies
Love Birds Dies
Shop at:
Sunny Studio
Summer Jar Mug Dies
Summer Jar Mug Dies
Shop at:
Sunny Studio

Thursday, April 4, 2024

Beautiful Bluebells Card with Marine

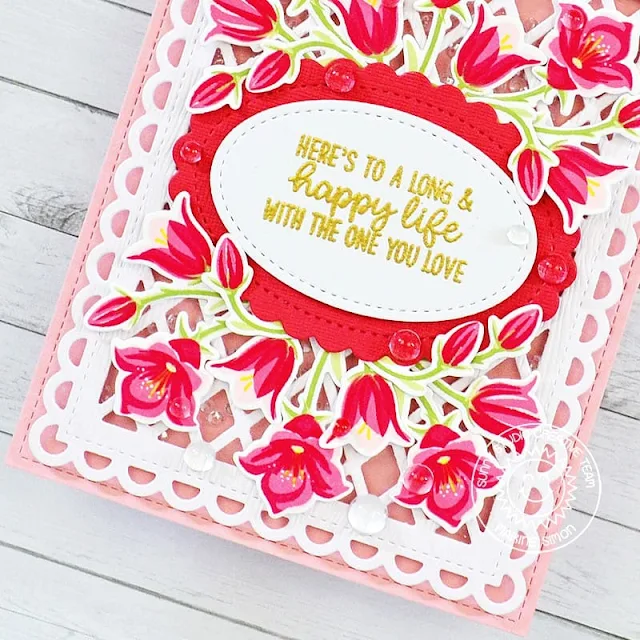
Hello crafty friends, Marine here, I'm very happy to be back on the blog with this elegant and pretty shaker card showcasing the Beautiful Bluebells that I stamped using pinks and reds instead of the traditional blues and purples.

Sunny Studio Stamps: Beautiful Bluebells Card by Marine Simon (featuring Frilly Frame Dies, Stitched Oval Dies, Scalloped Oval Mat Dies, Inside Greetings)

I started off by creating my shaker background, and first cut a Frilly Frame Lattice panel out of white woodgrain cardstock. I also cut a 4,75 x 3,5 inches acetate panel that I attached at the back of my lattice panel using double sided tape, and added foam strips directly on the four edges of the acetate panel. I poured a bunch of 3mm clear sequins on the acetate, and then attached a 5,5 x 4,25 inches light pink panel to the foam strips to close my shaker. And I attached my panel to a matching card base.

Sunny Studio Stamps: Beautiful Bluebells Card by Marine Simon (featuring Frilly Frame Dies, Stitched Oval Dies, Scalloped Oval Mat Dies, Inside Greetings)

For my greeting, I first cut a Scalloped Oval Mat 1 red panel that I stuck in the middle of my Frilly Frame Lattice panel using 2mm foam squares. Next I gold heat embossed my sentiment from Inside Greetings Congrats on a Stitched Oval 2 white panel that I attached on top of the red scalloped oval panel using 1mm foam squares.

Sunny Studio Stamps: Beautiful Bluebells Card by Marine Simon (featuring Frilly Frame Dies, Stitched Oval Dies, Scalloped Oval Mat Dies, Inside Greetings)

Next I stamped a bunch of Beautiful Bluebells on 80lb Neenah solar white cardstock using Altenew crisp dye inks: frosty pink + coral berry + ruby red + warm sunshine for the flowers, and frayed leaf + forest glades. I used the matching dies to cut them all, and then attached everything above and below the greeting using foam squares and liquid glue. I finished my card by adding clear droplets here and there.

And that's it! I love that depending on the greeting, you can turn this card into totally different things: wedding, mother's day, spring, etc. I hope you like it. Thanks so much for stopping by, and see you next time.

Sunny Studio Supplies Used:

Frilly Frames Lattice Dies
Shop at:
Sunny Studio
Scalloped Oval Mat 1 Dies
Shop at:
Sunny Studio
Stitched Oval 2 Dies
Shop at:
Sunny Studio
Inside Greetings Congrats
Shop at:
Sunny Studio
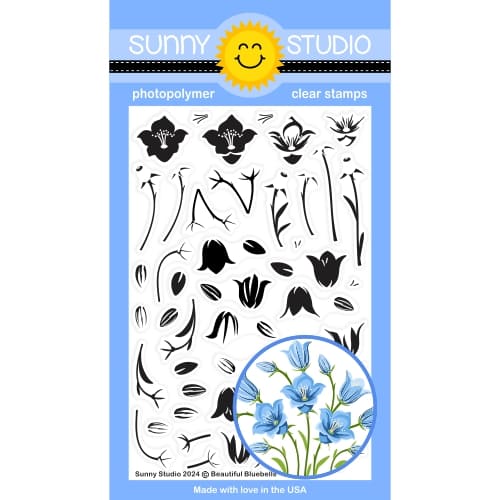
Beautiful Bluebells Stamps
Shop at:
Sunny Studio
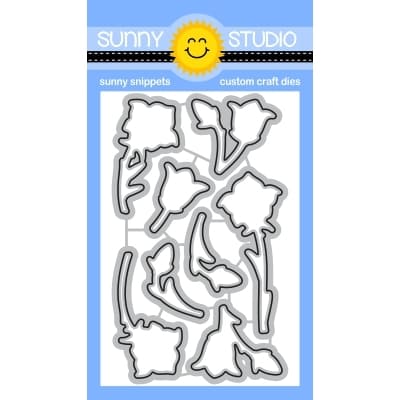
Beautiful Bluebells Dies
Shop at:
Sunny Studio

Sunday, January 28, 2024

Bighearted Bears Card with Rachel

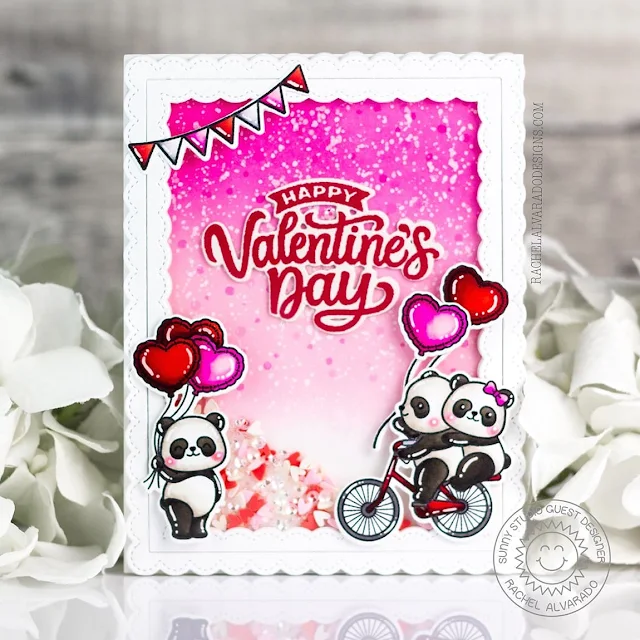
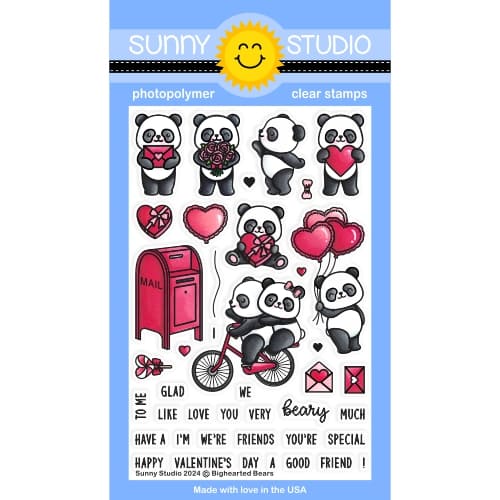
Hello friends! It's Rachel here with a love-themed shaker card featuring the new and adorable Bighearted Bears Stamp Set. I absolutely LOVE this stamp set! It can be used for more than just Valentine's Day and it also coordinates perfectly with the previously released Panda Party Stamp Set. 

Sunny Studio Stamps: Bighearted Bears Valentine's Day Card by Rachel Alvarado (featuring Panda Party, My Heart, Fancy Frame Dies)

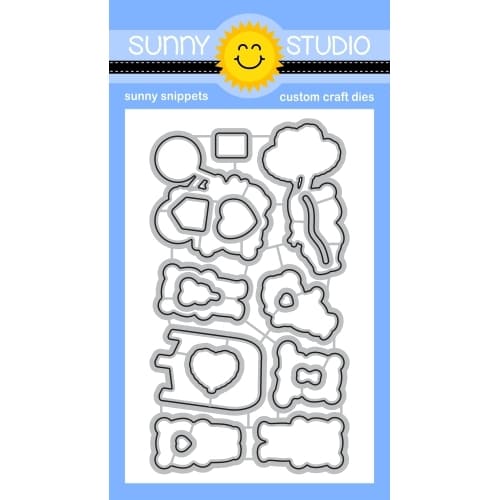
I first stamped my images onto a sheet of Neenah Solar White 110lb Card Stock with Memento Tuxedo Black Ink. I also stamped a fun little banner from the Panda Party Stamp Set. I used Copic markers to color my images and the coordinating Bighearted Bears and Panda Party die sets to cut them out.

Copic Colors Used:

  • Pandas: W00, W1, W3, W5, W7
  • Cheeks: R32
  • Pinks: RV02, RV04, RV17
  • Reds: R14, R46, R59, R89

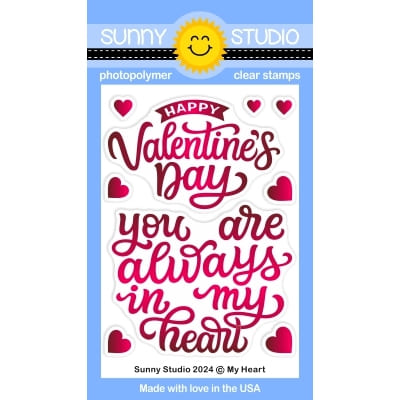
Next, I trimmed a piece of smooth white card stock to 4" x 5.25" and blended it with some Picked Raspberry and Spun Sugar Distress Oxide Inks. Once I finished blending, I then added some spatters of diluted Copic Opaque White Paint as well as some pink dots from some Copic Markers (RV02, RV04). I used some doubled sided tape to attach this piece to my top-folding A2 sized card base (4.25" x 5.5") and then die cut my scalloped frame 6x's using the largest die from the Fancy Frames Rectangles Die Set. I used liquid adhesive to glue five of the frames together and then adhered them to my card base over top of the ink-blended panel. I then stamped my sentiment from the My Heart Stamp Set with some Pinkfresh Candy Apple Ink, cut it out with the coordinating My Heart Die Set and then added it to the center of my card base.

Sunny Studio Stamps: Bighearted Bears Valentine's Day Card by Rachel Alvarado (featuring Panda Party, My Heart, Fancy Frame Dies)

Next, I poured some Red & Pink Clay Heart Confetti and Majestic Mini Sequins onto the center of my card. After spreading the embellishments out with my finger, I then glued a 4" x 5.25" piece of clear acetate to the top of my rectangular scalloped frame. To finish off the shaker portion of my card, I then glued one more layer of my frame on top of the acetate for a clean look. Lastly, I added my images with some 3D foam adhesive tape for a pop of dimension.

Thanks so much for taking the time to stop by! For more inspiration, feel free to check out my INSTAGRAM feed. Wishing you all a lovely day!

Sunny Studio Supplies Used:

Fancy Frames- Rectangles
Shop at:
Sunny Studio
Panda Party Stamps
Panda Party Stamps
Shop at:
Sunny Studio
Panda Party Dies
Panda Party Dies
Shop at:
Sunny Studio
Bighearted Bears Stamps
Shop at:
Sunny Studio
Bighearted Bears Dies
Shop at:
Sunny Studio
My Heart Stamps
My Heart Stamps
Shop at:
Sunny Studio
My Heart Dies
My Heart Dies
Shop at:
Sunny Studio

Thursday, January 11, 2024

Treat Bag Topper Card & Treat Bag with Marine

Hello crafty friends, Marine here, I'm so thrilled to be back on the blog with my first project of the year, and I'm so excited about the new items from the Spring 2024 release! As you may or may not know, I am for mixing and matching new stuff with older stuff. Here my new stuff is the Treat Bag Topper, and my older stuff is Love Monkey, which I used for the very first time, and that was so fun!

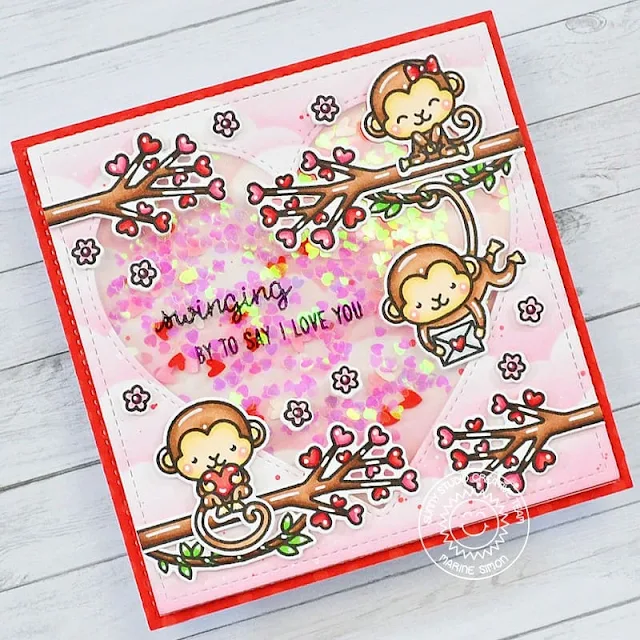
Sunny Studio Stamps: Treat Bag Topper Die Focused Valentine's Day Projects by Marine Simon (featuring Love Monkey, Stitched Heart Dies)

As very often, I started off with the coloring and stamped all my images on 80lb Neenah solar white cardstock using an alcohol marker friendly black ink. I cut them all using the coordinating dies, and used my Spectrum Noir Illustrator markers and Graph'it brush markers to color everything. And as you can see, I went for traditional Valentine colors.

Sunny Studio Stamps: Treat Bag Topper Die Focused Valentine's Day Projects by Marine Simon (featuring Love Monkey, Stitched Heart Dies)

Next I cut two identical Strathmore bristol smooth square panels and colored them both using a cloudy stencil along with spun sugar and worn lipstick oxide inks. I kept one of those two panels and cut a heart window out of it using the largest Stitched Heart 2, attached a piece of acetate at the back, on the front I stamped my "Swinging by to say I love you" greeting from Love Monkey on the acetate using black Stazon ink, and at the back of my panel I added foam strips all along the heart window, following its shape, and on the four sides as well. I poured some iridescent heart confetti and Red & Pink Confetti on the acetate, and then stuck my second cloudy panel to the foam strips to totally close my shaker.

I attached my shaker panel on a larger red panel from Holiday Cheer, and stuck my images using 1mm foam squares. Added highlights and details to the images using a white gel pen, and then moved on to the Treat Bag Topper.

Sunny Studio Stamps: Treat Bag Topper Die Focused Valentine's Day Projects by Marine Simon (featuring Love Monkey, Stitched Heart Dies)

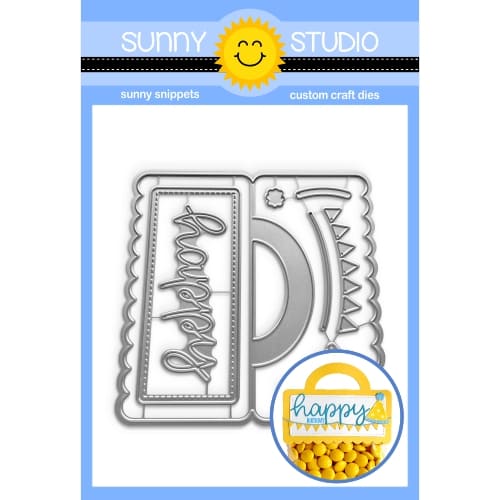
I started off by cutting the small stitched panel out of Strathmore bristol smooth cardstock and colored it the same way as my card using spun sugar and worn lipstick oxide inks. I stamped my "For my little love monkey" greeting from Love Monkey on the right side, cut the main Treat Bag Topper piece out of the same red Holiday Cheer paper as before, and attached my small stitched panel on the main piece using liquid glue. I stuck the images using 1mm foam squares, added highlights and details using a white gel pen, and finally added a cute little bow on the handle.

And that's it! Coloring those cute monkeys was super fun, and I adore the Treat Bag Topper, it's so cool I want to use it all the time. By the way, it is not impossible that my next project features it, so stay tuned for more inspiration! Thanks so much for stopping by, and see you soon!

Sunny Studio Supplies Used:

Holiday Cheer 6x6 Paper
Shop at:
Sunny Studio
Love Monkey Stamps
Love Monkey Stamps
Shop at:
Sunny Studio
Love Monkey Dies
Love Monkey Dies
Shop at:
Sunny Studio
Stitched Heart 2 Dies
Shop at:
Sunny Studio
Treat Bag Topper Die
Shop at:
Sunny Studio

Friday, December 22, 2023

Truckloads of Love Card with Tina

Hello crafters, it’s Tina and today I am featuring the sweet Truckloads of Love stamp and die set again. But this time we go holiday themed. I love that this set is so versatile, it can be used all year round. And how cute are the critters!!

Sunny Studio Stamps: Truckloads Of Love Winter Themed Holiday Card by Tina Henkens (featuring Holiday Greetings, Ribbon & Lace Border Dies)

For this festive card I selected one of the ornament dies from my stash and cut it from white Neenah paper. You can create this shape yourself with any circle die you have and a rectangle for the topper. The scalloped edge can be achieved with several dies like the Ribbon & Lace Border DiesI inked the inside of the ornament with pink Distress Oxide inks Kitsch Flamingo and Worn Lipstick, leaving the bottom part white. Of course, I had to add splatters too!

Since this is a winter Holiday card, I wanted to replicate a snowy, frosty look around the borders of the ornament. First, I glued the pink panel into place and added an acetate layer on top. Next, I added the white circle border with topper. I searched through my stash to find a white pigment ink, which I then applied all around the borders of the circle with a small blending brush. This also gave me an indication of how wide I wanted my frosty border to be. Next, I used a glue bottle with a fine tip and glue that dries clear. Then it was time for the fun part: adding all the sparkly glitter (I use a dedicated box for this, if not my desk is a real mess!!).

Sunny Studio Stamps: Truckloads Of Love Winter Themed Holiday Card by Tina Henkens (featuring Holiday Greetings, Ribbon & Lace Border Dies)

While the glue was drying, I selected my images from the Truckloads of Love stamp set. I chose the truck, the Christmas tree, and the cute raccoon. All the coloring was done with Copic Markers, and I added some snowflakes with a white gel pen.

The large Merry Christmas sentiment was stamped with red ink from my stash and cut with the matching dies (Holiday Greetings stamp and die set). I mounted the images and sentiment onto the ornament shape with foam tape. The topper was cut from white glitter paper, and I added a little pink bow to make the card extra festive!

Thank you for joining me and I am wishing you a wonderful holiday season!

Sunny Studio Supplies Used:

Holiday Greetings Stamps
Shop at:
Sunny Studio
Holiday Greetings Dies
Shop at:
Sunny Studio
Ribbon & Lace Dies
Ribbon & Lace Dies
Shop at:
Sunny Studio
Truckloads of Love Stamps
Shop at:
Sunny Studio
Truckloads of Love Dies
Shop at:
Sunny Studio

Sunday, December 17, 2023

Bells & Baubles Card with Rachel

Hello friends! It's Rachel here with a Christmas shaker card featuring the beautiful Bells & Baubles layering stamp set. 

Sunny Studio Stamps: Bells & Baubles Christmas Card by Rachel Alvarado (featuring Fancy Frame Dies)

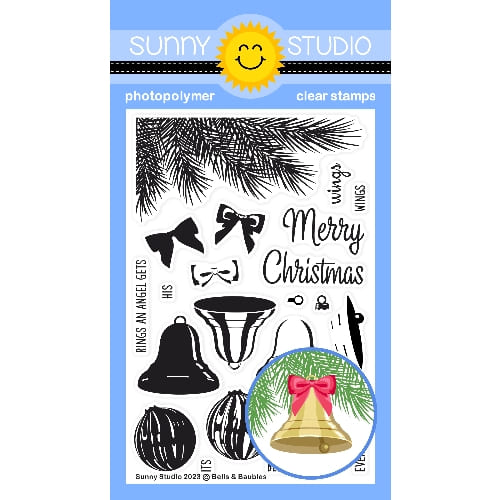
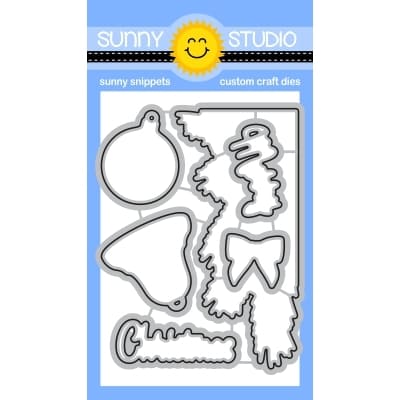
I started my card by first stamping my ornaments onto a sheet of smooth white card stock. I used a layering of Altenew Pink Pearl, Heart Beat, and Vineyard Berry Inks. I also stamped some pine branches using some Pinkfresh Aquamarine Ink. Next, I used the Bells & Baubles Die Set to cut my stamped images. I set these images aside to then work on my card background.

For the base of my card, I used a top-folding A2 sized piece of white card stock and layered it with a 4" x 5.25" piece of dark green card stock. On top of that piece, I added a 3.75" x 5" layer on which I had blended some Salvaged Patina Distress Oxide Ink. I added a few spatters of diluted Copic Opaque White Paint as well as some dots of green Copic Markers before adding this piece to my card base. 

Sunny Studio Stamps: Bells & Baubles Christmas Card by Rachel Alvarado (featuring Fancy Frame Dies)

Next, I adhered my ornaments and pine branches and then added 4 layers (adhered together with liquid adhesive) of scalloped rectangle frames that I had die cut from white card stock using the Fancy Frames Rectangle Dies. To finish the shaker portion of my card, I next added a 3.75" x 5" piece of clear acetate and one more scalloped rectangle frame to the top.

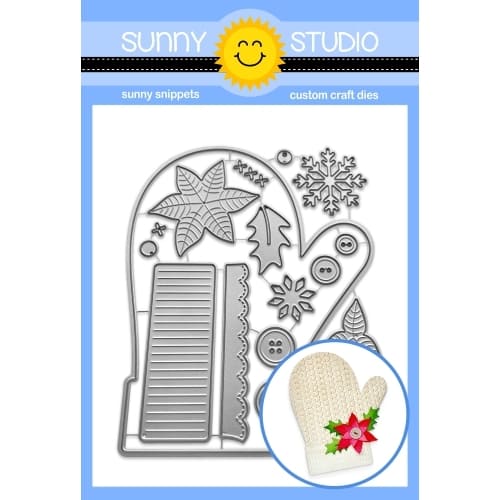
Lastly, I added my sentiment that I had heat embossed onto some more dark green card stock and also added some holly and berries from the Woolen Mitten Die Set.

Thanks so much for taking the time to drop by today! Wishing you all a lovely day!

Sunny Studio Supplies Used:

Fancy Frames- Rectangles
Shop at:
Sunny Studio
Woolen Mitten Dies
Woolen Mitten Dies
Shop at:
Sunny Studio
Bells & Baubles Stamps
Shop at:
Sunny Studio
Bells & Baubles Dies
Shop at:
Sunny Studio

Sunday, December 3, 2023

Love & Light Card with Rachel

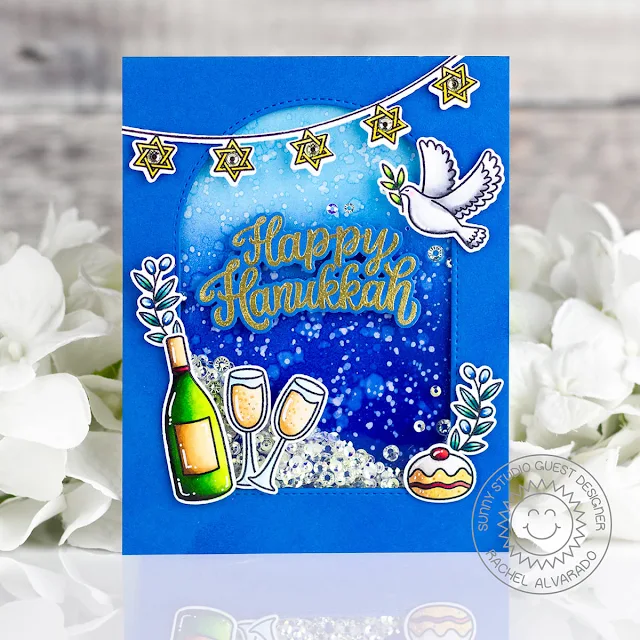
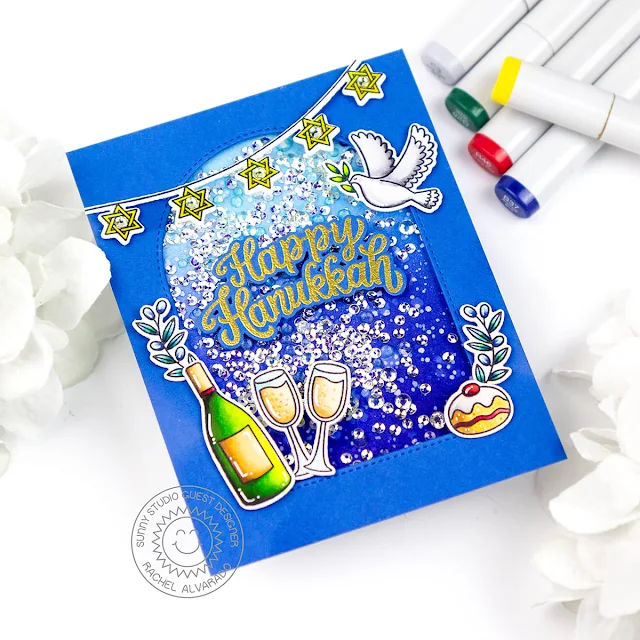
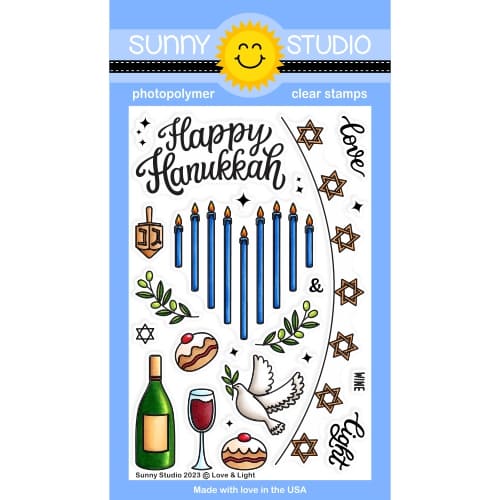
Hello crafty friends! It’s Rachel here with a festive shaker card featuring the Love & Light Stamp Set and coordinating dies.  

Sunny Studio Stamps: Love & Light Hanukkah Shaker Card by Rachel Alvarado (featuring Stitched Arch Dies)

To create my card, I first stamped all my images onto a sheet of Neenah Solar White 100lb Card Stock with Memento Tuxedo Black Ink. I then used Copic alcohol markers to color them.

Copic Colors Used:

  • Blues: B00, B21, B23, B28
  • Greens: YG01, YG06, YG17, YG67
  • Dessert: Y21, Y23, E33; 0, W00, W1, W3, R46
  • Reds: R35, R46, R89
  • White: 0, C00, C1, C3

I trimmed my card base to 4.25” x 5.5” from a piece of blue card stock and die cut an arch-shaped window into this piece using the largest of the Stitched Arch Dies. I then adhered a piece of clear acetate behind the arched-window with some liquid adhesive. Next, I ink-blended a 4.25” x 5.5” piece of Neenah Solar White 110lb Card Stock with some Distress Inks (Black Soot, Chipped Sapphire, and Tumbled Glass.). To give this blending some texture, I then spattered some water drops onto this piece and blotted it dry with a paper towel.  I also added a few spatters of diluted Copic Opaque White Paint.  

Sunny Studio Stamps: Love & Light Hanukkah Shaker Card by Rachel Alvarado (featuring Stitched Arch Dies)

To create my shaker card, I added some Majestic Mini Sequins to my ink-blended piece and placed my card stock with the window on top of my base piece with some 3D foam adhesive tape. To finish my card, I heat embossed my sentiment with Fine Detail Gold Embossing Powder onto the same blue card stock that I had used for my card base. Lastly, I adhered all of my images with 3D foam adhesive squares for extra dimension.

Thanks so much for taking the time to stop by! Wishing you all a lovely day!

Sunny Studio Supplies Used:

Stitched Arch Dies
Stitched Arch Dies
Shop at:
Sunny Studio
Love & Light Stamps
Love & Light Stamps
Shop at:
Sunny Studio
Love & Light Dies
Love & Light Dies
Shop at:
Sunny Studio