Showing posts with label Picket Fence Border Dies. Show all posts

Thursday, May 16, 2024

Summer Jar Mug Card with Marine

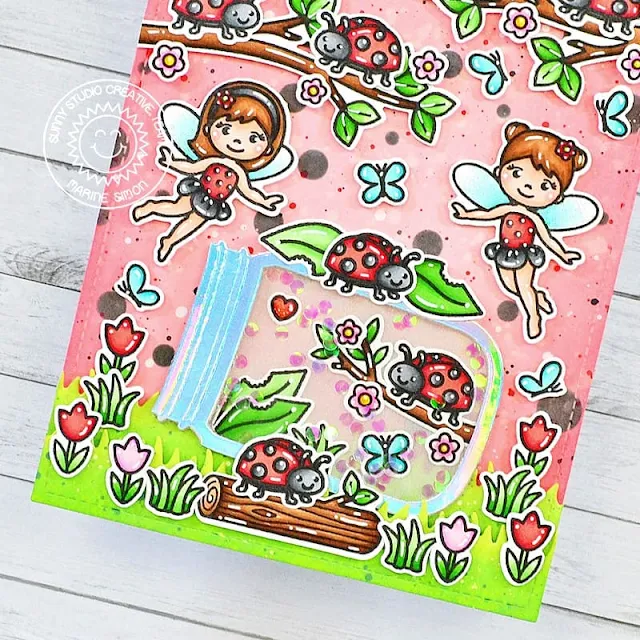
Hello crafty friends, Marine here with you today, I'm thrilled to be sharing with you this lovely card featuring the jar from the Summer Jar Mug die set from the Summer 2024 release. I have so many ideas of cards to make with this new die set, and the first that came to my mind was this ladybug themed card with ladybug fairies, because I like to use them for all the seasons and for any theme. If you missed them, here are the previous Garden Fairy cards I made: Bee FairiesHalloween FairiesNight FairiesHoliday Fairies.

Sunny Studio Stamps: Summer Jar Mug Die Focused Shaker Card by Marine Simon (featuring Garden Fairy, Garden Critters, Picket Fence Border Dies)

I started off by cutting a 5,5 x 4,25 inches Strathmore bristol smooth panel that I entirely covered with saltwater taffy oxide inks, with a little bit of festive berries oxide ink on the edges. To create a ladybug pattern, I used a bubble stencil from my stash along with black soot oxide ink to make black dots all over my panel. I splattered water on my piece of paper and dried it using a paper towel, mixed some festive berries oxide ink with water and added more splatters on my panel using a small brush, and then did the same with black soot oxide ink and with copic opaque white ink.

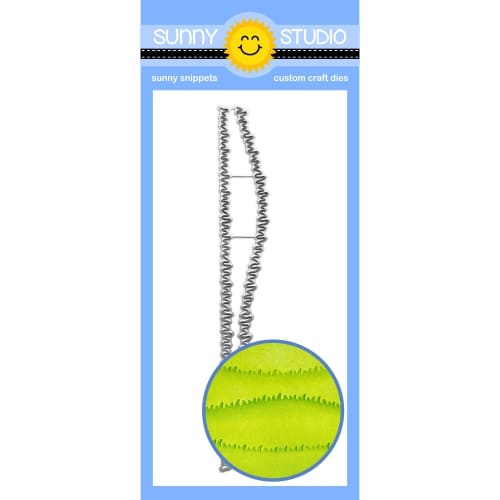
Next I cut another 5,5 x 4,25 inches bristol panel, cut two grass borders out of it using a Picket Fence Border die, and colored both of them using shabby shutters and mowed lawn oxide inks. I mixed some rustic wilderness oxide ink with water, and used my small brush again to make splatters on the grass borders, and did the same with copic opaque white ink.

I stamped all my images on 80lb Neenah solar white cardstock using an alcohol marker friendly black ink, cut them using the coordinating dies, and colored everything using my Spectrum Noir Illustrator markers and Graph'it brush markers. 

Sunny Studio Stamps: Summer Jar Mug Die Focused Shaker Card by Marine Simon (featuring Garden Fairy, Garden Critters, Picket Fence Border Dies)

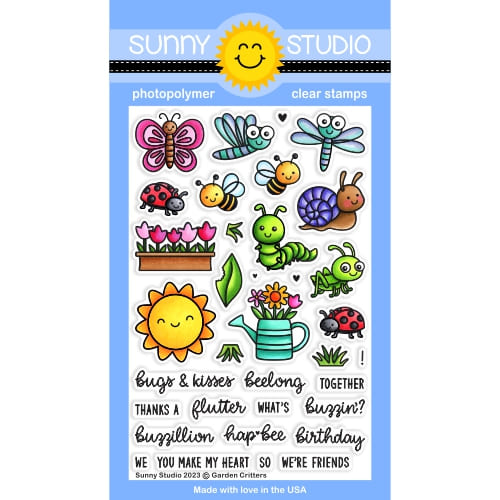
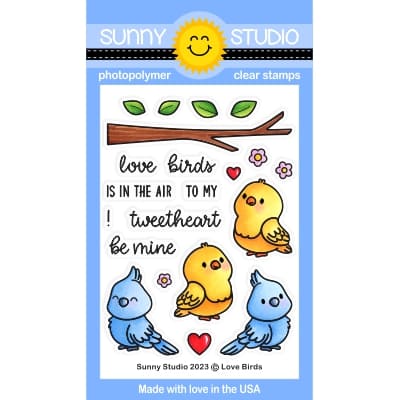
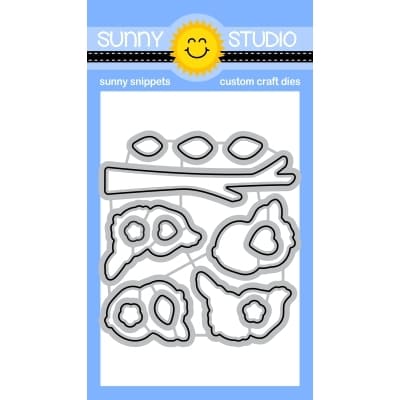
Here is a detailed list of the stamp sets I used: • Garden Fairy - two fairies • Garden Critters - ladybugs and leaves • Special Day - heart • Love Birds - flowers • Little Birdie - branches • Bunnyville - grass, butterflies, tulips • Outback Critters - small branch • Seasonal Trees - log

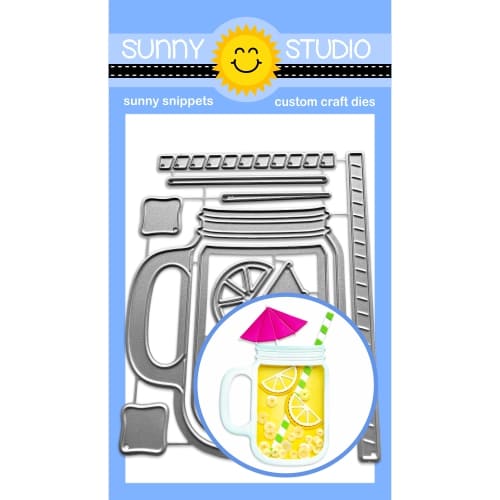
Next I worked on my shaker Summer Jar Mug, and started off by cutting the different pieces: one holographic jar frame for the front, one whole acetate jar, one whole pearlescent vellum jar for the back, and two white jar frames to create dimension inside the jar. I first attached some images directly on the pearlescent jar using liquid glue, making sure to leave enough space on the edges to attach the jar later on. I attached the acetate jar at the back of the holographic jar frame using liquid glue. Next I stuck both white jar frames to the acetate using liquid glue again. Poured some iridescent confetti inside the jar, and finally glued the pearlescent jar to close my shaker jar.

Sunny Studio Stamps: Summer Jar Mug Die Focused Shaker Card by Marine Simon (featuring Garden Fairy, Garden Critters, Picket Fence Border Dies)

I attached everything on my ladybug panel, starting with the grass borders using 1mm foam squares. Next I stuck the jar using liquid glue at the bottom and 1mm foam squares at the top. And then I attached all the images using 1mm and 2mm foam squares, leaving enough space on the top left hand corner for my white heat embossed "You make my heart flutter" greeting from Garden Critters.

Finally I added highlights and details to the images using a white gel pen, applied white blizzard nuvo drops to the fairies wings to make them shine, and glued a tiny red clay heart next to my greeting for a last touch of cuteness. 

And that's it! I hope you like this new card, I had so much fun making it, and I can't wait to share more cards with the amazing Summer Jar Mug. See you next week!

Sunny Studio Supplies Used:

Picket Fence Border Dies
Shop at:
Sunny Studio
Seasonal Trees Stamps
Shop at:
Sunny Studio
Seaonal Trees Dies
Seaonal Trees Dies
Shop at:
Sunny Studio
Garden Fairy Stamps
Garden Fairy Stamps
Shop at:
Sunny Studio
Garden Fairy Dies
Garden Fairy Dies
Shop at:
Sunny Studio
Bunnyville Stamps
Bunnyville Stamps
Shop at:
Sunny Studio
Bunnyville Dies
Bunnyville Dies
Shop at:
Sunny Studio
Little Birdie Stamps
Shop at:
Sunny Studio
Little Birdie Dies
Little Birdie Dies
Shop at:
Sunny Studio
Garden Critters Stamps
Shop at:
Sunny Studio
Garden Critters Dies
Shop at:
Sunny Studio
Special Day Stamps
Special Day Stamps
Shop at:
Sunny Studio
Special Day Dies
Special Day Dies
Shop at:
Sunny Studio
Love Birds Stamps
Love Birds Stamps
Shop at:
Sunny Studio
Love Birds Dies
Love Birds Dies
Shop at:
Sunny Studio
Summer Jar Mug Dies
Summer Jar Mug Dies
Shop at:
Sunny Studio

Thursday, March 28, 2024

Big Bunny Card with Marine

Hello crafty friends, Marine here, I'm very happy to be back on the blog with this lovely Easter card featuring the adorable Big Bunny and cute chickie friends. Another colorful card just as I like them to be!

Sunny Studio Stamps: Big Bunny Easter Card by Marine Simon (featuring Chickie Baby, Chubby Bunny, Frilly Frame Dies, Stitched Rectangle Dies, Picket Fence Border Dies)

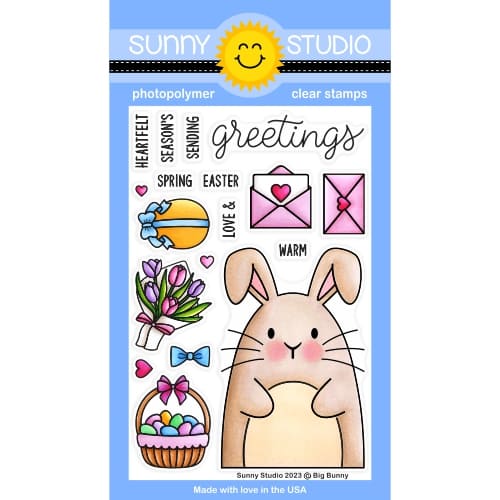
I started off by stamping all my images on 80lb Neenah solar white cardstock using an alcohol marker friendly black ink. I used the matching dies to cut them all, and colored everything using my Spectrum Noir Illustrator markers and my Graph'it brush markers. And as very often, I mixed and matched images from different sets:

• Big Bunny for the bunny, Easter basket, bow

• Chickie Baby for the chicks, bunny ears, eggs

• Chubby Bunny for the chocolate bunnies, flowers, banner, egg

• Bunnyville for a flower

Sunny Studio Stamps: Big Bunny Easter Card by Marine Simon (featuring Chickie Baby, Chubby Bunny, Frilly Frame Dies, Stitched Rectangle Dies, Picket Fence Border Dies)

For my background, I cut a few pieces, starting with a 5,5 x 4,25 inches Spring Fever floral panel that I attached on a white card base. Next I cut a light brown woodgrain scalloped rectangle using the Frilly Frames Hexagon main die, and cut an opening out of it using the second Stitched Rectangle die in order to create a frame.

Sunny Studio Stamps: Big Bunny Easter Card by Marine Simon (featuring Chickie Baby, Chubby Bunny, Frilly Frame Dies, Stitched Rectangle Dies, Picket Fence Border Dies)

I also cut a grass border out of a Spring Fever green polka dot paper using a Picket Fence Border die, attached that grass border at the back of my frame at the very bottom using 1mm foam squares, and then stuck my whole frame on the card base using 2mm foam squares. I attached everything on the card using 1mm and 2mm foam squares, and added highlights and details to the images using a white gel pen. 

And that's it! I hope you like this bright and happy little card. I'm wishing you a very happy Easter weekend if you celebrate it. Thank you so much for stopping by, and see you next week.

Sunny Studio Supplies Used:

Picket Fence Border Dies
Shop at:
Sunny Studio
Stitched Rectangle Dies
Shop at:
Sunny Studio
Chubby Bunny Stamps
Chubby Bunny Stamps
Shop at:
Sunny Studio
Chubby Bunny Dies
Chubby Bunny Dies
Shop at:
Sunny Studio
Frilly Frames Hexagon Dies
Shop at:
Sunny Studio
Chickie Baby Stamps
Chickie Baby Stamps
Shop at:
Sunny Studio
Chickie Baby Dies
Chickie Baby Dies
Shop at:
Sunny Studio
Bunnyville Stamps
Bunnyville Stamps
Shop at:
Sunny Studio
Bunnyville Dies
Bunnyville Dies
Shop at:
Sunny Studio
Spring Fever Paper
Spring Fever Paper
Shop at:
Sunny Studio
Big Bunny Stamps
Big Bunny Stamps
Shop at:
Sunny Studio
Big Bunny Dies
Big Bunny Dies
Shop at:
Sunny Studio

Thursday, March 14, 2024

Spring Garden Die Focused Tags with Marine

Hello crafty friends, Marine here with you today, I'm back with a trio of tags featuring Spring Garden, which includes the perfect dies to create lovely scenes during springtime. Really love that set!

Sunny Studio Stamps: Spring Garden Die Focused Tag Set by Marine Simon (featuring Scalloped Tag Dies, Mini Grass Dies, Picket Fence Dies, Brilliant Banner Dies)

I started off by cutting different Scalloped Square Tags panels to build my tags:

• three blue tags using floral pattern papers from Spring Fever and from Spring Fling

• three green tags using a grass pattern paper from Spring Fever

• three white tags, to make the back of my tags nice

Sunny Studio Stamps: Spring Garden Die Focused Tag Set by Marine Simon (featuring Scalloped Tag Dies, Mini Grass Dies, Picket Fence Dies, Brilliant Banner Dies)

I cut a Mini Grass Border out of each grassy tag, and attached a grass border at the bottom of each blue floral tag using 1mm foam squares. And then I stuck each blue tag on a white one. I also cut three Picket Fences that I attached on each tag.

Sunny Studio Stamps: Spring Garden Die Focused Tag Set by Marine Simon (featuring Scalloped Tag Dies, Mini Grass Dies, Picket Fence Dies, Brilliant Banner Dies)

Next I cut all the bits and pieces out of colored cardstock using Spring Garden dies for most of them, but also used the bird from Build A Birdhouse, the boots from Rainy Days, and the low plant box from Wonderful Windows. I assembled all those cute pieces, and attached them on each tag using foam squares.

Sunny Studio Stamps: Spring Garden Die Focused Tag Set by Marine Simon (featuring Scalloped Tag Dies, Mini Grass Dies, Picket Fence Dies, Brilliant Banner Dies)

For my greetings, I started off by cutting three Brilliant Banners 1 bases out of different colored cardstock. I also cut the front pieces out of Dots & Stripes Pastels pattern papers, white heat embossed "Hello spring" from Chubby Bunny on each piece, and attached those banner front pieces on the banner bases using 1mm foam squares. I attached a banner on each tag, tied some ribbon and twine at the top of each tag, and added a small black pearl on each bird to make the eye. 

And that's it! Let me know what you think about those spring tags! Thanks so much for stopping by, and see you next week.

Sunny Studio Supplies Used:

Picket Fence Border Dies
Shop at:
Sunny Studio
Dots & Stripes Pastels 6x6 Paper
Shop at:
Sunny Studio
Chubby Bunny Stamps
Chubby Bunny Stamps
Shop at:
Sunny Studio
Scalloped Tags-Square
Shop at:
Sunny Studio
Spring Fling Paper
Spring Fling Paper
Shop at:
Sunny Studio
Build-A-Birdhouse Dies
Shop at:
Sunny Studio
Rainy Days Dies
Rainy Days Dies
Shop at:
Sunny Studio
Wonderful Windows Dies
Shop at:
Sunny Studio
Spring Fever Paper
Spring Fever Paper
Shop at:
Sunny Studio
Brilliant Banner 1 Dies
Shop at:
Sunny Studio
Spring Garden Dies
Spring Garden Dies
Shop at:
Sunny Studio
Mini Grass Border Dies
Shop at:
Sunny Studio

Thursday, March 7, 2024

Wicker Basket Die Focused Card with Marine

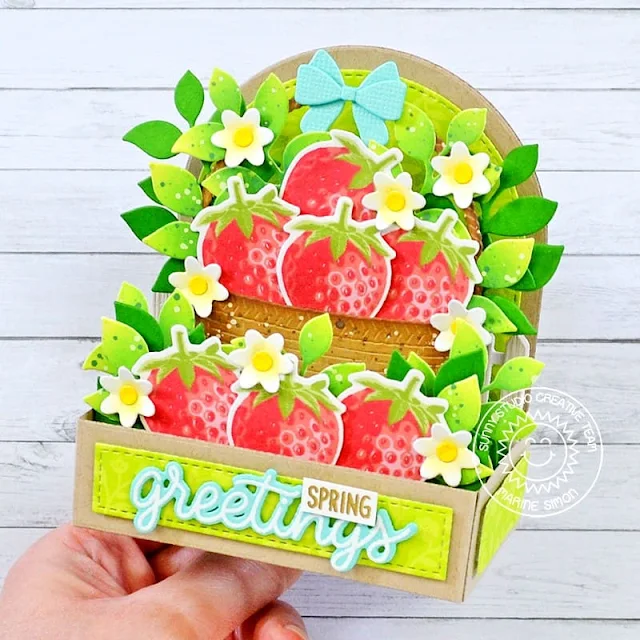
Hello crafty friends, Marine here, I'm so happy to be back on the blog with this 3D spring card showcasing some yummy strawberries from Berry Bliss and the beautiful Wicker Basket. When I first saw this new die, I knew I'd pair it with flowers or fruits, and my pick was strawberries because they always remind me of my grandfather's garden during spring and summer.

Sunny Studio Stamps: Wicker Basket & Berry Bliss Spring Themed Card by Marine Simon (featuring Spring Greenery Dies, Picket Fence Dies)

I started off by building my 3D card base. I cut the main pieces out of kraft cardstock, the grass insert pieces out of green cardstock, and the decorative pieces out of a Spring Fever pattern paper. I assembled everything, and then moved on to stamping the strawberries from Berry Bliss.

I used Lawn Fawn premium dye inks: Ballet Slippers for the 1st layer, Peachy Keen for the 2nd, and Guava for the 3rd one. And for the stems I used Altenew crisp dye inks: Frayed Burlap for the 1st layer, and Forest Glades for the 2nd one. Next I used my heat gun to dry the inks and make sure the layers stay crisp and detailed, and then I used the coordinating die to cut all my strawberries.

Sunny Studio Stamps: Wicker Basket & Berry Bliss Spring Themed Card by Marine Simon (featuring Spring Greenery Dies, Picket Fence Dies)

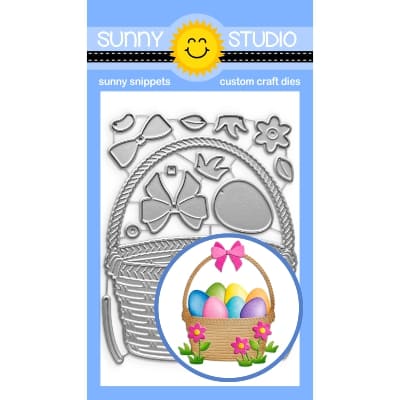
Next I did some die cutting, and first cut a Picket Fence out of white woodgrain cardstock. I cut the basket from Wicker Basket out of kraft cardstock, added some vintage photo oxide inks and texture to make it less flat. I also cut the flowers and the bow from the same die set. I also cut several Spring Greenery leaves that I colored using shabby shutters and mowed lawn oxide inks, added texture, and cut more greenery out of green cardstock.

Sunny Studio Stamps: Wicker Basket & Berry Bliss Spring Themed Card by Marine Simon (featuring Spring Greenery Dies, Picket Fence Dies)

I attached four strawberries inside the Wicker Basket, put the bow on the handle, added lots of greenery and flowers, and then attached everything inside the card using 3mm glue dots. For my greeting, I embossed "Spring" from Big Bunny in gold on white cardstock and trimmed it into a slim banner, and I embossed "Greetings" from the same set in white on aqua cardstock, cut it using the matching die, and then attached both pieces on the front of my card using 1mm foam squares. 

And that's it! I hope you like this early taste of spring! Thanks so much for stopping by, and see you next time!

Sunny Studio Supplies Used:

Picket Fence Border Dies
Shop at:
Sunny Studio
Berry Bliss Stamps
Berry Bliss Stamps
Shop at:
Sunny Studio
Berry Bliss Dies
Berry Bliss Dies
Shop at:
Sunny Studio
Spring Greenery Dies
Shop at:
Sunny Studio
Spring Fever Paper
Spring Fever Paper
Shop at:
Sunny Studio
Big Bunny Stamps
Big Bunny Stamps
Shop at:
Sunny Studio
Wicker Basket Dies
Wicker Basket Dies
Shop at:
Sunny Studio

Wednesday, March 6, 2024

Spring Garden Die Focused Card with Tina

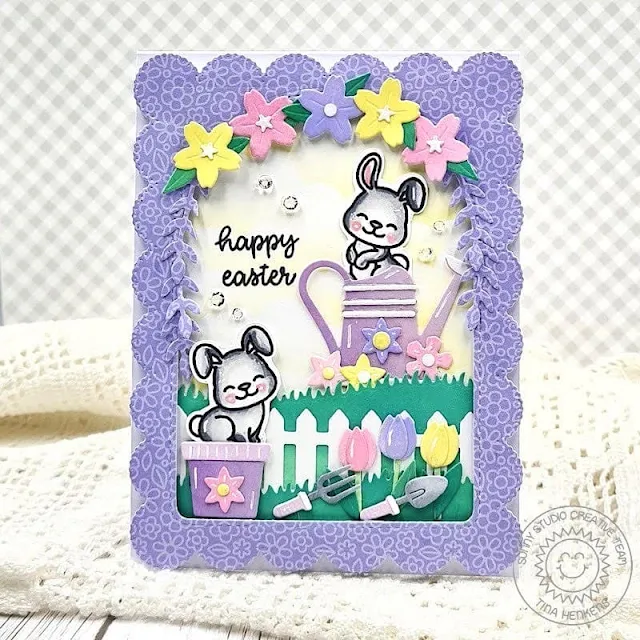
Hello crafters, it’s Tina and today I am featuring the fun Spring Garden dies! This set includes a variety of cute flowers and all the tools a gardener would need. I decided to go for a pastel Easter card, combining the dies with two adorable bunnies from Bunnyville. They are sized perfectly to fit inside the watering can and flowerpot!

Sunny Studio Stamps: Spring Garden Die Focused Easter Card by Tina Henkens (featuring Bunnyville, Stitched Arch Dies, Frilly Frame Dies, Mini Grass Dies, Picket Fence Dies, Happy Thoughts, Winter Greenery Dies)

I started with a white card base and a purple flower frame made from a sheet of the Flirty Flowers papers. After cutting a panel with the outer die from the Frilly Frames Eyelet Lace die, I used the largest of the Stitched Arched dies.

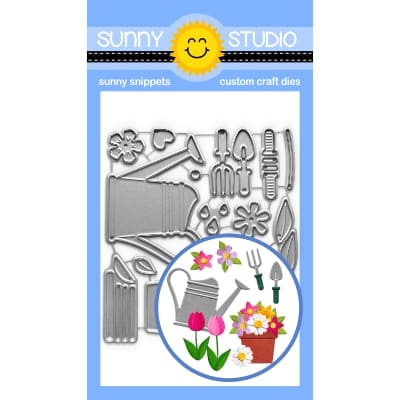
We are creating a little flower garden scene, so I also made two grassy borders with one of the Mini Grass Border dies and inked them with Distress Oxide Lucky Clover. Next, I pulled out the Picket Fence die. I love how the white of the fence gives extra dimension to the grass portion of this card. I kept my background fairly neutral with some soft yellow clouds (Distress Oxide Squeezed Lemonade and a cloud stencil from my stash). The two bunnies from Bunnyville where colored in grey tones with Copic Markers, and I added some details with a white gel pen.

Sunny Studio Stamps: Spring Garden Die Focused Easter Card by Tina Henkens (featuring Bunnyville, Stitched Arch Dies, Frilly Frame Dies, Mini Grass Dies, Picket Fence Dies, Happy Thoughts, Winter Greenery Dies)

Then it was time for a bunch of die cutting, I used a sheet of white Neenah paper and did my ink blending in happy Spring colors (Distress Oxide Squeezed lemonade, Kitsch Flamingo, Wilted Violet, Lucky Clover).

After assembling the garden tools and flowers with some liquid glue, I arranged all the elements on the card panel. Next, I decided where I would stamp my sentiment from Happy Thoughts in Versafine Onyx Black ink. After gluing the cloud panel to the card base, I added the grass borders and the fence. Next, I popped up the flower frame with foam tape. Then I added all my garden elements and bunnies. To create a garland for the top of the arch I used flowers from the Spring Garden dies and some purple leaves made with one of the Winter Greenery dies.

A few Crystal Clear Jewels were added for some fun bling. Thank you for joining me and happy crafting!

Sunny Studio Supplies Used:

Picket Fence Border Dies
Shop at:
Sunny Studio
Happy Thoughts Stamps
Shop at:
Sunny Studio
Flirty Flowers 6x6 Paper
Shop at:
Sunny Studio
Frilly Frames-Eyelet Lace
Shop at:
Sunny Studio
Stitched Arch Dies
Stitched Arch Dies
Shop at:
Sunny Studio
Winter Greenery DIes
Shop at:
Sunny Studio
Bunnyville Stamps
Bunnyville Stamps
Shop at:
Sunny Studio
Bunnyville Dies
Bunnyville Dies
Shop at:
Sunny Studio
Spring Garden Dies
Spring Garden Dies
Shop at:
Sunny Studio
Mini Grass Border Dies
Shop at:
Sunny Studio