Showing posts with label Dotted Diamond Die. Show all posts

Tuesday, November 7, 2023

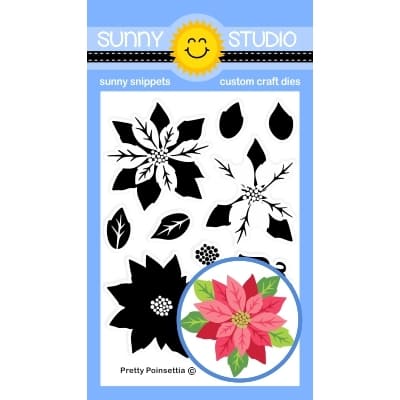
Pretty Poinsettia Card with Isha

Hello everyone! Isha, here today with a bright and festive Christmas card featuring the Pretty Poinsettia stamps and dies. These stamps give a beautiful effect and it is so easy to align all the layers. We can stamp multiple images at the same time and then mass produce these cards.

Sunny Studio Stamps: Pretty Poinsettia Christmas Card by Isha Gupta (featuring Dotted Diamond Dies, Spring Greenery Dies)

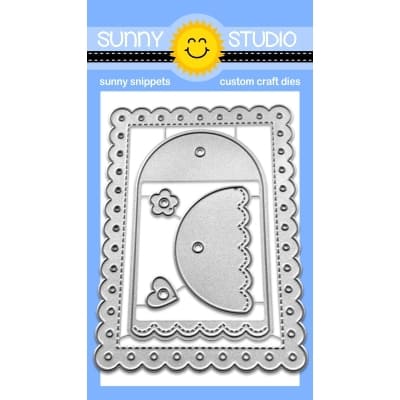
I started by taking a white card layer and used the Dotted Diamond Portrait die for a lovely texture. Add some teal splatters using salvaged patina distress ink. 

Sunny Studio Stamps: Pretty Poinsettia Christmas Card by Isha Gupta (featuring Dotted Diamond Dies, Spring Greenery Dies)

Stamp the images and die-cut using coordinating dies:

Poinsettia - Pretty Poinsettia stamps and dies
Fir leaves - Classy Christmas stamps and dies
Sentiment - Christmas Critters
Fern leaves from silver card  - Spring Greenery dies

Create the cluster, add the sentiment. Adhere this layer to a pink cardbase.

Thank you for dropping by and have a nice day!

Sunny Studio Supplies Used:

Christmas Critters Stamps
Shop at:
Sunny Studio
Classy Christmas Stamps
Shop at:
Sunny Studio
Classy Christmas Dies
Shop at:
Sunny Studio
Spring Greenery Dies
Shop at:
Sunny Studio
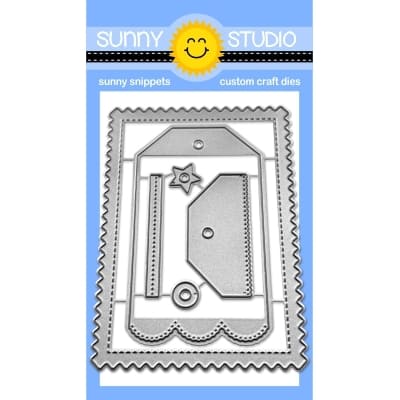
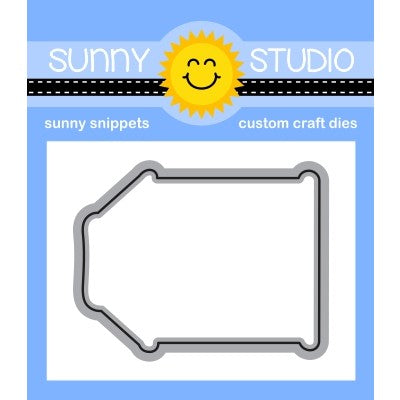
Dotted Diamond Portrait
Shop at:
Sunny Studio
Pretty Poinsettia Stamps
Shop at:
Sunny Studio
Pretty Poinsettia Dies
Shop at:
Sunny Studio

Thursday, November 2, 2023

Love & Light Card with Marine

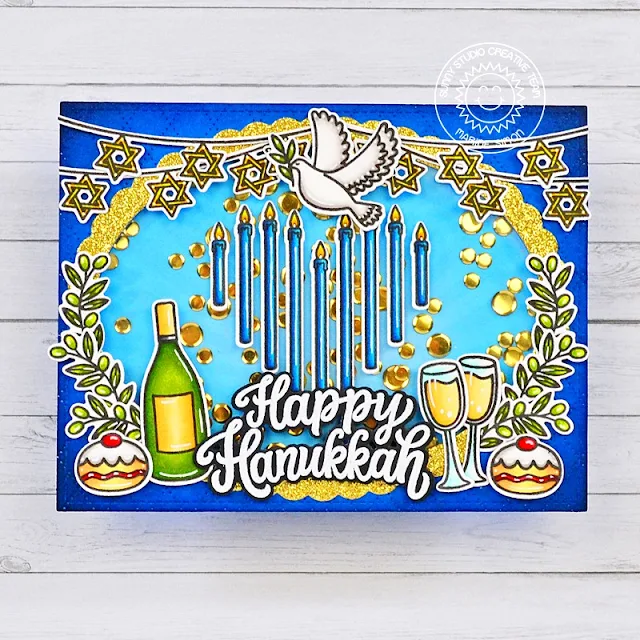
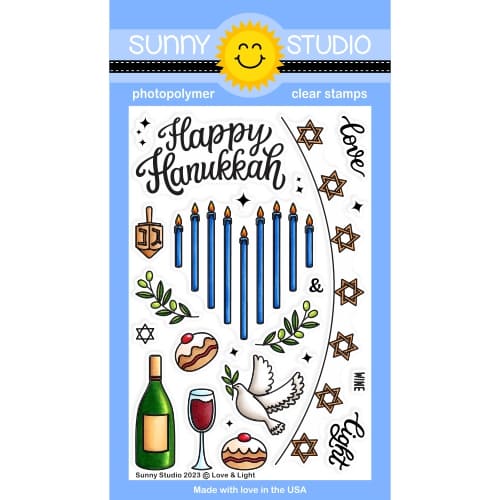
Hello crafty friends, Marine here, I'm very happy to be back on the blog with this bright Hanukkah card showcasing the beautiful Love & Light stamp set which includes the perfect images to make your own Hanukkah card or tags.

Sunny Studio Stamps: Love & Light Hanukkah Card by Marine Simon (featuring Scalloped Oval Mat Dies, Stitched Oval Dies, Dotted Diamond Dies)

I decided to go for a shaker card, and started off by cutting three different elements to build it:

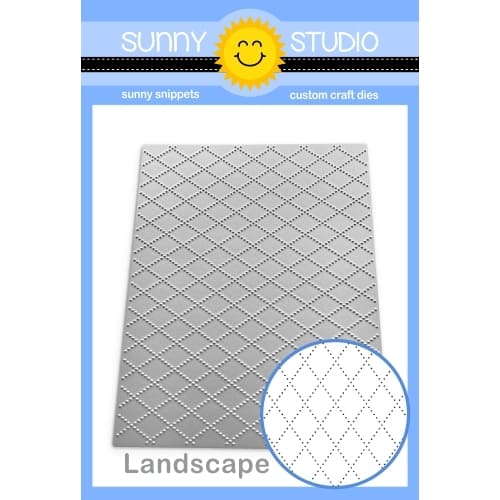
• an A2 sized Dotted Diamond Landscape blue panel
• an A2 sized Spring Sunburst blue panel
• an A2 sized acetate panel
• a gold glitter frame using the Stitched Oval 2 + Scalloped Oval Mat 1 largest dies

Sunny Studio Stamps: Love & Light Hanukkah Card by Marine Simon (featuring Scalloped Oval Mat Dies, Stitched Oval Dies, Dotted Diamond Dies)

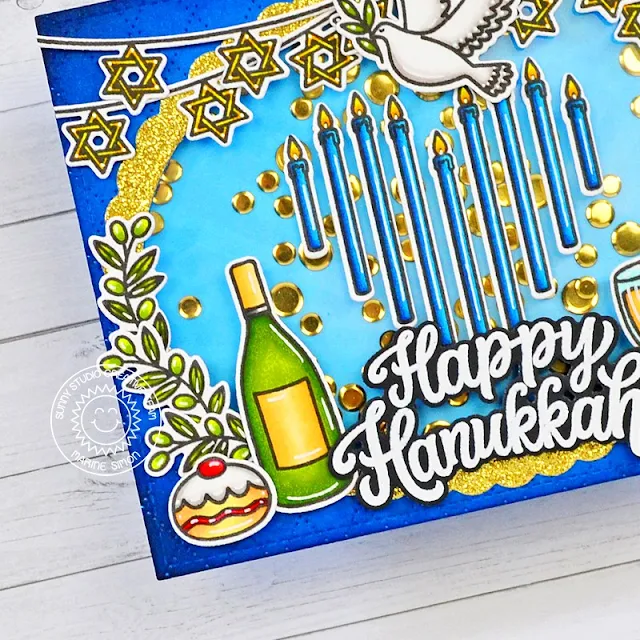
I added a little bit of prize ribbon + black soot distress inks on the edges of my Dotted Diamond panel, and used the largest Stitched Oval 2 die to cut an opening right in the middle of it. I attached the acetate panel at the back using double sided tape, and added foam strips all along the four edges of my panel, as well as around the oval opening. I poured a bunch of golden sequins inside the window, and then stuck my Spring Sunburst panel on the foam to totally close the shaker. And to decorate the oval window nicely, I attached my gold glitter frame using liquid glue.

Next I stamped all my images on 80lb Neenah solar white cardstock using an alcohol marker friendly black ink, cut them all using the matching dies, and colored everything using my Spectrum Noir Illustrator markers + Graph'it brush markers. I also white heat embossed my "Happy Hanukkah" greeting from Love & Light on black cardstock and cut it using the coordinating die.

Sunny Studio Stamps: Love & Light Hanukkah Card by Marine Simon (featuring Scalloped Oval Mat Dies, Stitched Oval Dies, Dotted Diamond Dies)

I attached everything on my shaker panel using 1mm foam squares and liquid glue, and finally added highlights and details using a white gel pen. And that's it! I hope that you like it. Here's another idea, as I'm writing this, you could create a wreath with the olive branches and put either the dove in the center, or the candelabrum, or even just the greeting, any of these would look amazing! 

Thanks so much for stopping by, and see you next week.

Sunny Studio Supplies Used:

Spring Sunburst 6x6 Paper
Shop at:
Sunny Studio
Scalloped Oval Mat 1 Dies
Shop at:
Sunny Studio
Stitched Oval 2 Dies
Shop at:
Sunny Studio
Dotted Diamond Landscape
Shop at:
Sunny Studio
Love & Light Stamps
Love & Light Stamps
Shop at:
Sunny Studio
Love & Light Dies
Love & Light Dies
Shop at:
Sunny Studio

Friday, October 27, 2023

Gingerbread House Die Focused Card with Tina

Hello crafty friends, it’s Tina and today we are making a fun Christmas card featuring the adorable Gingerbread House Die. This set is a perfect match for the Christmas Cookies stamp and die set!

Sunny Studio Stamps: Gingerbread House Die Focused Christmas Card by Tina Henkens (featuring Christmas Cookies, Dotted Diamond Background Dies)

I am starting this project by creating a white panel using the Dotted Diamond Landscape die and adhering this to my card base. I love the fine detail this die gives! Next, I die cut all the pieces for the cute gingerbread house and colored them with my Distress Oxides (Salvaged Patina, Saltwater Taffy and Abandoned Coral) and blending brushes.

The base layer for the house was made from white card stock, this base makes it easy to assemble the house. The fun part is (of course!) the decorating with all the yummy sweets! The cute couple from the Christmas Cookies stamp set are colored in matching Copic marker tones. I added them in from of their little house, it’s just too cute!!

Sunny Studio Stamps: Gingerbread House Die Focused Christmas Card by Tina Henkens (featuring Christmas Cookies, Dotted Diamond Background Dies)

For my sentiment, I selected the ‘Happy Holidays’ from Reindeer Games and stamped it on a banner with Versafine Onyx Black inkA few stars from the Snowflake Circle Frame Die were scattered around the house as additional decorations.

I hope this card inspires you to create your own sweet gingerbread house! Thank you for joining me and happy crafting!

Sunny Studio Supplies Used:

Christmas Cookies Stamps
Shop at:
Sunny Studio
Christmas Cookies Dies
Shop at:
Sunny Studio
Gingerbread House Dies
Shop at:
Sunny Studio
Snowflake Circle Frame
Shop at:
Sunny Studio
Reindeer Games Stamps
Shop at:
Sunny Studio
Dotted Diamond Landscape
Shop at:
Sunny Studio

Thursday, October 26, 2023

Pristine Poinsettia Die Focused Card with Marine

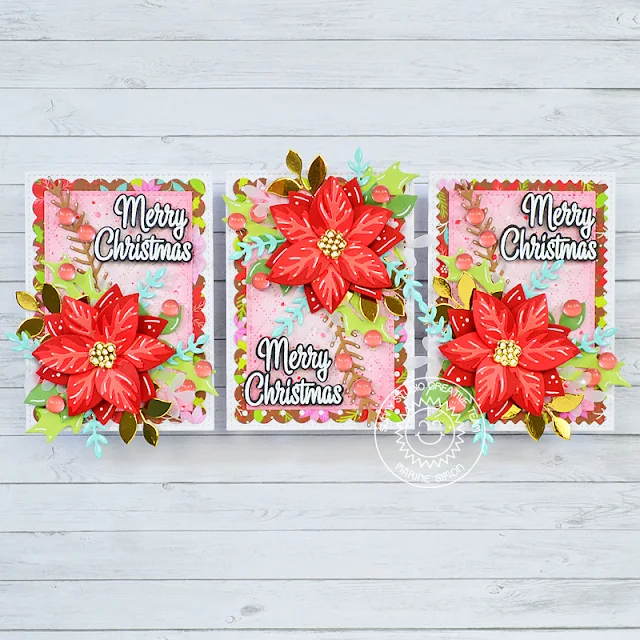
Hello crafty friends, Marine here, back again today with more poinsettias and those three bright and cheerful mini cards using the Pristine Poinsettia die set. Love this set so much! Last year I used that same set to make a cold and frosty holiday card, and this time I went for more traditional colors.

Sunny Studio Stamps: Pristine Poinsettia Christmas Cards by Marine Simon (featuring Mini Mat & Tag Dies, Winter Greenery Dies, Spring Greenery Dies, Dotted Diamond Dies)

I started off by creating and assembling three almost identical card bases following the same process:

1. Cut three Stitched Rectangles out of white cardstock

2. Cut three All Is Bright panels using Mini Mat & Tag 1 + Mini Mat & Tag 2 + Mini Mat & Tag 4 dies

Sunny Studio Stamps: Pristine Poinsettia Christmas Cards by Marine Simon (featuring Mini Mat & Tag Dies, Winter Greenery Dies, Spring Greenery Dies, Dotted Diamond Dies)

3. Cut two Dotted Diamond Landscape panels, and cut three small Stitched Rectangles out of those two panels. Color those three textured panels using spun sugar and worn lipstick distress inks. Add splatters using festive berries mixed water, and white ink mixed with water

4. Layer and attach the panels on top of each other, and then on card bases

Sunny Studio Stamps: Pristine Poinsettia Christmas Cards by Marine Simon (featuring Mini Mat & Tag Dies, Winter Greenery Dies, Spring Greenery Dies, Dotted Diamond Dies)

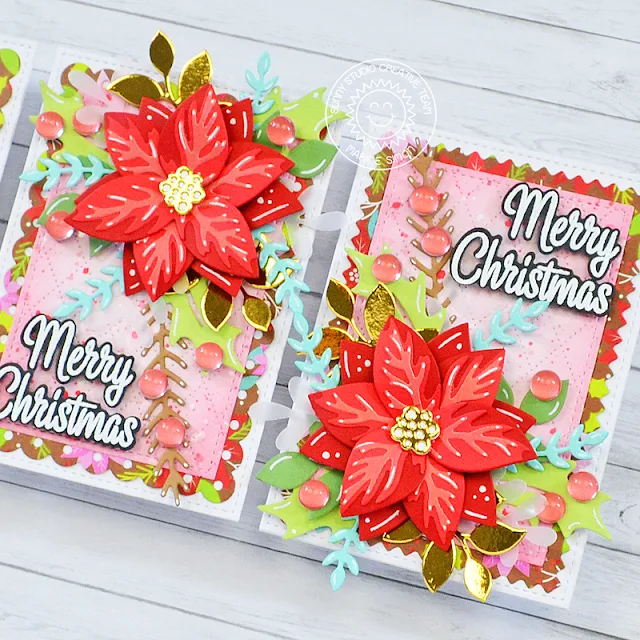
Next I cut all the flower, greenery and berry pieces using dies from Pristine PoinsettiaWinter Greenery and Spring Greenery. I cut the flower elements out of three different shades of red cardstock, and cut the greenery elements out of brown, aqua, green, white, vellum and gold cardstock.

I first started by layering and attaching the Pristine Poinsettia pieces together using liquid glue. Next I stuck a flower on each card base, and then added greenery around each one of them. I added berries here and there, and glued a clear droplet on each to bring more shine and dimension.

Sunny Studio Stamps: Pristine Poinsettia Christmas Cards by Marine Simon (featuring Mini Mat & Tag Dies, Winter Greenery Dies, Spring Greenery Dies, Dotted Diamond Dies)

The last step was to create three greetings, and I used the "Merry Christmas" sentiment from Bells & Baubles that I white heat embossed on black cardstock, cut using the matching dies, and attached on the opposite corner of each poinsettia using 2mm foam squares. And finally I added highlights and details at some places using a white gel pen.

And that's it! As always I had a lot of fun making those mini cards, I love how bright and beautiful they turned out, and I hope that you like them. Thank you so much for stopping by, and see you next time.

Sunny Studio Supplies Used:

Stitched Rectangle Dies
Shop at:
Sunny Studio
Pristine Poinsettia Dies
Shop at:
Sunny Studio
Winter Greenery DIes
Shop at:
Sunny Studio
All Is Bright Paper
All Is Bright Paper
Shop at:
Sunny Studio
Spring Greenery Dies
Shop at:
Sunny Studio
Mini Mat & Tag 1 Dies
Shop at:
Sunny Studio
Mini Mat & Tag 2 Dies
Shop at:
Sunny Studio
Mini Mat & Tag 4 Dies
Shop at:
Sunny Studio
Dotted Diamond Landscape
Shop at:
Sunny Studio
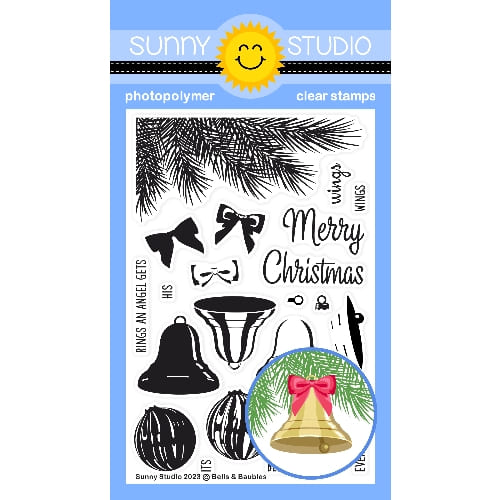
Bells & Baubles Stamps
Shop at:
Sunny Studio

Saturday, October 21, 2023

Guest Designer Spotlight: Cards with Ashlee Bellinger

Hey, Sunny Studio friends my name is Ashlee and I'm here with a guest post using a bunch of awesome products from Sunny Studio Stamps to get you inspired. I had so much fun creating these cards, I hope you enjoy them too!

Sunny Studio Stamps: Holiday Hugs Holiday Cards by Ashlee Bellinger (featuring Crepe Paper Streamers Dies, Perfect Gift Boxes Dies, Mini Mat & Tag Dies, Dotted Diamond Dies)

For my first card, I used these products :

Dotted Diamond Portrait die

Holiday Hugs stamps plus coordinating dies

Crepe Paper Streamers die

Perfect Gift Boxes die

Mini Mat & Tag 2 die

To create this card I started with a grey card stock base. I then die cut the dotted diamond portrait die from a lighter grey card stock before adhering it to the base leaving a slight edging. I wanted this card to be perfect for a birthday celebration so I die-cut a bunch of the crepe paper streamers along with the extra little die pieces in blue so they could be multi-coloured streamers! 

Sunny Studio Stamps: Holiday Hugs Holiday Cards by Ashlee Bellinger (featuring Crepe Paper Streamers Dies, Perfect Gift Boxes Dies, Mini Mat & Tag Dies, Dotted Diamond Dies)

Using the mat from the mini mat and tag die 2 I die cut that from white card stock and adhered that to the base using foam tape to start adding dimension to the card. Once that was in place I was able to add my streamers. 

Sunny Studio Stamps: Holiday Hugs Holiday Cards by Ashlee Bellinger (featuring Crepe Paper Streamers Dies, Perfect Gift Boxes Dies, Mini Mat & Tag Dies, Dotted Diamond Dies)

I just adore the Perfect Gift Boxes die so I die-cut lots of pieces and created three presents which I wanted to pop out from behind the images. I stamped, coloured and die-cut the super sweet Holiday Hugs bear along with an extra present. These were all coloured using spectrum noir tri-blend markers with added white gel pen highlights. 

I adhered these all in place using different levels of foam tape which made it all pop! To complete the card I added a stamped sentiment that was mounted on pink card stock and a touch of pretty sequins for that little bit of bling. 

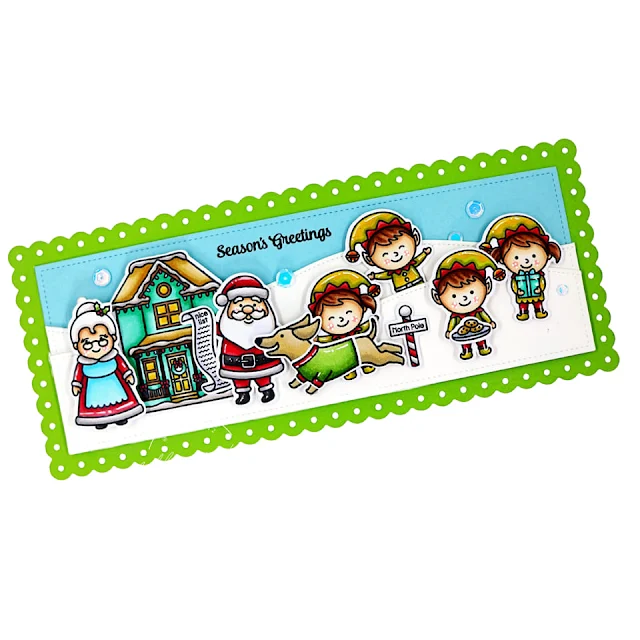
Sunny Studio Stamps: Dashing Dachshund Holiday Cards by Ashlee Bellinger (featuring North Pole, Slimline Dies, Victorian Christmas)

Onto my second card. For this one, I have a slimline card full of lots of Christmas fun.

I used these products for this card :

Dashing Dachshund stamps plus coordinating dies 

North Pole stamps plus coordinating dies

Slimline Scalloped Frame dies

Slimline Nature Borders dies

Victorian Christmas stamp

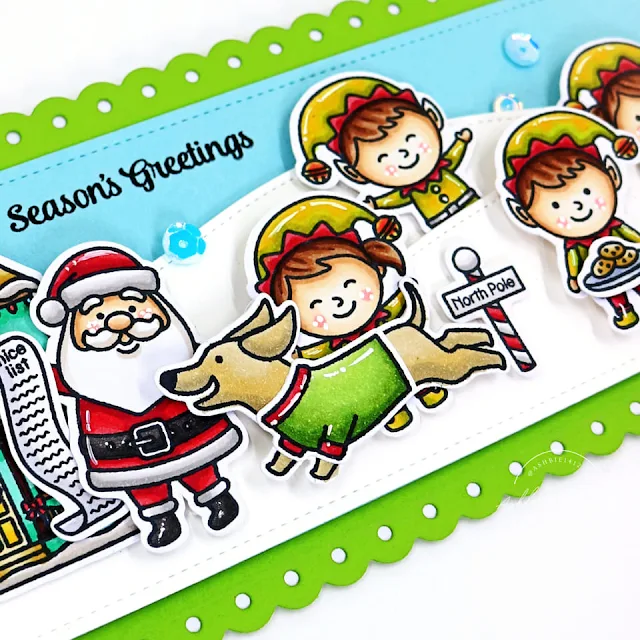
Sunny Studio Stamps: Dashing Dachshund Holiday Cards by Ashlee Bellinger (featuring North Pole, Slimline Dies, Victorian Christmas)

To create this card I started by die-cutting the largest die from the slimline scalloped frame set from green card stock. I then went ahead and die-cut the sky using the stitched rectangle die from the same set. I wanted to create some snow for the North Pole so I die-cut the rectangle again but this time from white card stock before die-cutting it into snowy ground using a die from the nature borders. I made two layers of snow and adhered them together using foam tape so there were different depths of snow. Now it was ready to stamp and colour a bunch of cuties to create my scene.
Sunny Studio Stamps: Dashing Dachshund Holiday Cards by Ashlee Bellinger (featuring North Pole, Slimline Dies, Victorian Christmas)

I stamped coloured and die-cut a whole bunch of images from all these sets including North Pole, Dashing Dachsund and Victorian Christmas. These were all coloured with a mix of Copic and Spectrum noir tri-blend markers. Using a white pen I added some white highlights. Now they were all coloured and die cut it was time to arrange them into a North Pole scene. 

Sunny Studio Stamps: Dashing Dachshund Holiday Cards by Ashlee Bellinger (featuring North Pole, Slimline Dies, Victorian Christmas)

To complete the card I stamped a sentiment directly into the sky on the card using Memento tuxedo black ink "seasons greetings"  along with a touch of sequins. I think it looks like they are having an absolute blast with Santa and Mrs Claus, don't you?!

Thank you so much for checking out my cards today, I really hope you like them as much as I enjoyed creating them. Happy crafting and big crafty hugs! 

Sunny Studio Supplies Used:

Slimline Nature Borders
Shop at:
Sunny Studio
Slimline Scalloped Frame
Shop at:
Sunny Studio
North Pole Stamps
North Pole Stamps
Shop at:
Sunny Studio
North Pole Dies
North Pole Dies
Shop at:
Sunny Studio
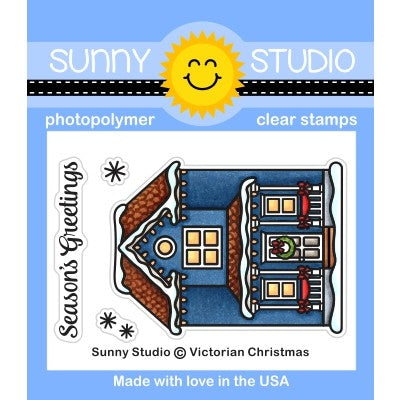
Victorian Christmas Stamps
Shop at:
Sunny Studio
Victorian Christmas Dies
Shop at:
Sunny Studio
Mini Mat & Tag 2 Dies
Shop at:
Sunny Studio
Crepe Paper Streamers Dies
Shop at:
Sunny Studio
Perfect Gift Boxes Dies
Shop at:
Sunny Studio
Dotted Diamond Portrait
Shop at:
Sunny Studio
Dashing Dachshund Stamps
Shop at:
Sunny Studio
Dashing Dachshund Dies
Shop at:
Sunny Studio
Holiday Hugs Stamps
Holiday Hugs Stamps
Shop at:
Sunny Studio
Holiday Hugs Dies
Holiday Hugs Dies
Shop at:
Sunny Studio

Friday, October 13, 2023

Bells & Baubles Card with Tina

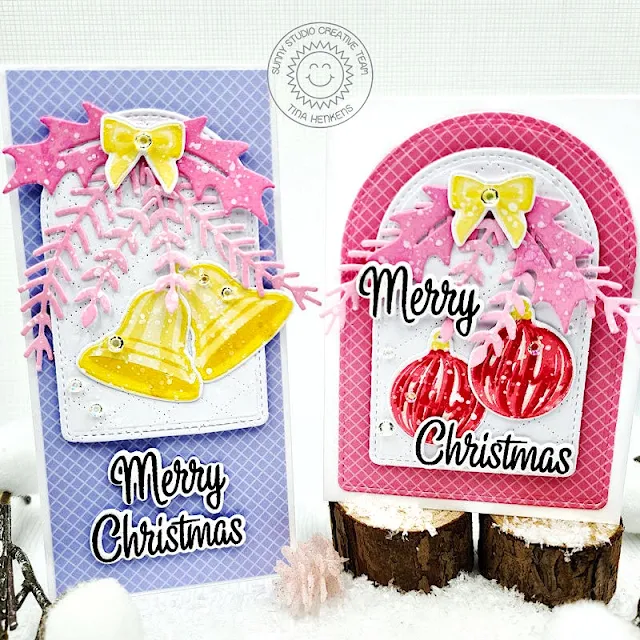
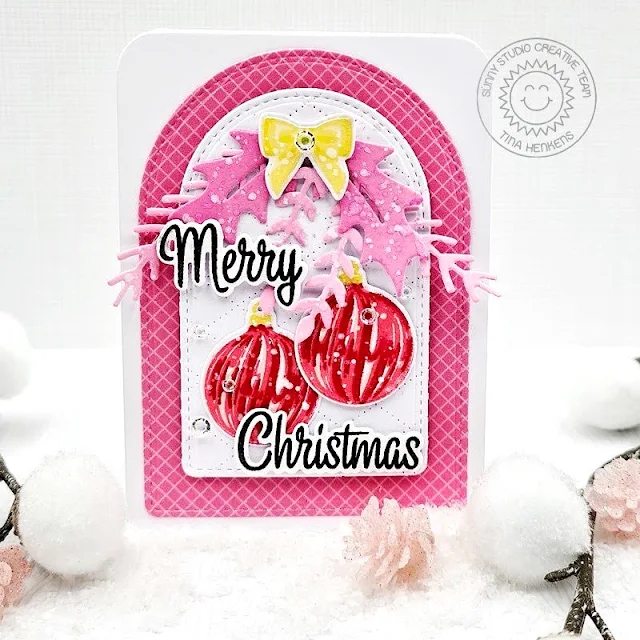
Hello crafty friends, it’s Tina with a set of festive cards featuring the beautiful Bells & Baubles layering stamp and die set. I had so much fun working with these products that I created two cards using similar supplies!

Sunny Studio Stamps: Bells & Baubles Christmas Holiday Cards by Tina Henkens (featuring Stitched Arch Dies, Winter Greenery Dies, Dotted Diamond Background Dies)

Both cards start with a base layer of white card stock cut with the middle of the Stitched Arched Dies. This arch was embellished with the Dotted Diamond Portrait die. Next, I cut colored panels from a pink and purple sheet (Gingham Pastel paper pad) using the largest of the Stitched Arched Dies and a slimline die from my stash. I adhered the white arch to the bright papers with foam tape and glued these pieces to white card bases.

Sunny Studio Stamps: Bells & Baubles Christmas Holiday Cards by Tina Henkens (featuring Stitched Arch Dies, Winter Greenery Dies, Dotted Diamond Background Dies)

After die cutting a bunch of branches from the Winter Greenery set, I used a paper pouncer and Distress Oxides in pink tones (Spun Sugar, Picked Raspberry)  to add some nontraditional colors to these Christmas greens. I love opting for bright happy colors! Then I got out my Misti and several inks from my stash to do the layered stamping. As always, I used the stamp sheet as my layering guide!

For the baubles, I went with pink and red tones, while the bells and bows were stamped in traditional yellow golden colors. It’s always magical to see all the details these layers create!  

Lastly, I stamped the Merry Christmas sentiment from the Bells & Baubles layering stamp with Versafine Onyx Black ink and used the coordinating dies to cut out the words.

Sunny Studio Stamps: Bells & Baubles Christmas Holiday Cards by Tina Henkens (featuring Stitched Arch Dies, Winter Greenery Dies, Dotted Diamond Background Dies)

I used some temporary tape runner to place the branches together so they would create a nice arch shape. When I was happy with the layout, I glued them to the white panel. Next, I adhered the bows, baubles, and bells with liquid glue. To finish the cards, I added the sentiments and a few Chrystal Clear Jewels.

I hope you will have fun creating with these gorgeous layering stamps! Thank you for joining me and happy crafting!

Sunny Studio Supplies Used:

Gingham Pastels 6x6 Paper
Shop at:
Sunny Studio
Stitched Arch Dies
Stitched Arch Dies
Shop at:
Sunny Studio
Winter Greenery DIes
Shop at:
Sunny Studio
Dotted Diamond Portrait
Shop at:
Sunny Studio
Bells & Baubles Stamps
Shop at:
Sunny Studio
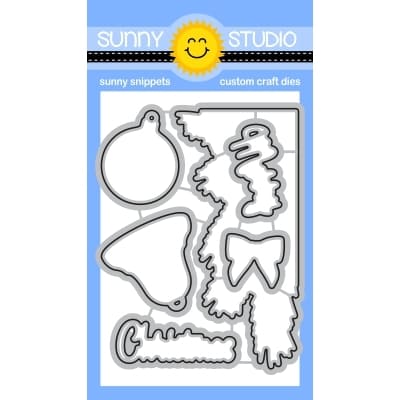
Bells & Baubles Dies
Shop at:
Sunny Studio

Thursday, October 5, 2023

Holiday Hugs Card with Marine

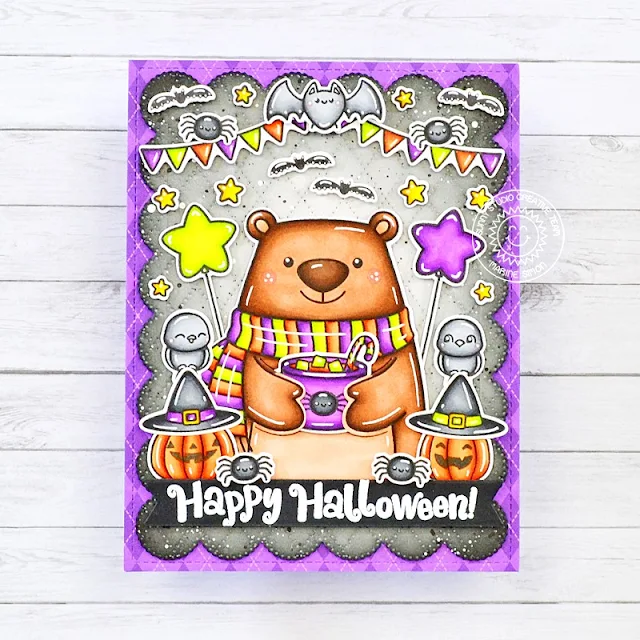
Hi crafty friends, Marine here with you today, I'm thrilled to be back with this cute Halloween card showcasing Holiday Hugs, and once again, I'm happy to show you that this set can be used all year long. I've already used it on a Fall themed card, and today we're getting in a spooky mood.

Sunny Studio Stamps: Holiday Hugs Halloween Card by Marine Simon (featuring Frilly Frame Dies, Dotted Diamond Background Dies, Too Cute To Spook)

I used the same design as my Fall themed card, and started by stamping all my images on 80lb Neenah solar white cardstock using an alcohol marker friendly black ink, I cut them all using the matching dies, and colored everything using my Spectrum Noir Illustrator markers and Graph'it brush markers. And to get in a spooky mood, I did what I often do: I went through my Sunny Studio collection to find images that would fit the theme perfectly. Here are the sets I used:

• Holiday Hugs: bear, cup

• Bewitching: witch hat

• Little Birdie: birds (to make crows)

• Fall Scenes: small bats

• Baby Elephants: star balloons

• Too Cute To Spook: pumpkins, smiles, big bat, stars

• Balloon Rides: banners

Sunny Studio Stamps: Holiday Hugs Halloween Card by Marine Simon (featuring Frilly Frame Dies, Dotted Diamond Background Dies, Too Cute To Spook)

Next I cut a Frilly Frame Eyelet Lace Strathmore bristol smooth panel, added texture to it using the Dotted Diamond Portrait backdrop, and colored it using hickory smoke and black soot distress inks. I mixed some black soot distress ink with water and used a small brush to make splatters on the panel, and did the same with white ink.

Sunny Studio Stamps: Holiday Hugs Halloween Card by Marine Simon (featuring Frilly Frame Dies, Dotted Diamond Background Dies, Too Cute To Spook)

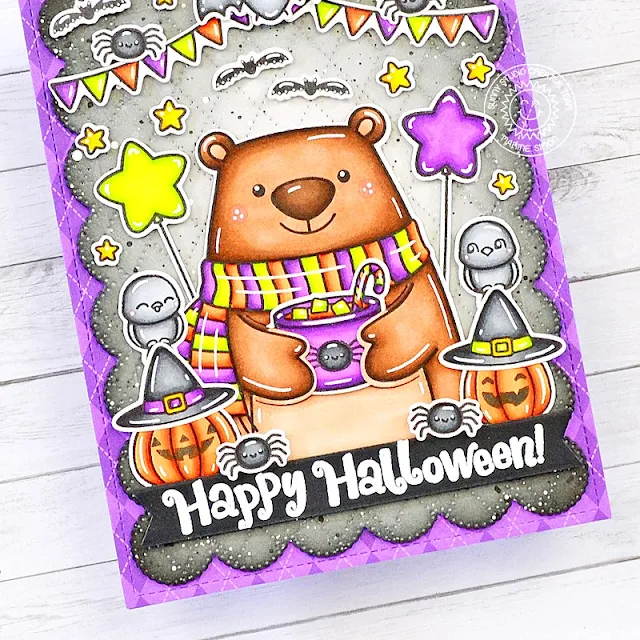
I cut a 5,5 x 4,25 inches Amazing Argyle purple pattern paper, stuck it to an A2 purple card base, and attached my Frilly Frame panel on top of it using foam tape. I white heat embossed my "Happy Halloween!" greeting from Too Cute To Spook on a black banner, and attached it on my panel, along with all the images using 1mm and 2mm foam squares.

As always I finished my card by adding highlights and details to the images using a white gel pen. And that's it! I hope that this card will inspire you to think outside the box and to use your supplies in a different way than the way you're originally supposed to use them. Thanks so much for stopping by, and see you next time.

Sunny Studio Supplies Used:

Bewitching Stamps
Bewitching Stamps
Shop at:
Sunny Studio
Bewitching Dies
Bewitching Dies
Shop at:
Sunny Studio
Amazing Argyle 6x6 Paper
Shop at:
Sunny Studio
Frilly Frames-Eyelet Lace
Shop at:
Sunny Studio
Balloon Rides Stamps
Shop at:
Sunny Studio
Balloon Rides Dies
Balloon Rides Dies
Shop at:
Sunny Studio
Little Birdie Stamps
Shop at:
Sunny Studio
Little Birdie Dies
Little Birdie Dies
Shop at:
Sunny Studio
Baby Elephants Stamps
Shop at:
Sunny Studio
Baby Elephants Dies
Baby Elephants Dies
Shop at:
Sunny Studio
Fall Scenes Stamps
Fall Scenes Stamps
Shop at:
Sunny Studio
Fall Scenes Dies
Fall Scenes Dies
Shop at:
Sunny Studio
Too Cute To Spook Stamps
Shop at:
Sunny Studio
Too Cute To Spook Dies
Shop at:
Sunny Studio
Dotted Diamond Portrait
Shop at:
Sunny Studio
Holiday Hugs Stamps
Holiday Hugs Stamps
Shop at:
Sunny Studio
Holiday Hugs Dies
Holiday Hugs Dies
Shop at:
Sunny Studio