Thursday, October 26, 2023

Pristine Poinsettia Die Focused Card with Marine

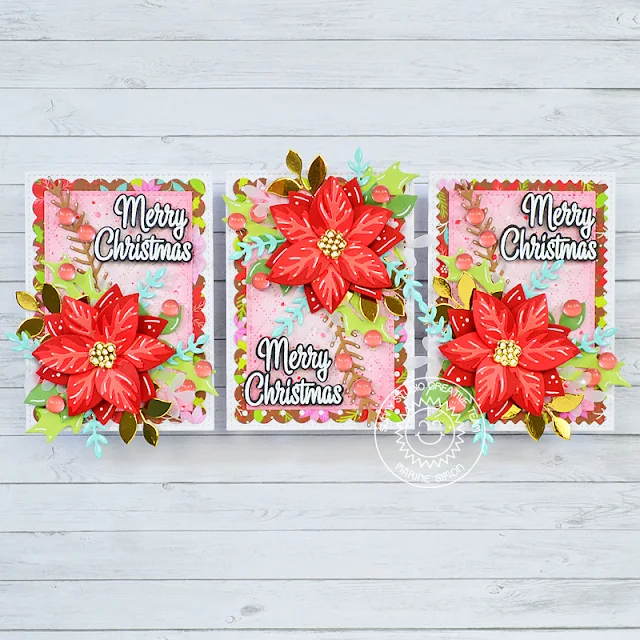
Hello crafty friends, Marine here, back again today with more poinsettias and those three bright and cheerful mini cards using the Pristine Poinsettia die set. Love this set so much! Last year I used that same set to make a cold and frosty holiday card, and this time I went for more traditional colors.

Sunny Studio Stamps: Pristine Poinsettia Christmas Cards by Marine Simon (featuring Mini Mat & Tag Dies, Winter Greenery Dies, Spring Greenery Dies, Dotted Diamond Dies)

I started off by creating and assembling three almost identical card bases following the same process:

1. Cut three Stitched Rectangles out of white cardstock

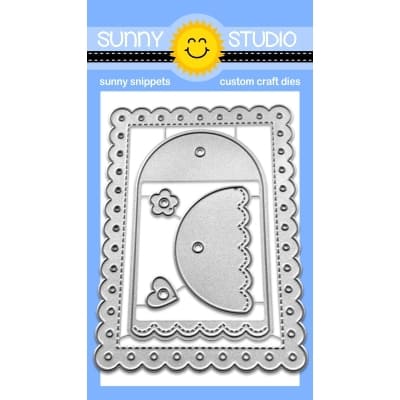
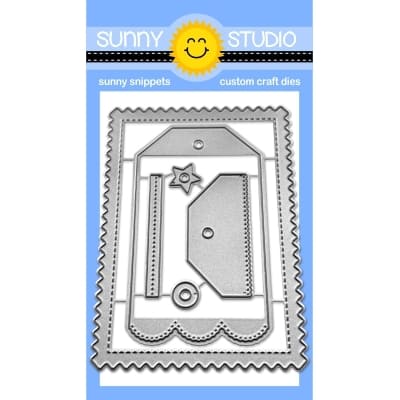
2. Cut three All Is Bright panels using Mini Mat & Tag 1 + Mini Mat & Tag 2 + Mini Mat & Tag 4 dies

Sunny Studio Stamps: Pristine Poinsettia Christmas Cards by Marine Simon (featuring Mini Mat & Tag Dies, Winter Greenery Dies, Spring Greenery Dies, Dotted Diamond Dies)

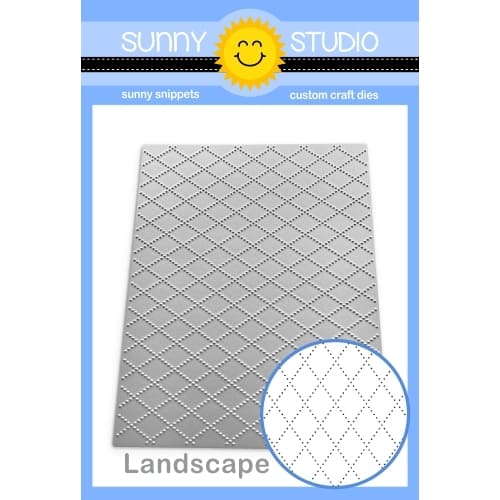
3. Cut two Dotted Diamond Landscape panels, and cut three small Stitched Rectangles out of those two panels. Color those three textured panels using spun sugar and worn lipstick distress inks. Add splatters using festive berries mixed water, and white ink mixed with water

4. Layer and attach the panels on top of each other, and then on card bases

Sunny Studio Stamps: Pristine Poinsettia Christmas Cards by Marine Simon (featuring Mini Mat & Tag Dies, Winter Greenery Dies, Spring Greenery Dies, Dotted Diamond Dies)

Next I cut all the flower, greenery and berry pieces using dies from Pristine PoinsettiaWinter Greenery and Spring Greenery. I cut the flower elements out of three different shades of red cardstock, and cut the greenery elements out of brown, aqua, green, white, vellum and gold cardstock.

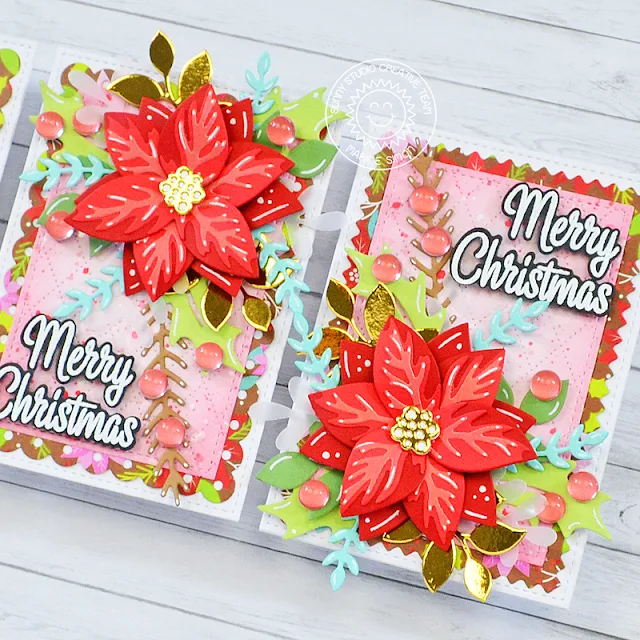
I first started by layering and attaching the Pristine Poinsettia pieces together using liquid glue. Next I stuck a flower on each card base, and then added greenery around each one of them. I added berries here and there, and glued a clear droplet on each to bring more shine and dimension.

Sunny Studio Stamps: Pristine Poinsettia Christmas Cards by Marine Simon (featuring Mini Mat & Tag Dies, Winter Greenery Dies, Spring Greenery Dies, Dotted Diamond Dies)

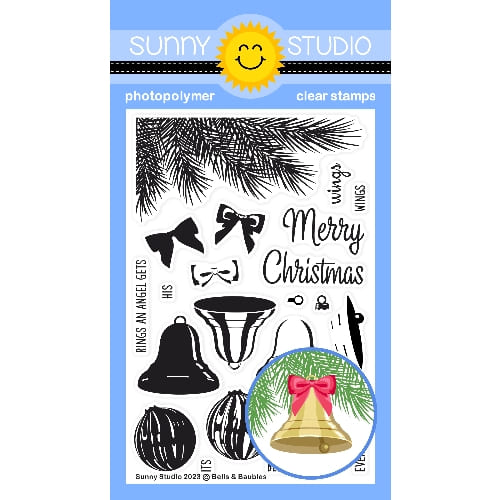
The last step was to create three greetings, and I used the "Merry Christmas" sentiment from Bells & Baubles that I white heat embossed on black cardstock, cut using the matching dies, and attached on the opposite corner of each poinsettia using 2mm foam squares. And finally I added highlights and details at some places using a white gel pen.

And that's it! As always I had a lot of fun making those mini cards, I love how bright and beautiful they turned out, and I hope that you like them. Thank you so much for stopping by, and see you next time.

Sunny Studio Supplies Used:

Stitched Rectangle Dies
Shop at:
Sunny Studio
Pristine Poinsettia Dies
Shop at:
Sunny Studio
Winter Greenery DIes
Shop at:
Sunny Studio
All Is Bright Paper
All Is Bright Paper
Shop at:
Sunny Studio
Spring Greenery Dies
Shop at:
Sunny Studio
Mini Mat & Tag 1 Dies
Shop at:
Sunny Studio
Mini Mat & Tag 2 Dies
Shop at:
Sunny Studio
Mini Mat & Tag 4 Dies
Shop at:
Sunny Studio
Dotted Diamond Landscape
Shop at:
Sunny Studio
Bells & Baubles Stamps
Shop at:
Sunny Studio

Wednesday, October 25, 2023

Love & Light Card with Gladys

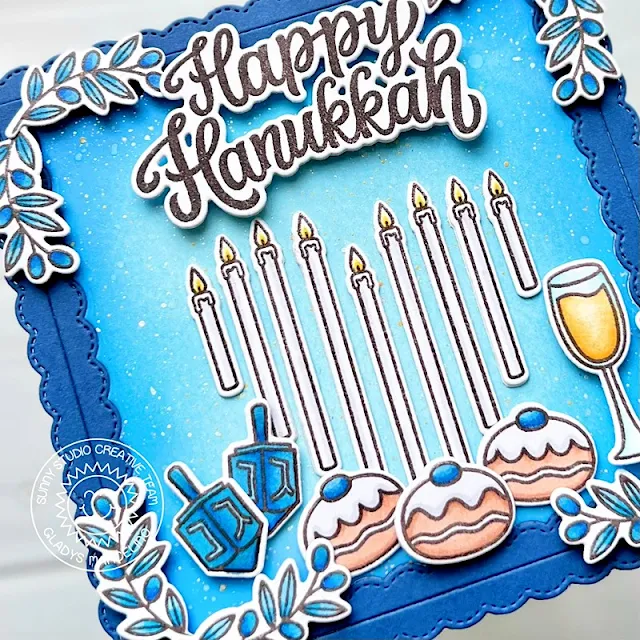
Hi crafty friends, Gladys here! I'm excited to be back on the blog today to share a Hanukkah card using the beautiful stamp set called Love and Light!

Sunny Studio Stamps: Love & Light Hanukkah Card by Gladys Marcelino

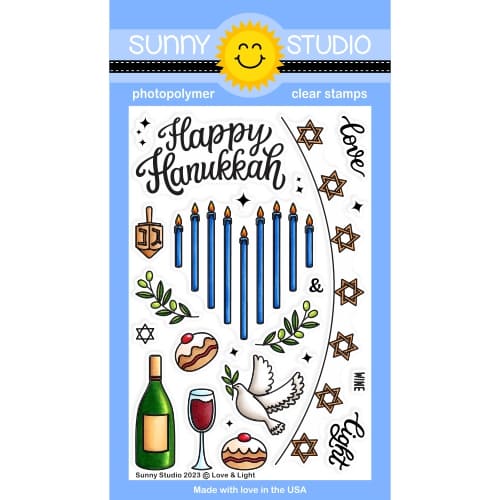
First, I stamped the images from Love and Light with alcohol friendly ink. Then I colored them with Copic markers and used the coordinating dies to cut them out.

Next, I used the largest square die from the Fancy Frames Square dies collection out of Bristol Smooth card stock. I ink blended the inner panel with tumbled glass, salty ocean, and prized ribbon distress oxide inks. I started from the center of the panel with the lightest color and work my way out with the medium and darker colors to add depth. For more interest I splattered flecks of white and gold paint from Gansai Tambi using a small paint brush. I used the square die again to cut from dark blue cardstock. Once the background panel was dry I adhered it onto a white card base.

Sunny Studio Stamps: Love & Light Hanukkah Card by Gladys Marcelino

To assemble the card I centered the candles on the panel and adhered it with glue. I popped all the leaves and arranged them in each of the corners. Then I stamped the “Happy Hunukkah” sentiment from the set and used the coordinating die to cut it out. I mounted it on the top center of the panel. To balance the card I added more images below the candles.  

That is all for me today I'll be back for more inspiration. Have a wonderful day!

Sunny Studio Supplies Used:

Fancy Frames-Square Dies
Shop at:
Sunny Studio
Love & Light Stamps
Love & Light Stamps
Shop at:
Sunny Studio
Love & Light Dies
Love & Light Dies
Shop at:
Sunny Studio

Tuesday, October 24, 2023

Classy Christmas Card with Isha

Hello everyone! Isha here with a christmas card featuring the Classy Christmas stamps and coordinating dies and no-line watercolor technique. I love these floral illustrations and they are perfect for this technique.

Sunny Studio Stamps: Classy Christmas Holiday Card by Isha Gupta (featuring Inside Greetings)

I started by creating the background by smooshing peacock feathers and salty ocean distress ink onto watercolor paper. Let it dry. Adhere this panel to a white card base. Stamp the sentiment from the Inside Greetings Christmas stamp set.

Sunny Studio Stamps: Classy Christmas Holiday Card by Isha Gupta (featuring Inside Greetings)

Stamp the images onto watercolor paper using antique linen distress ink, watercolor. Stamp the pine leaves, die-cut all the images using the coordinating dies. Flick white paint to the images and adhere to the card.

Thanks for dropping by and have a nice day!

Sunny Studio Supplies Used:

Classy Christmas Stamps
Shop at:
Sunny Studio
Classy Christmas Dies
Shop at:
Sunny Studio
Inside Greetings-Christmas
Shop at:
Sunny Studio

Monday, October 23, 2023

Winter Greenery Card with Bobbi

Hello friends, Bobbi here. I wanted to share a card with you today that features a new foliage die set by Sunny Studio Stamps. I am totally in love with the Winter Greenery dies. I feel like I’m reaching for this set a lot lately. The greens are the perfect size to embellish my fall and winter tags and cards. My favorite die in the set is this sweet rounded leaf shaped stem. It is so pretty and dainty and looks great with anything. I used just two types of stems from this set, however, there are four different shapes and coordinating berry dies, too!

Sunny Studio Stamps: Winter Greenery Christmas Card by Bobbi Lemanski

To make this 5″ X 7″ card, I started with a piece of watercolor paper that I had sitting in my scrap bin. The colors were a minty green and a soft peach. I splattered on a bit of gold metallic paint and added a few splatters of a peachy orange, too. I attached the piece to the white card front and added strips of gold metallic cardstock below the watercolor strip for a finished edge.

Sunny Studio Stamps: Winter Greenery Christmas Card by Bobbi Lemanski

Next, I cut the greenery from white cardstock and glued it to the top of the watercolor strip. I kept them white to pop off the background. I hid the stems’ edges with more strips of metallic cardstock. My strips are around 1/8″ thick and I added two above and two below. I added some die cut berries that I colored using Copic Markers in R14, R32 and R20. I also added pearl gem stickers in ivory and a peach to the colored strip. Finally, I stamped the sentiment, “noel” from the Classy Christmas stamp set using gold metallic ink right under the strips.

Thanks for stopping by today. If you want to see more ideas and inspiration from me, subscribe to my blog, BobbiHartDesign.com. I’ll send you updates on new posts! You can also find me on Instagram as @BobbiHartDesign and on Facebook as BobbiHartDesign.

Sunny Studio Supplies Used:

Classy Christmas Stamps
Shop at:
Sunny Studio
Winter Greenery DIes
Shop at:
Sunny Studio

Sunday, October 22, 2023

Truckloads of Love Card with Rachel

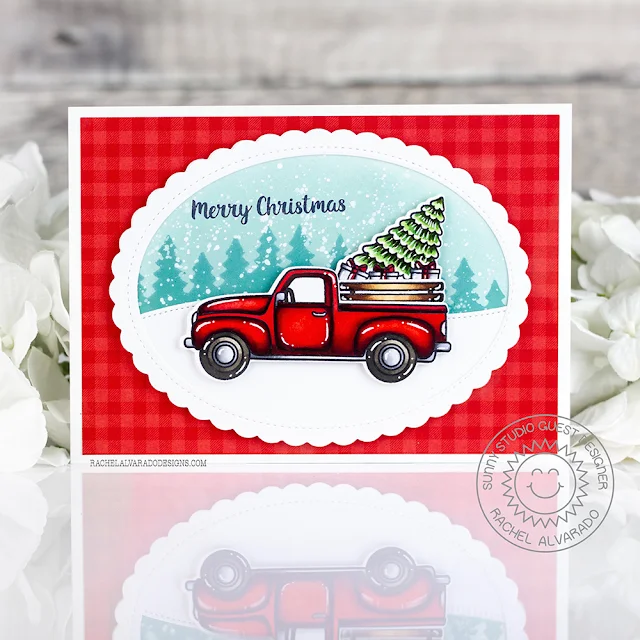
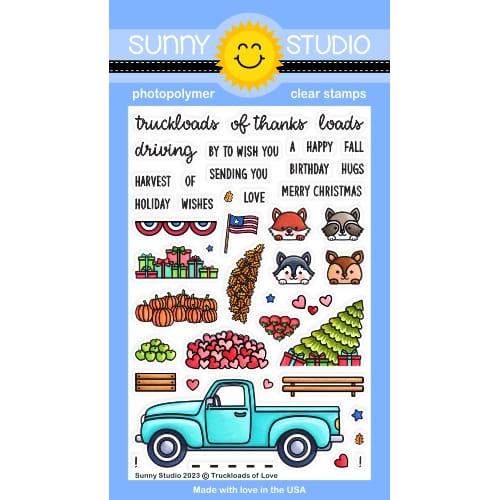
Hello crafty friends! It's Rachel here with a classic-style Christmas card featuring the versatile Truckloads of Love Stamp Set. I love this set because it can be decorated appropriately for a variety of occasions and seasons throughout the entire year. For my card today, I used the truck combined with the wooden railing, Christmas gifts, and tree to create a simple Christmas-themed card.

Sunny Studio Stamps: Truckloads Of Fun Holiday Card by Rachel Alvarado (featuring Forest Tree Stencils, Scalloped Oval Mat Dies, Stitched Oval Dies)

I started my card by first stamping my images onto a sheet of Neenah Solar White 110lb Card Stock with Memento Tuxedo Black Ink. I then colored them with Copic Markers and used the coordinating Truckloads of Love Die Set to cut them out. Next, I die cut two large scalloped ovals from some smooth white card stock using the largest die from the Scalloped Oval Mat 1 Dies. I set one of my oval die cuts aside to use as my background and then ran the second one through my die cutting machine again and cut the inside of it with the largest oval from the Stitched Ovals 2 Die Set in order to make a scalloped oval frame.

Sunny Studio Stamps: Truckloads Of Fun Holiday Card by Rachel Alvarado (featuring Forest Tree Stencils, Scalloped Oval Mat Dies, Stitched Oval Dies)

I then blended some Speckled Egg Distress Oxide Ink onto my first scalloped oval cut to create my background sky. Once finished, I then used one of the Forest Trees Stencils to blend some pine trees over top of my background sky with some Evergreen Bough Distress Oxide Ink. I then added some white ink spatters using diluted Copic Opaque White Paint to resemble snow. I made my card the standard A6 (4.5" x 6.25") size and layered it with some red patterned paper from the Joyful Holiday Paper Pad

I next stamped my sentiment from the Christmas Home Stamp Set onto my background oval scene and then adhered it to my card base with some 3D foam adhesive tape. Next, I die cut a snow drift from the negative oval piece that I had left over from making my frame using one of the stitched slope border dies from the Slimline Nature Border Dies. Following that, I added my frame around my oval with some liquid adhesive and lastly added my stamped images with more 3D foam adhesive squares for extra dimension. 

Thanks so much for taking the time to stop by! If you want more card making inspiration, feel free to check out my INSTAGRAM feed!

Sunny Studio Supplies Used:

Slimline Nature Borders
Shop at:
Sunny Studio
Scalloped Oval Mat 1 Dies
Shop at:
Sunny Studio
Stitched Oval 2 Dies
Shop at:
Sunny Studio
Forest Trees Stencils
Shop at:
Sunny Studio
Joyful Holiday Paper
Shop at:
Sunny Studio
Truckloads of Love Stamps
Shop at:
Sunny Studio
Truckloads of Love Dies
Shop at:
Sunny Studio