Showing posts with label Picket Fence Border Dies. Show all posts

Thursday, January 18, 2024

Bighearted Bears Card & Treat Bag with Marine

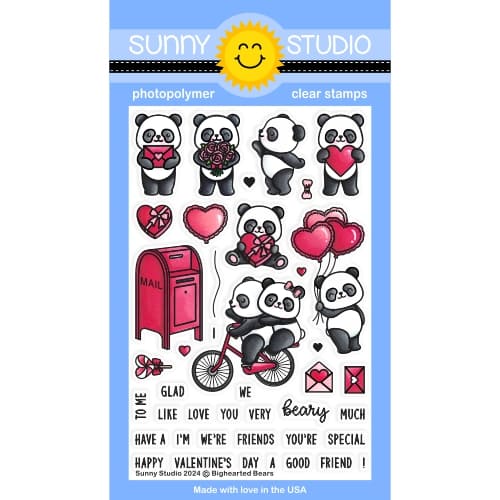
Hello crafty friends, Marine here with you today, super happy to be back with this lovely card and cute matching Treat Bag Topper showcasing the adorable pandas from Bighearted Bears. Love those little guys so much!

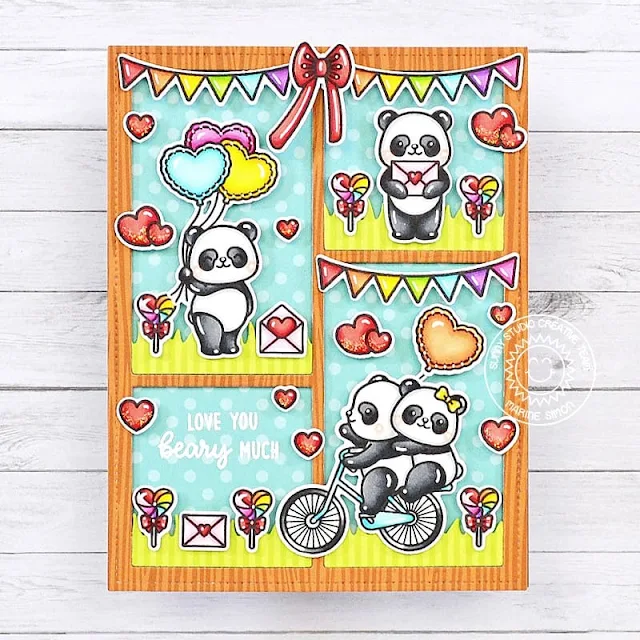
Sunny Studio Stamps: Bighearted Bears Card and Treat Bag Topper by Marine Simon (featuring Treat Bag Topper Dies, Picket Fence Border Dies, Comic Strip Speech Bubble Dies)

I started off by stamping all my images on 80lb Neenah solar white cardstock using an alcohol marker friendly black ink, I cut them all using the matching dies, and colored everything using my alcohol markers. And because pandas have neutral colors, I decided to go for a whole rainbow theme. Along with Bighearted Bears, here are the other stamp sets I used: ● Lovable llama - bow ● Panda Party - banners ● Special Day - hearts.

Sunny Studio Stamps: Bighearted Bears Card and Treat Bag Topper by Marine Simon (featuring Treat Bag Topper Dies, Picket Fence Border Dies, Comic Strip Speech Bubble Dies)

Next I worked on the card, and started by cutting several elements to build my little background. I cut a 5,5 x 4,25 inches Dots & Stripes Pastels blue polka dot panel, a Comic Strip Speech Bubble frame out of an Amazing Argyle wooden textured pattern paper, and another frame out of a Dots & Stripes Pastels green stripe paper. I kept the four inside pieces of that green stripe paper, and used the grass border die from Picket Fence Border Dies to cut four small grass sections.

I attached my wooden frame on the blue polka dot panel using 1mm foam squares, and added the grass borders using the same adhesives. I white heat embossed my "Love you beary much" greeting from Bighearted Bears on the upper part of the bottom left hand square, and then attached all my images using 1mm and 2mm foam squares. Added morning dew nuvo drops on the hearts, and highlights on the images using a white gel pen, and moved on to the Treat Bag Topper

Sunny Studio Stamps: Bighearted Bears Card and Treat Bag Topper by Marine Simon (featuring Treat Bag Topper Dies, Picket Fence Border Dies, Comic Strip Speech Bubble Dies)

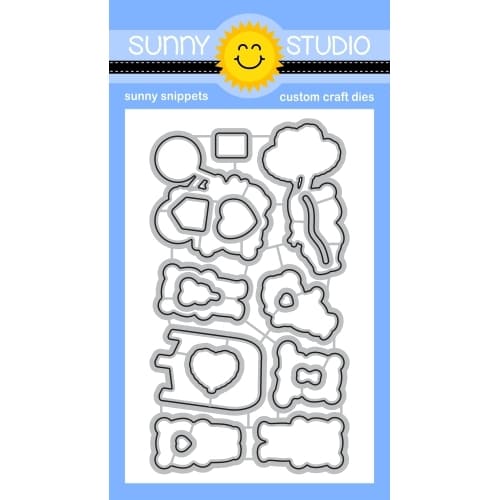
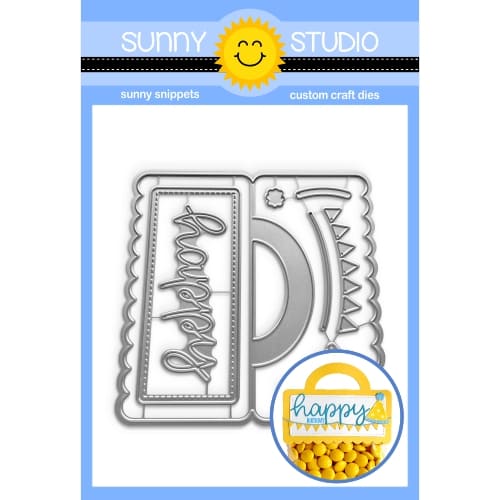
I used the Treat Bag Topper main die three times to cut the different parts of my little landscape out of the same pattern papers as before, assembled everything using liquid glue, and attached my images using 1mm foam squares.

And that's it! I really love how both pieces turned out, and those pandas are so very cute. I can't wait to use them on more cards! Thanks so much for stopping by, and see you next time.

Sunny Studio Supplies Used:

Picket Fence Border Dies
Shop at:
Sunny Studio
Amazing Argyle 6x6 Paper
Shop at:
Sunny Studio
Dots & Stripes Pastels 6x6 Paper
Shop at:
Sunny Studio
Comic Strip Speech Bubble Dies
Shop at:
Sunny Studio
Lovable Llama Stamps
Shop at:
Sunny Studio
Lovable Llama Dies
Lovable Llama Dies
Shop at:
Sunny Studio
Panda Party Stamps
Panda Party Stamps
Shop at:
Sunny Studio
Panda Party Dies
Panda Party Dies
Shop at:
Sunny Studio
Special Day Stamps
Special Day Stamps
Shop at:
Sunny Studio
Special Day Dies
Special Day Dies
Shop at:
Sunny Studio
Bighearted Bears Stamps
Shop at:
Sunny Studio
Bighearted Bears Dies
Shop at:
Sunny Studio
Treat Bag Topper Die
Shop at:
Sunny Studio

Sunday, December 31, 2023

Love Birds Card with Rachel

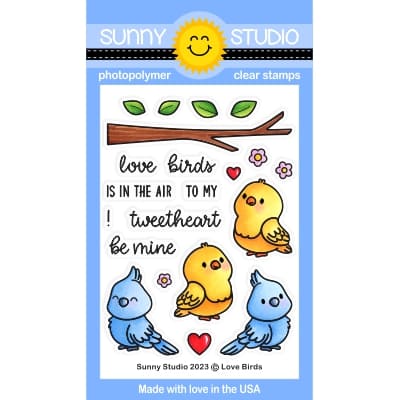
Hello crafty friends! It's Rachel here with a shadow box card featuring the adorable new Love Birds Stamp Set

Sunny Studio Stamps: Love Birds Card by Rachel Alvarado (featuring Picket Fence Border Dies)

To start, I first created my shadow box from scratch. When folded, it measures 5" x 6.5" and can fit easily in a standard 5"x7" envelope. When upright, it measures 4.5" wide by 5" tall. To create my base, I simply trimmed two pieces of white card stock to 5" x 7" and scored each piece at both 1/2" and 5". I die cut a stitched circle into one of the pieces to create a window, stamped my sentiment to the piece with the window, and then attached both the front and back pieces of my shadow box together by adding some glue to the 1/2" tab pieces.

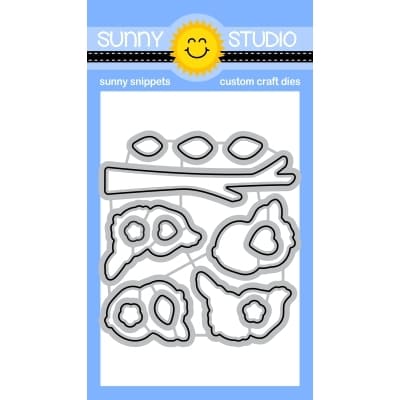
I next stamped all of my images onto a sheet of Neenah Solar White 110lb Card Stock with some Memento Tuxedo Black Ink and colored them with Copic alcohol markers. I then used the coordinating Love Birds Die Set to cut them out. Prior to adding my images to the inside of my shadow box card, I first die cut a grass panel (from green card stock) and a fence (from white card stock) using the Picket Fence Border Die Set. I adhered the grass first directly behind the bottom opening of my circular window and then added the fence piece behind my grass.

Sunny Studio Stamps: Love Birds Card by Rachel Alvarado (featuring Picket Fence Border Dies)

For my background, I blended some Tumbled Glass Distress Ink onto a 4.5" x 5" piece of smooth white card stock. Lastly, I added some hearts using clear acetate in the areas where it would look like the hearts were floating.

Thanks so much for taking the time to drop by! I had so much fun working with this adorable set and hope you enjoyed my card today! For more card making inspiration, feel free to check out my Instagram Feed.

Sunny Studio Supplies Used:

Picket Fence Border Dies
Shop at:
Sunny Studio
Love Birds Stamps
Love Birds Stamps
Shop at:
Sunny Studio
Love Birds Dies
Love Birds Dies
Shop at:
Sunny Studio

Sunday, October 1, 2023

Too Cute To Spook Card with Tammy

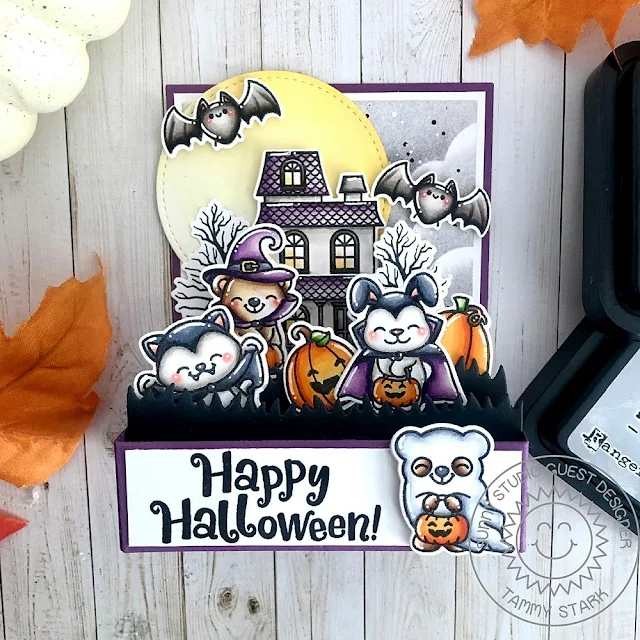
Hi friends! Tammy here with a fun Halloween box card featuring the adorable set, Too Cute To Spook. 

Sunny Studio Stamps: Too Cute To Spook Halloween Card by Tammy Stark (featuring Picket Fence Border Dies, Stitched Circle Dies)

To begin, I stamped the images from Too Cute To Spook, colored with Copic markers, and die cut using the Too Cute To Spook Dies. Next, I created a basic rectangle base using purple cardstock. I then cut the back panel pieces from Purple, white, and Bristol smooth cardstock. I created a cloudy background on the Bristol cardstock with Hickory Smoke and Lost Shadow Distress Oxide inks, adding white and black paint splatters. Once dry, I layered the back pieces together and attached to the inside of the box. I die cut three grassy borders from black cardstock using the Picket Fence Border Die and attached them to the inside of the box.

Sunny Studio Stamps: Too Cute To Spook Halloween Card by Tammy Stark (featuring Picket Fence Border Dies, Stitched Circle Dies)

I die cut the moon from Bristol cardstock using the Stitched Circle Large Dies, lightly inking the edges with Scattered Straw Distress Oxide ink, before attaching to the back of the card.

Sunny Studio Stamps: Too Cute To Spook Halloween Card by Tammy Stark (featuring Picket Fence Border Dies, Stitched Circle Dies)

Next, I attached the die cut images to the box, using foam tape for dimension and stability. I cut a piece of white cardstock to fit the front of the box and stamped the 'Happy Halloween' sentiment in black ink. I then attached the cute ghost to the front with foam tape to complete my card!

Thanks so much for stopping by! Hugs!

Sunny Studio Supplies Used:

Picket Fence Border Dies
Shop at:
Sunny Studio
Stitched Circle Large Dies
Shop at:
Sunny Studio
Too Cute To Spook Stamps
Shop at:
Sunny Studio
Too Cute To Spook Dies
Shop at:
Sunny Studio

Wednesday, August 16, 2023

Little Buckaroo Card with Catherine

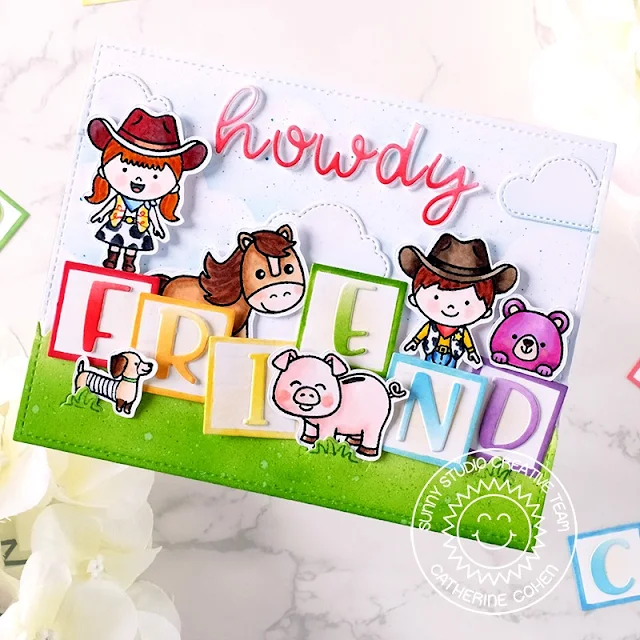
Howdy Crafty Friends! It’s Catherine! Today, I am sharing a friendship card created with Little Buckaroo Stamps inspired by one of my favourite movies … Can you guess which movie?

Sunny Studio Stamps: Little Buckaroo Friendship Card by Catherine Cohen (featuring Loopy Letter Dies, Chloe Alphabet Dies, Picket Fence Border Dies, Fluffy Cloud Dies)

To start, I created a cloudy background with Tumbled Glass Distress Oxide on A2 white cardstock using a stencil I made with Fluffy Clouds Border Dies. I splattered some blue watercolor onto the clouds. I added a few clouds with Fluffy Clouds Dies.

Next, I made a grassy border using the grass die from Picket Fence Die. I ink blended the grass border with Mowed Lawn Distress Oxide. I sprayed some water and flicked some green watercolor for added interest. I added some grass using the grass stamp and dies from Chickie Baby StampsI adhered the clouds and grass border onto the background panel and added a stitch border along the edges.

I made blocks by die cutting 1” squares with a square die in my stash. I inked the center of each block with Antique Linen Distress Oxide and ink blended the borders with Festive Berries, Dried Marigold, Squeezed Lemonade, Mowed Lawn, Tumbled Glass, and Dusty Concord Distress Oxides.

I die cut “FRIEND” out of white cardstock using Chloe Alphabet Dies and ink blended the letters with the same Distress Oxides.

Sunny Studio Stamps: Little Buckaroo Friendship Card by Catherine Cohen (featuring Loopy Letter Dies, Chloe Alphabet Dies, Picket Fence Border Dies, Fluffy Cloud Dies)

I stamped the cowgirl and cowboy from Little Buckaroos Stamps, horse and pig from Barnyard Buddies Stamps, dog from Puppy Parents Stamps, and bear from Beach Buddies Stamps. I die cut the images with the coordinating dies and I colored the images with Copic Markers listed in my blog link below. I adhered all the images onto the background.

I finished off the card by adding “Howdy” by die cutting white cardstock with Loopy Letters Dies and ink blending the letters with Festive Berries Distress Oxide.

Thank you so much for joining me today. Please feel free to visit me at Crafti-Cat for a list of Copic Markers used. Have a wonderful week!

Sunny Studio Supplies Used:

Beach Buddies Stamps
Shop at:
Sunny Studio
Beach Buddies Dies
Beach Buddies Dies
Shop at:
Sunny Studio
Chloe Alphabet Dies
Chloe Alphabet Dies
Shop at:
Sunny Studio
Picket Fence Border Dies
Shop at:
Sunny Studio
Barnyard Buddies Dies
Shop at:
Sunny Studio
Barnyard Buddies Stamps
Shop at:
Sunny Studio
Loopy Letters Dies
Loopy Letters Dies
Shop at:
Sunny Studio
Puppy Parents Stamps
Shop at:
Sunny Studio
Puppy Parents Dies
Puppy Parents Dies
Shop at:
Sunny Studio
Fluffy Clouds Dies
Fluffy Clouds Dies
Shop at:
Sunny Studio
Fluffy Clouds Border Dies
Shop at:
Sunny Studio
Chickie Baby Stamps
Chickie Baby Stamps
Shop at:
Sunny Studio
Chickie Baby Dies
Chickie Baby Dies
Shop at:
Sunny Studio
Little Buckaroo Stamps
Shop at:
Sunny Studio
Little Buckaroo Dies
Shop at:
Sunny Studio

Wednesday, August 2, 2023

Puppy Dog Kisses Card with Catherine

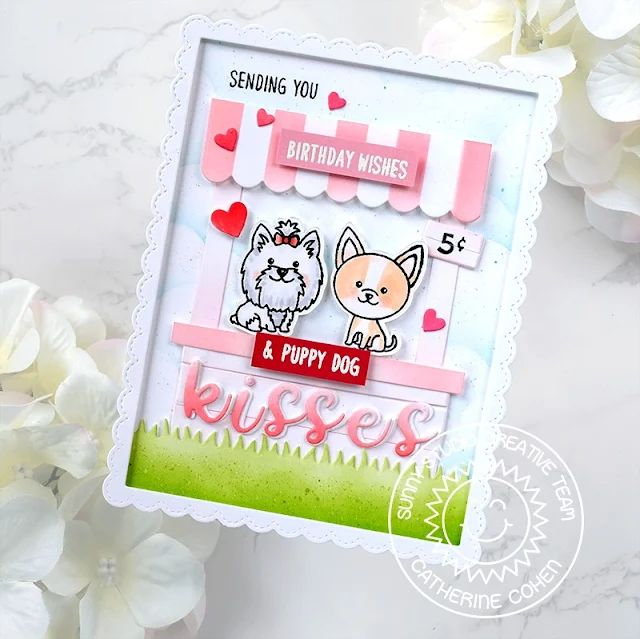
Hello Crafty Friends! Catherine here! Today, I am sharing a birthday card created with the adorable Puppy Dog Kisses.

Sunny Studio Stamps: Puppy Dog Kisses Birthday Card by Catherine Cohen (featuring Picket Fence Border Dies, Fancy Frame Dies, Slimline Dies, Stitched Heart Dies)

To start, I ink blended white cardstock 4”W x 5 ¼”H using Tumbled Glass Distress Oxide with a cloudy stencil made with Slimline Nature Border Dies. I stamped the top left corner of the panel with “Sending You” from Sending Sunshine Stamps.

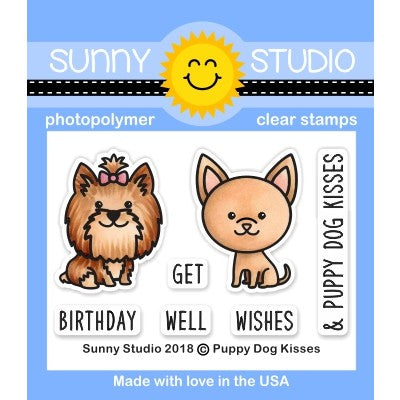
I then die cut the grass border using Picket Fence Border Die. I ink blended the border with Mowed Lawn Distress Oxide and sprayed the border with some water for added detail. I stamped and die cut the cute dogs from Puppy Dog Kisses Stamps and colored with Copic Markers listed in my blog link below.

To make the kissing booth, I die cut the awning from Sweet Treat House Add-On, I trimmed off one panel of the awning. I trimmed white cardstock to the following dimensions for the rest of the kissing booth:

Base: 3” W x 1 ¼”H - x 2 pieces. I trimmed one piece into 3 strips and adhered the strips onto the second piece for a wood effect.

Top: 3 ¼” W x ¼” H - x 1

Side Poles: 3/8” W x 3”H – x 2 pieces

Sunny Studio Stamps: Puppy Dog Kisses Birthday Card by Catherine Cohen (featuring Picket Fence Border Dies, Fancy Frame Dies, Slimline Dies, Stitched Heart Dies)

I inked blended the pieces with Spun Sugar Distress Oxide. I glued the booth together and adhered it onto the background and then I glued the grass border. I die cut two sets of “kisses” out of white cardstock. I ink blended one set with Festive Berries Distress Oxide and adhered it onto the white set for added dimension.

I added White Heat Embossed sentiments from the set, some hearts from Stitched Heart 2 Dies. I finished off the card by adding a border from Fancy Frames Rectangle Dies.

Thanks so much for joining me today! For a list of Copic Markers used, please visit me at Crafti-Cat. Have a wonderful week!

Sunny Studio Supplies Used:

Picket Fence Border Dies
Shop at:
Sunny Studio
Fancy Frames- Rectangles
Shop at:
Sunny Studio
Puppy Dog Kisses Stamps
Shop at:
Sunny Studio
Puppy Dog Kisses Dies
Shop at:
Sunny Studio
Sending Sunshine Stamps
Shop at:
Sunny Studio
Sweet Treats House Add-on
Shop at:
Sunny Studio
Slimline Nature Borders
Shop at:
Sunny Studio
Stitched Heart 2 Dies
Shop at:
Sunny Studio

Thursday, June 22, 2023

Critter Campout Card with Marine

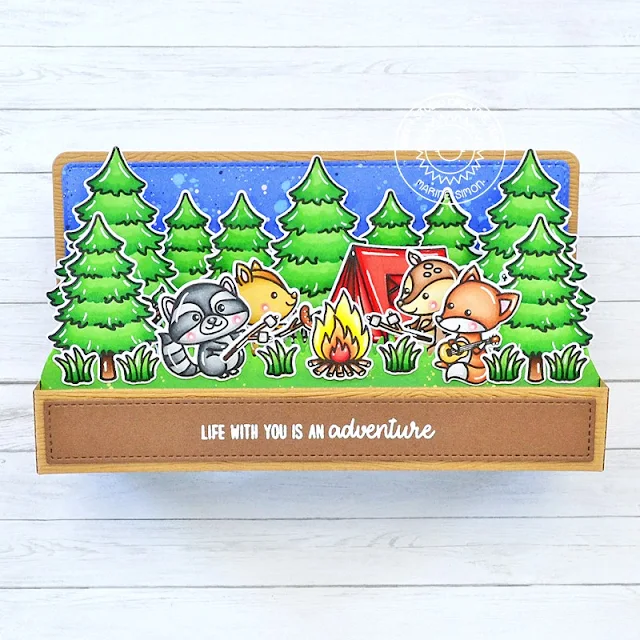
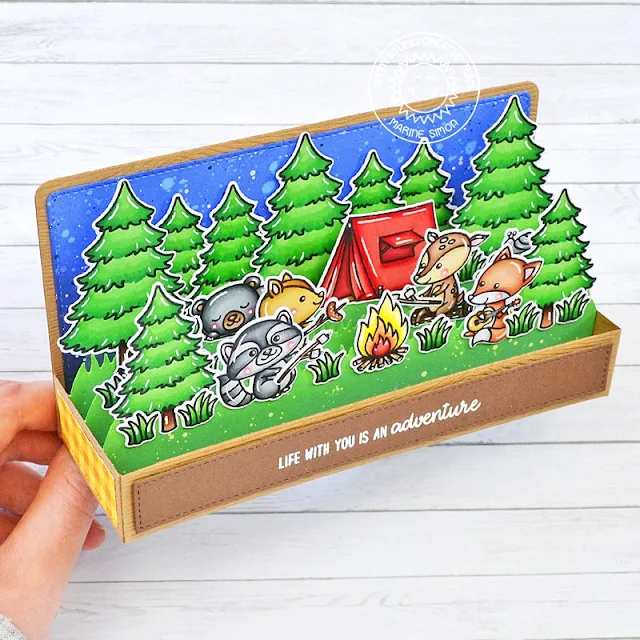
Hello crafty friends! Marine here, so happy to be back with a new 3D card showcasing the little guys from Critter Campout. It was my first time coloring them, and I had a lot of fun creating this camping in the woods scenery for them.

Sunny Studio Stamps: Critter Campout Card by Marine Simon (featuring Picket Fence Dies, Seasonal Trees)

I started off with the coloring. I stamped all my images on Transotype perfect coloring paper using an alcohol marker friendly black ink, as always I used the coordinating dies to cut them all, and then colored everything using my Graph'it brush markers and Spectrum Noir Illustrator markers. And in addition to the little campers from Critter Campout, I picked the pine trees from Seasonal Trees, the tree trunk from Happy Harvest, and the grass sprigs from Bunnyville.

Sunny Studio Stamps: Critter Campout Card by Marine Simon (featuring Picket Fence Dies, Seasonal Trees)

Once everything was colored, I cut all the 3D elements and built the card base. I wanted to have a night sky in the back, so I used blueprint sketch, chipped sapphire and black soot oxide inks to make a dark background. I also cut three grass borders using the grass die from Picket Fence Border Die, and colored those borders using mowed lawn and rustic wilderness oxide inks.

Sunny Studio Stamps: Critter Campout Card by Marine Simon (featuring Picket Fence Dies, Seasonal Trees)

I attached five trees on the back panel using 1mm foam squares, and then the remaining images on the grass borders using 3mm glue dots. To decorate both sides of the card I used a plaid pattern paper from the Critter Country paper pack, and finally I white heat embossed my "Life with you is an adventure" greeting from Critter Campout on the front.

And that's it! I hope that you like this lovely little camping scene in the woods. Thank you so much for stopping by, and see you next time!

Sunny Studio Supplies Used:

Picket Fence Border Dies
Shop at:
Sunny Studio
Critter Campout Stamps
Shop at:
Sunny Studio
Critter Campout Dies
Shop at:
Sunny Studio
Happy Harvest Stamps
Shop at:
Sunny Studio
Happy Harvest Dies
Happy Harvest Dies
Shop at:
Sunny Studio
Seasonal Trees Stamps
Shop at:
Sunny Studio
Seaonal Trees Dies
Seaonal Trees Dies
Shop at:
Sunny Studio
Bunnyville Stamps
Bunnyville Stamps
Shop at:
Sunny Studio
Bunnyville Dies
Bunnyville Dies
Shop at:
Sunny Studio
Critter Country Paper
Shop at:
Sunny Studio