Showing posts with label Dotted Diamond Die. Show all posts

Monday, January 29, 2024

Love Birds Card with Leanne

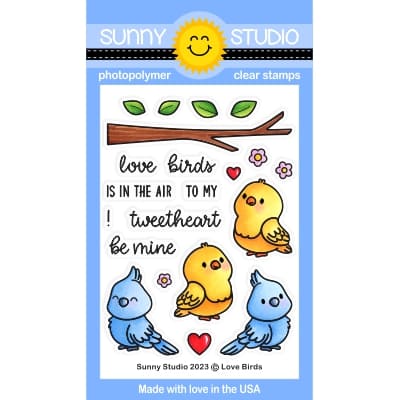
Hello and happy Monday! Leanne here to share some fresh card making inspiration showcasing the Love Birds stamp set.  

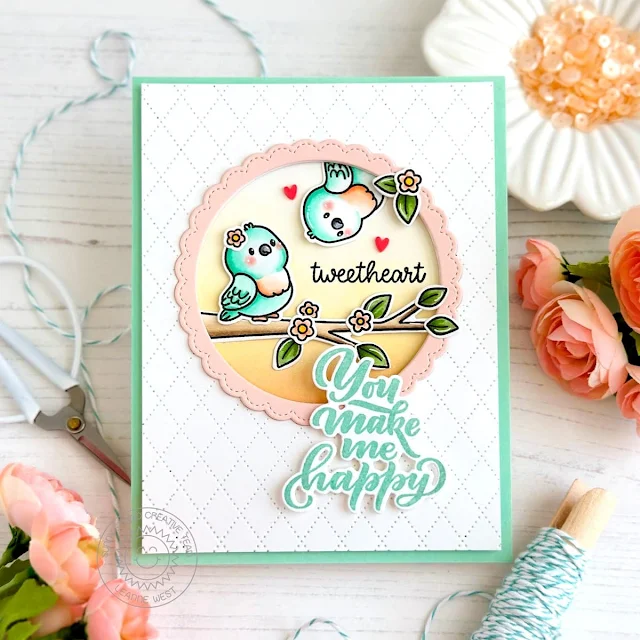
Sunny Studio Stamps: Love Bird Card by Leanne West (featuring Dotted Diamond Dies, Fancy Frame Dies, Lovey Dovey)

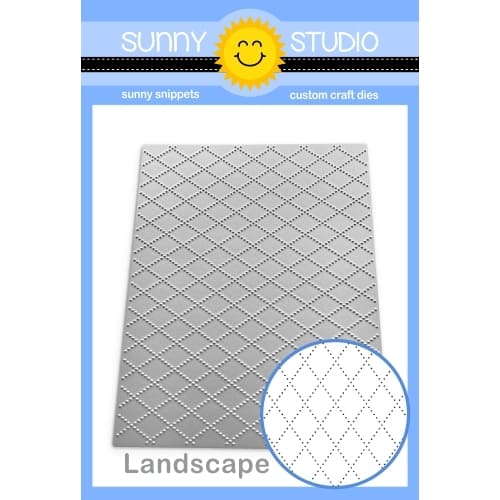
I started with a light aqua blue card base. I trimmed a panel of white card stock down just slightly smaller than my A2 card base. I ran that panel through my die cut machine with the Dotted Diamond Portrait die to give it that decorative texture.  I then used a Fancy Frames Circle die to cut out a scalloped circle shaped window.  I also die cut some peach card stock with that same circle frame die four times.  The peach scalloped circles have been stacked and adhered together to create one thick frame to highlight the scene.  

I used a blend of Tattered Rose and Dried Marigold Distress Oxide inks to create a soft peachy background to put behind the window.  I Copic colored the birds and branch images. I used the coordinating Love Birds dies to cut them out and then added them onto the card.  I tucked one bird behind the top of circle window so he's peeking out and looking down at the one perched on the branch.  

Sunny Studio Stamps: Love Bird Card by Leanne West (featuring Dotted Diamond Dies, Fancy Frame Dies, Lovey Dovey)

Copic's used for coloring the stamped images:

peach - YR01, YR61, YR02
aqua blue - BB70, BG10, BG11, BG13
brown - E41, E42
green - G43, G94
yellow flower center - Y11, Y15
rosy cheeks - R00, R20

I stamped the word "tweetheart" directly onto the background. It fit perfectly in the space between the birds.  To finish the greeting I added a sentiment from the Lovey Dovey stamp set.  

Sunny Studio Supplies Used:

Fancy Frames-Circle Dies
Shop at:
Sunny Studio
Lovey Dovey Stamps
Lovey Dovey Stamps
Shop at:
Sunny Studio
Lovey Dovey Dies
Lovey Dovey Dies
Shop at:
Sunny Studio
Dotted Diamond Portrait
Shop at:
Sunny Studio
Love Birds Stamps
Love Birds Stamps
Shop at:
Sunny Studio
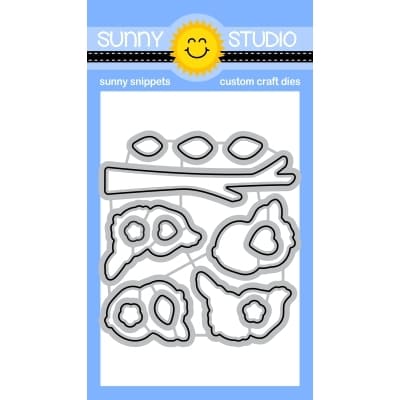
Love Birds Dies
Love Birds Dies
Shop at:
Sunny Studio

Saturday, January 27, 2024

Treat Bag Topper Gift with Cathy

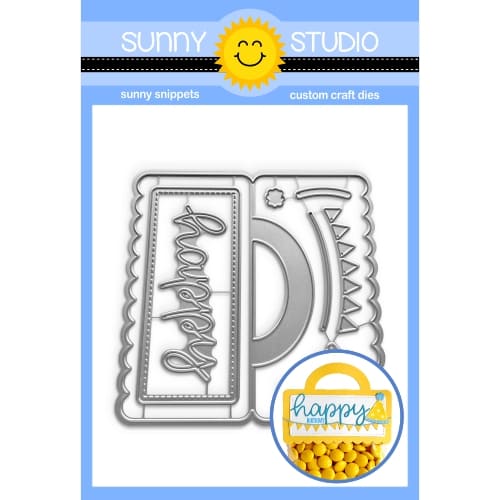
Hey friends! Cathy here today sharing a fun Valentine's gift using the Treat Bag Topper Dies. These dies are perfect for any occasion and add such a great touch to a little gift!

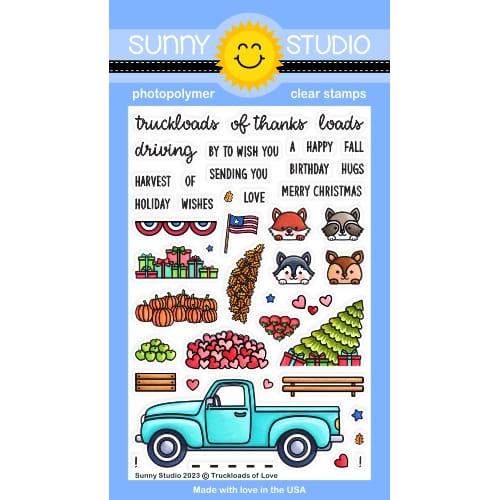
Sunny Studio Stamps: Treat Bag Topper Die Focused Valentine's Day Treat Bag by Cathy Chapdelaine (featuring Sprawling Surfaces, Truckloads Of Love, Scalloped Heart Dies, Stitched Heart Dies, Loopy Letter Dies, Dotted Diamond Dies)

I started by die-cutting the topper from white cardstock and then die-cutting it with the Dotted Diamond Landscape Die for a little texture. Since I chose a panda in my little scene, I die-cut the topper again from black cardstock and overlapped/adhered the white and black toppers together.

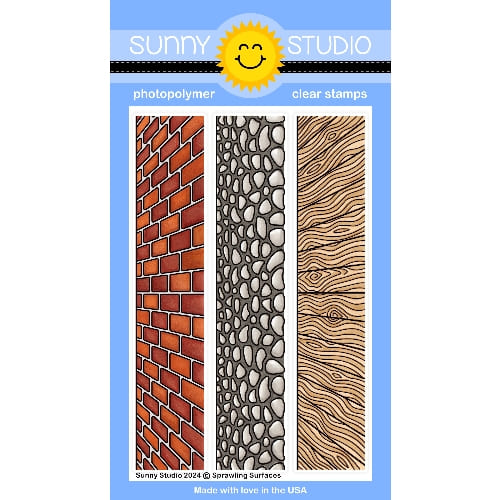
Next, I die-cut the stitched rectangle in the dies from cream cardstock and inked it lightly with Saltwater Taffy Distress ink. I also splattered a little watered down white and black paints with a fan brush. I then stamped the cobblestone stamp from the Sprawling Surfaces Stamps on Neenah Classic Crest 80lb solar white cardstock and colored it with Copics. I used the same stitched rectangle die and die-cut the top portion of the stamp. I used scissors and cut along the top edge of the cobblestone and adhered it to the bottom of the cream stitched rectangle.

Sunny Studio Stamps: Treat Bag Topper Die Focused Valentine's Day Treat Bag by Cathy Chapdelaine (featuring Sprawling Surfaces, Truckloads Of Love, Scalloped Heart Dies, Stitched Heart Dies, Loopy Letter Dies, Dotted Diamond Dies)

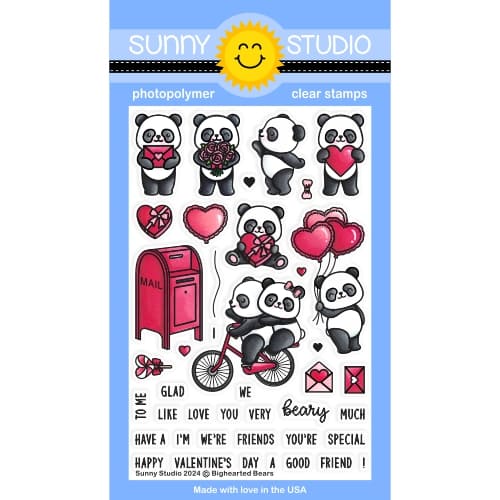
Next, I stamped the panda, truck, hearts and heart balloons on Neenah Classic Crest 80lb solar white cardstock, colored them with Copics and die-cut them using the coordinating dies.

I used the following stamps/dies:
Bighearted Bears Stamps/Dies (heart balloons)

Balloon Rides Stamps/Dies (panda)

Truckloads of Love Stamps/Dies


I adhered the heart balloons to the treat bag topper first and then adhered the stitched rectangle with the truck. I heat embossed small sentiments from the Truckloads of Love Stamps and Panda Party Stamps on pink cardstock with white embossing powder and hand cut around them. I die-cut the "love" sentiment using the Loopy Letters Dies from black and white cardstock and layered them together.


The Treat Bag Topper Dies are sized perfectly to fit the top of a cellophane treat bag, but I decided to make an outer sleeve to go over a cellophane bag. This allowed the treat bag to stand upright with candy inside. To make this, I cut a piece of kraft cardstock 4" x 11" and scored it on the 11" side at 4 3/4" and 6 1/4". I then die-cut one end of the cardstock using the Dotted Diamond Landscape Die to match the topper.


Sunny Studio Stamps: Treat Bag Topper Die Focused Valentine's Day Treat Bag by Cathy Chapdelaine (featuring Sprawling Surfaces, Truckloads Of Love, Scalloped Heart Dies, Stitched Heart Dies, Loopy Letter Dies, Dotted Diamond Dies)


I created a window to see the treats inside by die-cutting the cardstock 3/4" up from the score line using the second largest Stitched Heart 2 Dies. To get a scalloped heart border around the opening, I die-cut a piece of pink cardstock using the second largest Scalloped Heart Dies and then die-cut it using the second largest Stitched Heart 2 Dies. I then adhered the scalloped frame around the opening.


To finish, I filled a cellophane treat bag with some candy, set it inside the folded kraft cardstock piece and stapled it at the top.  I then adhered my treat bag topper to the top of the kraft cardstock.


I had a lot of fun making this and hope you enjoyed! Thanks for stopping by today! For more inspiration, please visit my blog www.inkredibleadventures.com and you can also find me on Instagram as @cathy.chapdelaine.


Sunny Studio Supplies Used:


Loopy Letters Dies
Loopy Letters Dies
Shop at:
Sunny Studio
Balloon Rides Stamps
Shop at:
Sunny Studio
Balloon Rides Dies
Balloon Rides Dies
Shop at:
Sunny Studio
Scalloped Heart Dies
Shop at:
Sunny Studio
Stitched Heart 2 Dies
Shop at:
Sunny Studio
Panda Party Stamps
Panda Party Stamps
Shop at:
Sunny Studio
Panda Party Dies
Panda Party Dies
Shop at:
Sunny Studio
Dotted Diamond Landscape
Shop at:
Sunny Studio
Truckloads of Love Stamps
Shop at:
Sunny Studio
Truckloads of Love Dies
Shop at:
Sunny Studio
Bighearted Bears Stamps
Shop at:
Sunny Studio
Bighearted Bears Dies
Shop at:
Sunny Studio
Sprawling Surfaces Stamps
Shop at:
Sunny Studio
Treat Bag Topper Die
Shop at:
Sunny Studio

Monday, December 25, 2023

Introducing Love Birds Stamps & Tree Branch Die For Valentine's Day!

Merry Christmas!  I hope you all are enjoying a fun and relaxing holiday with your loved ones today. This week our team will be transitioning from Christmas to Spring, featuring a new mini stamp set called Love Birds that is perfect for Valentine's Day, however as I think my cards will illustrate this set doesn't have to be limited to a single holiday. Let's jump right in!

Card No.1: For my first card featuring the Love Birds Stamps, I started by creating my pastel rainbow cloud background by inking on alternating distress inks together with masks I had cut from our Fluffy Cloud Border Dies. I then trimmed down my panel to 3.5" wide and added the stitching and scalloped trim to the edges with our Slimline Basic Border Dies

The love bird set comes with a bare tree branch and individual leaves making it easy to customize for both winter and spring scenes and to best position the leaves to suit your card. In this case, I was able to use the same tree branch three times, but by rotating it and placing the leaves in different spots for each of them, I was able to give my card a bit more personality. Finally, I heat-embossed a punny greeting from the set onto our Brilliant Banner 1 Dies which I had inked with a coordinating shade of Picked Raspberry distress ink to tie in with the pink cloud below.

Sunny Studio Blog: Tweetheart Birds on Tree Branches With Rainbow Clouds Valentine's Day Card using Love Birds Clear Stamps

Card No.2: Next up I paired two of those same adorable birds from the new Love Birds Stamps with our new Tree Branch Dies and the birdhouses from our A Bird's Life Stamps and Little Birdie Stamps. To create my cloud background, I used the coordinating cloud dies from our Plane Awesome Die set which I cut from masking material and then inked over using my favorite Jumbo Dauber. I then added the stitched edge along the bottom of my panel using that same Slimline Basic Border die.

To give my birdhouses the appearance they were hanging from the tree, I poked holes in my background panel and used a fat needle with some embroidery floss to string them on, taping the ends of the floss to the back of my panel before adhering the panel to my card base. I then was able to adhere my birdhouses onto my card and hide any holes. Before doing this though, I first adhered a 1" thick strip of red gingham patterned paper to the bottom of my card from our Classic Gingham Paper pack and layered a lacy scalloped edge from our Eyelet Lace Border Dies

Sunny Studio Blog: Love Is In The Air Birds on Tree Branch Red Gingham Scalloped Valentine's Day Card by Mendi Yoshikawa

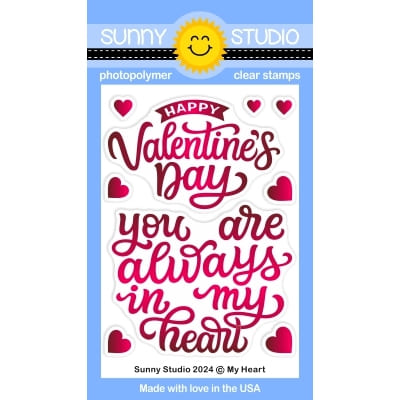
Card No.3: For my next card featuring the adorable Love Birds, I paired them with a greeting from our new My Heart Stamps (which won't be fully unveiled or available to purchase until next week). This greeting was designed to perfectly fit within our Stitched Heart 2 Dies and Scalloped Heart Dies.

In this case, I stamped the greeting first with dye ink, and then while it was still in my MISTI tool, I stamped it again with VersaMark Ink so I could sprinkle the greeting with a little bit of clear embossing powder. In this case, my dye ink wasn't matching my cardstock as well as I would have liked, and heat embossing it warmed up the tones just enough to make them match better. It also has the added bonus of lending a bit of shine and sparkle to my card in person. 

To complete my card, I pierced my background using our Dotted Diamond Landscape Die, added the new Tree Branch Die for my birdie to perch on, and our Pink Spinel Jewels to the center of each stamped flower blossom. It was a fairly quick and simple card to create, but I love how adding the little flowers with the jewels gave it just the touch of oomph it was missing.

Sunny Studio Blog: You Are Always In My Heart Birds with Tree Branch Valentine's Day Card using Love Birds 3x4 Clear Stamps

Card No.4: For my last Love Birds card of the day, I paired them with our larger Out On A Limb tree branch die which I thought was a better scale to match the new free Cherry Blossom die that will automatically come with all retail orders placed in our store starting today! I repeatedly cut the blossoms from white cardstock, inked them with Spun Sugar Distress Ink, and then accentuated the veining detail using my Copic Marker before adding the little center portion which I had also colored with my Copics over a piece of scratch paper. For my background, I inked it up using the same masks I had cut from our Fluffy Clouds Border Dies for my first card.

Sunny Studio Stamps Love Is In The Air Birds on Cherry Blossoms Tree Branch Spring Valentine's Day Card by Mendi Yoshikawa

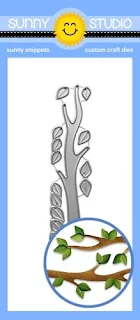
Here's a closer look at the new Love Birds Stamps, Love Bird Dies, and Tree Branch Dies. While these are available in our store now, the rest of our Spring Release will be shared with our Sneak Peek Week starting on January 1st and available to purchase on January 5th. 


I hope you enjoy the rest of your day and will continue to check back each day this week to see more fun ideas using this cute set by the rest of the team. :)

Other Sunny Studio Supplies Used:

A Bird's Life Stamps
Shop at:
Sunny Studio
A Bird's Life Dies
A Bird's Life Dies
Shop at:
Sunny Studio
Tsukineko Jumbo Dauber
Shop at:
Sunny Studio
Versafine Onyx Black Ink
Shop at:
Sunny Studio

Plane Awesome Stamps
Shop at:
Sunny Studio
Plane Awesome Dies
Plane Awesome Dies
Shop at:
Sunny Studio
Fluffy Clouds Border Dies
Shop at:
Sunny Studio
Eyelet Lace Borders
Eyelet Lace Borders
Shop at:
Sunny Studio
Slimline Basic Borders
Shop at:
Sunny Studio
Little Birdie Stamps
Shop at:
Sunny Studio
Little Birdie Dies
Little Birdie Dies
Shop at:
Sunny Studio
Out on A Limb Dies
Out on A Limb Dies
Shop at:
Sunny Studio
Scalloped Heart Dies
Shop at:
Sunny Studio
Stitched Heart 2 Dies
Shop at:
Sunny Studio
Brilliant Banner 1 Dies
Shop at:
Sunny Studio
Dotted Diamond Landscape
Shop at:
Sunny Studio
My Heart Stamps
My Heart Stamps
Shop at:
Sunny Studio
My Heart Dies
My Heart Dies
Shop at:
Sunny Studio
Pink Spinel Jewels
Pink Spinel Jewels
Shop at:
Sunny Studio
Cornflower Blue Jewels
Shop at:
Sunny Studio
Classic Gingham 6x6 Paper
Shop at:
Sunny Studio
Hero Arts Ultra Fine Clear
Shop at:
Sunny Studio
Hero Arts White Detail
Shop at:
Sunny Studio
VersaMark Watermark Ink
Shop at:
Sunny Studio

Saturday, November 18, 2023

Guest Designer Spotlight: Holiday Cards with Sara Zoppi

Hi crafty friends, Sara here! Today I am really thrilled to be here, guesting again for Sunny Studio Stamps! I really love their products, they are always so funny and sweet! For my guesting spot, I made two cards, using their recent Holiday released products. So, let's dive into the first one!

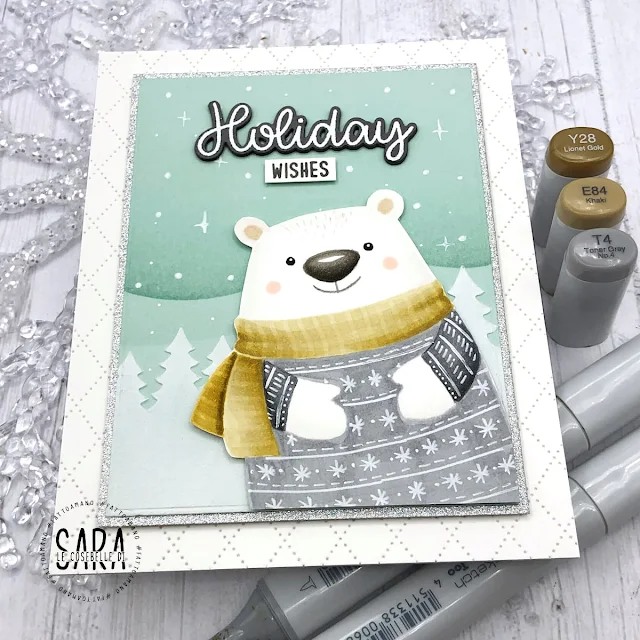
Sunny Studio Stamps: Holiday Hugs Holiday Card by Sara Zoppi

Look how cute is that big bear from the Holiday Hugs stamp set. I absolutely fell in love with him as soon as I saw him!

I stamped the image with a really light grey ink since I wanted a no-line look over a piece of Neenah Solar White cardstock. I then colored with Copics (Y28 – E84 – E81 – N5 – N4 – W7 – W5 – W4 – W0) and I added some details with white gel pen. I then fussy cut it because I wanted no white edges.

Sunny Studio Stamps: Holiday Hugs Holiday Card by Sara Zoppi

I then moved into the background: I started from a light sage cardstock and I created a quick hill shape with tape to darken the sky. I then used a white texture paste with the Forest Trees Stencil to create a white line of trees.

To complete the card, I added some snowflakes with white gel pen, I white heat embossed the "holiday" script from the Holiday Hugs stamp over some grey cardstock and I die cut it with coordinating dies. The wishes word was stamped over a strip of white cardstock. And here's the finished result!

Sunny Studio Stamps: Holiday Hugs Holiday Card by Sara Zoppi

To complete the card, I added some snowflakes with white gel pen, I white heat embossed the "holiday" script from the Holiday Hugs stamp over some grey cardstock and I die cut it with coordinating dies. The wishes word was stamped over a strip of white cardstock. The finished sage panel measures 3,5"x4,75" and I matted it firstly with a slightly larger silver sparkly cardstock and then with an A2 white panel impressed with the Dotted Diamond Portrait Die.

And here's the finished result!

Sunny Studio Stamps: Pretty Poinsettias Holiday Card by Sara Zoppi

My second and last inspiration showcases the Pretty Poinsettia stamp setI started with the idea to create a red monochrome poinsettia wreath but I when I was stamping the red flower, I had the idea to create a rainbow wreath for some colorful wishes!

I created a 5,5"x5,5" square card, with the script sentiment at the centre and all the poinsettia around.

Sunny Studio Stamps: Pretty Poinsettias Holiday Card by Sara Zoppi

I firstly die cut all the poinsettia shapes from some white cardstock and I created a sort of "template" to insert the die cut pieces and repeatedly stamp the solid flowers in the same place using a stamping tool. I carefully stamped all the layers for each color (you can skip the change of colors and create a monochromatic card). I then gold heat embossed the sentiment included in the stamp set and I cuti t with a circle punch.

Sunny Studio Stamps: Pretty Poinsettias Holiday Card by Sara Zoppi

I attached all the flowers with foam tape to a 5"x5" piece of white cardstock, I also added the circle sentiment in the centre. I then matted the panel with a slightly larger mirror gold cardstock and then with a 5,5"x5,5" white panel again. To complete the card, I added some gold gems here and there. And here's the finished result!

Thanks for stopping by! I really hope you have found my projects inspiring!

Sunny Studio Supplies Used:

Forest Trees Stencils
Shop at:
Sunny Studio
Dotted Diamond Portrait
Shop at:
Sunny Studio
Holiday Hugs Stamps
Holiday Hugs Stamps
Shop at:
Sunny Studio
Holiday Hugs Dies
Holiday Hugs Dies
Shop at:
Sunny Studio
Pretty Poinsettia Stamps
Shop at:
Sunny Studio
Pretty Poinsettia Dies
Shop at:
Sunny Studio