Showing posts with label Brilliant Banners. Show all posts

Sunday, February 18, 2024

Spring Garden Die Focused Card with Tammy

Hello friends! Tammy here sharing a Spring themed card, featuring the adorable Spring Garden Dies. 

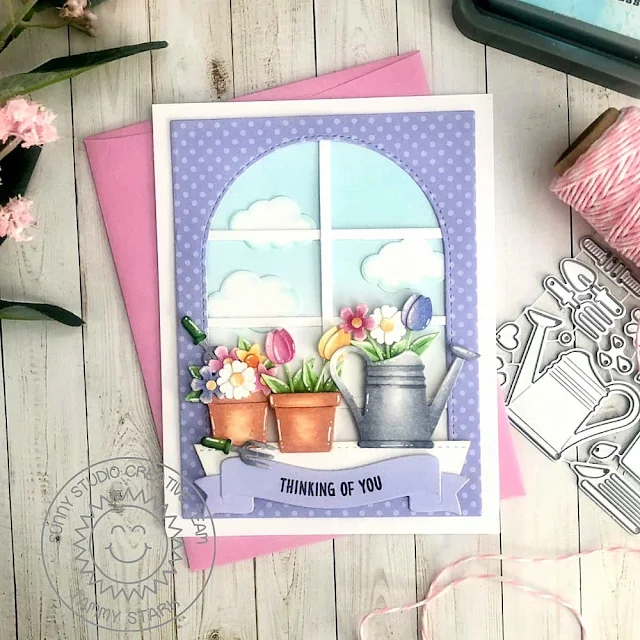
Sunny Studio Stamps: Spring Garden Die Focused Thinking Of You Card by Tammy Stark (featuring Stitched Arch Dies, Slimline Dies, Brilliant Banners)

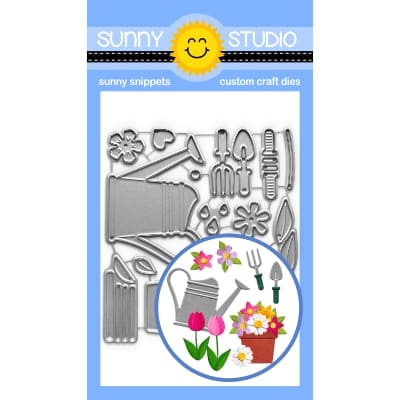
To begin, using the Spring Garden Dies, I die cut Bristol smooth cardstock and colored with Copic markers. I added some white highlights to the colored die cuts using a white gel pen.

Copic Colors Used:
Flower pots: E13, E11, E50
Watering can: C3, C1, C0, C00
Pink: RV55, RV52, RV00
Lavender: BV02, BV01, BV00, BV000
Yellow: Y23, Y21, YR30
Green: G43, G40

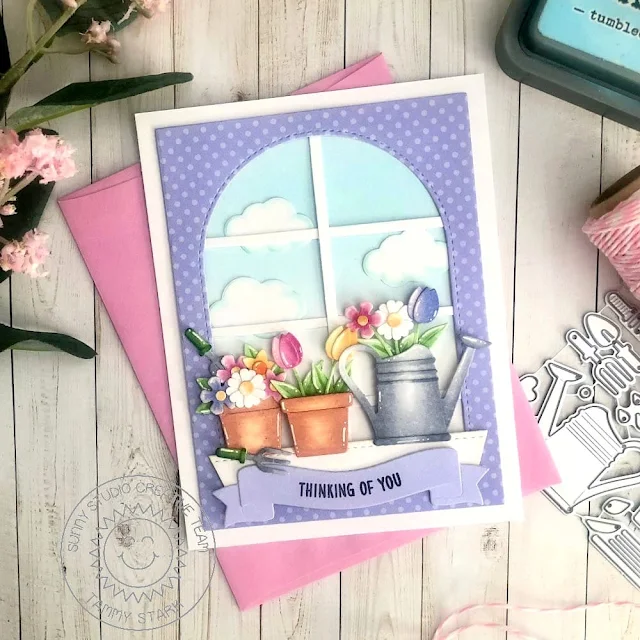
Sunny Studio Stamps: Spring Garden Die Focused Thinking Of You Card by Tammy Stark (featuring Stitched Arch Dies, Slimline Dies, Brilliant Banners)

Next, I cut a piece of lavender dot paper from the Spring Fever Paper to 4X5", then cut out a window using the largest of the Stitched Arch DiesI then cut 4 very thin strips of white cardstock and attached them on the back of the patterned paper to create the look of window panes. The windowsill was created using the thinnest pennant from the Slimline Pennant Dies, cutting the edges at an angle just slightly longer than the width of the window; then attaching it using foam tape. 

Sunny Studio Stamps: Spring Garden Die Focused Thinking Of You Card by Tammy Stark (featuring Stitched Arch Dies, Slimline Dies, Brilliant Banners)

Next, I cut a piece of Bristol smooth cardstock the same size as the patterned paper and blended it with Tumbled Glass Distress Oxide ink. I cut the clouds using the Plane Awesome Dies, attached them to the inked background, then glued the arched piece on top. The flower pots and watering can were attached to the card front with foam tape for dimension.

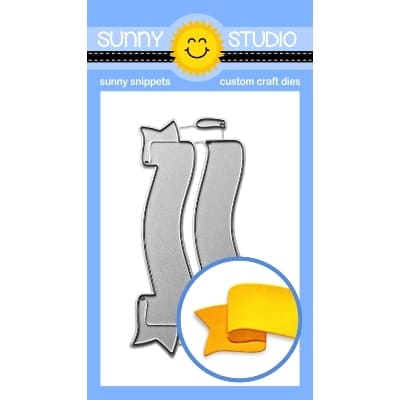
Lastly, I die cut a lavender banner using the Brilliant Banner 1 Dies, then stamped the sentiment in black ink from the Critters On the Go stamp set. I attached the banner using foam tape, then adhered it to a white A2 card base to complete my card.

Thanks for stopping by! Hugs!

Sunny Studio Supplies Used:

Plane Awesome Dies
Plane Awesome Dies
Shop at:
Sunny Studio
Stitched Arch Dies
Stitched Arch Dies
Shop at:
Sunny Studio
Slimline Pennant Dies
Shop at:
Sunny Studio
Critters on the Go Stamps
Shop at:
Sunny Studio
Spring Fever Paper
Spring Fever Paper
Shop at:
Sunny Studio
Brilliant Banner 1 Dies
Shop at:
Sunny Studio
Spring Garden Dies
Spring Garden Dies
Shop at:
Sunny Studio

Friday, January 12, 2024

Love Birds Card with Nicky

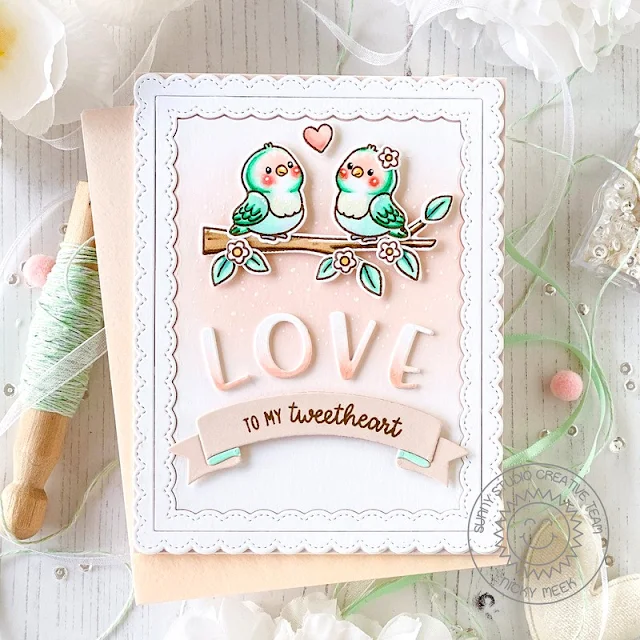
Hi this is Nicky with you today with my first blog post as a member of the Sunny Studio Design Team and I have a sweet card created using the brand new Love Birds stamp set

Sunny Studio Stamps: Love Birds Card by Nicky Meek (featuring Chloe Alphabet Dies, Brilliant Banner Dies, Fancy Frame Dies)

To create this card I first took two panels of white cardstock and I used the Fancy Frames Rectangle die to die cut twice. I glued the frames together to make them nice and sturdy and with the negative cut from the centre that was created I blended softly with a peachy pink ink. I adhered the frame to a panel of pale pink cardstock and then I recessed the ink blended background panel through the opening and glued it into place.

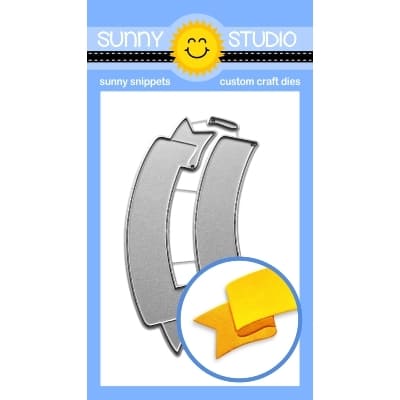
I created the word LOVE using the Chloe Alphabet Die. I die cut each letter 3 times and glued them in stacks and used Copic markers to create an ombré affect. I die cut some pale pink cardstock using the Brilliant Banner 2 die and stamped the sentiments from the Love Birds stamp set.

Sunny Studio Stamps: Love Birds Card by Nicky Meek (featuring Chloe Alphabet Dies, Brilliant Banner Dies, Fancy Frame Dies)

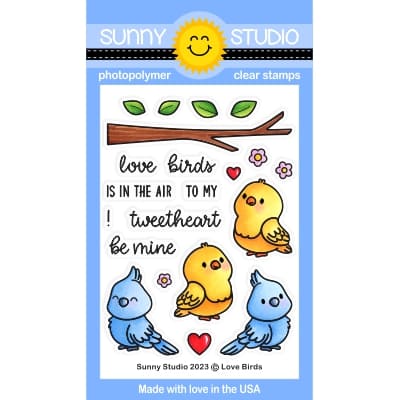
In nature, Love Birds come in so many beautiful colours so you can really have fun recreating these birds every time you use the stamp set but I chose a variety called 'Peach-Faced Love Bird' to inspire mine. I stamped the images then used the following Copic marker combinations to colour everything:

Birds - BG32, G00, G000, G0000, C1, C0, E01, R00, R000
Blushes - R22, R21, R20, R00
Branch - E44, E43, E42
Leaves - BG32, G00, G000, G0000
Flowers - Y23, R000
Heart - R21, R00

Sunny Studio Stamps: Love Birds Card by Nicky Meek (featuring Chloe Alphabet Dies, Brilliant Banner Dies, Fancy Frame Dies)

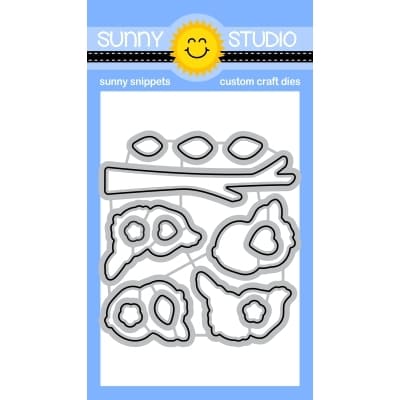
The images were die cut using the coordinating dies and applied with foam tape and then underneath I glued the word LOVE and after that I added the banner with more foam tape.

To finish up I used a white gel pen to dot in some interest to the blended background and to highlight points on the coloured images and then it was complete.

Thanks for visiting the Sunny blog, I'll be back just about every Friday with something new to share.

Sunny Studio Supplies Used:

Chloe Alphabet Dies
Chloe Alphabet Dies
Shop at:
Sunny Studio
Fancy Frames- Rectangles
Shop at:
Sunny Studio
Brilliant Banner 2 Dies
Shop at:
Sunny Studio
Love Birds Stamps
Love Birds Stamps
Shop at:
Sunny Studio
Love Birds Dies
Love Birds Dies
Shop at:
Sunny Studio

Sunday, January 7, 2024

Love Birds Card with Tammy

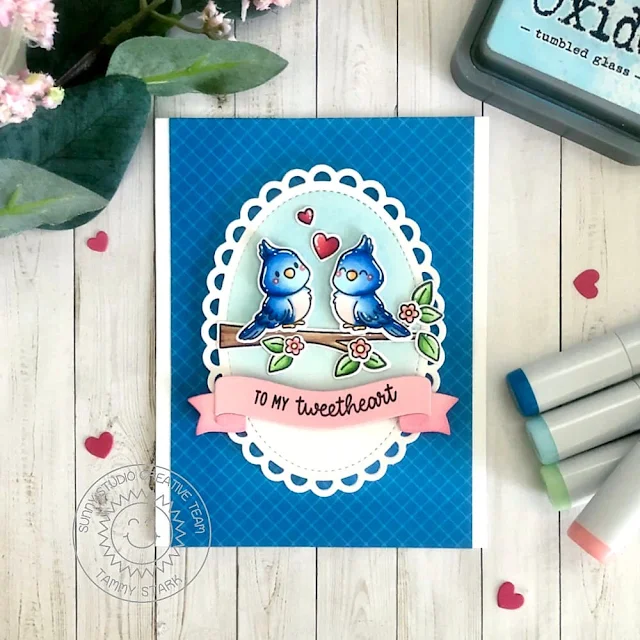
Hello friends and Happy New Year! Tammy here! I'm so excited to be back on the blog sharing some projects, featuring new and amazing products from Sunny Studio's spring release. My card today is showcasing the adorable set, Love Birds.

Sunny Studio Stamps: Love Birds Card by Tammy Stark (featuring Brilliant Banner Dies, Scalloped Oval Dies)

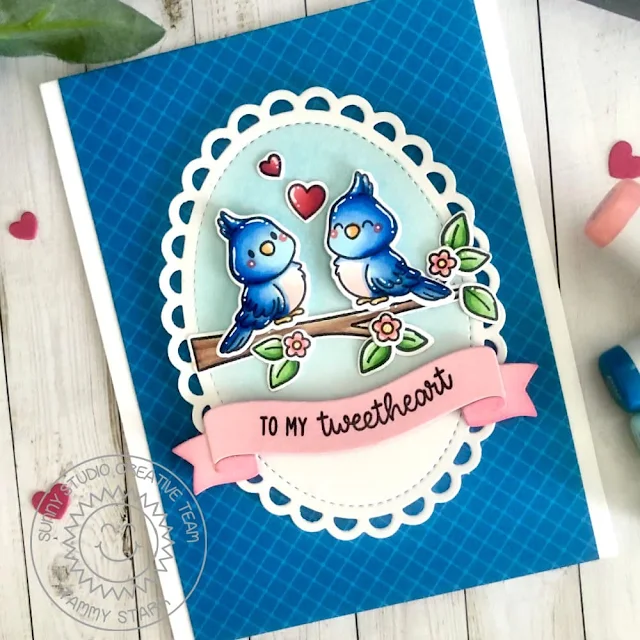
I colored the darling birds from the Love Birds Stamp set to look like blue birds, using Copic markers, then die cut all images with the coordinating diesNext, I created a little oval background for the blue birds using the Scalloped Oval Mat 3 Dies

Sunny Studio Stamps: Love Birds Card by Tammy Stark (featuring Brilliant Banner Dies, Scalloped Oval Dies)

I lightly blended the background with Tumbled Glass Distress Oxide ink, then attached it (with foam tape) to a blue patterned panel, cut from the Classic Sunburst Papermeasuring 4 X 5 1/2". 

Sunny Studio Stamps: Love Birds Card by Tammy Stark (featuring Brilliant Banner Dies, Scalloped Oval Dies)

Next, I arranged the images onto the scalloped oval, attaching some with foam tape. I stamped the sentiment onto a pink banner die cut using the Brilliant Banner 1 Die. 

Lastly, I attached the sentiment banner to my card using foam tape, then adhered my panel to a white A2 card base to finish up my card.

Thanks for stopping by! See you next time!

Sunny Studio Supplies Used:

Classic Sunburst Paper
Shop at:
Sunny Studio
Scalloped Oval Mat 3 Dies
Shop at:
Sunny Studio
Brilliant Banner 1 Dies
Shop at:
Sunny Studio
Love Birds Stamps
Love Birds Stamps
Shop at:
Sunny Studio
Love Birds Dies
Love Birds Dies
Shop at:
Sunny Studio

Friday, December 15, 2023

Baking Spirits Bright Card with Tina

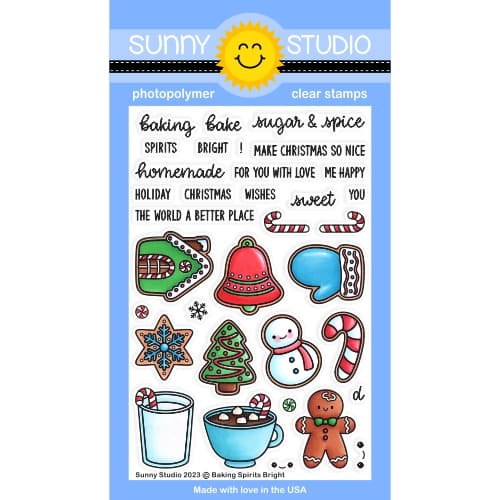
Hello crafty friends, Tina here and today we are making a Christmas card with the sweet Baking Spirits High stamp and die set! Baking cookies is such a great holiday tradition, and this set completely provides all the elements for a fun baking card. I combined several images from the set with the coffee mug from Mug Hugs.

Sunny Studio Stamps: Baking Spirits Bright Christmas Card by Tina Henkens (featuring Mug Hugs, Frilly Frame Dies, Brilliant Banner Dies)

Starting with a white card base, I added a pink panel from my stash. Next, I die cut the Frilly Frames Polka-Dot dies from a sheet of white cardstock. I layered this over the pink to get a nice contrast for my background.

I stamped and colored a selection of images from the Baking Spirits High stamp and my mug (Mug Hugs). This year I used a lot of pink and teal shades for my Christmas cards, such a pretty color combo! All the coloring was done with Copic markers.

Sunny Studio Stamps: Baking Spirits Bright Christmas Card by Tina Henkens (featuring Mug Hugs, Frilly Frame Dies, Brilliant Banner Dies)

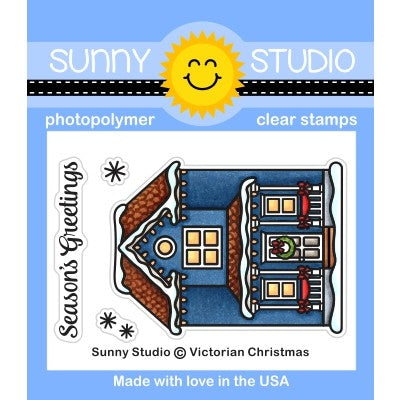
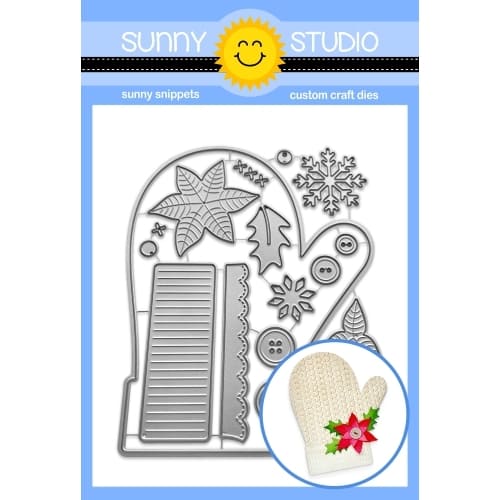
As always I love to mix and match stamps and dies so I browsed through my stash and decided that the Poinsettia from the Woolen Mitten set would be the perfect backdrop for my images. I cut three flowers and several leaves and inked them with Distress Oxides (Picked Raspberry, Abandoned Coral, Salvaged Patina and Peacock Feathers). The sentiment was selected from the Victorian Christmas set (such a pretty font!) and stamped onto a white Brilliant Banner 1 with Versafine Onyx Black ink.

Now it was time to build the layers of this card, starting with the poinsettias and leaves, I glued them directly to the white panel with liquid glue. Next, I added the mug and cookies with foam tape for dimension. Two pink jewels from the Pastel Jewel Mix were added to the banner.  

I had a lot of fun creating this baking card! Can’t wait to see your creations! Thank you for visiting the blog and happy crafting!

Sunny Studio Supplies Used:

Mug Hugs Dies
Mug Hugs Dies
Shop at:
Sunny Studio
Mug Hugs Stamps
Mug Hugs Stamps
Shop at:
Sunny Studio
Frilly Frames Polka-Dot
Shop at:
Sunny Studio
Victorian Christmas Stamps
Shop at:
Sunny Studio
Brilliant Banner 1 Dies
Shop at:
Sunny Studio
Woolen Mitten Dies
Woolen Mitten Dies
Shop at:
Sunny Studio
Baking Spirits Bright Stamps
Shop at:
Sunny Studio
Baking Spirits Bright Dies
Shop at:
Sunny Studio

Wednesday, December 13, 2023

Holiday Hugs Card with Gladys

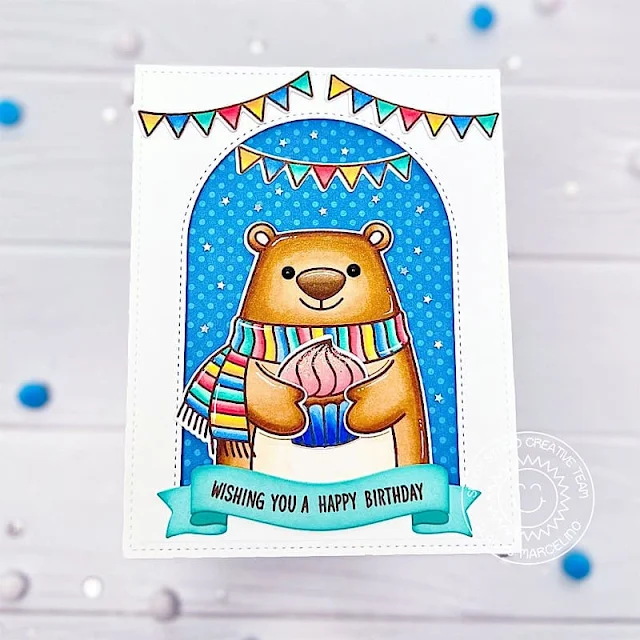
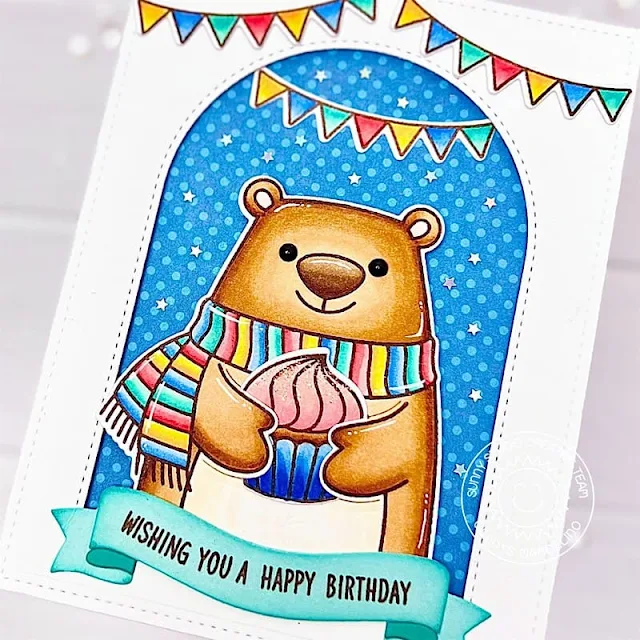
Hello crafty friends, Gladys here! I'm excited to be back on the blog with a birthday card using the Holiday Hugs stamp set. Since I have been creating a lot of holiday cards, I wanted to mixed it up and make a birthday card using this adorable bear.

Sunny Studio Stamps: Holiday Hugs Birthday Card by Gladys Marcelino (featuring Stitched Arch Dies, Brilliant Banners)

First, I stamped the bear and cupcake from the stamp set using alcohol friendly ink. I also stamped the banner from Panda Party. I colored them with Copic markers then used their coordinating dies to cut them out. Next, I used a stitched rectangle die to cut from white card stock and blue pattern paper from Critter Country paper pack. Then I used the largest Stitched Arch die to create the window on the white cardstock. 

Sunny Studio Stamps: Holiday Hugs Birthday Card by Gladys Marcelino (featuring Stitched Arch Dies, Brilliant Banners)

I backed the white cardstock with double sided foam tape and mounted it on the blue paper. I also added foam tape behind the bear to give dimension. For the sentiment I stamped it on colored cardstock and cut it from the Brilliant Banner 1 die. I inked the edges with peacock feather distress oxide ink to add some contrast. To complete my card I adhered the banners, a scattering of iridescent stars, and diamond stickles on the cupcake for some sparkle. 

Thanks so much for stopping by. Have a wonderful day everyone!

Sunny Studio Supplies Used:

Stitched Arch Dies
Stitched Arch Dies
Shop at:
Sunny Studio
Critter Country Paper
Shop at:
Sunny Studio
Panda Party Stamps
Panda Party Stamps
Shop at:
Sunny Studio
Panda Party Dies
Panda Party Dies
Shop at:
Sunny Studio
Brilliant Banner 1 Dies
Shop at:
Sunny Studio
Holiday Hugs Stamps
Holiday Hugs Stamps
Shop at:
Sunny Studio
Holiday Hugs Dies
Holiday Hugs Dies
Shop at:
Sunny Studio

Friday, December 1, 2023

Holiday Express Card with Tina

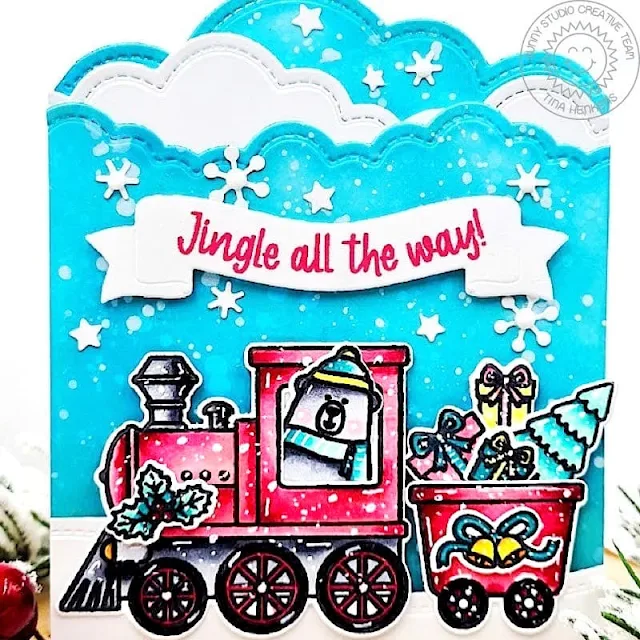
Hello crafty friends, Tina here with a card that is featuring the adorable Holiday Express stamp and die set. This set is of course perfect for your Christmas cards (as I show here today), but it can also be used for so many other occasions!

Sunny Studio Stamps: Holiday Express Holiday Card by Tina Henkens (featuring Snowflake Circle Frame Dies, Reindeer Games, Brilliant Banner Dies)

For this design I wanted to create a dreamy, snowy sky with several layers of clouds. I cut three panels of white card stock to an A2 size and die cut the top parts with a cloud die from my stash, similar to this oneNext, I inked up two panels with Distress Oxides Salvaged Patina and Peacock Feathers. I kept the third one white for extra interest and contrast.

I created a white card base slightly smaller than A2 size and started layering the cloud panels to figure out which height they needed to be. I cut the three panels to size and adhered them to my card base, making sure the white clouds were in the middle. And finishing the scene with a white snowbank which was mounted to the bottom of the card with foam tape.

Sunny Studio Stamps: Holiday Express Holiday Card by Tina Henkens (featuring Snowflake Circle Frame Dies, Reindeer Games, Brilliant Banner Dies)

Next, I selected which elements from the Holiday Express stamp set I wanted to use. There are several cute critters and an adorable Santa, today I went for the sweet polar bear! I stamped and cut the locomotive, car, tree, and some presents as well as a few decorations. For my Copic coloring I chose traditional Christmas colors and as always, I added white highlights and snowflakes with a gel pen. All the images were adhered to the scene using foam tape for dimension.

Lastly, I stamped a sentiment from Reindeer Games onto a white Brilliant Banner 1 with red die ink from my stash. That pop of color matches the train and car! A few snowflakes and stars from the Snowflake Circle Frame die were scattered around the sentiment. Some of them got embellished with a Pure White Jewel.

Thank you so much for visiting the blog, I can’t wait to see your creations with this fun set! Happy crafting!

Sunny Studio Supplies Used:

Holiday Express Stamps
Shop at:
Sunny Studio
Holiday Express Dies
Shop at:
Sunny Studio
Snowflake Circle Frame
Shop at:
Sunny Studio
Reindeer Games Stamps
Shop at:
Sunny Studio
Reindeer Games Dies
Reindeer Games Dies
Shop at:
Sunny Studio
Brilliant Banner 1 Dies
Shop at:
Sunny Studio

Sunday, November 12, 2023

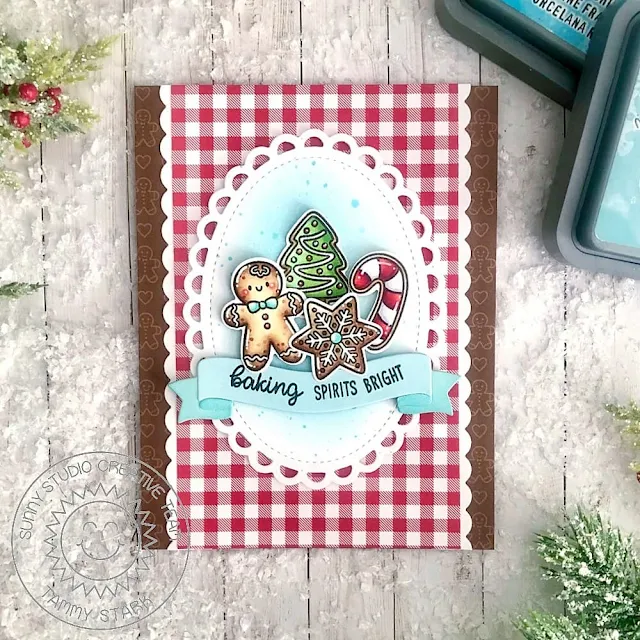
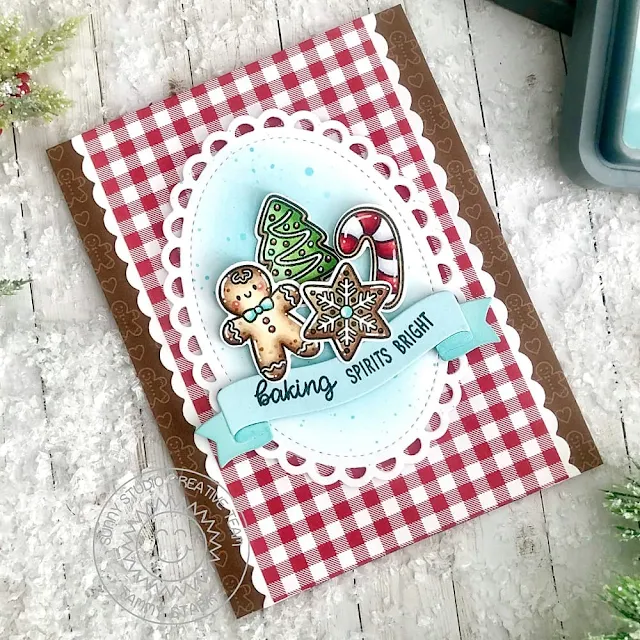
Baking Spirits Bright Card with Tammy

Hello friends! Tammy here sharing a festive holiday card, featuring the sweet set, Baking Spirits Bright. Every Christmas, my daughter and I spend a few days baking cookies to give to friends, family, and neighbors. It has become one of our favorite traditions, and one I cherish most of all! 

Sunny Studio Stamps: Baking Spirits Bright Christmas Card by Tammy Stark (featuring Scalloped Oval Mat Dies, Brilliant Banner Dies)

To begin, I stamped the images from Baking Spirits Bright, colored with Copic markers, and die cut with the Baking Spirits Bright Dies. Next, I die cut a scalloped oval from Bristol smooth cardstock using the Scalloped Oval Mat 3 Diesthen lightly inked the center with Salvaged Patina and Tumbled Glass Distress Oxide inks. I then splattered some watered down Salvaged Patina onto the oval for some interest.

I die cut a banner from aqua paper using the Brilliant Banner 1 Diethen stamped the sentiment from Baking Spirits Bright in black ink and attached it to the inked oval using foam tape for dimension. Next, I arranged the cookies onto the oval, also attaching them with foam tape.

Sunny Studio Stamps: Baking Spirits Bright Christmas Card by Tammy Stark (featuring Scalloped Oval Mat Dies, Brilliant Banner Dies)

Next, I cut an A2 panel using the gingerbread paper from the All is Bright Paper PadI then cut a piece of gingham paper, from the Joyful Paper Padapproximately 3 1/2 X 5 1/2" and added a white scalloped border on each side, die cut using the Slimline Basic Borders DiesI layered all the pieces together, then attached the oval with foam tape before adhering to a white A2 card base to complete my card.

Thanks so much for stopping by! See you next time!

Sunny Studio Supplies Used:

Slimline Basic Borders
Shop at:
Sunny Studio
Scalloped Oval Mat 3 Dies
Shop at:
Sunny Studio
All Is Bright Paper
All Is Bright Paper
Shop at:
Sunny Studio
Joyful Holiday Paper
Shop at:
Sunny Studio
Brilliant Banner 1 Dies
Shop at:
Sunny Studio
Baking Spirits Bright Stamps
Shop at:
Sunny Studio
Baking Spirits Bright Dies
Shop at:
Sunny Studio

Sunday, October 29, 2023

Holiday Hugs Tags with Tammy

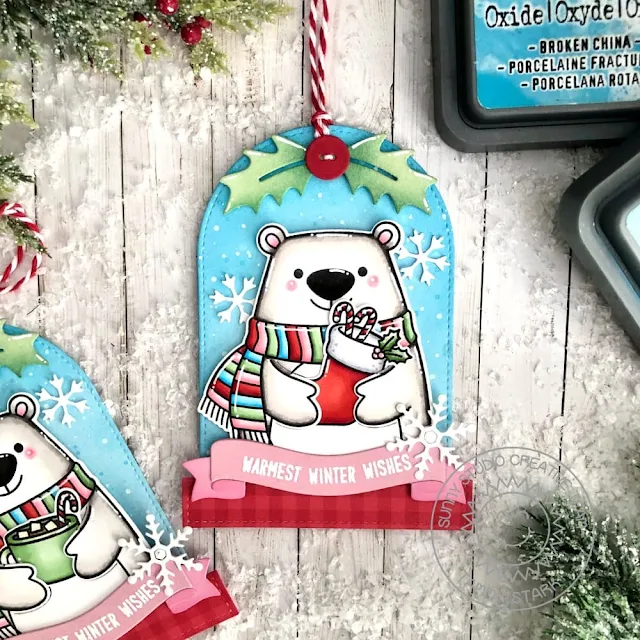
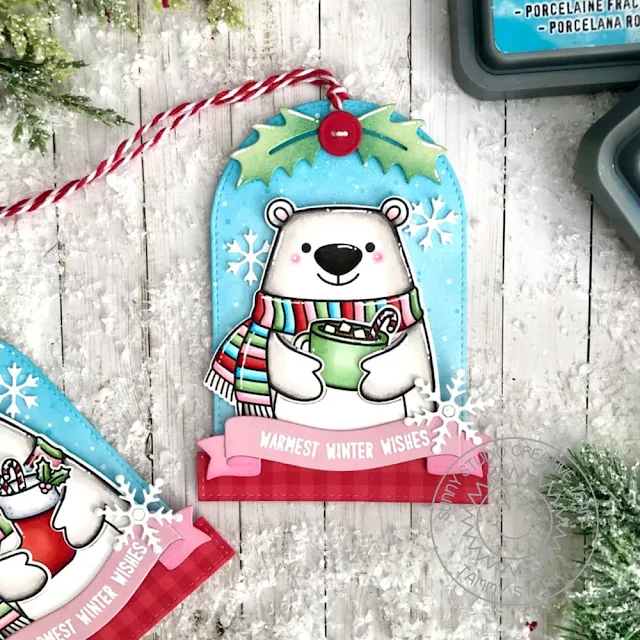
Hello friends! Tammy here with some fun snow globe tags, featuring the adorable set, Holiday Hugs.

Sunny Studio Stamps: Holiday Hugs Christmas Tags by Tammy Stark (featuring Stitched Arch Dies, Lacy Snowflake Dies, Brilliant Banner Dies)

To begin, I stamped the images from Holiday Hugs, colored with Copic markers, and die cut with the Holiday Hugs Dies.  Next, I die cut the tags from Bristol smooth cardstock using the largest die from the Stitched Arch Dies. I ink blended the tags using Broken China and Tumbled Glass Distress Oxide inks. I splattered some white acrylic paint, thinned with water, onto the background to create a snowy look. 

Sunny Studio Stamps: Holiday Hugs Christmas Tags by Tammy Stark (featuring Stitched Arch Dies, Lacy Snowflake Dies, Brilliant Banner Dies)

I used the smallest pennant from the Slimline Pennant Dies to create the snow globe bases. I die cut the red gingham paper from the Joyful Holiday Paper using the smallest pennant die. I ran it through my die cut machine twice, moving the die to use the square end of the die to shorten it and to create the rectangular base.

Sunny Studio Stamps: Holiday Hugs Christmas Tags by Tammy Stark (featuring Stitched Arch Dies, Lacy Snowflake Dies, Brilliant Banner Dies)

I attached snow globe bases to the bottom of the stitched arches, then the bears to the tags with foam tape for dimension. Using the Brilliant Banner 1 DiesI die the sentiment banners from pink cardstock, then white heat embossed the sentiment and attached them to the tags with foam tape. I added some die cut white snowflakes using the Lacy Snowflake Dies and Basic Mini Shape Dies 2.

Sunny Studio Stamps: Holiday Hugs Christmas Tags by Tammy Stark (featuring Stitched Arch Dies, Lacy Snowflake Dies, Brilliant Banner Dies)

Next, I punched a hole at the top of the tags, then added the holly and berry, die cut from the Woolen Mitten Dies. I added some red and white bakers twine to complete my snow globe tags.

Thanks so much for stopping by! See you next time!

Sunny Studio Supplies Used:
  

Lacy Snowflakes Die
Lacy Snowflakes Die
Shop at:
Sunny Studio
Basic Mini Shape Dies 2
Shop at:
Sunny Studio
Stitched Arch Dies
Stitched Arch Dies
Shop at:
Sunny Studio
Slimline Pennant Dies
Shop at:
Sunny Studio
Joyful Holiday Paper
Shop at:
Sunny Studio
Brilliant Banner 1 Dies
Shop at:
Sunny Studio
Woolen Mitten Dies
Woolen Mitten Dies
Shop at:
Sunny Studio
Holiday Hugs Stamps
Holiday Hugs Stamps
Shop at:
Sunny Studio
Holiday Hugs Dies
Holiday Hugs Dies
Shop at:
Sunny Studio